Friendship bracelets have been a symbol of connection and camaraderie for generations. Crafting these colorful and intricately woven accessories is not only a delightful pastime but a heartfelt way to express your appreciation for friends and loved ones.
Whether you’re a seasoned bracelet maker or a beginner looking to dive into the world of handmade jewelry, this guide will walk you through how to make friendship bracelets.
From selecting the right materials to mastering various knotting techniques, you’ll discover the fundamental steps needed to craft these timeless symbols of friendship.
The beauty of friendship bracelets lies in their personal touch, making them a perfect gift for special occasions or simply a creative way to strengthen the bonds between you and your friends.
So, gather your supplies, follow along, and soon you’ll be crafting intricate, handmade tokens of affection that will be cherished by those lucky enough to receive them.
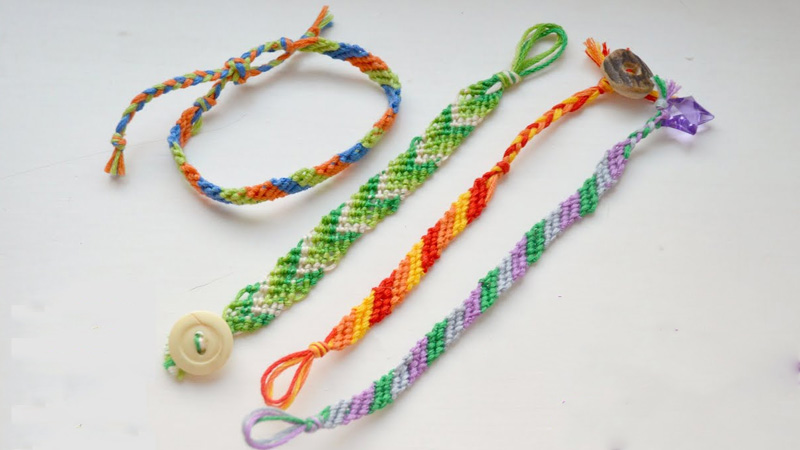
How to Make Friendship Bracelets? 5 Steps
Let’s take you on a creative journey, sharing the art of crafting beautiful friendship bracelets that hold deep sentimental value. Before diving into bracelet-making, gather the essential materials and follow the given steps.
Step 1: Select a Pattern or Design
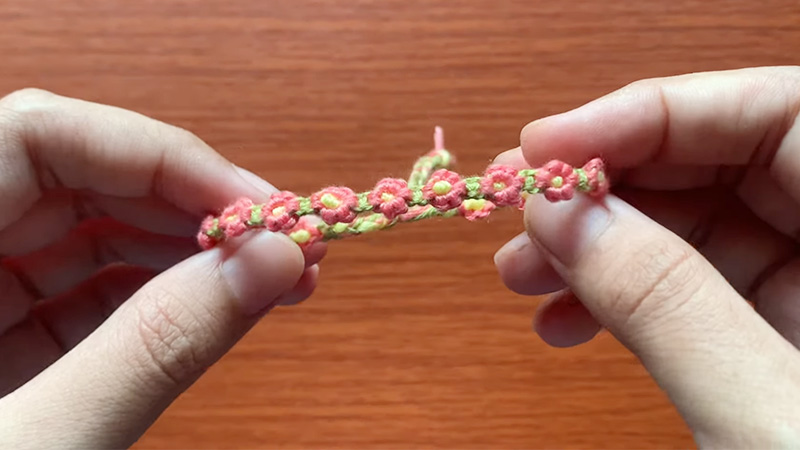
Decide on the type of bracelet you want to make. Classic styles include the Chevron, Diamond, and Stripe patterns, among many others. Explore various styles and pick one that appeals to you.
Select the colors you’d like to incorporate into your bracelet. These colors can reflect the recipient’s favorite hues or the occasion for which you’re making the bracelet.
Depending on your chosen style, you can find various pattern guides online, in books, or through bracelet-making apps. These guides offer step-by-step instructions and visual aids to help you create intricate designs.
Step 2: Prepare Your Threads
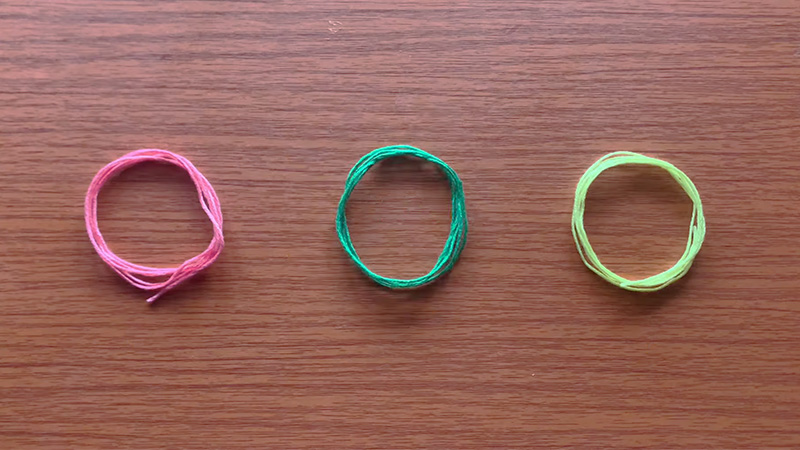
Depending on your chosen design, cut the embroidery floss into strands, usually around 60-70 inches long.
You can always trim excess thread later. Take all your strands, fold them in half, and tie a knot near the folded end. This will create a loop, serving as the starting point for your bracelet.
Step 3: Begin Knotting
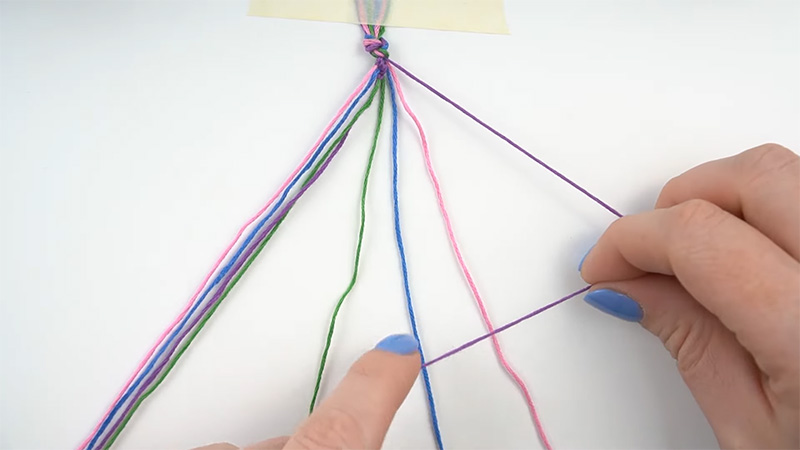
Organize your threads in the order you’d like your bracelet’s colors to appear. Ensure they’re lined up correctly. Friendship bracelets primarily involve two types of knots: the forward knot and the backward knot.
Pick up the thread on the left, cross it over the thread to its right, and pull it through the loop formed. This creates a forward knot. Repeat this process for the entire row.
Similarly, for a backward knot, start with the thread on the right. Cross it over the thread to its left and pull it through the loop. Continue to create backward knots for the row.
Refer to your selected pattern guide to know which color to use for each knot. Typically, the guide will indicate whether to use forward or backward knots to create the desired pattern.
Ensure consistent tension in your knots to maintain an even and well-defined pattern. Loose or tight knots can affect the final look of the bracelet.
Step 4: Adding Beads (Optional)
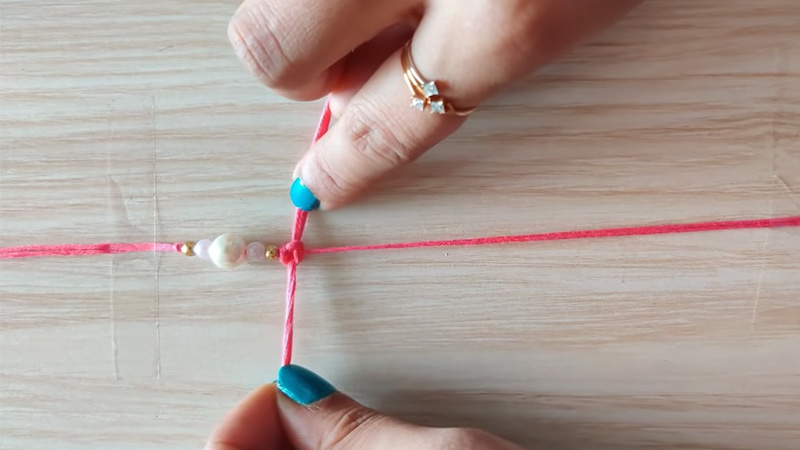
If you want to include beads in your bracelet, choose beads that complement your design and ensure the threading holes can accommodate the embroidery floss.
To incorporate a bead into your bracelet, slide it onto one or more of the threads before creating a knot. Position the bead as needed within the pattern, and continue knotting.
Step 5: Completing the Bracelet
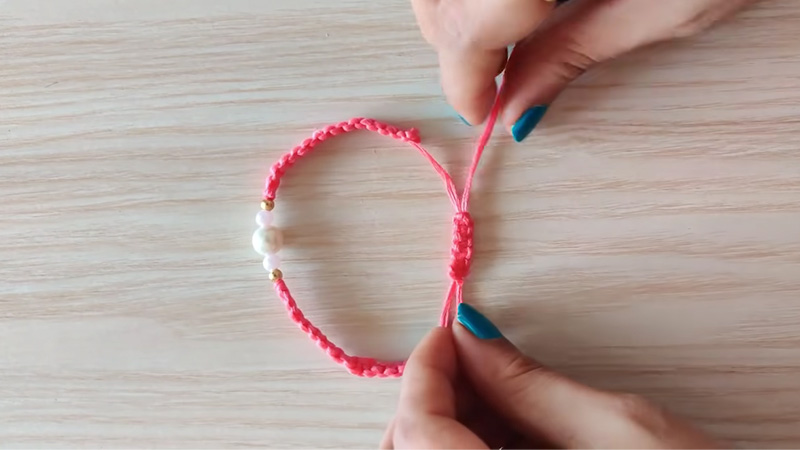
Continue knotting rows, following your pattern, until the bracelet reaches the desired length. It may help to have the recipient’s wrist measurements to ensure a proper fit.
To finish your bracelet, create a simple braid or a few regular knots at the end of the threads. Trim any excess thread, leaving enough to tie the bracelet onto the recipient’s wrist.
Step 6: Secure and Judge the Time
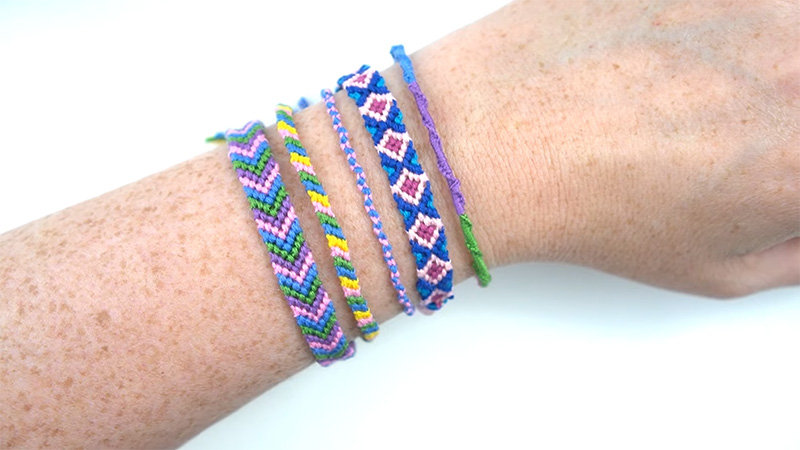
To secure the bracelet, make a loop around the final knot or braid, and pass the other end through it.
Gently pull to tighten the loop. The time it takes to make a friendship bracelet can vary widely. A simple bracelet with a basic pattern might take as little as 30 minutes to an hour.
More complex and intricate designs can take several hours to complete, and some very detailed bracelets may even require a few days of work. It ultimately depends on the design and your level of experience in bracelet-making.
Tips for Successful Bracelet-Making
If you’re new to bracelet-making, start with simple patterns and practice your knotting technique before tackling more intricate designs. Maintaining consistent tension in your knots is crucial for a neat and even pattern.
Utilize pattern guides and tutorials to help you create complex and visually appealing designs. Consider the recipient’s preferences when choosing colors and patterns to make the bracelet more meaningful.
Don’t be afraid to add your personal touch, such as beads, to make your bracelets unique and special.
At What Age Can Kids Make Friendship Bracelets?
Kids can start making friendship bracelets at a fairly young age, often as early as 6 or 7 years old.
The specific age at which a child is ready to begin making these intricate accessories will vary from one individual to another, but there are some general considerations to keep in mind.
Fine Motor Skills
The most crucial factor in determining when a child can make friendship bracelets is their fine motor skills. Creating these bracelets involves tying knots, which require a level of dexterity and hand-eye coordination.
Children typically develop the necessary fine motor skills as they grow, and most are ready to start making simple bracelets around the age of 6 or 7.
Patience
Bracelet-making can be a detailed and time-consuming activity, which may require a certain level of patience.
Younger children may have a shorter attention span, so it’s essential to choose simple patterns and keep sessions relatively short, gradually increasing the complexity as they become more comfortable with the process.
Reading and Following Instructions
Many friendship bracelet patterns come with written instructions or diagrams. To create bracelets, children need to be able to read or follow visual instructions.
While very young children might not be able to read complex instructions, they can still follow visual diagrams with the help of an adult.
Supervision and Guidance
It’s important to provide adequate supervision and guidance, especially when young children are starting to make bracelets. An adult or older sibling can help them with more complicated knots, choose appropriate materials, and ensure they stay safe while using scissors.
Creativity
Encourage children to explore their creativity through bracelet-making. Let them choose their favorite colors, patterns, and even add beads to their designs. This creative freedom can make the activity more enjoyable for kids.
Safety
Be mindful of the safety aspect. Ensure that children are using child-safe scissors and, if needed, needles or other tools. Additionally, ensure they’re working in a well-lit area and using materials that are safe for their age.
Skill Progression
As children grow and become more experienced, they can take on more complex bracelet patterns and techniques. Gradually introduce new knots and designs to keep them engaged and challenged.
Group Activities
Friendship bracelet-making can be a fantastic group activity for kids. They can make bracelets for one another or create a collaborative piece. Group activities can enhance social skills and teamwork, and children can learn from each other’s progress.
Parental Involvement
Parental involvement and enthusiasm for the craft can significantly influence a child’s interest and development in making friendship bracelets. By engaging in the activity together, parents can share quality bonding time and teach their children valuable crafting skills.
So, children can begin making friendship bracelets at a relatively young age, typically around 6 or 7, when their fine motor skills have developed sufficiently.
It’s important to choose appropriate patterns and provide guidance, ensuring they have a positive and enjoyable experience with this creative and meaningful craft.
Making friendship bracelets can be an excellent way for kids to express their creativity, share handmade gifts with friends, and learn the value of patience and skill development.
FAQs
What materials do I need to make friendship bracelets?
To make friendship bracelets, you’ll need embroidery floss in various colors, scissors, tape, or a clipboard to hold your work in place, and optionally, a closure like a clasp or a button.
How do I choose the right bracelet pattern?
Choosing a pattern depends on your skill level. Beginners may opt for simple designs like the classic diagonal stripe. Intermediate and advanced crafters can explore more complex patterns like chevrons or diamonds.
Can I personalize friendship bracelets?
Absolutely! Personalization adds a special touch. You can incorporate initials, names, or favorite colors into your designs by choosing specific floss colors and patterns.
How do I start and finish a friendship bracelet?
To start, anchor your threads with a knot and arrange them in the desired color sequence. Finish by tying a secure knot and trimming excess thread. You can add clasps or buttons for a professional touch.
How long does it take to make a friendship bracelet?
The time it takes to complete a friendship bracelet depends on its complexity. A simple design may take an hour or less, while intricate patterns can require several hours or even days of work. Patience and practice will improve your speed.
Conclusion
In a world where connections often transcend physical boundaries, the art of making friendship bracelets remains a cherished tradition. Crafting these colorful and meaningful accessories is not just about creating jewelry; it’s about weaving bonds of friendship and love.
Throughout this guide, we’ve explored the basics of making friendship bracelets, from selecting the right materials to mastering various knotting techniques.
You’ve learned to create patterns that reflect your personal style and the unique connection you share with the recipient of your bracelet.
These handcrafted treasures are not just symbols of friendship; they are symbols of the time and effort you’re willing to dedicate to the people who matter most in your life.
So, as you embark on this creative journey of bracelet-making, let your heart guide your hands, and let your creations serve as a tangible reminder of the bonds that tie us together.
Leave a Reply