Creating golden color paint is a captivating endeavor that opens up a world of artistic possibilities.
Whether you’re an aspiring painter seeking a bespoke shade or a DIY enthusiast aiming to infuse opulence into your decor, crafting your own golden paint offers a unique and rewarding experience.
This process involves skillfully blending pigments and base paints to achieve the perfect hue of gold. By understanding the techniques and nuances, you can bring forth a radiant and luxurious color that captivates the eye.
In this guide, we’ll delve into the step-by-step process, offering valuable tips and insights to help you master the art of making golden color paint.

What Is Golden Color Paint?
Golden color paint refers to a paint variant that replicates the shimmering hue of natural gold. It embodies a warm, lustrous tone, evoking a sense of luxury and opulence.
Typically achieved by blending shades of yellow and brown, golden paint can vary in intensity, ranging from bright and vibrant to deeper, more antique tones.
It’s a popular choice in art and interior design, adding a touch of elegance and sophistication to various surfaces.
Golden color paint finds widespread application in decorative elements, accentuating furniture, trimmings, and artworks.
Its reflective properties play with light, creating a dynamic visual effect that enhances the overall aesthetic appeal of a space or artwork.
How to Make Golden Color Paint?
Creating a golden color paint can be a fun and rewarding DIY project.
Whether you’re an artist looking for a unique shade or a homeowner wanting to add a touch of opulence to your decor, making your own golden paint allows for customization and creativity.
Here’s a step-by-step guide to help you make golden color paint:
Materials You’ll Need
- Acrylic or Oil Paint Base.
- Golden Pigment Powder.
- Mixing Tools.
- Container.
Protective Gear.
Step-by-Step Guide:
Prepare Your Workspace
Before you begin, take a moment to set up your workspace. Lay down a drop cloth or spread out old newspapers to protect your work surface.
Additionally, it’s advisable to put on a pair of gloves to shield your hands from the pigments.
Measure and Mix
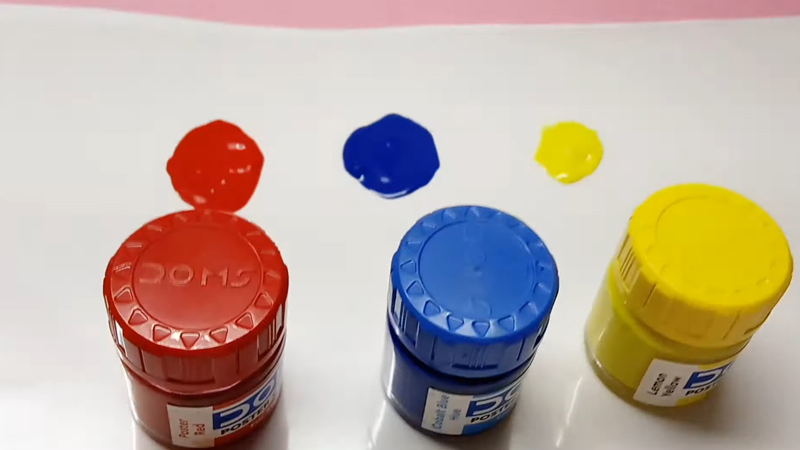
Start by determining the amount of golden pigment you want to use. Begin conservatively, as you can always add more later if needed.
This initial measurement will serve as a baseline for your mixture.
Add the Pigment
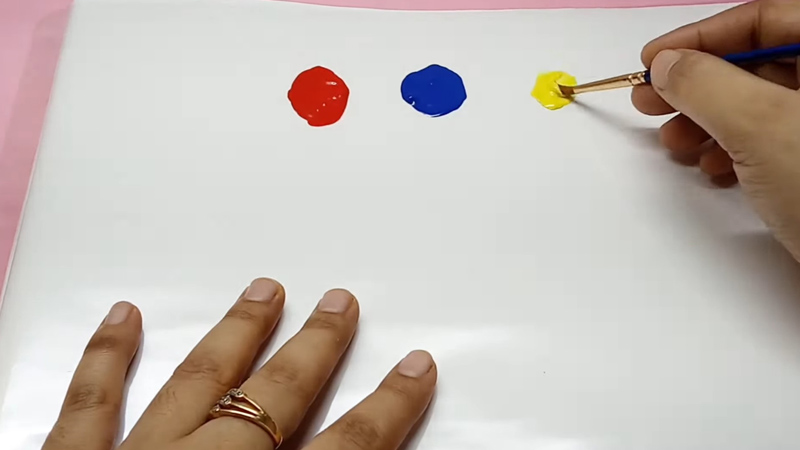
Gently introduce the golden pigment powder to your chosen paint base. This step requires a steady hand to ensure you get the right amount.
Remember, a little pigment can go a long way, so start with a modest quantity.
Mix Thoroughly
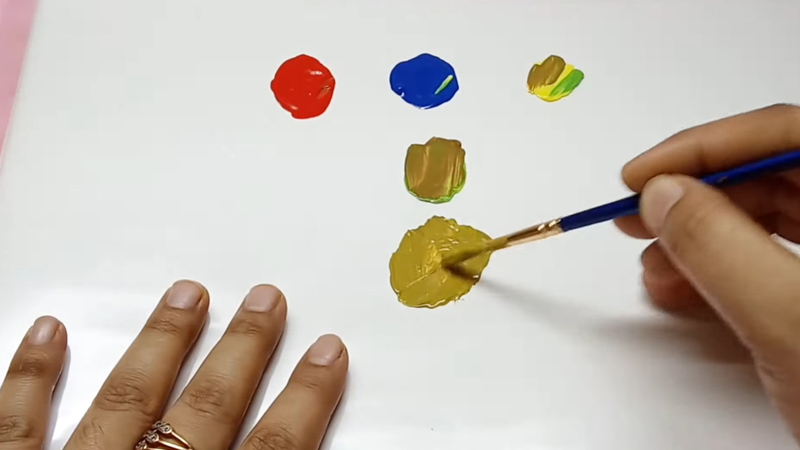
Using a palette knife, spatula, or mixing stick, thoroughly blend the pigment with the paint base. The key here is to be patient and meticulous.
Take the time to eliminate any lumps or streaks, ensuring a smooth and consistent mixture.
Test the Color
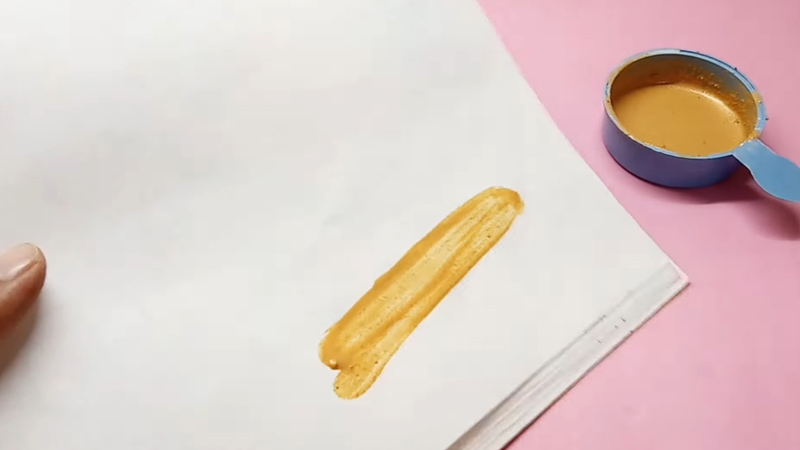
Apply a small amount of the mixture onto a test surface or scrap material. Allow it to dry completely.
This step is crucial in determining if the shade matches your desired golden hue.
Assess it under different lighting conditions to ensure it meets your expectations. If necessary, adjust the pigment-to-base ratio accordingly.
Fine-tune the Color
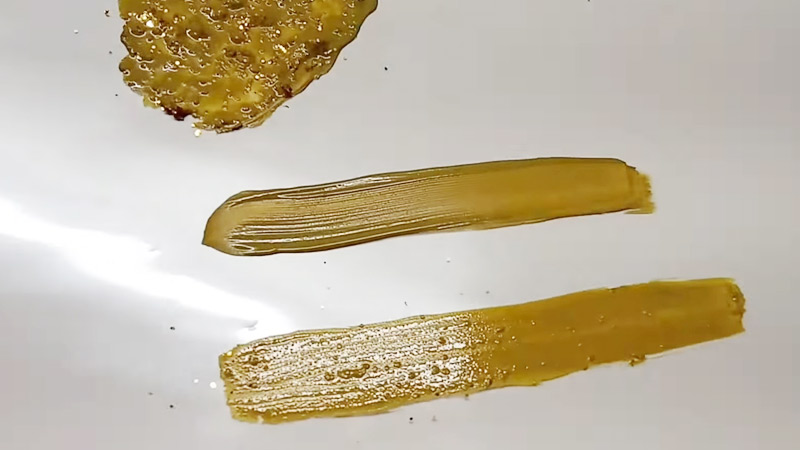
Based on your test, you might find that you need to make slight adjustments to achieve the perfect golden shade.
Continue to add small amounts of pigment and mix thoroughly until you arrive at the desired hue. This iterative process allows for precise control over the final color.
Store the Paint
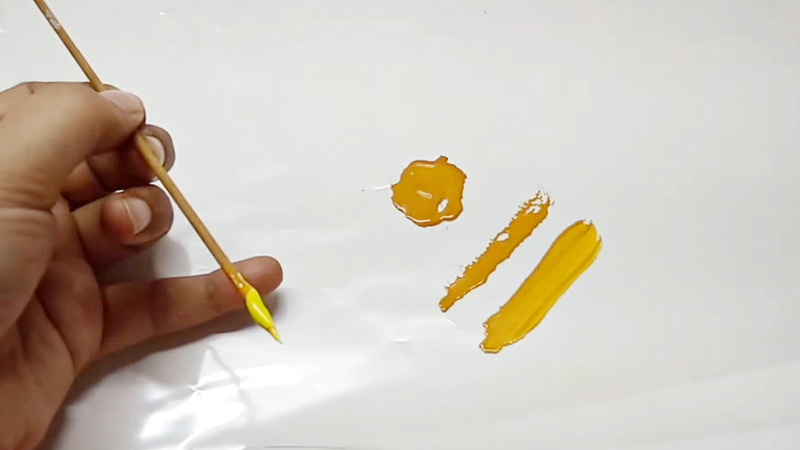
Once you’ve achieved your desired golden color, transfer any unused paint into an airtight container for future use.
Proper storage ensures that your custom paint remains usable for future projects.
Clean Up
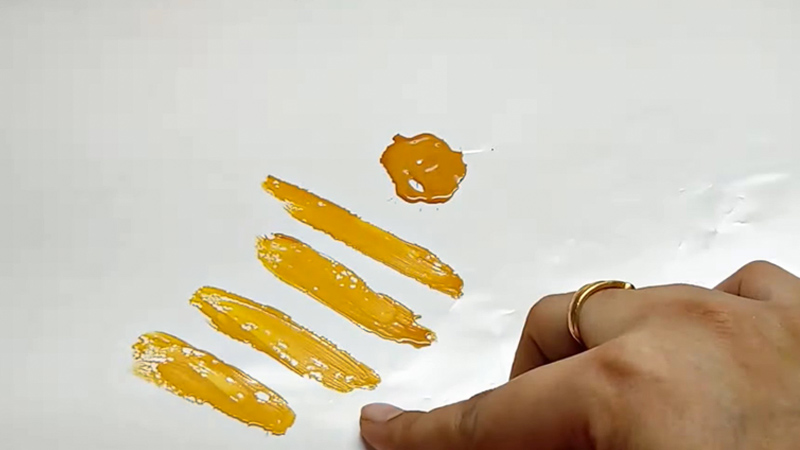
After completing your paint mixing, it’s important to clean your mixing tools and workspace thoroughly.
This prevents any unwanted mixing of colors in future projects and helps maintain the quality of your materials.
What Colors Do You Blend to Make Gold Paint?
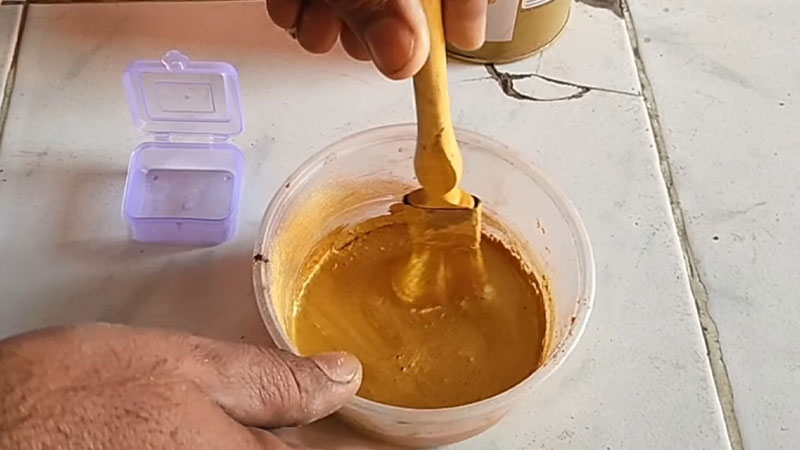
To make gold paint, you typically blend different shades of yellow and brown.
The exact combination can vary depending on whether you’re using acrylics, oils, or other types of paint, as well as personal preference.
Here are some common ways to blend colors to achieve a gold hue:
Yellow and Brown
One of the most basic methods for making gold paint is to blend different shades of yellow with brown.
Start with a primary yellow color like cadmium yellow or lemon yellow and gradually introduce brown shades such as raw sienna or burnt umber.
Adjust the proportions of yellow and brown to achieve the precise shade of gold you desire. This approach provides a balanced and classic gold color.
Yellow and Ochre
Mixing yellow with yellow ochre, especially when using oil paints, can result in a warm and earthy gold color.
Yellow ochre has natural brown undertones, making it an excellent choice for achieving a rich and inviting gold hue.
Experiment with varying ratios of yellow and yellow ochre until you attain the desired warmth and vibrancy.
Cadmium Yellow and Raw Sienna
For a bright and radiant gold, combine cadmium yellow with raw sienna. Cadmium yellow is known for its intense color, while raw sienna provides a warm brownish undertone.
This combination yields a golden paint that has a lively and vibrant appearance. Adjust the amounts of each color to fine-tune the final result.
Naples Yellow and Burnt Umber
If you prefer a softer or antique gold, consider blending Naples yellow with burnt umber. Naples yellow is a pale and muted yellow, while burnt umber is a deep and dark brown.
This mixture creates a more subdued, aged gold with a hint of sophistication. Experiment with different ratios to achieve your desired antique gold shade.
Yellow and Red
In some cases, a touch of red can be added to your yellow-brown mixture to enhance the warmth and richness of the gold.
Be cautious when using red, as even a small amount can significantly influence the resulting color. This option is more suitable for achieving a deep, reddish gold.
Metallic Paints
For a straightforward way to achieve a gold finish, consider using metallic paints specifically designed to mimic the appearance of gold.
These paints often come in various shades of gold, from bright and lustrous to deeper and more antique.
They are particularly useful for projects requiring a shiny, metallic finish.
How Can You Apply Golden Color Paint to Different Surfaces?
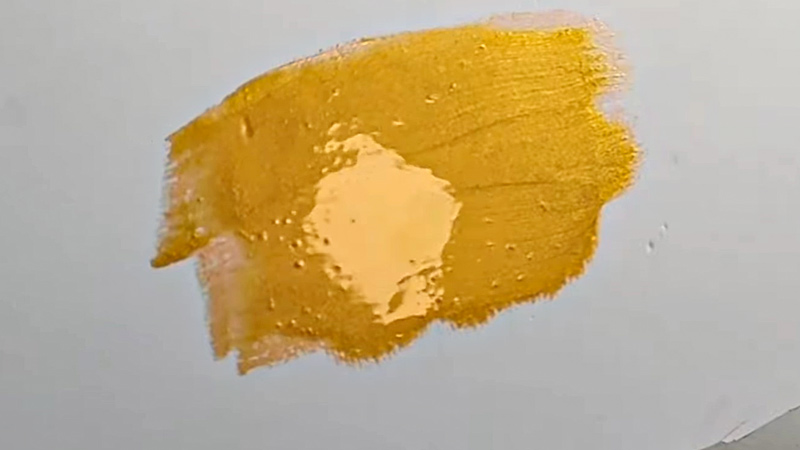
Applying golden color paint to various surfaces can be a rewarding project, but it demands attention to detail and the right techniques for a flawless finish.
Here’s a more detailed guide on how to effectively apply golden paint to different surfaces:
Surface Preparation
Begin by thoroughly preparing the surface. Clean it meticulously, ensuring it’s free from dust, dirt, and grease.
Sand any rough areas and repair any imperfections or cracks using an appropriate filler or patching compound. On metal surfaces, apply a primer to enhance paint adhesion and durability.
Choosing the Right Tools
Select the right tools for your project. For fine details, opt for small brushes with fine bristles. For larger, flatter areas, consider using a roller or spray equipment.
The choice of tools should match the surface’s texture and size to ensure an even application.
Priming (Optional)
Depending on the surface material, consider applying a primer before the golden paint.
Priming helps create a smooth and even base for the paint, improving adhesion and the overall finish.
Stirring the Paint
Before applying the golden paint, thoroughly stir it to ensure that the pigment is evenly distributed throughout the paint. This step is essential for achieving a consistent and uniform finish.
Application Technique
When applying the paint, use long, even strokes in one direction. This technique helps maintain a uniform appearance.
For intricate details, such as fine lines or small designs, choose a fine brush to ensure precision in your work.
Multiple Coats
Allow each coat to dry completely before applying the next one.
Depending on the surface and the desired opacity of the gold, you may need to apply multiple coats to achieve an even and vibrant finish. Patience during this stage is crucial.
Drying Time
Follow the manufacturer’s instructions regarding drying times. Rushing this step can lead to uneven or smudged results.
Adequate drying time allows the paint to settle and adhere properly.
Finishing Touches
After the final coat has dried, carefully inspect the surface for any touch-ups or imperfections. Address these areas before applying any protective finishes or sealants.
Protective Finish
For added durability and protection, consider applying a clear sealant or varnish over the golden paint.
This is particularly important for surfaces that will endure wear and tear or exposure to the elements. The protective finish helps maintain the luster of the gold paint and prolongs its lifespan.
Tips for Making Golden Color Paint
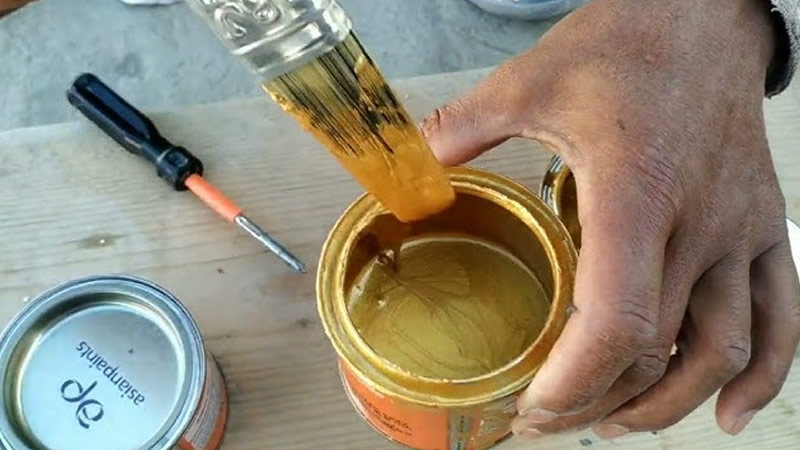
Creating golden color paint can be an enjoyable and creative process.
Here are some valuable tips to help you make your own golden paint effectively:
Use High-Quality Materials
Starting with high-quality paint is essential. Low-quality paint can affect the overall finish and longevity of your golden paint. Invest in paints from reputable brands known for their pigments’ quality.
Select the Right Pigment
The choice of pigment is critical. Look for finely milled golden pigment powders made specifically for artists.
Pigments vary in terms of hue and intensity, so choose one that aligns with your vision.
Start with Small Batches
When experimenting or trying to match a specific shade, begin with a small batch. This minimizes waste and allows you to make adjustments more easily as you progress.
Measure Carefully
Accurate measurements are vital for consistency.
Use a precise scale to measure both the base paint and the pigment. Keeping a record of your measurements can be helpful for future reference.
Mix Gradually
Add the golden pigment to the base paint slowly, stirring continuously. Mixing gradually ensures an even distribution of pigment and minimizes clumps or streaks.
Test the Color
Perform a color swatch or test on a surface similar to your intended project.
Factors like drying time and surface texture can influence the final appearance. Use this test to fine-tune your color mixture.
Record Your Recipe
If you achieve the perfect golden shade, document the exact proportions of pigment and base paint used.
This “recipe” allows you to replicate the color accurately in the future.
Experiment
Don’t be afraid to experiment with different combinations of colors.
Depending on your project, you might want a bright, vibrant gold or a more muted, antique gold. Mixing small test batches allows you to explore various possibilities.
Consider Transparency
Think about whether you want your golden paint to be opaque or transparent. Adjust the pigment-to-base ratio accordingly. Transparent gold can add depth and luminosity to your work.
Be Patient
Mixing paint to create the perfect golden shade can be time-consuming. Take your time to achieve the desired result and avoid rushing through the process.
Properly Store
When storing unused paint, ensure the container is airtight to prevent drying. Label it with the color recipe for easy reference in the future.
Clean Tools Immediately
Cleaning your mixing tools and brushes promptly after use ensures they remain in good condition for future projects. Dried paint can be challenging to remove.
Practice Safety
Some pigments can be hazardous, so wear a mask and gloves when handling pigment powders. Follow safety guidelines provided by the manufacturer.
Quality Over Quantity
Investing in high-quality pigment and base paint pays off in terms of color vibrancy and durability. Quality materials produce superior results.
FAQS
What materials do I need to make golden color paint?
You’ll need a high-quality acrylic or oil paint base, golden pigment powder, mixing tools, a container for storage, and protective gear like gloves and a drop cloth.
How do I choose the right golden pigment powder?
Look for finely milled golden pigment powders from reputable art supply stores. Ensure it’s compatible with the type of base paint you’re using for the best results.
Can I experiment with different shades of yellow and brown to create gold?
Absolutely. Experimenting with various yellows, browns, and even small amounts of red or orange can lead to unique shades of golden color paint.
Is it important to test the color before applying it to my project?
Yes, performing a test swatch on a similar surface is crucial. Factors like drying time and surface texture can influence the final appearance, so testing helps fine-tune your mixture.
How do I store leftover golden color paint?
Transfer any unused paint into an airtight container to prevent drying. Store it in a cool, dry place away from direct sunlight to maintain its quality for future use.
To Wrap Up
Creating golden color paint is a blend of precision, creativity, and craftsmanship.
By understanding the interplay of pigments and base paints, you can achieve a dazzling spectrum of golden hues, each with its own unique charm.
Whether for artistic endeavors or decorative projects, this DIY skill empowers you to infuse spaces with a touch of opulence.
Remember to record successful recipes for future use, and don’t shy away from experimenting with different combinations.
With patience and practice, you’ll master the art of making golden color paint, unlocking a world of possibilities for your creative expressions.
Embrace this journey of turning ordinary surfaces into glistening works of art.
Leave a Reply