Creating a strong paper mache involves mastering a time-honored craft that combines simplicity with versatility.
Paper mache, derived from the French term meaning “chewed paper,” transforms humble materials into robust structures suitable for artistic expression.
The key lies in crafting a resilient adhesive paste, often using a blend of flour, water, and other strengthening agents.
Layering strips of paper onto a chosen base, be it balloons, wireframes, or other forms, and patiently building layers is a durable and lightweight material.
Understanding the nuances of drying times, layering techniques, and reinforcing methods empowers crafters to fashion intricate and enduring paper mache creations.
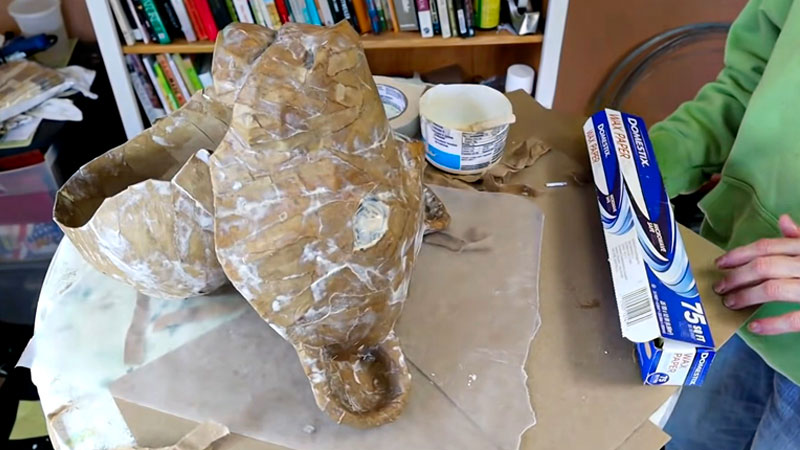
What Is a Paper Mache?
Paper mache is a crafting technique that involves creating objects by layering strips of paper or fabric with an adhesive substance, typically a paste made from flour and water.
The resulting mixture is molded over a base structure, such as a balloon or wireframe, and left to dry, forming a hardened, lightweight, and versatile material.
Paper mache is widely used in art and craft projects, allowing for the creation of sculptures, masks, and various decorative items.
Its affordability and ease of manipulation make it a popular medium for both children and adults, offering endless possibilities for creative expression.
How to Make Paper Mache Stronger? 7 Steps
Sure, making strong paper mache involves a few key considerations and steps. Paper mache is a versatile and cost-effective crafting material that can be used for various projects.
Here’s a guide on how to make strong paper mache:
Materials Needed:
- Newspapers or paper strips.
- Flour.
- Water.
- Salt.
- Bowl and whisk or spoon.
- Balloons, wire mesh, or a base structure.
Steps:
1. Create the Paste

Begin the paper mache journey by crafting a robust paste that will serve as the adhesive foundation for your project.
In a mixing bowl, blend equal parts flour and water; for example, mix 1 cup of flour with 1 cup of water.
Vigorously whisk or stir the mixture to eliminate any lumps and achieve a smooth consistency. Introduce a pinch of salt into the paste, not only for flavor but to discourage mold growth.
Mix thoroughly once more to ensure the salt is evenly distributed, creating an adhesive paste that is resistant to potential issues.
2. Prepare the Base
The choice of a suitable base lays the groundwork for the entire project. Whether you opt for a balloon, wireframe, or another structure, it should provide stability and support.
If utilizing a balloon, carefully inflate it to the desired size and tie it securely. In the case of a wire frame, double-check its stability to prevent any structural issues later in the crafting process.
3. Apply the First Layer
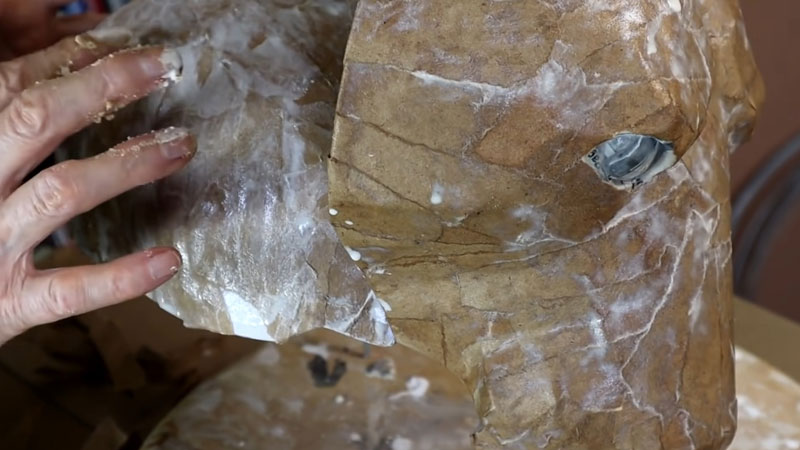
Applying the first layer is crucial in establishing the strength of your paper mache creation.
Dip newspaper strips into the prepared paste, ensuring each strip is fully coated while minimizing excess dripping.
Between your fingers, carefully remove surplus paste from the strips before applying them to the base.
Arrange the strips in a crisscross pattern, ensuring complete coverage for a sturdy foundation that can withstand the subsequent layers.
4. Allow the First Layer to Dry
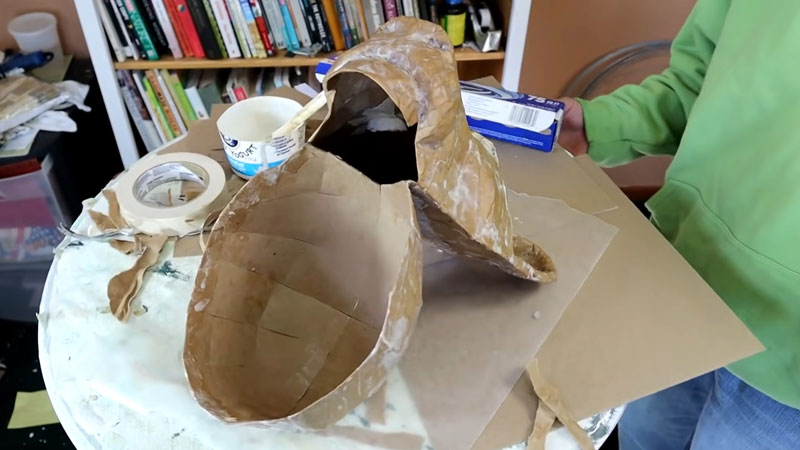
Patience is key as you allow the first layer to dry completely. The drying time may vary depending on the thickness of the applied layer, and it is essential to ensure a stable and resilient foundation for the subsequent layers.
Consider placing the project in a well-ventilated area to expedite the drying process.
5. Repeat Layers
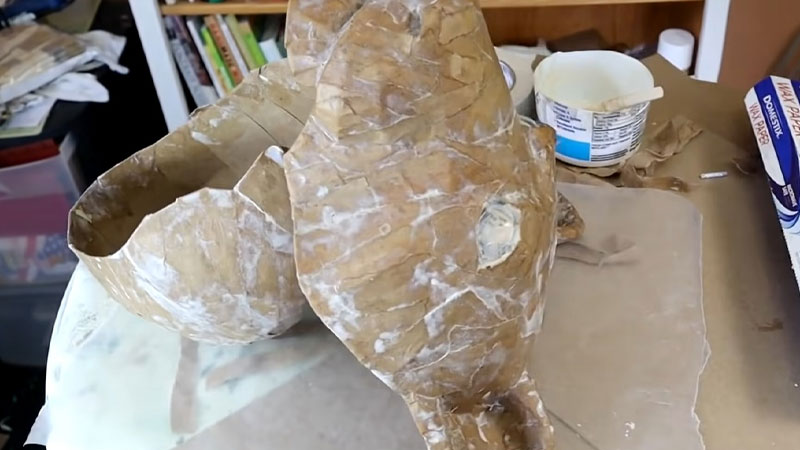
Building strength layer by layer is the cornerstone of creating a robust paper mache structure. Apply additional layers until you achieve the desired thickness and strength.
While three to four layers are typically sufficient, adding more layers can further enhance the durability of your creation.
Ensure each layer is completely dry before adding the next, reinforcing the structure and minimizing the risk of sagging.
6. Smoothing and Shaping
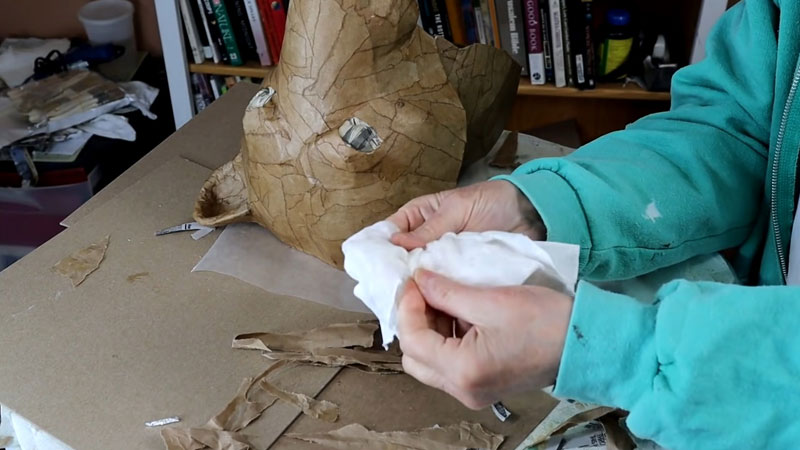
After thoroughly drying the final layer, attention turns to refining the surface. Use sandpaper to smooth out any rough spots, creating a polished appearance.
If your project requires specific shapes or contours, employ cutting and carving techniques on the dry paper mache.
This step not only enhances the aesthetic appeal but also showcases the strength of the material.
7. Seal and Paint
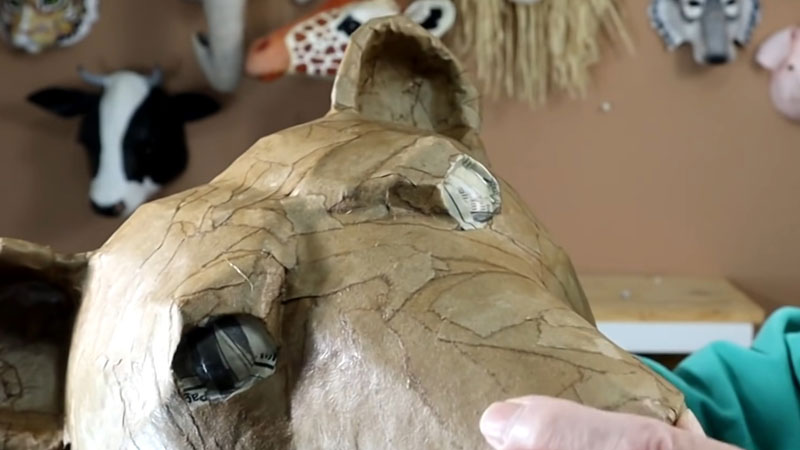
To fortify and protect your paper mache masterpiece, seal it with a layer of white glue or a clear sealant.
This final touch not only enhances the strength of the structure but also provides a smooth surface for painting.
Once sealed, unleash your creativity by adding vibrant colors and intricate details to your project, bringing your artistic vision to life.
How Do You Make a Paper Mache with PVA Glue?
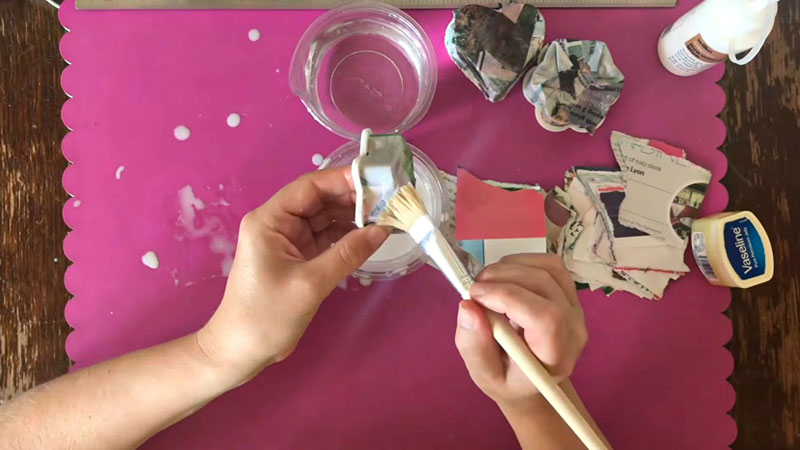
Paper mache is a versatile and enjoyable craft that allows you to create various projects, from simple masks to intricate sculptures.
Using PVA glue in your paper mache mixture provides a strong adhesive base and helps create a smooth, durable finish.
Here’s a step-by-step guide on how to make paper mache with PVA glue:
Materials Needed:
- PVA glue
- Water
- Newspapers or paper strips
- Balloon or base structure (if applicable)
- Mixing bowl
- Paintbrush or sponge brush
- Plastic wrap (optional)
- Acrylic paint (for finishing)
Instructions:
Add Subsequent Layers
Once the first layer is in place, allow it to dry completely before moving on to the next. The drying time may vary depending on the thickness of the layers and environmental conditions.
Apply additional layers (at least two to three) to enhance the strength and durability of your paper mache project. Remember to maintain consistency in your application for an even finish.
Optional Base Layer
If your project involves a rounded surface like a balloon, consider applying a thin layer of petroleum jelly or cooking oil to the base before the first layer of paper mache. This can help in the easier removal of the balloon once the project is completed.
Let It Dry Completely
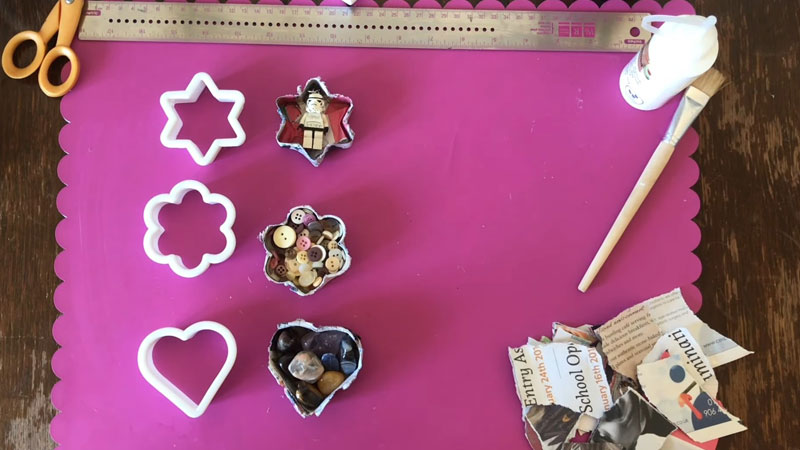
Patience is crucial during the drying process. Ensure each layer is thoroughly dry before adding the next.
Place your project in a well-ventilated area to expedite drying, or use a fan on a low setting.
It’s essential to avoid trapping moisture within the layers, which could compromise the structural integrity.
Sanding
If you desire a smoother surface, you can lightly sand the dried paper mache using fine-grit sandpaper.
This step helps remove any rough edges or irregularities, providing a more polished finish. Be gentle to avoid damaging the layers.
Paint and Finish
Once your paper mache creation is completely dry and smooth, it’s time to unleash your creativity with paint.
Acrylic paints work well for paper mache projects, offering vibrant colors and a quick-drying finish.
Allow the paint to dry thoroughly before adding any additional details, decorations, or protective sealants.
Add Subsequent Layers
Once the first layer is dry, it’s time to build up the strength and thickness of your paper mache project.
Apply additional layers of newspaper strips, each time ensuring that the strips are fully coated with the PVA glue mixture.
Overlapping the strips helps create a cohesive structure. Aim for at least three to four layers for a robust, durable finished product.
Optional Base Layer
If your project involves a balloon or another form that needs removal, consider adding an initial layer of plastic wrap before applying the first layer of paper mache.
This will create a barrier, making separating the paper mache from the base structure easier once it’s dried. Smooth out the plastic wrap carefully to avoid wrinkles.
Let It Dry Completely
Patience is key during the drying process. Allow your paper mache creation to air dry thoroughly between each layer.
Placing it in a well-ventilated area or using fans can expedite the drying time. Ensure that each layer is rigid and dry to the touch before proceeding to the next step.
Sanding
Consider sanding the dried paper mache for a smoother and more polished finish. Use fine-grit sandpaper to sand any rough edges or uneven surfaces gently.
Be cautious not to sand too aggressively, as this could compromise the structural integrity of your project.
Paint and Finish
Once your paper mache is completely dry and you’re satisfied with the texture, it’s time to unleash your creativity with paint.
Acrylic paints work well for paper mache projects. Apply a base coat and let it dry before adding details and additional layers of color. Experiment with different painting techniques to enhance the visual appeal of your creation.
FAQs
Is Paper Mache Strong?
Paper mache can be quite strong when crafted correctly. The strength depends on factors like the number of layers, the type of adhesive used, and the overall construction.
What Is Sealing Paper Mache?
Sealing paper mache involves applying a protective layer to the dried structure, typically using materials like white glue or a clear sealant.
How Strong Is Paper Mache?
The strength of paper mache varies based on the crafting techniques employed. Paper mache can achieve surprising strength when crafted with care, utilizing sturdy adhesives and layering methods. It is often strong enough for decorative items, masks, sculptures, and other artistic projects.
To Recap
Mastering the art of making strong paper mache is a journey that blends creativity with technique.
The careful balance of creating a robust adhesive paste, thoughtful layering, and patient drying transforms a seemingly simple craft into a method capable of producing enduring and resilient structures.
From the initial choice of materials to the final touches of sealing and painting, each step contributes to the overall strength and longevity of the paper mache creation.
This process offers a hands-on experience in crafting and opens a world of possibilities for artistic expression.
Through understanding and application, one can unlock the full potential of paper mache, turning it into a medium that stands the test of time.
Leave a Reply