Creating exquisite rolled paper flowers with a Cricut adds a touch of handmade elegance to any occasion or space.
This craft seamlessly blends modern technology with the artistry of paper crafting. With precision and creativity, you can fashion lifelike blooms that rival the real thing.
This guide will walk you through each step, from designing intricate petals in Cricut Design Space to delicately rolling and assembling the flowers. Discover the tips and tricks that ensure your creations are flawless, and learn how to tackle common challenges.
Get ready to embark on a delightful crafting journey, where imagination blossoms into stunning floral masterpieces.
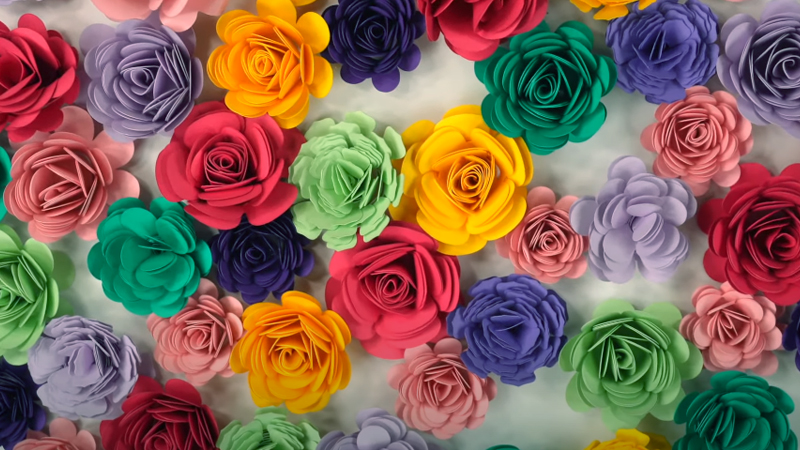
How to Make Rolled Paper Flowers With Cricut?
Creating rolled paper flowers with a Cricut is a delightful craft that combines the precision of technology with the charm of handmade artistry.
These flowers can be used for a variety of purposes, from home decor to gifts or even as embellishments for cards and scrapbooking.
Here’s a step-by-step guide on how to create your own beautiful rolled paper flowers using a Cricut:
Materials Needed:
- Cricut Machine.
- Cardstock Paper.
- Cricut Fine-Point Blade.
- Quilling Tool or Toothpick.
- Craft Glue or Hot Glue Gun.
- Green Floral Wire.
Step-by-Step Guide:
Design Your Flowers
Begin by opening Cricut Design Space and either select a pre-existing flower design or create your own.
When you’re designing your own, you can use the software’s design tools to draw petals or import flower shapes. Make sure the size and shape are to your liking before cutting.
Load and Cut the Cardstock
Place your chosen cardstock on the Cricut mat. Make sure it’s flat and secure. This ensures precise cutting.
Carefully load the mat into the Cricut machine, and in Design Space, select the appropriate material setting (in this case, cardstock). The Cricut will now cut out the flower shapes based on your design.
Once the cutting is complete, gently peel the cardstock cutouts from the mat. Take your time to avoid any tearing.
Prepare for Rolling
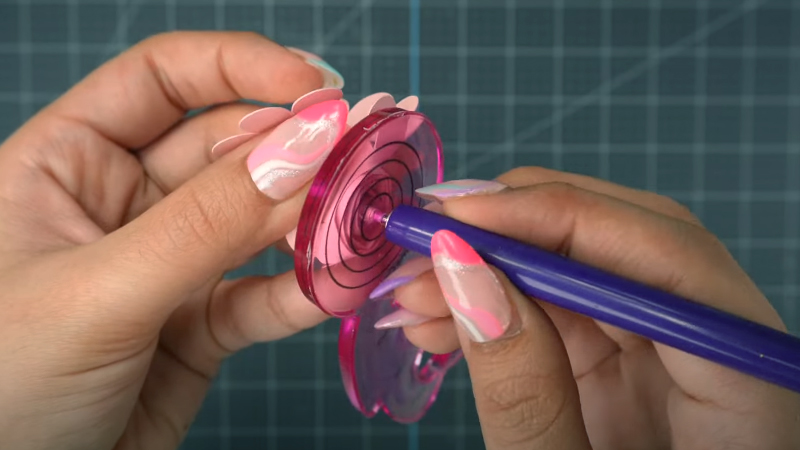
Using a quilling tool or toothpick, start rolling the cutout from the outer edge towards the center.
Apply even pressure as you roll to create a smooth, uniform shape. Take your time, especially with intricate designs.
For those using a quilling tool, slide the rolled paper off the tool and allow it to slightly expand to form the flower shape. This process may take a bit of practice, so don’t worry if your first few attempts aren’t perfect.
Secure the Roll
Apply a small amount of craft glue or hot glue at the center of the flower. Gently press and hold the roll in place until the glue sets.
This ensures that the flower maintains its shape. Take care not to use too much glue, as excess can cause unsightly drips.
Create the Flower Center
When you wish, cut out a small circle from a contrasting color of cardstock. Apply glue to the center of the flower and attach the circle. This adds depth and detail to the flower’s center. The center can be adjusted to your desired size and shape.
Add Stems
For a more realistic look, cut a length of green floral wire and attach it to the base of the flower using glue. Allow it to dry thoroughly. This step is optional but can add a nice finishing touch.
Ensure the stem is securely attached, so your flower doesn’t droop. You can further enhance the stem by wrapping it with floral tape for a more natural look.
Repeat the Process
Continue steps 2-6 for as many flowers as you’d like to make. Feel free to experiment with different colors, sizes, and shapes to create a diverse bouquet.
Don’t be afraid to try out different techniques for rolling and shaping to achieve a variety of flower styles.
Arrange Your Flowers
Once all your flowers are made, arrange them into a bouquet or use them in your desired project.
You can mix and match colors and sizes to create visually appealing arrangements. Consider adding in some artificial leaves for an extra touch of realism.
Benefits of Using Cricut to Make Rolled Paper Flowers
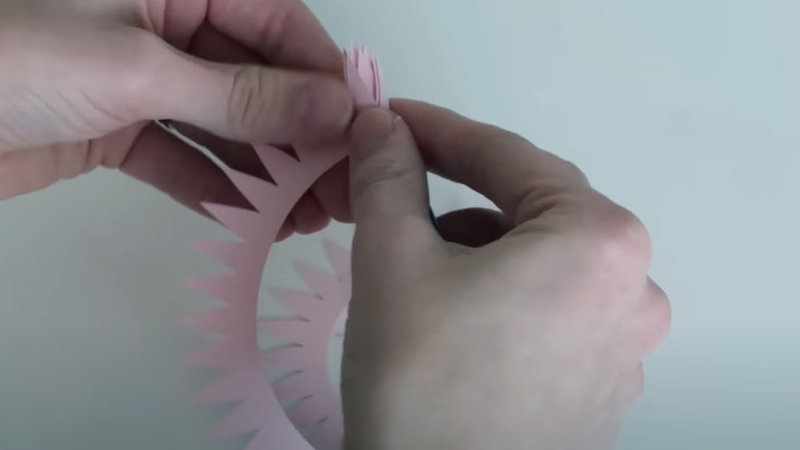
Using a Cricut machine to create rolled paper flowers offers a range of advantages, making the crafting process more efficient, precise, and versatile.
Here are the key benefits of utilizing a Cricut for this creative endeavor:
Precision and Consistency
The Cricut machine ensures precise and uniform cuts every time. This level of accuracy is challenging to achieve by hand, especially with intricate designs.
Time Efficiency
The Cricut significantly reduces the time required for cutting out flower shapes, allowing you to focus more on the assembly and finishing details.
Diverse Design Options
Cricut Design Space offers a vast library of pre-designed flower templates, as well as the flexibility to create and customize your own unique designs.
Scalability
With a Cricut, you can easily resize flower templates to suit various project sizes, from small embellishments to large-scale decorations.
Reduced Hand Fatigue
Using a machine to cut intricate shapes eliminates the strain that may come with prolonged hand cutting, making the process more comfortable and enjoyable.
Versatility of Materials
In addition to cardstock, a Cricut can cut various other materials, allowing you to experiment with different textures and finishes for your paper flowers.
Effortless Replication
When you need multiple flowers for a project, the Cricut can duplicate designs effortlessly, ensuring all your flowers match perfectly.
Ease of Learning
Cricut machines are user-friendly and come with tutorials and resources, making them accessible to both beginners and experienced crafters.
Reduced Waste
The precision of the Cricut minimizes material wastage, ensuring you get the most out of your cardstock sheets.
Incorporation of Advanced Techniques
Beyond basic cutting, Cricut machines can also perform intricate scoring, embossing, and engraving, allowing for even more detailed and sophisticated flower designs.
Accessibility for Individuals with Limited Mobility
For those with mobility challenges, using a Cricut can be a game-changer, as it reduces the need for intricate hand movements.
Consistent Professional Finish
The clean and precise cuts achieved with a Cricut machine result in a polished, professional appearance for your rolled paper flowers.
7 Fun and Creative Projects to Make With Rolled Paper Flowers
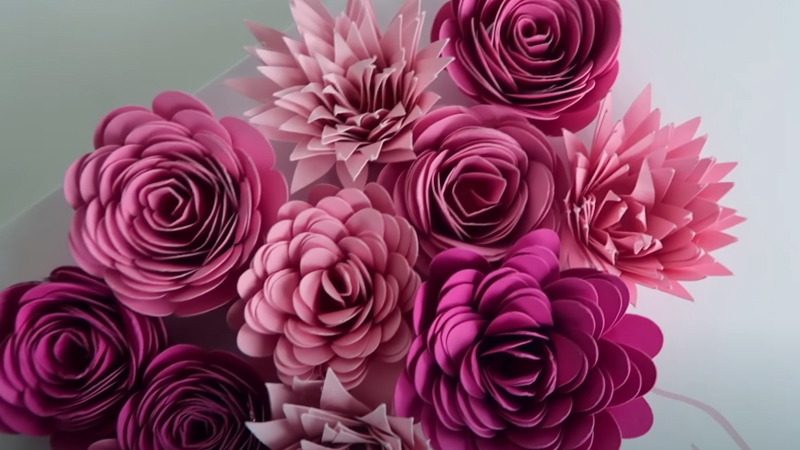
Embrace the beauty of rolled paper flowers with these seven fun and imaginative projects. From home decor to delightful gifts, each project showcases the versatility of this craft.
Paper Flower Bouquet Shadow Box
Craft a stunning keepsake by arranging a vibrant assortment of rolled paper flowers in a shadow box. This 3D masterpiece adds a touch of elegance to any room.
Floral Greeting Cards
Elevate your greeting cards with intricate rolled paper flowers. Create a garden of blooms on the front of your cards for a personalized touch that’s sure to delight you.
Fairy Lights Flower Garland
Transform string lights into a magical floral display by attaching colorful rolled paper flowers along the length. This whimsical garland infuses any space with charm and warmth.
Floral Wreath
Craft a welcoming wreath for your front door or interior decor. Attach an array of vibrant rolled paper flowers to a wreath base, and add a ribbon for a finishing touch.
Hair Accessories
Fashion enchanting hairpins or headbands adorned with miniature rolled paper flowers. These accessories add a touch of natural elegance to any hairstyle.
Table Centerpiece
Create a captivating centerpiece by arranging a bouquet of rolled paper flowers in a vase or pot. This eye-catching display adds a fresh and stylish element to your dining table.
Paper Flower Wall Art
Design a striking piece of wall art by arranging an assortment of rolled paper flowers on a canvas or wooden frame. The result is a stunning, nature-inspired focal point for any room.
Common Challenges That May Arise
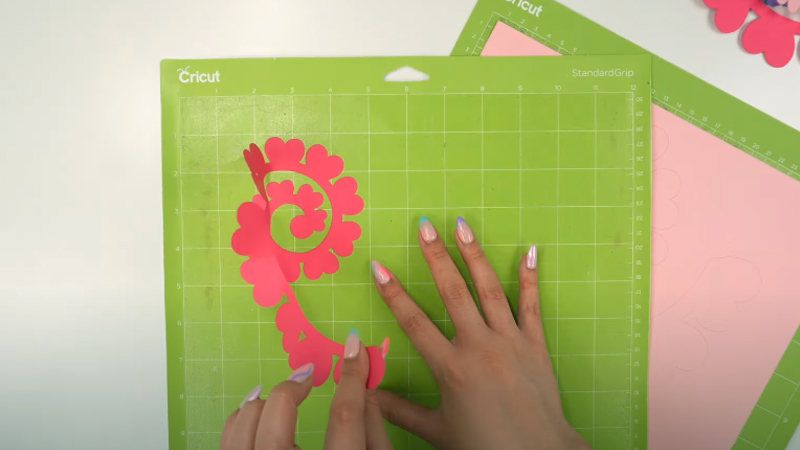
When making rolled paper flowers with a Cricut, there are a few common challenges that may arise.
Here are some of them along with possible solutions:
Difficulty with Cutting
- Issue: The Cricut machine may not cut the cardstock properly, resulting in incomplete or uneven shapes.
- Solution: Ensure that the blade is sharp and properly inserted. Also, double-check the material settings in Design Space to ensure they match the type of cardstock you’re using.
Paper Tears or Rips
- Issue: The cardstock may tear or rip during the cutting or rolling process.
- Solution: Make sure the cardstock is securely adhered to the mat and that it’s not too thin. Additionally, check the blade depth to ensure it’s not set too deep.
Difficulty Rolling Paper
- Issue: Rolling the paper may be tricky, especially for intricate designs.
- Solution: Take your time and use a quilling tool or toothpick to assist with rolling. If the paper is resistant, try gently curling it in the opposite direction first.
Flower Shape Doesn’t Hold
- Issue: The rolled flower may not hold its shape, or it may unravel after gluing.
- Solution: Ensure that you’re using enough glue at the center and hold it in place until it sets. Consider using a quick-drying adhesive for better results.
Stem Attachment Issues
- Issue: Attaching stems to the flowers may be challenging, and they may not stay in place.
- Solution: Use a strong adhesive, such as hot glue, and allow it to fully dry before handling the flower. Additionally, ensure that the stem is securely attached to the base of the flower.
Difficulty Creating Realistic Centers
- Issue: Achieving a realistic center for the flower may be challenging.
- Solution: Experiment with different techniques, such as using small circles of contrasting cardstock or even adding beads or other embellishments.
Inconsistent Flower Sizes
- Issue: The flowers may turn out with varying sizes, which may not look uniform in a bouquet.
- Solution: Check the settings on the Cricut machine to ensure that it’s consistently cutting the shapes at the desired size. Also, be consistent with the pressure applied while rolling.
Difficulty with Complex Designs
- Issue: More intricate flower designs may be harder to work with.
- Solution: Start with simpler designs and practice your rolling technique before attempting more complex shapes. Gradually work your way up to more intricate patterns.
Glue Marks or Excess
- Issue: Excessive glue may leave unsightly marks on the paper.
- Solution: Use a small, precise applicator like a fine-tipped glue bottle to control the amount of glue applied. Wipe away any excess immediately with a clean cloth or cotton swab.
Color and Pattern Choices
- Issue: Choosing the right colors and patterns for a visually appealing bouquet can be challenging.
- Solution: Experiment with different combinations and consider the overall theme or purpose of the bouquet. Mixing solid colors with patterns can create a balanced and visually interesting arrangement.
Tips for a Smoother Crafting Process
Embarking on a crafting project, especially one as intricate as making rolled paper flowers with a Cricut, can be a rewarding yet detail-oriented endeavor. To ensure a smoother and more enjoyable creative journey.
Here are some valuable tips to consider:
Select High-Quality Cardstock
Begin with premium cardstock paper. Look for options that are specifically designed for crafting, as they tend to be thicker and more durable.
A heavier-weight cardstock provides stability and a professional finish to your rolled paper flowers. It’s worth investing in quality materials as they can greatly impact the final result.
Keep Your Cricut in Top Shape
Regular maintenance of your Cricut machine is crucial. Clean the cutting blade and ensure it’s sharp for precise cuts.
Familiarize yourself with the manufacturer’s recommendations for upkeep, and replace any worn parts promptly. A well-maintained machine not only extends its lifespan but also ensures accurate and clean cuts.
Experiment with Different Designs
Don’t limit yourself to a single flower design. Explore various shapes, sizes, and petal arrangements.
This experimentation can lead to the discovery of unique and captivating flower patterns that you may not have considered initially. It’s through this creative process that you’ll uncover your signature style.
Practice the Art of Patience
Crafting, especially intricate tasks like rolling paper, demands patience. Take your time when shaping petals and assembling the flower.
Rushing can lead to mistakes or less polished results. Enjoy the meditative quality of the process, and savor each step in creating your exquisite paper blooms.
Perfect Your Gluing Technique
When applying adhesive, less is often more. Use a precise applicator, like a fine-tipped glue bottle, to control the amount of glue applied.
Be mindful of excess glue, as it can lead to unsightly marks or smudges. A steady hand and a light touch in gluing will result in neat and professional-looking flowers.
Consider Color Coordination
Thoughtfully choose your cardstock colors. Consider the overall color scheme you want to achieve.
Harmonious combinations can elevate the visual impact of your bouquet or project. Experiment with different shades and tones to find the perfect palette that resonates with your aesthetic vision.
Explore Floral Arrangement Techniques
When you’re creating a bouquet or arrangement, delve into the world of floral design. Learn about principles such as balance, focal points, and symmetry.
These techniques can help you create a visually appealing composition that showcases your paper flowers in the best possible light.
Learn from Mistakes
Embrace any mishaps as valuable learning opportunities. Analyze what went wrong and use it as a stepping stone to refine your skills.
Often, it’s through these challenges that you’ll gain insights and techniques that will enhance your crafting abilities in the long run.
Seek Inspiration
Look for inspiration in nature, art, or the work of other crafters. Browse through floral catalogs, observe real flowers, or explore online galleries.
This exposure to diverse sources of creativity can spark new ideas and fuel your imagination, leading to innovative and imaginative flower designs.
Share Your Creations
Don’t keep your paper flowers hidden away. Share your creations with friends, and family, or even consider selling them if you’re confident in your skills.
Sharing your work not only brings joy to others but also provides you with feedback and encouragement, motivating you to continue exploring and honing your craft.
FAQs
What materials do I need to make rolled paper flowers with a Cricut?
You’ll need a Cricut machine, cardstock paper, a fine-point blade, a quilling tool or toothpick, craft glue or a hot glue gun, and optionally, green floral wire for stems.
Do I need any prior crafting experience to make paper flowers with a Cricut?
No prior crafting experience is necessary. Cricut machines and design software make it accessible to beginners. You can learn as you go.
Can I create my own flower designs for the Cricut to cut?
Yes, you can! Cricut Design Space allows you to create your own flower designs or modify existing ones to suit your preferences.
How can I prevent the paper from tearing while rolling it into a flower shape?
Ensure the paper is securely adhered to the Cricut mat during cutting. Use cardstock that is not too thin, and adjust the blade depth to avoid tearing.
Are there any specific maintenance tips for keeping my Cricut machine in good working condition?
Regularly clean the machine’s cutting blade and replace it when it becomes dull. Keep the machine and mats free from debris and dust to maintain precise cuts.
Wrap Up
In mastering the art of crafting rolled paper flowers with a Cricut, you’ve unlocked a world of creativity and precision.
Each petal, roll, and center is a testament to your dedication and skill. These handcrafted blooms, whether adorning your home or gift with care, radiate a unique charm.
Embracing both technology and craftsmanship, you’ve transformed flat sheets of cardstock into intricate, lifelike blossoms.
Remember, persistence conquers challenges, and practice hones perfection. Continue to explore color palettes, patterns, and designs, and watch your creations flourish.
With your Cricut as a trusted companion, let your imagination bloom, creating an everlasting garden of paper wonders.
Leave a Reply