Delving into the art of making your own screen print transfers is an exciting venture into the world of personalized design and creativity.
This process, rooted in precision and technique, allows you to transfer intricate designs onto a wide array of surfaces, from fabrics to posters and beyond.
From emulsion coating to ink application, every step demands attention to detail and a grasp of the craft’s nuances.
Choosing quality materials and understanding the role of different equipment further refine your prints. With dedication and practice, you’ll unlock the potential to create bespoke screen print transfers that bear your unique artistic touch.

What Is Screen Printing?
Screen printing, also known as silk screening, is a versatile printing technique used to transfer designs onto various surfaces.
It involves creating a stencil, or “screen,” on a mesh fabric stretched over a frame. This stencil allows ink to pass through specific areas onto the printing surface below.
The process begins with coating the screen with a light-sensitive emulsion. A design is then placed on the screen, and it’s exposed to UV light.
The exposed emulsion hardens, creating a stencil that corresponds to the design. Ink is applied to the screen and spread evenly using a squeegee, which forces the ink through the stencil onto the surface.
Screen printing is widely used for producing high-quality prints on textiles, paper, glass, and more. It’s favored for its durability and ability to reproduce intricate designs.
How to Make Your Own Screen Print Transfers?
Screen printing is a versatile and popular method for transferring designs onto various surfaces, from clothing to posters and more. Making your own screen print transfers can be a rewarding and cost-effective way to create customized designs.
Here’s a step-by-step guide on how to make your own screen print transfers:
Materials You’ll Need:
- Screen.
- Emulsion.
- Screen Printing Ink.
- Squeegee.
- Design.
- Transparency Film.
- Screen Exposure Unit or Sunlight.
Steps to Create Screen Print Transfers:
Prepare Your Screen
Before you start, ensure that your screen is clean and free from any dust or debris.
If you’re making your own screen, take your mesh fabric and stretch it tightly over the frame, securing it in place. Make sure the mesh is evenly tensioned to ensure a smooth printing surface.
Coat the Screen with Emulsion
The emulsion is a light-sensitive chemical that creates a stencil on the screen. To apply it, you’ll need a scoop coater.
Pour a generous amount of emulsion onto one edge of the screen and use the scoop coater to spread it evenly across the mesh, ensuring both sides are thoroughly coated.
Be careful to work in a dark room or under low light conditions, as exposure to light can ruin the emulsion.
Create or Prepare Your Design
Choose or create the design you want to print. This can be done digitally using graphic design software, or by hand if you prefer a more organic look.
When you’re using photo emulsion, print your design onto a transparent film. Ensure the design is the correct size and positioned where you want it on the screen.
Exposure
When you’re using photo emulsion, this step is crucial. Place your design on top of the dried emulsion-coated screen, making sure it’s in the desired position.
Now, it’s time to expose the screen to UV light. This hardens the emulsion except where your design blocks the light, creating a stencil.
The exposure time will depend on the type of emulsion and the strength of your light source. Follow the instructions provided with your emulsion for the recommended exposure time.
Rinse the Screen
After the exposure, it’s time to rinse the screen. Gently spray the screen with water, allowing the unhardened emulsion to wash away.
Be careful not to use too much pressure, as you want to preserve the design stencil on the screen. Rinse both sides thoroughly and inspect the screen to ensure the stencil is intact.
Set Up Your Printing Area
Find a clean, well-lit area to set up your printing station. Secure your screen over the surface you want to print on, ensuring it’s stable and won’t shift during the printing process.
It’s a good idea to place a barrier like cardboard under the surface to prevent any ink from bleeding through.
Apply Ink and Print
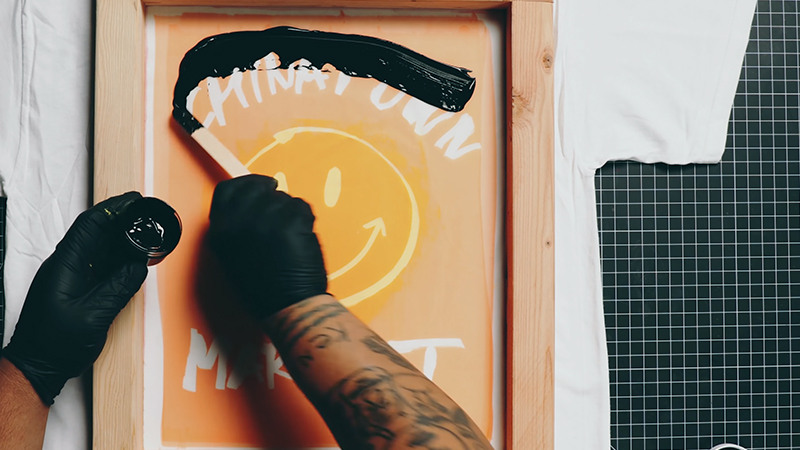
Place a line of ink at the top of your screen, just above the design area. Using the squeegee, pull the ink evenly down across the design.
Apply firm, even pressure to ensure the ink passes through the stencil and onto the surface below.
Repeat
After each print, carefully inspect the result. Adjust your technique if needed, ensuring even ink distribution and a clean print. Take your time and maintain a consistent motion with the squeegee for best results.
Reapply ink as necessary. As you gain experience, you’ll develop a feel for the right amount of pressure and ink for each print. This step is where your expertise shines.
Cure the Ink
Once you’ve completed your prints, it’s important to set the ink to make it permanent. Follow the instructions provided by the ink manufacturer for the recommended curing method.
This usually involves using a heat press or placing the printed item in an oven for a specified amount of time.
Clean the Screen
After you’re finished printing, it’s crucial to clean the screen promptly to prevent any dried ink or emulsion from clogging the mesh.
Use a screen cleaner or water to thoroughly clean both sides of the screen. This ensures that your screen remains in good condition for future use.
How Do You Create a Screen Print Template?

Creating a screen print template involves preparing the design, transferring it onto a stencil (screen), and setting up the printing process.
Here’s a step-by-step guide:
Design Preparation
Start by carefully crafting or selecting the design you want to print. This could be a digital creation made using graphic design software, or a hand-drawn illustration.
Ensure the design is exactly how you envision it, as any imperfections will be transferred onto the final product.
Prepare the Screen
Before you can create a screen print template, you need a clean and sturdy screen. If you’re making your own, stretch mesh fabric tightly over a wooden or aluminum frame.
Ensure it’s taut and secured firmly. A well-prepared screen is crucial for achieving sharp, clear prints.
Coat the Screen with Emulsion
This step involves applying a light-sensitive emulsion onto the screen. Use a scoop coater, a tool designed for this purpose, to achieve an even coat.
Ensure both sides of the screen are thoroughly coated. Take care to work in an environment with low light conditions to prevent premature exposure. After applying the emulsion, leave the screen to dry in a cool, dark space.
Expose the Screen
This step is critical, especially if you’re using photo-emulsion. Place your design on top of the dried, emulsion-coated screen.
For designs created digitally, print them on transparency film. Then, expose the screen to UV light. The emulsion hardens except where your design blocks the light, effectively creating a stencil.
Exposure time will vary depending on factors like the type of emulsion and the strength of your light source. Always follow the specific guidelines provided by the emulsion manufacturer.
Rinse the Screen
After the exposure, it’s time to rinse the screen. Gently spray the screen with water, allowing the unhardened emulsion to wash away.
Be cautious not to apply too much pressure, as you want to preserve the design stencil on the screen. Rinse both sides thoroughly and inspect the screen to ensure the stencil is intact.
Prepare the Printing Area
Choose a clean, well-lit area for your printing station. Secure the screen over the surface you want to print on.
It’s crucial that the screen remains stable during the printing process. Consider placing a barrier, like cardboard, underneath to prevent any ink from bleeding through.
What Type of Printing Machine Works Best for Screen Printing?

When it comes to screen printing, choosing the right printing machine is crucial for achieving professional-quality results. The ideal machine should offer precision, consistency, and ease of use.
Here are some types of printing machines that work exceptionally well for screen printing:
Manual Screen Printing Presses
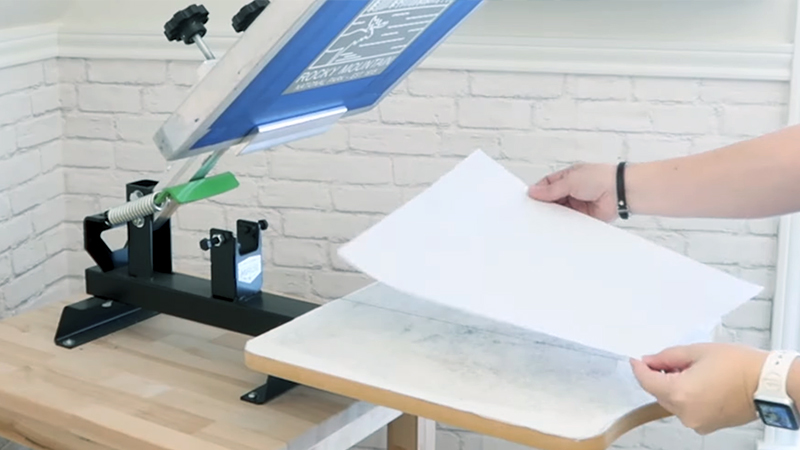
Manual presses are excellent for smaller-scale operations or those just starting out in screen printing.
They allow for hands-on control of the printing process, which is valuable for learning the nuances of screen printing.
Automatic Screen Printing Presses
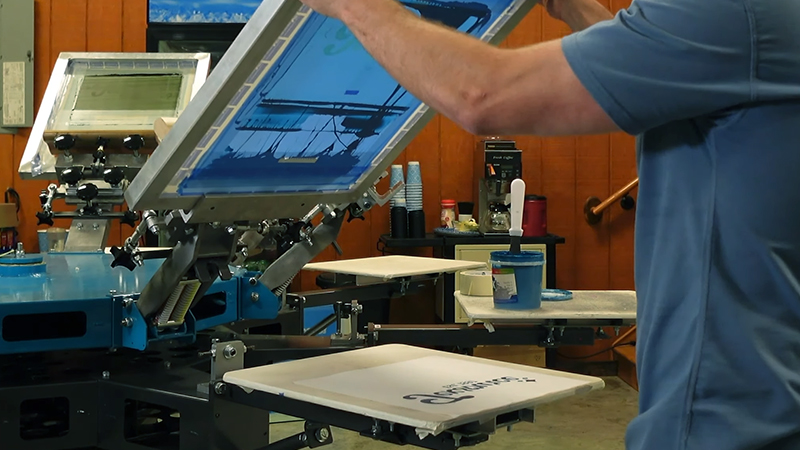
Automatic presses are designed for high-volume production. They can handle large quantities of prints with speed and precision.
This type of machine is preferred for established businesses with a high demand for printed products.
Semi-Automatic Screen Printing Presses
Semi-automatic presses strike a balance between manual and automatic machines. They offer some automated features, such as the ability to rotate the screen and load/unload garments, while still allowing for manual control over the printing process.
Heat Press Machines
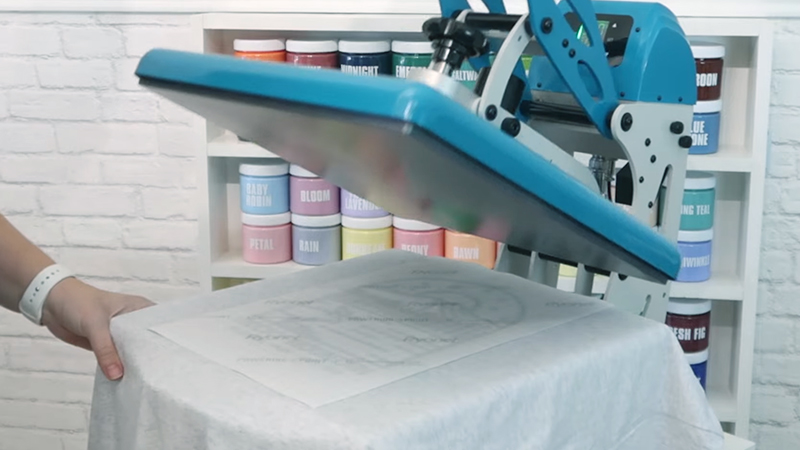
Heat presses are essential for curing the ink after printing. They apply controlled heat and pressure to the printed material, ensuring the ink adheres properly and achieves durability.
Heat presses are versatile, and capable of handling various materials beyond fabric, including ceramics, metals, and certain plastics. They are a staple in both screen printing and other heat transfer methods.
Flash Cure Units
Flash cure units play a crucial role in multi-color screen printing. They partially cure the ink between layers or colors, allowing for accurate registration and preventing colors from blending.
These units provide a quick burst of heat to dry the ink before applying the next layer. Flash cure units are indispensable for achieving crisp and vibrant multi-color prints.
Infrared Conveyor Dryers
Infrared conveyor dryers are pivotal for the final curing stage in screen printing. They use infrared heat to thoroughly cure the ink, ensuring it sets properly and achieves maximum durability. These machines are essential for high-quality, long-lasting prints.
Exposure Units
Exposure units are a fundamental component of the screen printing process. They expose the emulsion-coated screen to UV light, creating the stencil for printing.
Modern exposure units offer precise control over exposure time, ensuring consistent and accurate stencils for high-quality prints.
Common Issues and How to Rectify Them During the Process

Screen printing, like any craft, can encounter various issues. Knowing how to identify and address these problems is crucial for achieving high-quality results.
Here are some common issues and their solutions:
Incomplete Stencil Exposure
- Issue: Parts of the design wash away during rinsing.
- Solution: Ensure proper screen exposure time. Use a light source with adequate intensity and follow the emulsion manufacturer’s recommendations.
Underexposed Stencil
- Issue: The emulsion doesn’t wash out completely, leaving a faint design.
- Solution: Increase exposure time. Ensure the light source is positioned at the correct distance from the screen.
Overexposed Stencil
- Issue: The emulsion doesn’t wash out well, resulting in a blurry or distorted design.
- Solution: Decrease exposure time. Adjust the distance of the light source.
Blocked Mesh Openings
- Issue: Tiny holes in the screen mesh get clogged with dried ink or emulsion, affecting print quality.
- Solution: Clean the screen thoroughly after each print. Use a screen cleaner or water and a soft brush to remove any residue.
Ink Bleeding
- Issue: Ink spreads beyond the intended design lines.
- Solution: Ensure the screen is properly registered and secure. Use a light, even pressure with the squeegee. Consider using a higher mesh count screen for finer details.
Inconsistent Ink Coverage
- Issue: Some areas of the design appear lighter or darker than others.
- Solution: Check that the squeegee is making consistent contact with the screen. Adjust pressure and angle as needed. Reapply the ink and try again.
Screen Clogging
- Issue: Screen mesh becomes blocked with dried ink, causing printing difficulties.
- Solution: Clean the screen frequently during printing. Use a screen opener or emulsion remover to dissolve dried ink.
Ghosting or Fuzzy Edges
- Issue: Design edges appear blurry or have a shadow effect.
- Solution: Ensure the screen is flat against the printing surface. Use a softer squeegee or try using a lower durometer squeegee for better contact.
Ink Drying Too Quickly
- Issue: Ink dries on the screen before you can complete the print.
- Solution: Add a small amount of retarder to the ink to slow down drying time. Work in a controlled environment with moderate humidity levels.
Ink Not Adhering Properly
- Issue: Ink doesn’t adhere well to the surface, resulting in a patchy or uneven print.
- Solution: Ensure the surface is clean and free of any contaminants. Consider using a different type of ink or adjusting curing time and temperature.
Tips for Achieving the Best Results

Screen printing can be a highly rewarding craft, but it requires attention to detail and a good understanding of the process.
Whether you’re a beginner or a seasoned pro, these tips will help you achieve the highest quality prints.
Here are some valuable tips to help you succeed:
Choose the Right Mesh Count
Use a higher mesh count for fine details and a lower count for bolder, more opaque prints. Matching the mesh count to your design is crucial for achieving optimal results.
Properly Coat and Dry the Screen
Apply the emulsion evenly and ensure it’s fully dry before exposing the screen. Inadequate drying can lead to incomplete stencil exposure and, consequently, blurry prints.
Master the Exposure Process
Invest in a quality exposure unit or find a consistent, reliable light source. The right exposure time ensures a well-defined stencil and sharp prints.
Maintain a Clean Work Environment
Keep your screen, tools, and printing area clean. This prevents dust and debris from interfering with the printing process and ensures consistent results.
Test Prints and Registration
Always do test prints to check alignment, ink flow, and overall print quality. Proper registration is essential for achieving crisp, well-centered designs.
Experiment with Squeegee Techniques
The angle, pressure, and speed at which you pull the squeegee can greatly affect the outcome. Practice different techniques to find what works best for your specific design and ink.
Use Quality Inks and Materials
Invest in high-quality inks, emulsions, and screens. Subpar materials can lead to subpar results, so choose trusted brands known for their reliability.
Maintain Consistent Pressure
Apply even pressure when pulling the squeegee to ensure uniform ink coverage. Inconsistent pressure can result in uneven prints.
Monitor Ink Viscosity
Adjust the ink’s viscosity as needed. Too thick or too thin ink can cause problems. Experiment with additives to achieve the right consistency for your project.
Experiment and Learn from Mistakes
Don’t be afraid to try new techniques and learn from any mistakes. Each print is an opportunity to refine your skills and discover what works best for your unique designs.
Cure Prints Properly
Follow the recommended curing instructions for your specific ink. Proper curing ensures the print remains vibrant and long-lasting, even after multiple washes.
FAQs
Can I reuse the screen after making a print transfer?
Yes, you can reuse the screen for multiple prints. After each use, clean the screen thoroughly to remove any leftover ink or emulsion.
What type of artwork works best for screen printing?
High-contrast, well-defined designs with clear lines and solid shapes work best. Avoid intricate, highly detailed designs, as they may not transfer well.
Can I use a hair dryer to cure the ink if I don’t have a heat press or oven?
While a hair dryer can be used to partially cure the ink, it’s not as effective as a heat press or oven.
Is it possible to screen print on dark-colored fabrics?
Yes, it’s possible to screen print on dark fabrics using specialized inks designed for dark substrates.
Can I create multi-colored prints with screen printing?
Yes, it’s possible to create multi-colored prints using a technique called “multi-screen printing.”
To Recap
Embarking on the journey of making your own screen print transfers opens a world of creative possibilities. Mastering this process, from emulsion application to ink distribution, requires patience and practice.
Attention to detail, such as proper exposure times and maintaining clean screens, ensures the quality of your prints. Selecting the right materials, including mesh screens and inks, is paramount.
Additionally, understanding the intricacies of different printing machines can significantly impact your results.
Remember, troubleshooting common issues is a valuable skill. With dedication and the right equipment, you’ll soon be producing professional-quality screen print transfers, ready to adorn various surfaces with your unique designs.
Leave a Reply