Measuring from the shoulder to the hem is a fundamental skill in the world of tailoring and fashion. Whether you’re a seasoned seamstress, a budding designer, or simply someone who values a well-fitted garment, understanding this measurement technique is essential.
It’s a process that ensures that dresses, tops, gowns, and various other clothing items drape perfectly on the body. Precision is key, as even a small error in measurement can lead to an ill-fitting outfit.
In this guide, we will walk you through the art of measuring from the shoulder to the hem, exploring the nuances and considerations that come with different types of garments, fabric stretch, and customer preferences.

How to Measure Shoulder to Hem?
Measuring from the shoulder to the hem is a crucial step when it comes to tailoring or altering clothing, especially dresses, gowns, and tops.
Whether you’re a professional seamstress or simply want to ensure the perfect fit for your own garments, knowing how to accurately measure from the shoulder to the hem is essential.
Here’s a step-by-step guide on how to do it correctly:
Tools You’ll Need:
- A flexible measuring tape.
- A garment or dress.
Step-by-Step Guide:
Prepare the Garment
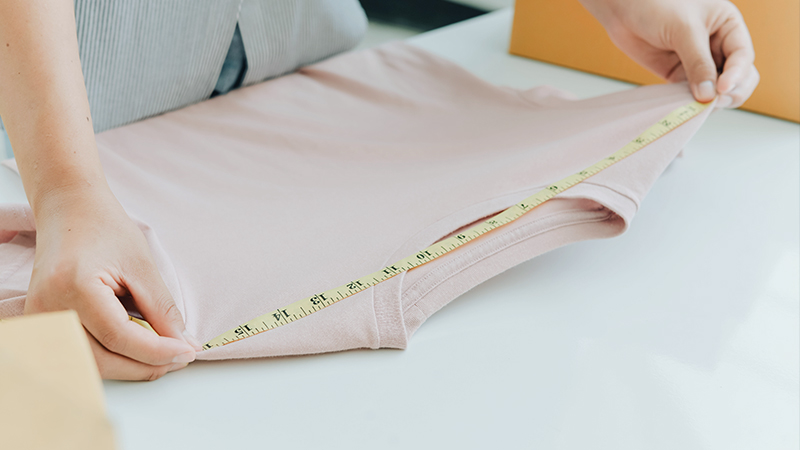
Before you begin measuring, it’s crucial to make sure the garment is laid out flat and free from any wrinkles or folds.
This ensures that the fabric lies naturally and that your measurement is accurate. Smooth out any creases with your hands, and ensure that the garment is evenly spread out on a clean surface.
Locate the Shoulder and Hem
The shoulder of a garment is the uppermost part where the sleeve attaches to the body. This is where your measurement will begin.
The hem, on the other hand, is the lowest edge of the garment. It’s where the fabric ends. Familiarize yourself with these points as they serve as your starting and ending references for the measurement.
Find a Reference Point
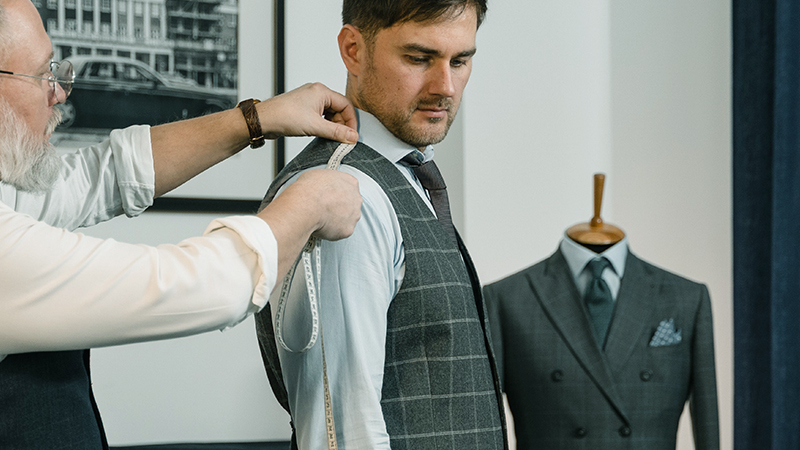
If possible, it’s helpful to have someone wear the garment during the measurement process. This allows the fabric to drape naturally and gives you a more accurate reading.
Ensure that the person stands upright with their arms relaxed by their sides. If you’re measuring for yourself, consider using a mirror or asking a friend for assistance.
Measure from Shoulder to Hem
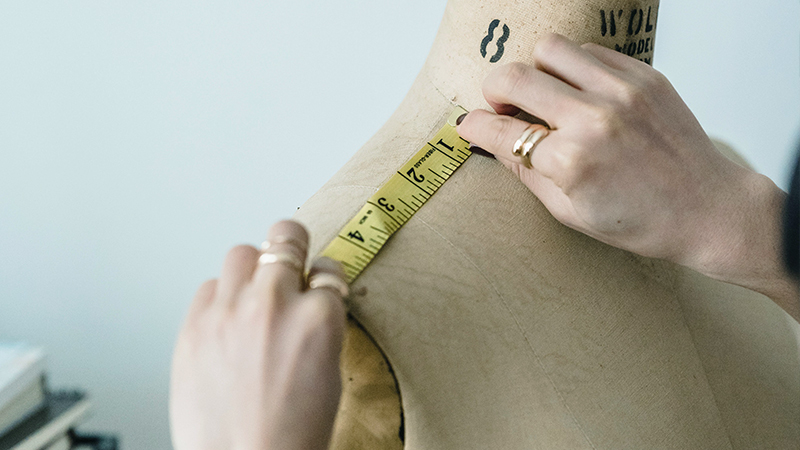
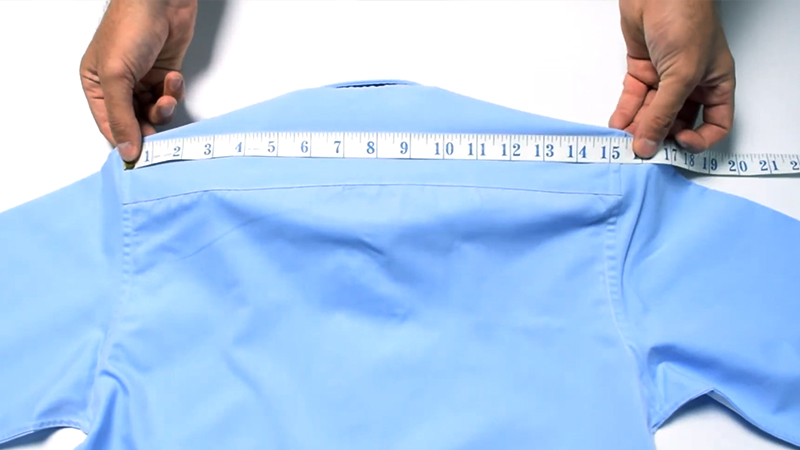
Begin your measurement at the top of the shoulder, precisely where the shoulder seam meets either the neckline or the armhole (whichever is higher).
This starting point is crucial for accuracy. Hold the measuring tape gently but securely, and extend it vertically down the front of the garment.
Keep the tape measure straight, ensuring it runs parallel to the center front of the garment. As you move downward, make sure the tape remains in contact with the fabric.
Record the Measurement
Once you’ve reached the hem, take a moment to carefully note down the measurement.
You can choose to record it in either inches or centimeters, depending on your preference and the units you’re comfortable working with. This recorded measurement is crucial for any future tailoring or alterations.
Repeat for Accuracy
To ensure precision, it’s recommended to take multiple measurements. Perform the process at least two or three times to get consistent results.
When there’s a slight discrepancy in the measurements, take the average of your readings. This helps account for any minor variations in how you hold the tape or slight movements in the fabric.
Check for Variations
Occasionally, certain garments may have uneven hems or design elements that can make measuring from the shoulder to the hem more complex.
In such cases, refer to the pattern or design specifications for guidance. It’s important to adapt your approach based on the unique characteristics of each garment you’re measuring.
Why Is Shoulder-to-Hem Measurement Important?

Understanding the significance of the shoulder to hem measurement is fundamental in the world of tailoring and fashion.
This measurement, which gauges the length from the shoulder to the hemline of a garment, holds crucial implications for the overall fit and style.
Here are compelling reasons why this measurement stands as a cornerstone in the crafting of well-fitted attire:
Proportional Harmony
Achieving the ideal length from shoulder to hem ensures that the garment maintains a balanced and aesthetically pleasing proportion. It defines how the garment drapes and complements the wearer’s body shape.
Comfort and Mobility
An accurately measured shoulder to hem length guarantees comfort and ease of movement. Whether it’s a dress, top, or coat, the right length allows the wearer to move naturally without feeling restricted.
Design Integrity
For designers and tailors, adhering to precise measurements is vital for upholding the integrity of a design. It ensures that every element of the garment aligns with the envisioned style and silhouette.
Avoidance of Alteration Pitfalls
Accurate shoulder-to hem measurements reduces the likelihood of costly and time-consuming alterations. Properly fitted garments require fewer adjustments, saving both time and resources.
Client Satisfaction
For those creating custom pieces, getting the shoulder to hem measurement right is paramount for client satisfaction. A well-fitted garment not only looks impeccable but also instills confidence in the wearer.
Consistency in Manufacturing
In large-scale production, precise measurements from shoulder to hem maintain uniformity across multiple pieces. This ensures that each garment adheres to the intended design and fit.
Enhanced Visual Appeal
A correctly measured shoulder to hem length elevates the overall visual appeal of the garment. It allows design elements like patterns, embellishments, and seams to align harmoniously.
Professionalism and Expertise
Demonstrating proficiency in taking accurate measurements reflects the professionalism and expertise of a tailor or designer. It instills trust in clients and showcases a commitment to quality craftsmanship.
Versatility in Styling
Well-measured garments offer versatility in styling. They can be confidently paired with various accessories and footwear, knowing that the proportions will always look harmonious.
Considerations of Measuring for Different Types of Garments

When measuring for different types of garments, there are specific considerations that need to be taken into account due to variations in style, fit, and design.
Here are some key considerations for measuring different types of garments:
Dresses and Gowns
- Silhouette: Consider the overall style of the dress. Is it fitted, A-line, empire-waisted, or has a different silhouette? This will affect where you start and end your measurement.
- Neckline: Pay attention to the neckline style. For example, a strapless dress will have a different starting point than a dress with a high neckline.
- Hemline: If the dress has an asymmetrical or high-low hem, be sure to measure from the highest point to the lowest point.
Tops and Blouses
- Sleeve Length: If the top has sleeves, determine whether it’s short, three-quarter, or long-sleeved. Adjust your measurement accordingly.
- Hem Type: Tops can have straight, curved, or hi-low hems. Ensure you measure from the appropriate starting point based on the hem style.
Jackets and Outerwear
- Sleeve Length: Along with shoulder to hem, take into account the sleeve length, which may vary from short to long.
- Fit: Determine whether the jacket is meant to be slim-fit or loose-fitting. This will influence the measurement and overall fit.
Specialty Garments
Certain garments, like ball gowns, eveningwear, or costumes, may have intricate designs with asymmetric hems or trains.
In such cases, take careful measurements from each shoulder and consider the overall design when determining the hem length.
Garment Stretch
Consider the fabric of the garment. If it has stretch or is designed to be worn with a slight amount of gathering or draping, you may need to adjust the measurement accordingly.
Ensure the person trying on the garment is in the appropriate undergarments to replicate the intended fit.
Customer Preferences
Always discuss the wearer’s preferences regarding hemline length. Some individuals prefer longer or shorter hemlines, so it’s crucial to have this conversation before taking measurements.
Pattern or Design Elements
For garments with special design elements like ruffles, tiers, or uneven hems, consult the pattern or design specifications for guidance on where to take measurements from.
Tips for Accuracy in Measurement

Accurate measurements are the cornerstone of well-fitted garments and precise crafting.
To ensure your creations fit flawlessly, consider these invaluable tips:
Use a Reliable Measuring Tape
A high-quality, well-maintained measuring tape is essential. Check for any signs of wear or stretching, and replace it if needed. A reliable tape guarantees consistent and accurate readings.
Maintain a Steady Hand
When taking measurements, strike a balance between firmness and gentleness. Holding the tape too tightly can distort the measurement, while a loose grip may result in inaccuracies.
Double-Check Starting Points
Pay careful attention to your initial point of measurement, especially when using specific seams or edges as reference. This ensures consistency in all your measurements.
Keep the Tape Parallel
Whether measuring horizontally or vertically, ensure the tape runs parallel to the edge or seam.
This prevents any skewing of the measurement, especially on curved or irregular surfaces.
Consider Fabric Stretch
When you’re working with stretchy fabrics like knits or spandex, be mindful of the material’s elasticity.
Account for this by measuring the fabric when it’s relaxed, avoiding any unnecessary tension.
Measure Twice, Cut Once
Before making any permanent alterations, double-check your measurements.
It’s much simpler to correct a measurement error before any irreversible actions are taken, saving both time and materials.
Factor in Design Elements
Take into account any design features like ruffles, pleats, or draping. These elements can affect the way a garment hangs, so adjust your measurements accordingly to ensure they’re captured accurately.
Account for Hem Variations
For garments with uneven hems or high-low designs, measure from the highest point to the lowest. This comprehensive approach ensures you capture the overall length accurately.
Communicate with Clients
When creating garments for others, have a clear conversation about their preferences and any specific fitting requirements they might have. This collaboration ensures the final product meets their expectations.
Record and Label
Document your measurements clearly and label them appropriately. This level of organization prevents mix-ups and ensures you have accurate references for future projects. Invest in a dedicated notebook or digital tool to maintain a comprehensive record.
FAQs
What tools do I need to measure from shoulder to hem?
You’ll need a flexible measuring tape, a flat surface to lay the garment on, and ideally, someone to assist you with the measurement for accuracy.
Where should I start measuring for different types of garments?
Start at the top of the shoulder where the seam meets either the neckline or the armhole, depending on which is higher.
How do I measure specialty garments like ball gowns with trains?
For garments with unique designs, measure from both shoulders and consider the overall design when determining the hem length, especially in the case of asymmetric hems or trains.
Do I need to consider fabric stretch when measuring?
Yes, if the fabric has stretched or is meant to drape, take this into account by ensuring the person trying on the garment is wearing appropriate undergarments to replicate the intended fit.
What’s the importance of customer preferences in measuring shoulder to hem?
Customer preferences are vital, as some individuals may prefer longer or shorter hemlines.
Wrap Up
Mastering the skill of measuring from shoulder to hem is an invaluable asset for anyone involved in garment creation or alteration. The precision of this measurement ensures that clothing fits flawlessly, enhancing both comfort and style.
By following the steps outlined in this guide, you’ll be equipped to measure a wide array of garments, from dresses to tops, skirts to jackets. Remember to consider fabric characteristics, unique design elements, and, most importantly, the wearer’s preferences.
With practice, you’ll become adept at achieving the perfect fit, allowing your creations to showcase the beauty and elegance they were designed to embody.
Leave a Reply