Embarking on the artistic journey of painting a bubble in watercolor is an exploration of transparency, reflections, and the delicate interplay of light.
This creative endeavor invites artists to capture the ephemeral beauty of bubbles, transforming a two-dimensional surface into a realm of iridescence and subtle nuances.
The process involves sketching the graceful contours of a bubble, delicately layering transparent washes, and skillfully infusing reflections to evoke its ethereal nature.
From crafting shadows for depth to introducing vibrant highlights, each step contributes to the mesmerizing realism of the final artwork.
This guide unfolds the steps, unveiling the techniques that breathe life into the seemingly fragile yet captivating world of watercolor bubbles.
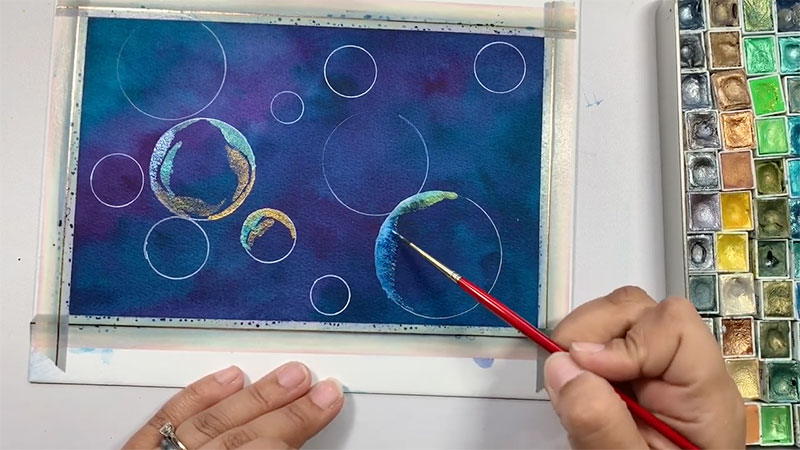
How to Paint Watercolor Bubbles? Easy 8 Steps
Painting a bubble in watercolor can be a delightful and rewarding experience, as it requires a careful balance of transparency, reflections, and capturing the iridescence of the surface.
Here’s a step-by-step guide on how to paint bubbles with watercolor:
Materials Needed:
- Watercolor paper
- Watercolor paints
- Brushes (round brushes are recommended)
- Palette
- Water container
- Paper towels
Step 1: Sketch the Bubble
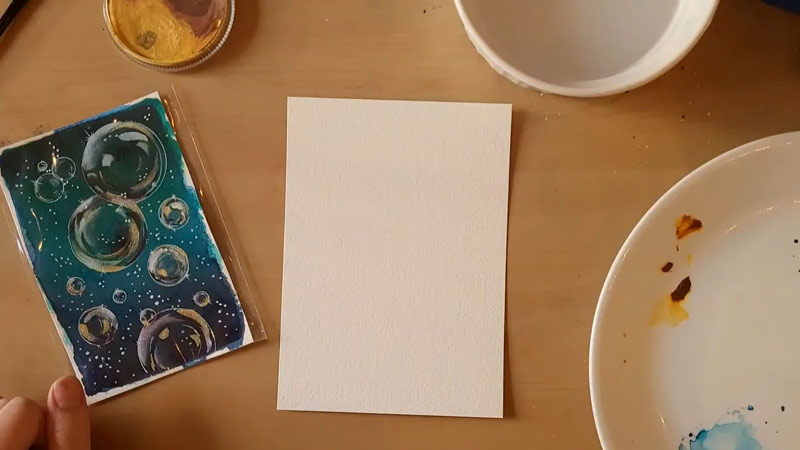
Begin by sketching the basic outline of the bubble on your watercolor paper. Keep the shape simple, as bubbles are typically spherical.
However, feel free to introduce slight irregularities to add character. Bubbles can have subtle variations in their form, and capturing these nuances will contribute to the realism of your watercolor painting.
Step 2: Wet the Paper
Using a clean brush, wet the entire paper or focus on the area inside the bubble. This initial water application helps create a soft background and sets the stage for seamlessly blending colors.
Ensure that the paper is evenly moist, allowing the pigments to flow and mingle effortlessly.
Step 3: Apply the Base Color
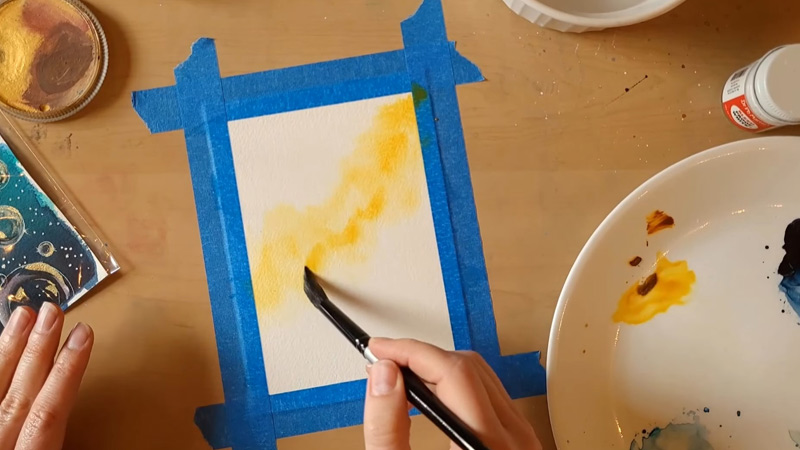
Choose a transparent color for the base of the bubble, such as cerulean blue or a light wash of your preferred hue.
Apply the color within the sketched outline, ensuring that it is diluted enough to maintain transparency.
The base color is the foundation for the bubble’s appearance and sets the tone for the subsequent layers of reflections and details.
Step 4: Create the Reflections
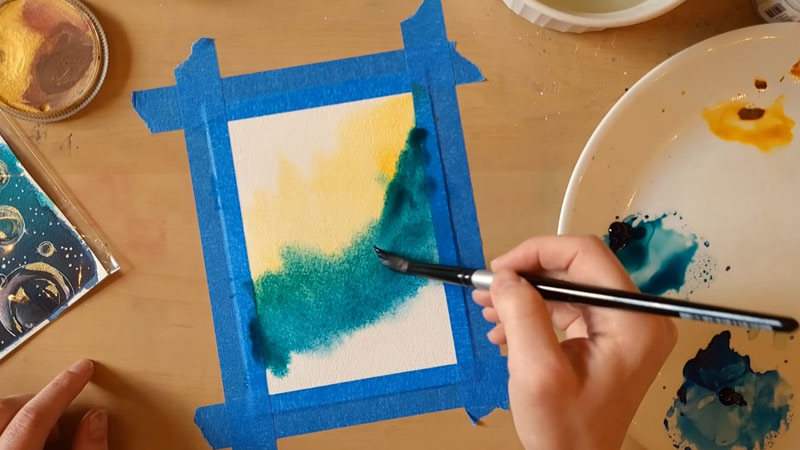
Once the base color has dried partially, it’s time to introduce reflections. Bubbles are known for their reflective surfaces, capturing the world around them.
Observe the light source and nearby objects, then use a slightly darker or lighter shade than the base color to paint these reflections.
Employ a circular motion to mimic the natural contours of the bubble. Take care to balance the intensity of reflections to maintain the bubble’s transparency and three-dimensional quality.
Step 5: Add the Shadow
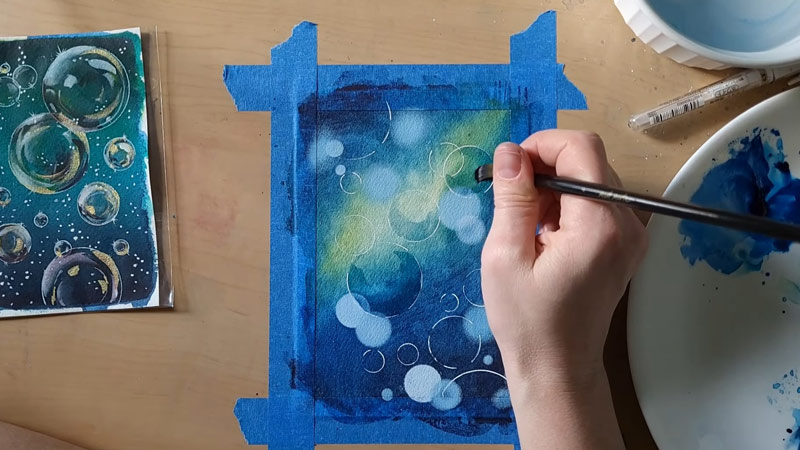
Create a sense of depth and realism by incorporating a shadow beneath the bubble. This shadow grounds the bubble and gives it a three-dimensional appearance.
Opt for a diluted color, perhaps a subtle gray or a darker shade of the base color, and apply it beneath the bubble.
Gradually soften the shadow towards its edges to maintain a natural transition and avoid harsh lines.
The shadow not only adds dimension but also reinforces the interaction of the bubble with its environment.
Step 6: Build Iridescence
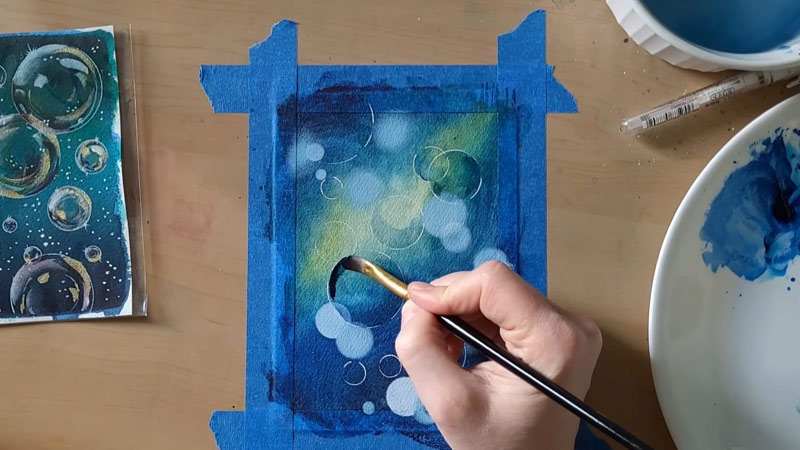
Capture the enchanting iridescence of the bubble by introducing subtle, colorful highlights.
Select colors like violet, pink, or green, depending on the reflections you observe. Apply these hues in small, controlled strokes, following the curves of the bubble.
Iridescence is often characterized by a play of shifting colors, so experiment with layering various shades to achieve a captivating and dynamic effect.
This step adds vibrancy and visual interest to your watercolor bubble.
Step 7: Refine and Detail
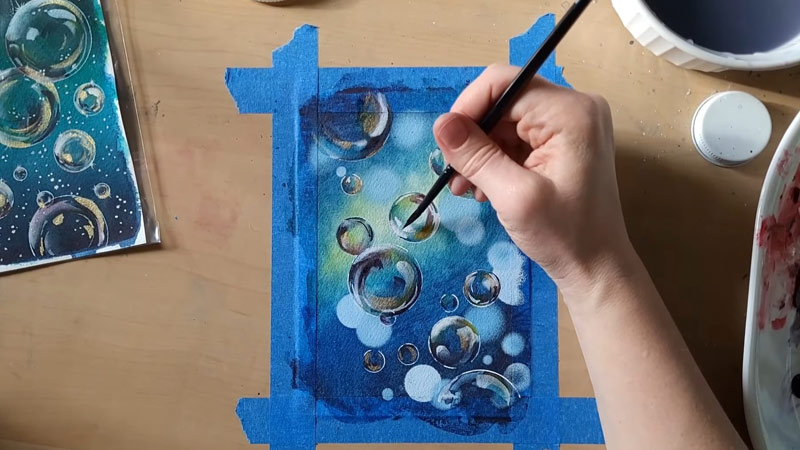
Once the initial layers have dried, refine your painting by adding additional layers of color. Enhance contrast and depth by carefully considering the distribution of colors and their intensity.
Pay close attention to the edges of the bubble, ensuring they remain soft and translucent. This refining process contributes to your watercolor bubble’s overall clarity and visual appeal.
Step 8: Finishing Touches
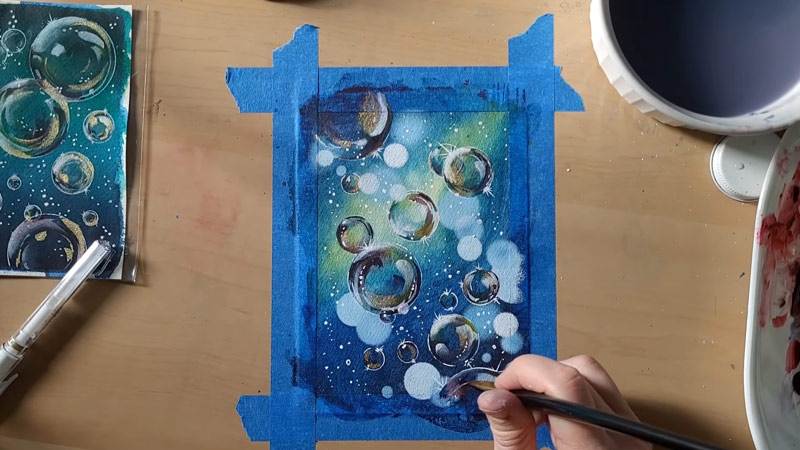
Bring your watercolor bubble painting to completion by making any necessary adjustments and adding fine details.
Consider using a white gel pen or white watercolor paint for small, reflective highlights. These final touches can accentuate specific areas, adding a touch of realism and bringing out the sparkling, ethereal qualities of the bubble.
Step back, evaluate your painting, and make any final refinements to achieve the desired level of detail and visual impact.
Tips to Paint a Bubble in Watercolor
Painting a bubble in watercolor requires a delicate touch and an understanding of transparency, reflections, and iridescence.
Here are some tips to help you create a captivating watercolor bubble:
Start with a Light Sketch
Begin your watercolor bubble painting by creating a light sketch of the bubble’s shape. Emphasize its spherical nature but don’t shy away from introducing subtle irregularities, such as small variations or reflections, to add authenticity and character.
This preliminary step sets the foundation for capturing the delicate essence of a floating bubble.
Use Transparent Colors
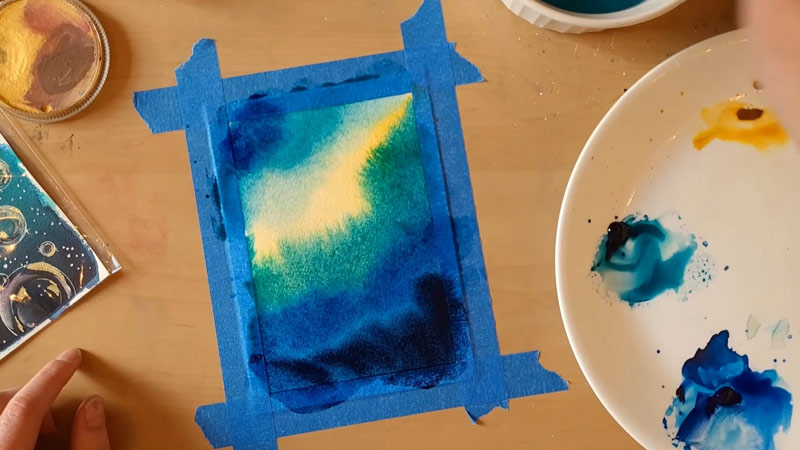
Opt for watercolor paints with high transparency to preserve the bubble’s natural see-through quality. Colors like cerulean blue, known for their transparency, are ideal for the initial wash.
This choice establishes the base color and allows subsequent layers to interact, creating depth and luminosity.
Wet the Paper
Before applying the base color, moisten the watercolor paper with a clean brush. This step ensures that the pigments spread smoothly, facilitating seamless blending.
Wetting the paper creates a soft background, enhancing the overall luminosity of the bubble and providing a foundation for subsequent layers of color.
Build Gradual Layers
Achieving the desired transparency and depth involves working in gradual layers. Allow each layer to dry completely before adding the next to prevent colors from becoming muddy.
This patient approach allows you to build up the intensity of the colors, creating a visually rich and layered representation of the bubble.
Observe and Paint Reflections
Take time to observe the reflections on the bubble’s surface. These reflections capture the interaction between the bubble and its surroundings.
Choose colors slightly darker or lighter than the base color to paint these reflections, mimicking the play of light and shadow. This step adds realism and dimension to your watercolor bubble painting.
Create a Subtle Shadow
Once you’ve established the basic structure of your watercolor bubble, introduce a soft shadow beneath it.
This shadow anchors the bubble and lends a three-dimensional quality to your artwork. Choose a color slightly darker than the surrounding area and apply it beneath the bubble.
Gradually blend the shadow to maintain a natural transition, avoiding harsh lines. This subtle addition enhances the realism of the bubble, grounding it in its environment.
Highlight Iridescence
Bring your bubble to life by capturing its iridescence with subtle, colorful highlights. Experiment with hues like violet, pink, or green, applying them in controlled strokes along the curves of the bubble.
Iridescence is often characterized by a play of shifting colors, so use a light touch to create a dynamic and captivating effect.
This step adds vibrancy and visual interest, elevating your watercolor bubble painting to a new level.
Refine Details
After allowing the initial layers to dry, shift your focus to refining details. Add more layers of color to enhance contrast and depth, paying particular attention to the edges.
Maintaining a soft and translucent appearance along the bubble’s contours contributes to the overall delicacy and realism of your painting. This refining process ensures a nuanced and well-defined depiction of the bubble.
Use White for Highlights
For the finishing touches that bring out the sparkle and realism of your watercolor bubble, consider employing a white gel pen or white watercolor paint.
Add small, reflective highlights strategically to specific areas of the bubble. These highlights mimic how light interacts with the soap film, enhancing the overall luminosity and creating a stunning, lifelike effect.
Experiment and Enjoy the Process
Watercolor painting is inherently expressive, and the same holds true for capturing the beauty of bubbles. Don’t be afraid to experiment with different colors, techniques, and brushstrokes.
Embrace the creative process and let each bubble uniquely express your artistic vision. Enjoy the play of colors and the delicate dance of light as you bring each bubble to life on your canvas.
FAQs
How do I start painting watercolor bubbles?
Begin by sketching the bubble’s outline on watercolor paper, wetting the paper, applying a base color, adding reflections, and building depth with shadows and iridescence.
Can I use other colors besides blue for watercolor bubble painting?
Certainly! Experiment with various colors to achieve different moods and effects in your watercolor bubble paintings. Colors like violet, pink, or green can add vibrancy and uniqueness.
How can I make watercolor bubble paintings more realistic?
Focus on refining details in later layers, pay attention to soft edges, and incorporate subtle highlights with white gel pens or watercolor paint for a realistic and visually appealing result.
Is it necessary to wet the paper before painting watercolor bubbles?
Wetting the paper is recommended as it helps colors blend seamlessly and creates a soft background, contributing to the overall transparency and delicacy of the watercolor bubble painting.
Wrap Up
Painting a bubble in watercolor is a captivating blend of precision and creativity, weaving together techniques to evoke the ethereal beauty of these transient wonders.
The careful layering of transparent colors, reflections, and shadows results in a visually stunning representation that captures the essence of a floating bubble.
As the artist, you’ve navigated the intricacies of wetting the paper, building iridescence, and refining details, creating a harmonious symphony of colors that mimics the play of light on a soap bubble’s surface.
This artistic endeavor not only hones watercolor skills but also cultivates an appreciation for the delicate balance required to translate fleeting moments into timeless works of art.
Leave a Reply