Enhancing a painting with glitter introduces a captivating element of texture and shine, elevating its visual impact.
This creative process allows artists to add a touch of glamour and sparkle to their artwork, turning ordinary surfaces into extraordinary masterpieces.
Applying glitter involves carefully considering materials and meticulous application from canvas to paper.
With the right tools and techniques, you can achieve a stunning effect that complements your artistic vision.
In this guide, we will explore step-by-step instructions on effectively incorporating glitter into your painting, offering insights and tips to help you create a dazzling, one-of-a-kind piece of art.
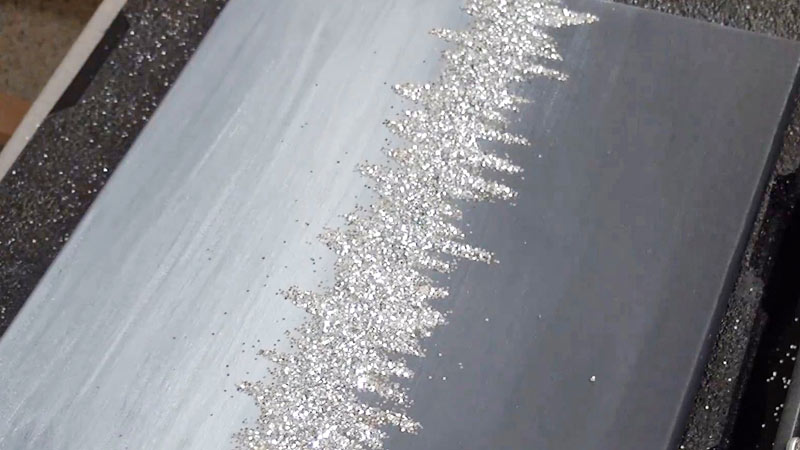
Easy 10 Steps to Put Glitter on a Painting
Adding glitter to a painting is a creative and exciting way to enhance its visual appeal and give it a touch of sparkle and glamour.
Incorporating glitter can make your artwork stand out, whether you’re working on a canvas, paper, or any other painting surface.
Here’s a step-by-step guide on how to put glitter on a painting:
Materials You’ll Need:
- Painting.
- Glitter.
- Glue.
- Brushes.
- Palette.
- Masking Tape or Stencils
Steps to Put Glitter on a Painting:
1. Prepare Your Workspace

Ensure your workspace is not only clean but also well-ventilated. Proper ventilation helps with the fumes from the adhesive and ensures a comfortable working environment. Lay down a protective sheet, securing it with masking tape if necessary.
This prevents accidental spills or excess glitter from adhering to your work surface. Consider stabilizing your painting with a smooth, flat surface like a table or easel.
2. Select the Areas
Take some time to envision the finished piece. Consider the focal points and areas that could benefit from a touch of glitter. It might be the light reflecting off water, stars in the night sky, or highlights on jewelry.
If unsure, you can test a small area with a tiny amount of glitter and adhesive to see how it looks before committing to larger sections.
3. Mix Glitter and Adhesive
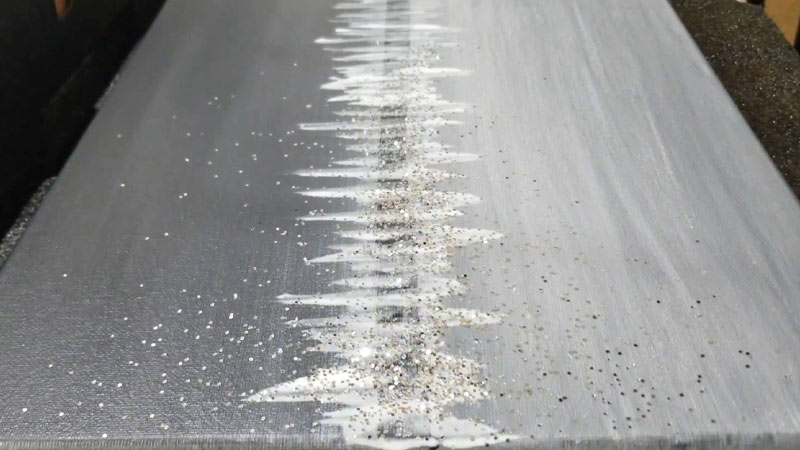
Remember that different types of adhesives and glitters may interact differently when mixing. Experiment with small quantities first to find the right consistency.
For finer control, use a palette knife to blend them smoothly. Ensure the mixture is homogenous, without any clumps or streaks of glitter.
4. Apply the Adhesive-Glitter Mixture
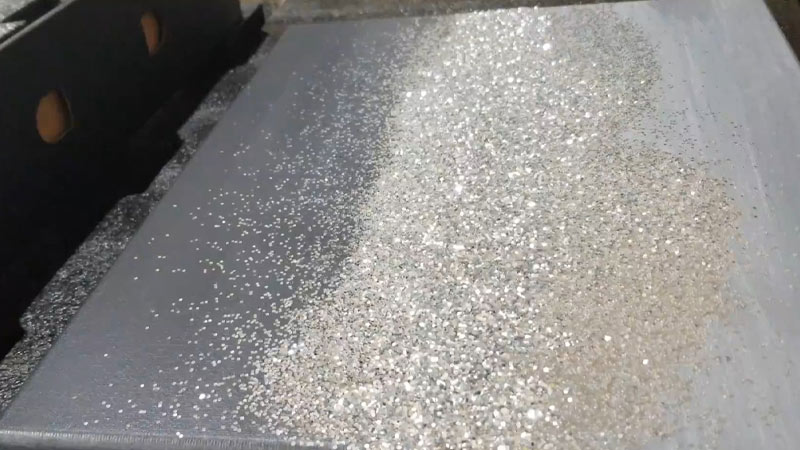
Consider the brush strokes and techniques you’ll use. For broad, even coverage, use long, smooth strokes. Use a lighter touch and a finer brush for detailed areas, like the twinkle in an eye or the edge of a wave.
Keep a damp cloth or sponge nearby to clean your brush if it becomes sticky from the adhesive.
5. Add Layers
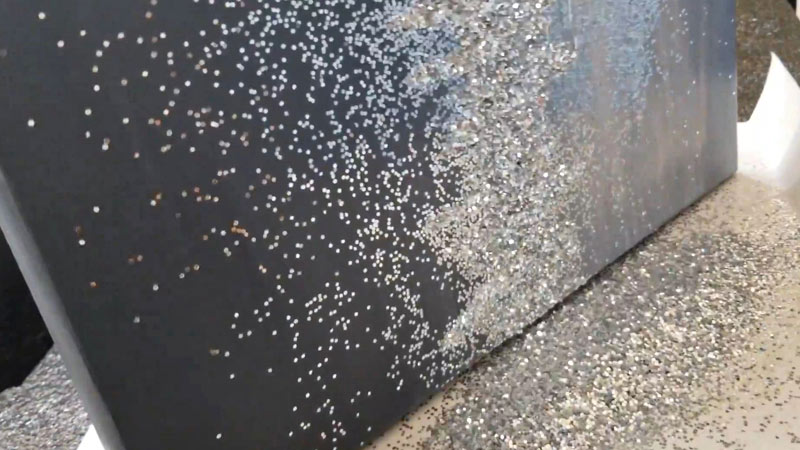
If you add multiple layers, consider the overall effect you’re trying to achieve. Subtle, light layers will give a gentle glimmer, while denser layers will create a more intense sparkle.
Allow each layer to dry completely before applying the next. If you’re unsure, periodically step back and assess your progress.
6. Clean Up
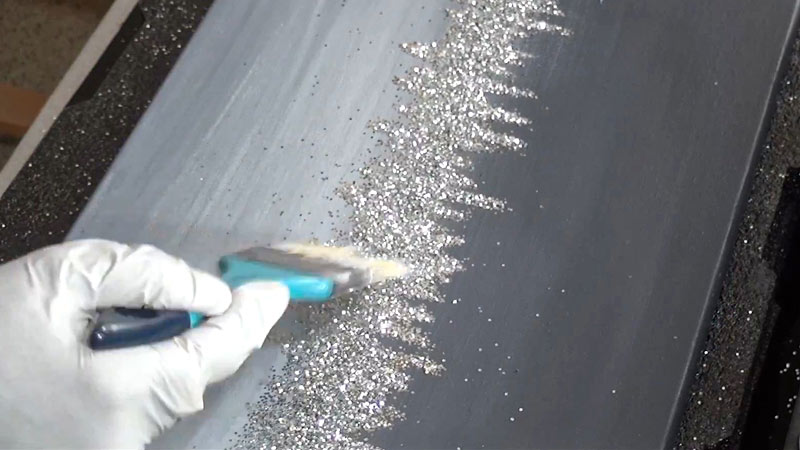
Precision is key in this step. Take your time to remove any stray glitter carefully. A small, clean, and dry brush is your best tool. A steady hand and patience will help ensure that you don’t disturb the glitter you’ve applied.
7. Remove Masking Tape or Stencils
If you used masking tape or stencils, use a fine-tipped craft knife to gently lift the edges before removing them. This can help prevent any unintentional tearing or smudging of the glittered area.
8. Let It Dry
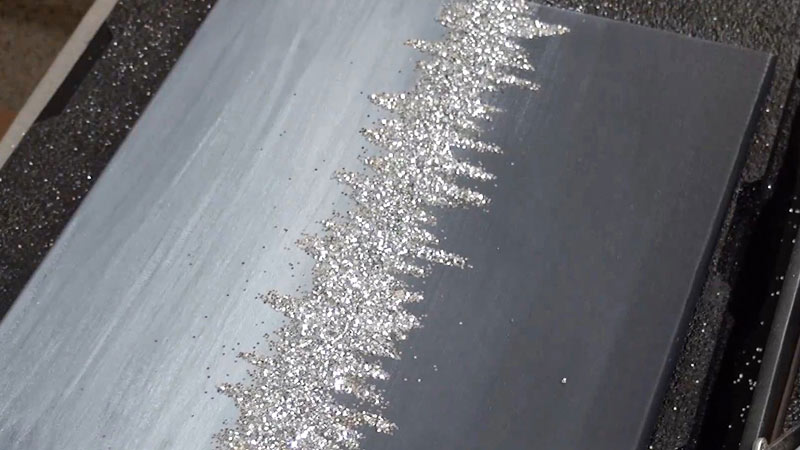
Pay attention to environmental factors like humidity, which can affect drying times. If you’re working in a humid environment, it might take longer for the adhesive to set. Allow your painting to dry thoroughly before moving on to sealing or further handling.
9. Seal the Glitter
Select an appropriate sealant for your artwork. Consider factors like whether you want a matte or glossy finish.
Apply the sealant evenly, following the product instructions. Multiple thin coats are often better than one thick one, as they help avoid drips or uneven coverage.
10. Display Your Glitter Painting
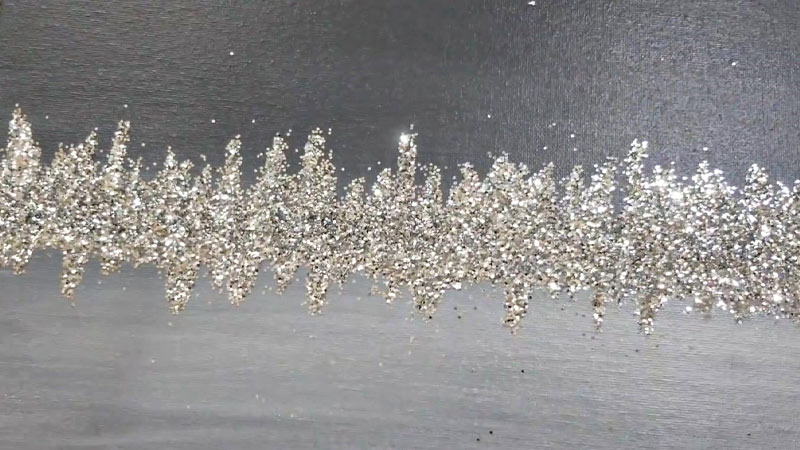
When displaying your artwork, consider the lighting in the room. The play of light on the glitter can change the visual impact.
Frame it if desired, ensuring that the frame doesn’t press against the glittered areas. This protects your artwork and maintains its visual appeal.
How Do You Remove Residue Glitter From Your Painting?
You can do so without damaging your artwork when you need to remove residue glitter from your painting or clean up any unintended glitter particles.
Here’s how to remove glitter residue effectively:
Materials You’ll Need:
- Painting with Glitter
- Clean Soft Brush
- Tape
Steps to Remove Glitter Residue:
Prepare Your Workspace
Set up your workspace in a clean, well-lit area. Ensure that no dust or debris could inadvertently stick to your painting.
Lay down a clean surface, like a soft cloth or a clean sheet of paper, to protect your artwork from any potential scratches.
Gently Brush the Surface
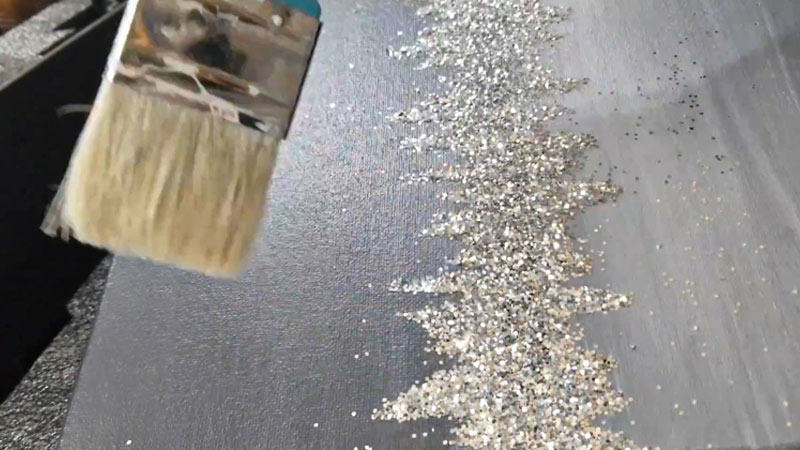
Begin by using a clean, soft brush to sweep across the surface of your painting lightly. This helps dislodge any loose glitter particles.
Brush in the direction of the glitter residue, using light, even strokes. Avoid applying excessive pressure to prevent damaging the painting.
Pay extra attention to areas where glitter may have accumulated, such as raised texture or crevices in the painting.
Use Tape to Lift Residue
If there are stubborn glitter particles that the brush didn’t pick up, you can use tape to clean the surface further.
Roll a piece of tape into a loop, ensuring the sticky side faces outward. This creates a makeshift adhesive surface.
Press the looped tape onto the glitter residue, allowing the adhesive to grip the particles. Lift the tape away from the painting in a slow, deliberate motion. The glitter residue should adhere to the tape.
Repeat as Needed
Continue brushing and using tape as necessary until you’ve removed all visible glitter residue. Take your time and be patient to ensure a thorough clean.
Inspect Your Painting
Once you’ve removed the glitter residue, carefully inspect your painting under good lighting to ensure it’s clean and free from any remaining particles.
If you notice any lingering glitter, repeat the process with the brush and tape until you’re satisfied with the result.
Clean Your Brush
After use, clean your brush to remove any glitter or adhesive residue. Gently tap the brush to dislodge loose glitter, then use a soft cloth or paper towel to wipe off any remaining particles.
Consider Sealing Your Painting
If you’re concerned about future glitter shedding, consider sealing your painting with a clear varnish or sealant. Apply it evenly over the entire surface, following the manufacturer’s instructions, and allow it to dry completely.
Effective Tips for Putting Glitter on a Painting
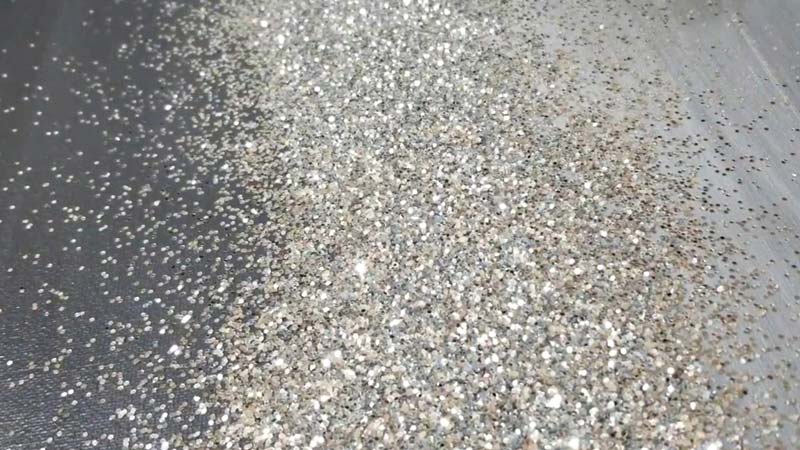
Adding glitter to a painting can be a creative and dazzling technique, but it requires attention to detail to achieve the desired effect.
Here are some effective tips for successfully putting glitter on a painting:
Plan Your Design
Before you start, clearly envision where you want to add glitter to your painting. Consider the composition, color scheme, and areas that would benefit from a glittery touch.
Choose the Right Glitter
Select glitter that complements your painting’s theme and style. Consider the size, color, and texture of the glitter. Fine glitters offer a subtle sparkle, while chunkier ones create a more textured effect.
Quality Glue
Use a high-quality, clear-drying adhesive or gel medium compatible with your painting surface and won’t yellow over time. This ensures that the adhesive doesn’t affect the colors in your painting.
Test Before Applying
Before applying glitter to your painting, test a scrap piece of the same material to see how the adhesive and glitter interact with your paint.
This will help refine your technique and avoid surprises on your main artwork.
Mixing Ratio
Experiment with the ratio of adhesive to glitter on your palette to achieve the desired level of sparkle. Start with some glitter and gradually add adhesive until you reach the desired consistency.
Layering for Intensity
Consider applying multiple layers of adhesive and glitter for a more intense sparkle. Allow each layer to dry completely before adding the next. This builds up the glitter effect.
Precision and Cleanliness
Use fine-tipped brushes for precise application of adhesive. Work slowly and carefully to avoid smudges or excessive glitter in unwanted areas.
Avoid Clumping
Ensure an even distribution of glitter on your brush when applying it to the adhesive. This prevents clumping and results in a smoother finish.
Clean Up as You Go
While the adhesive is still wet, use a clean brush or tape to remove any stray glitter that may have landed where you don’t want it. This keeps your painting looking clean and polished.
Seal the Glitter
Consider sealing your painting with a clear varnish or sealant to preserve the glitter and prevent it from shedding or dulling over time. This provides added protection and enhances the overall appearance.
Storing Your Glitter Painting After Dry: Steps Here
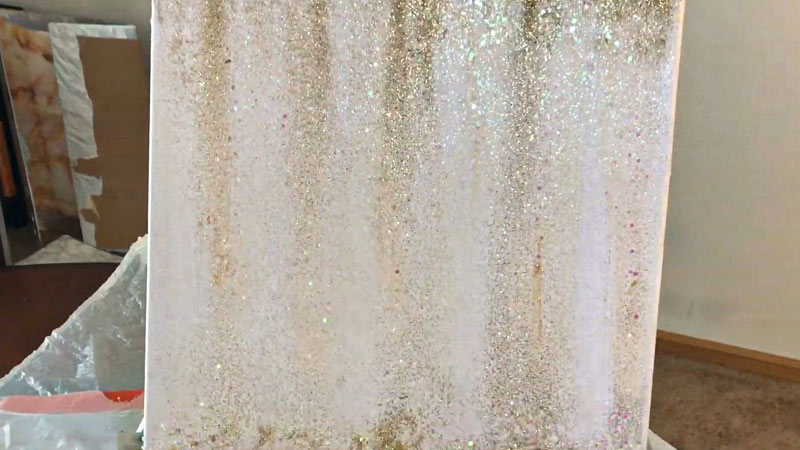
Storing your glitter painting properly after it has dried is crucial to ensure its long-term preservation.
Here are steps you can take to store your glitter painting:
Allow Ample Drying Time
Ensure that your glitter painting is thoroughly dry before attempting to store it. Depending on the thickness of the glitter layers and the humidity in your environment, this may take several hours to a day or more.
Protective Barrier
When your glitter painting is on canvas or paper, consider placing a protective barrier between the front of the painting and any covering material. This can be a sheet of acid-free tissue paper or glassine paper to prevent potential sticking.
Glassine Paper
When stacking or placing multiple artworks together, separate them with sheets of glassine paper or acid-free tissue. These materials protect artwork from smudging, sticking, or color transfer.
Avoid Direct Contact
Avoid placing anything directly on top of the glittered surface when stacking paintings. Direct pressure can damage the glitter texture even with a protective barrier.
Wrap in Plastic Wrap
Consider wrapping your glitter painting in plastic or bubble wrap for extra protection. Be sure not to wrap it too tightly to avoid any potential compression of the glitter.
Use Dry Environment
Store your glitter painting in a clean, dry environment to prevent moisture or dust accumulation. Avoid areas that are subject to extreme temperature fluctuations or high humidity.
Avoid Direct Sunlight
Keep your stored paintings away from direct sunlight or harsh lighting, as this can cause fading or deterioration over time.
Vertical Storage
Store your paintings vertically rather than leaning them against a surface if possible. This helps prevent any potential warping or damage to the edges.
Protect Frames
If your glitter painting is framed, ensure that the frame is in good condition. Check for any loose components or potential areas of damage. This will help maintain the overall integrity and presentation of your artwork.
Store framed paintings vertically and protect them from any potential knocks or scrapes.
FAQS
Can I use any glitter for this process?
Yes, you can use various glitter types, such as fine, chunky, or shaped, based on your artistic preference.
Is there a specific adhesive I should use?
Yes, it’s recommended to use a clear-drying, art-grade adhesive or glue suitable for art projects.
Can I apply glitter directly to a wet painting?
Applying glitter to a dry painting is generally advised to ensure proper adhesion.
How do I prevent the glitter from shedding or coming off over time?
You can apply a clear varnish or sealant to seal and protect the glitter once the artwork is dry.
Can I use this technique on any painting surface?
Glitter can be applied to various surfaces, including canvas, paper, and wood, but consider the texture for optimal adhesion.
To Wrap Up
Enhancing a painting with glitter is a creative endeavor that adds a touch of magic to your artwork. You can achieve a stunning and unique result through careful preparation and thoughtful application.
By selecting the right areas and mastering the mixture of adhesive and glitter, you control the level of sparkle. Layering allows for customization, while attention to detail during cleanup ensures a polished finish.
Remember to handle your glitter painting carefully, particularly when storing or displaying it. With these steps, you transform a simple canvas into a dazzling masterpiece, capturing light and attention in a truly mesmerizing way.
Leave a Reply