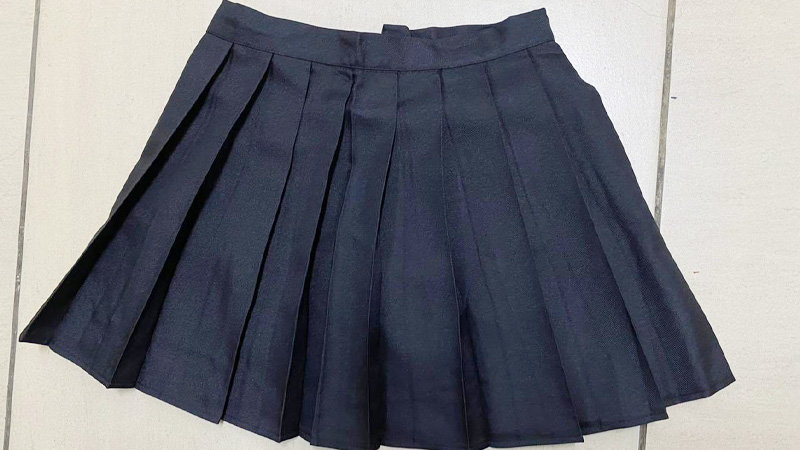
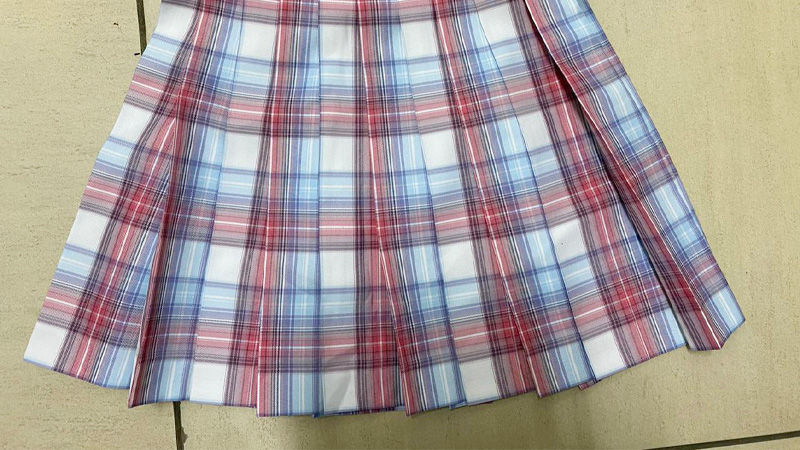
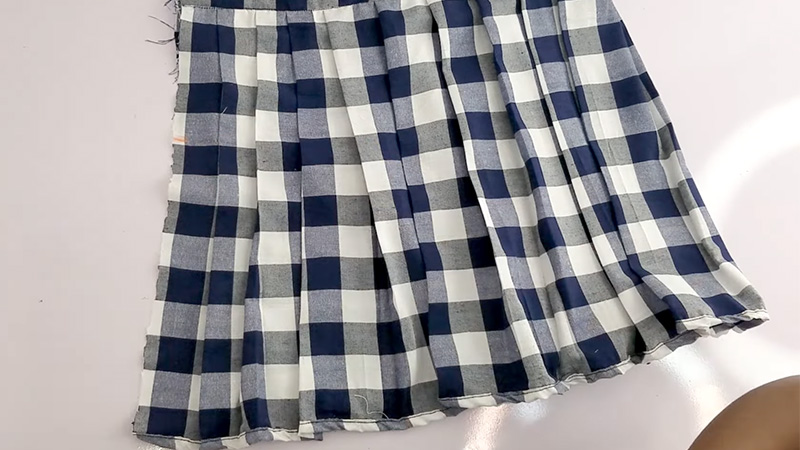
Rejuvenating a skirt by restoring its pleats can breathe new life into a beloved garment. Over time, pleats can lose their crispness and shape due to wear, washing, or storage.
Whether it’s a classic A-line, a formal pencil skirt, or a trendy maxi, knowing how to put pleats back in a skirt is a valuable skill for any fashion enthusiast.
This process allows you to revive the elegance and structure of your skirt without the need for costly alterations or replacements.
In this guide, we will walk you through the steps to meticulously reset the pleats, ensuring that your skirt looks its best once more.

What Are Pleats in a Skirt?
Pleats in a skirt are carefully folded and pressed sections of fabric that add texture, style, and functionality to the garment.
These folds are created by doubling the fabric back on itself, typically at the waistband, and then securing it in place.
Pleats can vary in width, depth, and direction, giving skirts a wide range of appearances. They serve both aesthetic and practical purposes, contributing to the overall design while allowing for ease of movement.
Common pleat types include accordion (knife), box, inverted, and sunburst pleats, each offering a unique visual effect.
Pleats are a timeless fashion element, found in various skirt styles from casual to formal, enhancing the skirt’s versatility and elegance.
How to Put Pleats Back in a Skirt?
If your skirt has lost its pleats and looks less than its best, you can easily put the pleats back in and restore their original shape.
Pleats are a stylish and classic element in many skirts, and learning how to re-pleat your skirt can save you money and keep your wardrobe looking fresh.
Here’s a step-by-step guide on how to put pleats back in a skirt:
Materials You’ll Need
- The skirt that needs pleating
- An iron and ironing board
- A spray bottle with water
- Straight pins
- A ruler or measuring tape
- A sewing machine or needle and thread
- Fabric starch (optional)
Prepare Your Workspace
Choose a clean and spacious workspace where you can easily lay out your skirt and work comfortably with your materials. Make sure your iron and sewing machine (if you’re using one) are set up and ready to go.
Examine the Skirt
Before you start pleating, take a good look at your skirt and identify where the pleats should be. Pleats are typically evenly spaced around the waist or hips, but the specific design may vary.
Use the ruler or measuring tape to measure the distance between each pleat, both in terms of the width of the pleat and the space between them.
Moisturize the Fabric
To make the fabric more pliable and easier to work with, lightly spray the area where you want to create pleats with water.
Be careful not to saturate the fabric; a light mist is sufficient. Alternatively, you can use fabric starch to stiffen the fabric, which can help hold the pleats in place.
Pin the Pleats
Starting from one end of the skirt, fold the fabric over to create the first pleat, using your measurements as a guide.
Pin the pleat in place with straight pins to secure it. Continue folding and pinning the fabric at regular intervals until you’ve created all the pleats. Make sure the pleats are even and neatly aligned.
Press the Pleats
Now, it’s time to set the pleats in place. Heat your iron to the appropriate temperature for your fabric (check the care label), and press the pleats.
To do this, gently place the iron over the pinned pleats and press down without moving the iron back and forth, as this can distort the pleats.
Hold the iron in place for a few seconds, then lift it. Repeat this process for all the pleats until they are crisp and well-defined.
Secure the Pleats
To ensure that the pleats stay in place, you can either hand-sew them in place or use a sewing machine. If using a sewing machine, stitch along the top edge of the pleats, about 1/4 inch from the edge.
If you’re hand-sewing, use a thread color that matches the fabric and create small, discreet stitches to secure the pleats.
Finish and Clean Up
Once all the pleats are securely in place, remove the straight pins. Give your skirt a final press with the iron to set the pleats, and you’re done! Your skirt should now have beautifully restored pleats.
Different Types of Plates In Skirt

Skirts come in various styles and designs, and pleats are a common feature that can significantly impact their appearance. Different types of pleats can create distinct looks and shapes in skirts.
Here are some of the most common types of pleats you might find in skirts:
Accordion Pleats
Accordion pleats, also known as knife pleats, are narrow, sharply pressed pleats that run in the same direction.
They create a streamlined and structured appearance, often seen in uniform skirts or formal attire. These pleats can be single or double.
Box Pleats
Box pleats are wide pleats that fold back on themselves, forming a box-like shape. These pleats are typically placed at regular intervals around the waistband, creating a full and symmetrical look.
Box pleats are often found in A-line or flared skirts, giving them a classic, feminine appearance.
Inverted Pleats
Inverted pleats are essentially box pleats turned inward, with the folded edges hidden inside the skirt. They provide a neat, tailored look and are often used in more formal skirts and dresses.
Kick Pleats
Kick pleats are small, inverted pleats usually placed at the back or sides of a skirt. They allow for ease of movement and add a subtle decorative element to the design. Kick pleats are commonly found in pencil skirts and straight-cut styles.
Sunburst Pleats
Sunburst pleats radiate from a central point, creating a dynamic and eye-catching design. These pleats are often used in midi or maxi skirts to add movement and visual interest to the garment.
Tips for Maintaining Your Pleated Skirt

Maintaining a pleated skirt is essential to keep it looking crisp, stylish, and in good condition.
Pleats add a touch of elegance to your outfit, but they can become distorted or damaged if not properly cared for.
Here are some detailed tips for maintaining your pleated skirt:
Read the Care Label
Always start by checking the care label on your skirt. Different fabrics and pleat types may have specific care instructions. Follow the manufacturer’s recommendations to avoid damaging your skirt.
Proper Storage
Storing your pleated skirt correctly is crucial to prevent wrinkles and maintain the shape of the pleats. Hang it on a padded hanger to prevent the pleats from flattening.
If you don’t have padded hangers, fold the skirt carefully along the pleats and store it in a drawer or on a shelf. Avoid hanging it by the waistband alone, as this can cause stretching.
Avoid Overwashing
Overwashing can weaken the fabric and cause the pleats to lose their shape. Only wash your skirt when it’s visibly soiled or has an odor.
Spot clean minor stains with a gentle fabric cleaner or a damp cloth to avoid unnecessary washing.
Use a Garment Bag
When storing your pleated skirt in a closet with other clothing items, consider using a garment bag.
This protects the skirt from dust, lint, and potential snags from neighboring garments.
Hand Wash or Delicate Cycle
If your skirt needs washing, follow the care label’s instructions. In general, it’s safer to hand wash or use the delicate cycle on your washing machine. Use a mild detergent designed for delicate fabrics, and turn the skirt inside out to protect the pleats.
Cold Water and Gentle Agitation
When washing your pleated skirt, use cold water to prevent color fading and to protect the fabric.
Ensure gentle agitation to avoid damaging the pleats. Avoid hot water and strong agitation cycles, as they can cause pleats to flatten or distort.
Air Dry or Low Heat
After washing, never wring out your pleated skirt. Instead, gently squeeze out excess water by pressing it between two clean, dry towels.
Then, either lay the skirt flat on a towel to air dry or use a low heat setting on your dryer. Hanging the skirt by the waistband while wet can cause it to stretch and lose its shape.
Steam Carefully
To freshen up your pleated skirt and restore its shape between washes, use a handheld steamer or a garment steaming attachment on your iron.
Steam the skirt gently, holding it by the waistband, and let the steam help the pleats fall back into place.
Avoid Ironing Directly on Pleats
If you need to iron your pleated skirt, turn it inside out and use a pressing cloth to protect the pleats.
Iron on the lowest heat setting appropriate for your fabric, and avoid ironing directly on the pleats to prevent flattening or damaging them.
Professional Cleaning
For high-quality or delicate pleated skirts, consider taking them to a professional dry cleaner who specializes in delicate fabrics.
They have the expertise and equipment to clean and maintain your skirt properly.
FAQs
Yes, you can reset pleats on most skirt styles, but the process may vary depending on the type of pleats and fabric.
While a sewing machine can be helpful for securing pleats, it’s not always necessary.
Yes, you can reset pleats in a skirt that has been stored for a long time. However, you may need to be more patient and use extra care to reshape the pleats effectively.
Yes, it’s possible to reset pleats in delicate fabrics, but you should take extra precautions.
The longevity of restored pleats depends on factors like the fabric, how well you’ve set the pleats, and how often you wear and wash the skirt.
To Wrap Up
The art of restoring pleats in a skirt is a skill that can breathe new life into your clothing collection.
Whether it’s a vintage piece with sentimental value or a staple of your everyday wardrobe, knowing how to put pleats back in a skirt can extend the life of your garments and save you money.
By carefully following the steps outlined in this guide, you can regain the elegance, structure, and overall aesthetic of your skirt.
With patience, attention to detail, and a few simple tools, you can revitalize your skirt’s pleats, allowing you to enjoy its timeless style for years to come.
Leave a Reply