Reattaching tags on clothes is a practical skill that can save you from discarding garments with missing labels. Whether your favorite shirt lost its tag or you accidentally cut one off, learning how to reattach tags can extend the life of your wardrobe.
With just a needle, thread, and a bit of patience, you can restore the missing identification in a few simple steps. This guide will walk you through the process of positioning the tag correctly, choosing the right thread, and employing basic sewing techniques to secure the tag firmly onto the fabric.
Whether you’re an experienced seamstress or a novice with a needle, reattaching tags on clothes is a valuable DIY skill that ensures your garments maintain their style and function.

How to Reattach Tags on Clothes?
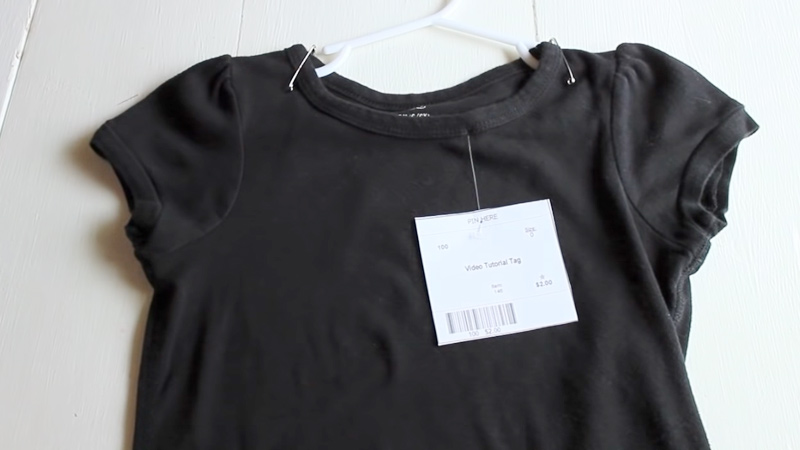
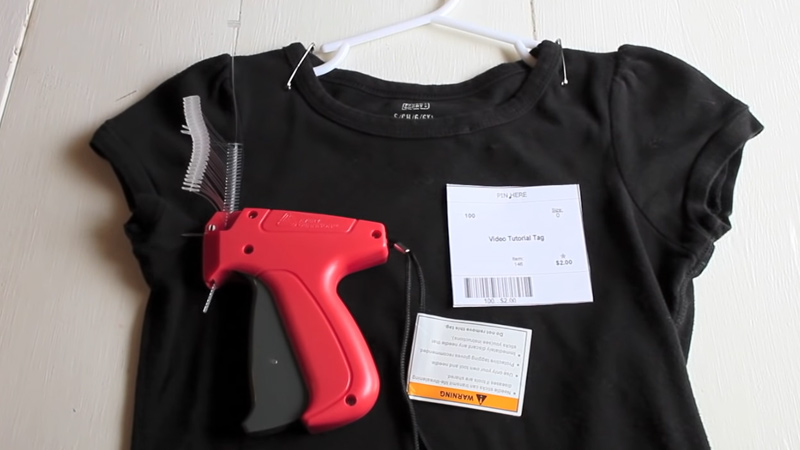
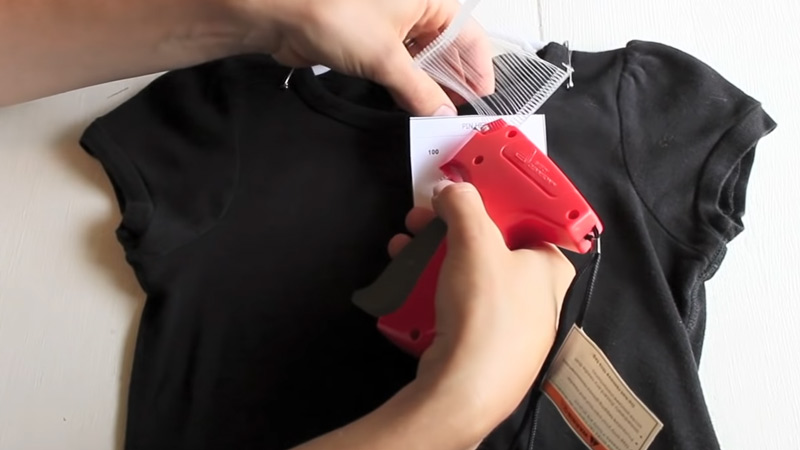
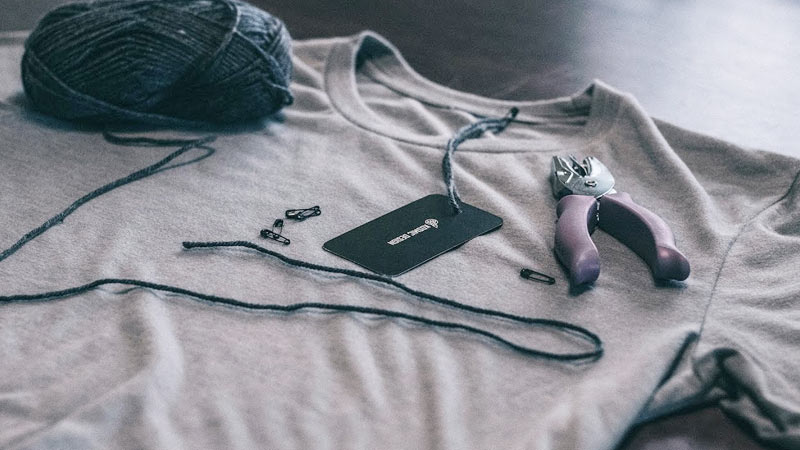
Reattaching tags on clothes is a straightforward process that can be done with a few simple tools and materials.
Here’s a step-by-step guide to help you reattach tags on clothes:
Materials Needed to Reattach Tags on Clothes

- Tag or label to be reattached
- Needle
- Thread (matching the color of the original stitches, if possible)
- Scissors
- Safety pins or sewing pins (optional, but helpful)
Position the tag
Determine the correct location for the tag on the garment. If the tag fell off, there might be small holes or marks from the previous stitches that can guide you to the correct spot.
Thread the needle

Cut a length of thread (around 18 inches or 45 cm) and thread it through the eye of the needle. Tie a knot at the end of the thread to secure it.
Start sewing
Insert the needle from the inside of the garment, so the knot is hidden inside. Pull the needle through to the outside and pass it through one end of the tag’s attachment hole (if there’s one) or through the tag itself (near the edge) if there are no holes.
Sewing technique
Use a basic running stitch to secure the tag in place. Pass the needle back and forth through the fabric and the tag or its attachment hole. Keep the stitches small and even to ensure a neat appearance.
Secure the ends
After sewing along the entire edge of the tag, make a few extra stitches or a small knot to secure the thread. If there are any remaining loose threads, trim them carefully with scissors.
Check the attachment
Gently tug on the tag to ensure it’s firmly attached to the garment. The stitches should be tight enough to hold the tag in place without puckering the fabric.
Why Do You Need to Reattach Tags on Clothes?

By reattaching tags on clothes, you maintain the garment’s identity, maximize its potential resale value, and comply with warranty and return policies. It’s a practical and beneficial practice for anyone who values their clothing collection and wants to ensure its longevity and usability.
There are several reasons why you might need to reattach tags on clothes:
Identification
Tags on clothes often contain essential information, such as the brand, size, care instructions, and fabric content. Reattaching the tags ensures you can easily identify and differentiate between your garments, especially if you have similar-looking pieces.
Resale Value
If you plan to sell or donate your clothes in the future, having the original tags attached can increase their resale value. Tags provide authenticity and credibility, which can be appealing to potential buyers.
Warranty and Returns
Some clothing items come with warranties or return policies that require the original tags to be intact. By reattaching tags, you maintain the option to return or exchange the item if needed.
Care Instructions
The care instructions on clothing tags are vital for maintaining the fabric’s quality and longevity. Reattaching tags ensures you have access to the proper care guidelines to keep your clothes looking their best.
Brand Loyalty
For those who prefer specific brands, having the original tags intact can symbolize brand loyalty and authenticity, adding to the overall appeal of the garment.
Personal Preference
Some individuals simply prefer to keep their clothes fully intact, including the tags, as it aligns with their organizational habits and attention to detail.
Precautions on Reattaching Tags on Clothes
When reattaching tags on clothes, it’s essential to take certain precautions to ensure a successful and safe process. By taking these precautions, you can successfully reattach tags on clothes while preserving the integrity of the garment and ensuring a neat and durable result.
Here are some precautions to keep in mind:
Fabric Compatibility
Consider the type of fabric you are working with before reattaching the tag. Delicate fabrics like silk or chiffon may require a lighter touch, while heavy fabrics like denim may need stronger stitches. Choose appropriate thread and needle sizes accordingly.
Proper Positioning
Ensure the tag is correctly positioned on the garment before sewing. A misplaced tag might lead to discomfort or an unattractive appearance. Use any previous stitching holes or marks as a guide, if available.
Use Matching Thread
Whenever possible, use thread that matches the color of the original stitches. Using contrasting threads may draw unnecessary attention to the reattached tag.
Gentle Sewing
Avoid pulling too tightly on the thread while sewing, as this could pucker the fabric or distort the garment’s shape. Keep the stitches small and even to achieve a neat and secure attachment.
Test on Scrap Fabric
If you’re new to sewing, practice reattaching a tag on a scrap piece of fabric first to get a feel for the process and ensure you’re comfortable with the technique.
Avoid Adhesives
Although it might be tempting to use adhesive or fabric glue for a quick fix, sewing is a more durable method for reattaching tags. Adhesives may not hold up well in the long run and could damage the fabric.
Trim Excess Thread
After reattaching the tag, carefully trim any excess thread to avoid snagging or tangling.
Check Tag Attachment
Before wearing or laundering the garment, gently tug on the reattached tag to ensure it’s securely in place.
Respect Clothing Care Instructions
If the tag contains specific care instructions, follow them diligently to maintain the garment’s quality.
FAQS
To reattach a fallen tag, thread a needle with matching thread, position the tag correctly on the garment, and sew it back on using small, even running stitches.
If the tag lacks attachment holes, sew it directly onto the fabric’s edge, making sure the stitches are secure and evenly spaced to keep the tag in place.
Ideally, use thread that matches the color of the original stitches or the garment’s fabric. Polyester or cotton thread are common choices and work well for most fabrics.
While adhesive or fabric glue may work temporarily, they might not provide a long-lasting solution. Sewing the tag back on is more durable and ensures it stays in place.
Practice on scrap fabric first to get comfortable with the sewing technique. Consider using safety pins to hold the tag in place while you sew. Take your time, and with a little practice, you’ll master the process easily.
Conclusion
Reattaching tags on clothes is a practical and accessible solution to preserve and prolong the life of your garments. With just a few basic sewing supplies and a bit of practice, you can easily restore missing tags and avoid the need to replace otherwise perfectly good clothing items.
Not only does this DIY skill save you money, but it also allows you to maintain the garment’s original style and functionality. Whether you’re an experienced sewer or a beginner, the satisfaction of successfully reattaching tags is both rewarding and empowering.
Embrace this simple yet valuable technique to keep your wardrobe organized, identifiable, and in excellent condition for many wears to come.
Leave a Reply