Removing an embroidered logo from a shirt may seem daunting, but with the right techniques and a little patience, it can be a manageable task.
Whether you want to refresh an old shirt or eliminate branding for a more neutral look, knowing how to safely and effectively remove the logo is valuable knowledge.
Embroidered logos, though intricately stitched, can be delicately taken apart with the right tools and methods.
In this guide, we’ll walk you through step-by-step instructions to ensure that your shirt remains undamaged while you bid farewell to the embroidered design.
So, let’s embark on the journey of logo removal with confidence and precision.
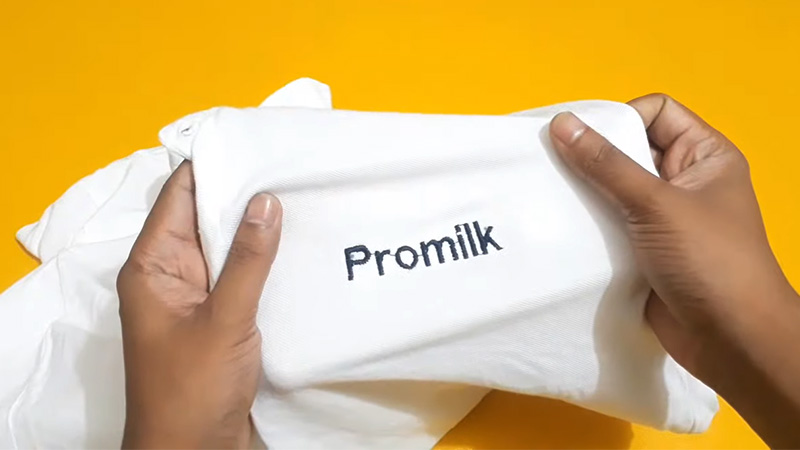
How to Remove Embroidered Logo from Shirt?
Removing an embroidered logo from a shirt can be a delicate process, but with patience and the right tools, it’s possible to achieve a clean result without damaging the fabric.
Here’s a step-by-step guide on how to remove an embroidered logo from a shirt:
Gather your tools:
To remove an embroidered logo from your shirt, you will need a few tools, such as:
- Seam ripper: This small tool is designed to remove stitches and will be your primary tool for this task.
- Small, sharp scissors: These can be handy for trimming loose threads.
- Tweezers: Use tweezers with a fine tip to grasp and remove individual threads.
- Iron and ironing board: For smoothing out the fabric.
- Clean, white cloth: To protect the fabric from direct heat.
- Fabric adhesive remover (optional): In case there is sticky residue left behind.
- Mild detergent: For washing the shirt after logo removal.
Steps to remove an embroidered logo from a shirt:
Step 1: Assess the Logo
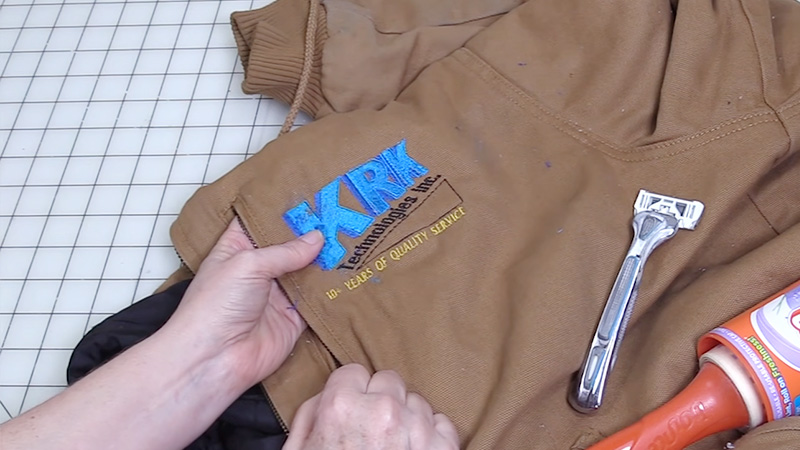
First, examine the logo and its stitching. Determine whether it’s stitched directly onto the fabric or if it’s attached using adhesive backing. This information will help you decide the best approach.
Step 2: Prepare the Shirt
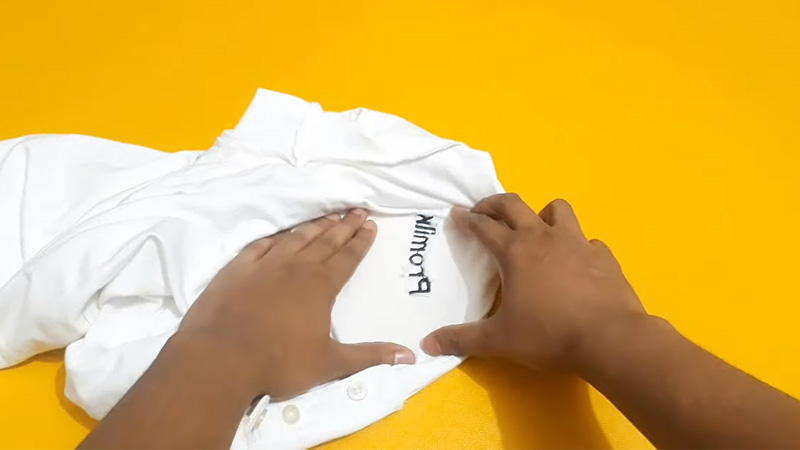
The first step to remove an embroidered logo from your shirt is to turn it inside out so that you can see the back of the embroidery.
This is where you will find the bobbin thread, which is usually white and holds the embroidery together.
Step 3: Use a Seam Ripper
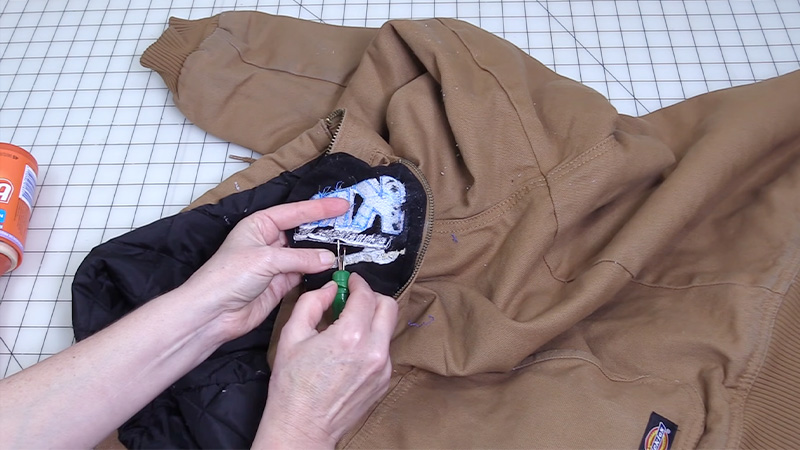
The next step is to use a seam ripper to cut through the bobbin thread on the back of the embroidery. You can do this by inserting the sharp point of the seam ripper under the thread and lifting it up gently to cut it.
You don’t need to cut every single stitch but try to cut as many as you can without damaging the fabric of the shirt.
Step 4: Use a Stitch Eraser
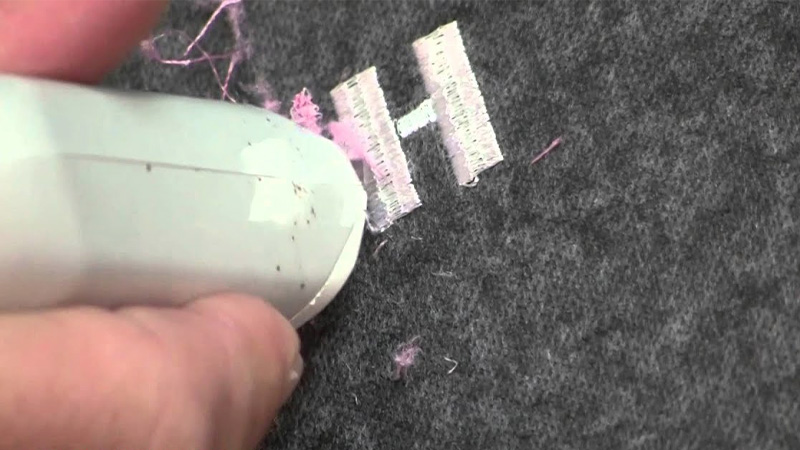
Once you have cut through most of the bobbin thread, you can use a stitch eraser or a hair trimmer to shave off the excess threads from the back of the embroidery. You can do this by holding the device at an angle and moving it along the surface of the embroidery.
Be careful not to touch the fabric of the shirt with the blade, as this can cause holes or snags.
Step 5: Use Tweezers
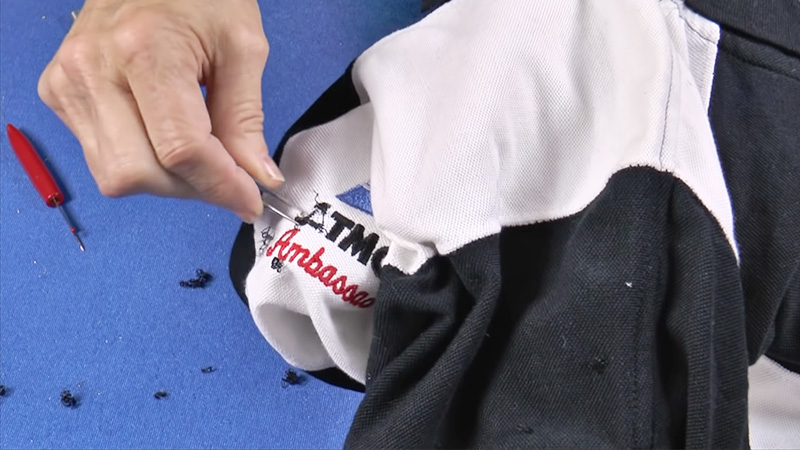
After shaving off the excess threads from the back, you can turn your shirt right side out and check if there are any remaining threads from the front of the embroidery.
You can use tweezers or fabric scissors to pull out or cut off any threads that are still visible. You can also use a magnifying glass to inspect your work and make sure you don’t leave any traces of embroidery.
Step 6: Use a Lint Roller
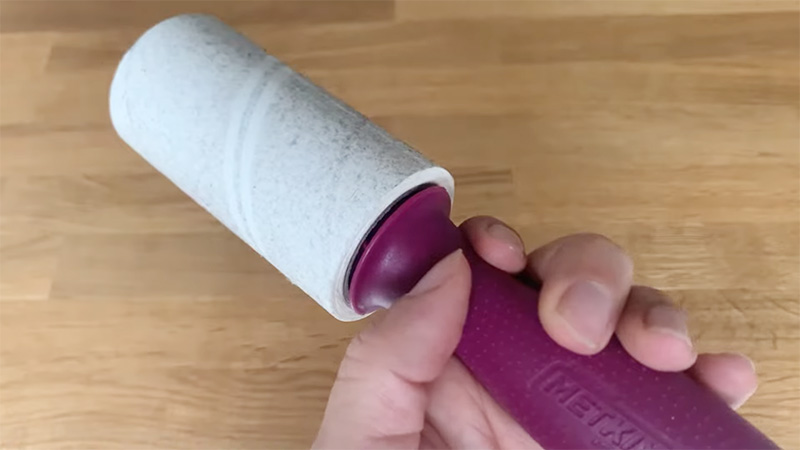
The final step is to use a lint roller, a clothing brush, or tape to clean up your shirt and remove any loose threads or lint that might have been left behind after removing the embroidery.
You can also wash and iron your shirt to make it look fresh and smooth.
How Do You Prevent the Logo from Leaving a Mark on the Shirt?
Preventing a logo from leaving a mark on a shirt largely depends on how you attach or remove the logo.
Here are some tips to minimize the risk of leaving a noticeable mark when adding or removing logos from shirts:
Gentle Techniques
When removing an embroidered logo, prioritize gentle techniques. Start by carefully inserting a seam ripper under the logo’s stitches.
Avoid pulling or tugging, as this can stretch or damage the fabric. Instead, work patiently to cut and remove each stitch individually.
Patience
Rushing the logo removal process can lead to fabric damage and marks. Take your time to avoid causing unnecessary harm to the shirt. Precision is key when working with delicate materials.
Inspect the Shirt
After logo removal, carefully inspect the shirt to ensure all threads and adhesive residues are gone. Even small remnants can leave marks when you wash or wear the shirt.
Ironing
To address any potential puckering or distortion caused during logo removal, gently iron the area with a cloth barrier. This can help smooth out the fabric and reduce the appearance of marks.
Washing
Follow the care label instructions and wash the shirt after logo removal. Washing can help eliminate any remaining residues and restore the fabric’s original appearance. Be sure to use a gentle detergent.
Pre-Treatment
If you’re concerned about adhesive residue, consider using a fabric adhesive remover before washing.
Follow the product’s instructions and test it on a small, inconspicuous area of the shirt first to ensure it doesn’t cause any unintended damage.
Professional Help
If you’re uncertain about removing a logo yourself or worried about potential marks, it’s advisable to seek assistance from a professional textile specialist or a dry cleaner with experience in handling delicate fabrics.
How Do You Peel off the Logo From the Shirt?
Peeling off a heat-pressed logo from a shirt requires some careful handling to avoid damaging the fabric.
Here are step-by-step instructions on how to peel off the logo:
Materials you’ll need
- An iron or heat gun.
- Clean, white cloth.
- Plastic scraper or old credit card.
- Patience.
Steps to peel off the logo from the shirt:
Ironing
Lay a clean, white cloth over the heat-pressed logo to protect the fabric from direct heat. Then, use an iron set to a low to medium heat setting (no steam) or a heat gun on a low setting.
Apply heat to the logo for 15-30 seconds. The heat will soften the adhesive underneath.
Locate an Edge
After heating, find a corner or edge of the logo that appears to be slightly lifted or loosened.
If there’s no obvious starting point, gently insert the edge of a plastic scraper or an old credit card under the logo, being careful not to scrape the fabric itself.
Peel Gently
Once you’ve found a starting point, slowly and gently peel off the logo. Pull at a low angle to minimize the risk of damaging the fabric.
If the logo doesn’t come off easily, apply a bit more heat to the area you’re working on and continue peeling.
Work Methodically
Continue peeling the logo section by section, always applying heat as needed to soften the adhesive. Be patient and avoid using excessive force, as this can stretch or damage the fabric.
Check Again
While peeling off the logo, periodically check the fabric beneath to ensure you’re not causing any damage or leaving residue.
If you notice any adhesive remaining on the shirt, it’s okay; you’ll address that in the next steps.
Finishing Touch
Keep peeling until you’ve removed the entire logo. If any adhesive residue remains, don’t worry; you’ll deal with that in the following steps.
Clean-Up Residue
If there is adhesive residue left on the shirt after logo removal, you can use a fabric adhesive remover to dissolve and remove it. Follow the product’s instructions for application.
FAQs
Yes, it’s possible to remove an embroidered logo without damaging the shirt by using the right tools and techniques. Patience and care are key to preserving the fabric.
You’ll need a seam ripper, small scissors, tweezers, an iron, a clean cloth, fabric adhesive remover (optional), mild detergent, and a soft-bristle brush (for residue removal).
Most embroidered logos can be removed, but the ease of removal depends on factors like the logo’s size, complexity, and the quality of the embroidery.
The primary risk is damaging the fabric if you’re not careful. Using excessive force, pulling too hard, or using the wrong tools can result in fabric tears or distortion.
While it’s possible to remove logos from various fabrics, some delicate or loosely woven fabrics may be more challenging to work with and require extra caution to prevent damage during the removal process.
To Wrap Up
To follow above the steps, you’ll successfully remove an embroidered logo from a shirt requires meticulous attention to detail and a gentle touch.
As we’ve explored in this guide, the process involves careful dissection of stitches, the use of appropriate tools, and post-removal fabric care to ensure the shirt retains its original appearance.
By following the outlined steps, you can transform a shirt that once bore an embroidered emblem into a clean, logo-free canvas.
This skill empowers you to rejuvenate your clothing or adapt it to new styles while preserving the fabric’s integrity.
Remember, patience and precision are your allies in this endeavor, ensuring that your shirt emerges logo-free and ready for a fresh start.
Leave a Reply