Screen printing, while a popular method for creating vibrant and durable designs on fabric, may sometimes necessitate removal.
Whether you’re repurposing a garment or seeking to refresh its appearance, the process demands careful consideration and the right techniques. This guide provides comprehensive steps on how to effectively remove screen printing from clothes.
Beginning with a crucial spot test, we’ll explore various methods, from using acetone or rubbing alcohol to alternative approaches like lemon juice and salt.
With patience and the correct materials, you can successfully restore your garment, ensuring it remains a versatile piece in your wardrobe for years to come.
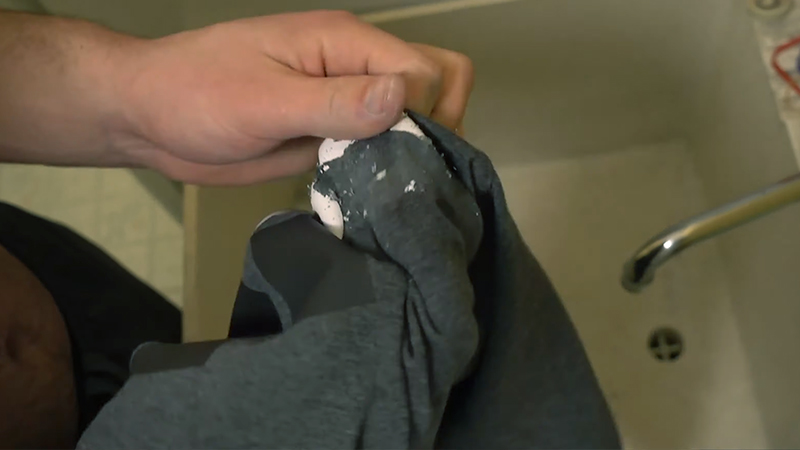
What Is Screen Printing?
Screen printing, also known as silk screening, is a versatile and widely used printing technique. It involves applying ink onto a surface through a mesh screen, which has areas blocked off by a stencil or emulsion. The stencil defines the design to be printed.
The process begins by placing the screen over the material to be printed, such as fabric, paper, or plastic. Ink is then spread across the top of the screen, and a squeegee is used to press the ink through the mesh, transferring the design onto the material beneath.
Each color in the design requires a separate screen, allowing for multi-colored and intricate designs.
Screen printing is favored for its durability and vibrant, long-lasting prints, making it popular for apparel, posters, packaging, and various promotional items.
How to Remove Screen Printing From Clothes?
Removing screen printing from clothes can be a challenging task, but it is possible with the right techniques and patience.
Screen printing ink is typically designed to be durable and long-lasting, so it may take some effort to completely remove it from the fabric.
Here’s a step-by-step guide on how to remove screen printing from clothes:
Materials You’ll Need:
- Acetone or Nail Polish Remover.
- Rubbing Alcohol.
- Cotton Balls or Swabs.
- An Old Toothbrush.
- Paper Towels.
- Clean Cloth.
- Mild Detergent.
- Washing Machine.
Test a Hidden Area
Before initiating the process, select a discreet area on the garment, such as an inside seam or hem. Apply a small amount of acetone or rubbing alcohol to a cotton ball or swab.
Gently dab the chosen area and observe closely for any unintended reactions. Look for signs of color fading, fabric weakening, or discoloration. Take your time with this step; it ensures you don’t inadvertently damage the fabric.
Apply Acetone or Rubbing Alcohol
Dip a fresh cotton ball or swab into the acetone or rubbing alcohol. Starting from the outer edges of the ink stain, work your way toward the center, gently blotting the screen-printed area.
The aim is to gradually dissolve the ink without applying too much pressure. Excessive rubbing may drive the ink further into the fabric or cause the fibers to fray.
Scrub with a Toothbrush
With a soft-bristle toothbrush, carefully and in a circular motion, scrub the treated area.
Focus primarily on the inked portion, applying just enough pressure to help loosen the ink. Be cautious and ensure that you’re not overly vigorous, as this could risk damaging the fabric.
Blot with Paper Towels
To protect the surrounding fabric, place several layers of clean paper towels beneath the stained area. Using a fresh cotton ball or swab soaked in acetone or rubbing alcohol, gently blot the screen-printed area.
You should notice the ink transferring onto the paper towels. Change the paper towels regularly to ensure they effectively absorb the ink.
Repeat as Necessary
Given the resilience of screen printing ink, persistence is key. Don’t be disheartened if the stain doesn’t vanish after the initial attempt.
Continue repeating steps 2 to 4 until you’ve removed as much of the ink as possible. Take your time and remain patient; this process may require several rounds.
Launder the Garment
Once you’re content with the results, wash the garment on its own in cold water using a mild detergent.
This will help eliminate any lingering traces of ink and cleaning solution. Avoid using bleach or harsh chemicals, as they can exacerbate damage to the fabric.
Air Dry
Avoid using high heat to dry the garment, as this can set any remaining ink stains. Instead, allow the garment to air dry in a well-ventilated area.
Once dry, inspect the fabric for any persistent stains. If necessary, repeat the process until the screen printing is entirely removed.
Different Types of Methods for Removing Screen Printing
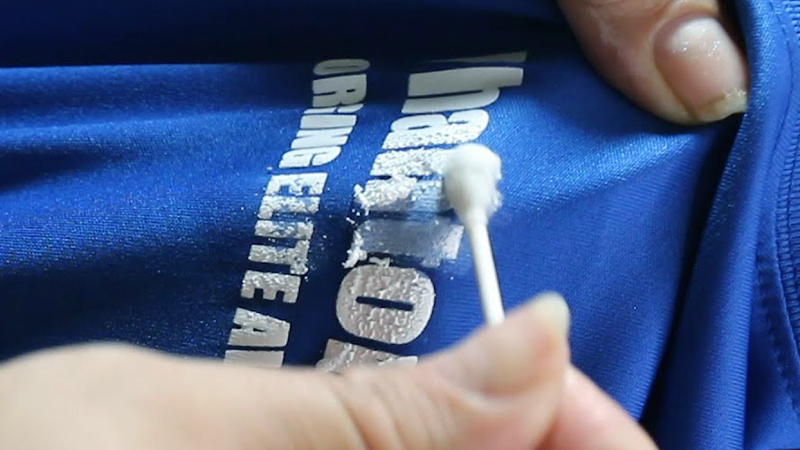
There are several methods you can try to remove screen printing from clothes.
Each method varies in its approach, so it’s essential to choose the one that’s best suited for the specific fabric and ink type.
Here are some different methods for removing screen printing:
Commercial Ink Remover
- Suitable for: Various fabric types, including delicate ones.
- Method: Purchase a commercial ink remover designed for fabric. Follow the manufacturer’s instructions for application. Usually, you’ll blot the stain and then wash the garment.
Lemon Juice and Salt
- Suitable for: White cotton or linen fabrics.
- Method: Squeeze lemon juice onto the stain and sprinkle salt over it. Rub the fabric together gently to work in the mixture. Allow it to sit in the sun for a few hours, then rinse and wash.
Baking Soda and Toothpaste
- Suitable for: White cotton or linen fabrics.
- Method: Mix equal parts baking soda and toothpaste to create a paste. Apply this mixture to the stain, gently scrub, and let it sit for a few hours. Rinse thoroughly and wash.
Heat and Wax Paper
- Suitable for: Thin fabrics like jerseys.
- Method: Lay a piece of wax paper over the screen-printed area. Use a hot iron (without steam) on the wax paper for a few seconds. The heat should soften the ink, allowing it to transfer onto the paper.
Sandpaper
- Suitable for: Thick inks on sturdy fabrics.
- Method: Place a piece of cardboard or thick paper inside the garment to prevent the ink from transferring to the other side. Gently sand the screen-printed area with fine-grit sandpaper. This method requires caution, as it can damage delicate fabrics.
Professional Printing Ink Removers
- Suitable for: Various fabric types.
- Method: Visit a professional cleaner or fabric store and inquire about specialized ink removers. These products are designed to be effective and safe for fabric use.
Post-removal Care of Screen Printing From Clothes
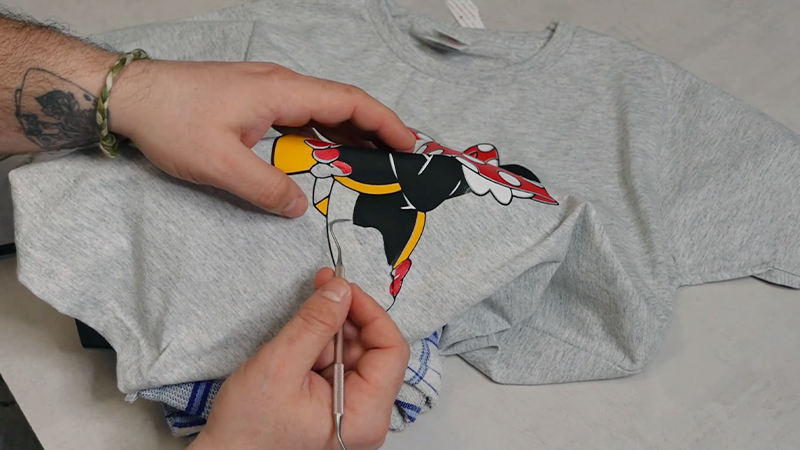
Once you’ve successfully removed screen printing from your garment, it’s important to follow through with proper care to ensure the fabric remains in good condition.
Post-removal care is crucial in maintaining the integrity and appearance of your clothing.
Here are some essential steps to take after removing screen printing from clothes:
Rinse and Inspect
After the screen printing has been successfully removed, thoroughly rinse the garment to ensure all traces of the cleaning solution or solvent are gone.
Inspect the fabric for any signs of damage or discoloration that may have occurred during the removal process. If any issues are noted, consider seeking professional advice.
Wash with Mild Detergent
Launder the garment separately using a mild detergent. Avoid using bleach or harsh chemicals, as they can potentially further damage the fabric.
Wash the garment in cold water to prevent any remaining ink particles from setting into the fibers.
Air Dry
Avoid using high heat to dry the garment. Instead, allow it to air dry in a well-ventilated area. This will help ensure that any remaining ink stains do not become more difficult to remove.
Check for Residual Stains
After the garment has dried, inspect it for any lingering ink stains. If you notice any, you may want to consider repeating the screen printing removal process.
Iron with Caution
When necessary, iron the garment on a low setting. Be sure to place a cloth or paper towel between the iron and the fabric to avoid direct contact. Ironing can help smooth out any wrinkles caused by the removal process.
Store Properly
Store the garment in a cool, dry place away from direct sunlight. Avoid folding or creasing it in a way that could cause any remaining ink particles to become further embedded in the fabric.
Seek Professional Assistance
If you encounter difficulties in removing the screen printing or if the fabric appears damaged after the process, consider consulting a professional cleaner or fabric expert for further advice and assistance.
Common Mistakes and How to Avoid Them
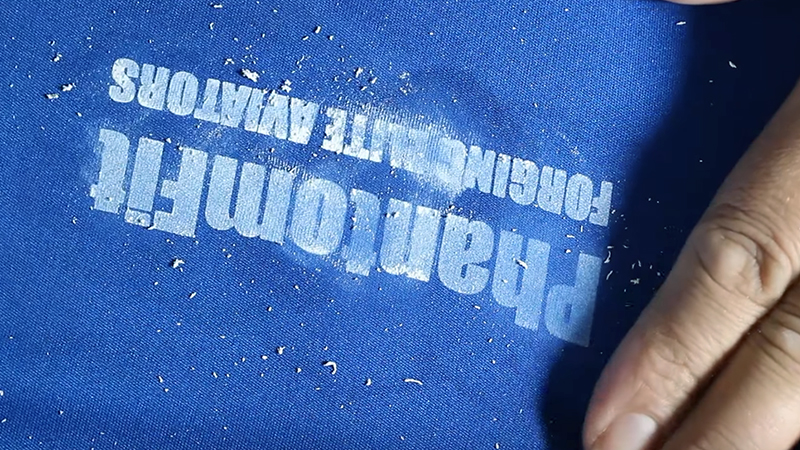
When attempting to remove screen printing from clothes, there are several common mistakes that can hinder the process or even damage the fabric.
Here are some of these mistakes and how to avoid them:
Not Performing a Spot Test
- Mistake: Skipping the spot test can lead to unintended damage or discoloration of the fabric.
- Avoidance: Always perform a spot test on an inconspicuous area before applying any removal method to the entire garment.
Using Excessive Force
- Mistake: Applying too much pressure or scrubbing vigorously can weaken or fray the fabric.
- Avoidance: Use gentle and gradual pressure during the removal process to avoid damaging the fabric.
Rubbing Instead of Blotting
- Mistake: Rubbing the fabric aggressively can push the ink deeper into the fabric, making it more difficult to remove.
- Avoidance: Use a blotting motion when applying solvents or solutions to lift the ink without causing further damage.
Not Protecting Surrounding Areas
- Mistake: Neglecting to place a barrier beneath the stained area can lead to the ink spreading to other parts of the garment.
- Avoidance: Always use paper towels or a protective layer to prevent ink transfer.
Using Harsh Chemicals
- Mistake: Harsh chemicals, like bleach, can further damage the fabric and may not be effective for screen printing removal.
- Avoidance: Stick to mild detergents and avoid using any chemicals that are not specifically recommended for fabric use.
Not Rinsing Thoroughly
- Mistake: Failing to rinse the fabric after applying a removal method can leave behind a residual cleaning solution or solvent.
- Avoidance: Rinse the fabric thoroughly to remove any leftover cleaning agents.
Skipping Air Drying
- Mistake: Using high heat to dry the garment can set any remaining ink stains, making them more challenging to remove.
- Avoidance: Allow the garment to air dry in a well-ventilated area instead of using high heat.
Not Inspecting the Results
- Mistake: Failing to thoroughly inspect the fabric after it has dried can result in overlooking the remaining traces of screen printing.
- Avoidance: Carefully examine the garment for any signs of remaining ink and, if necessary, repeat the removal process.
Being Impatient
- Mistake: Expecting immediate results can lead to frustration and potentially hasty decisions that may damage the fabric.
- Avoidance: Understand that screen printing removal may take time and several attempts. Be patient and persistent.
Techniques for Preventing Screen Printing From Fading or Cracking Over Time
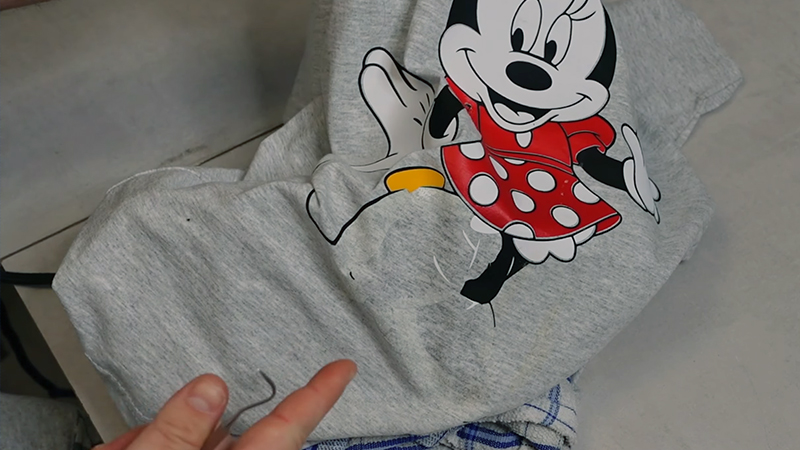
Preventing screen printing from fading or cracking over time involves a combination of proper printing techniques, quality materials, and post-printing care.
Here are some techniques to ensure a durable and long-lasting screen print:
Use High-Quality Inks
Investing in premium, reputable inks tailored for screen printing is paramount. These inks are formulated to provide excellent adhesion to fabrics and have superior colorfastness, reducing the likelihood of fading or cracking over time.
They also tend to have a smoother consistency, ensuring a clean and consistent print.
Proper Screen Preparation
Before printing, ensure that screens are meticulously coated with emulsion and allowed to thoroughly dry.
This crucial step ensures that the stencil is well-defined, which directly impacts the quality and longevity of the print. A well-prepared screen is the foundation of a durable print.
Adequate Ink Coverage
Applying a sufficient amount of ink ensures that the fabric receives full coverage. Too little ink may result in a weak print that’s more prone to cracking.
Adequate ink coverage provides a solid foundation for the design to adhere to the fabric’s fibers.
Use Proper Mesh Counts
Selecting the appropriate mesh count is essential for achieving the desired level of detail in the design.
Finer mesh counts are ideal for intricate and detailed designs, while coarser counts work well for bold and simpler prints. Choosing the right mesh count ensures that the ink is applied evenly and accurately.
Cure at the Right Temperature
Properly curing the ink is crucial for its longevity. This involves exposing the print to the correct temperature for the right duration.
This process ensures that the ink bonds effectively with the fabric, preventing it from peeling or cracking over time. Careful attention to curing temperatures is fundamental in achieving a durable print.
Maintain Consistent Pressure
Consistency in pressure during the printing process is imperative. Uneven pressure can lead to areas where the ink is applied too thinly, making it more susceptible to cracking.
Ensuring that the pressure is uniform across the print area is essential for achieving a high-quality, long-lasting result.
Allow for Proper Drying Time
Rushing the drying process can compromise the adhesion of the ink. Allowing the print to air dry or cure for the recommended duration ensures that the ink fully bonds with the fabric.
This patience in the drying process is a critical factor in achieving a print that stands the test of time.
Post-Print Drying or Curing
After the printing process, it’s imperative to employ the appropriate drying or curing method. This step solidifies the ink’s bond with the fabric, ensuring its durability.
Utilizing a heat press or conveyor dryer, following manufacturer guidelines, is essential in achieving a long-lasting screen print.
Avoid Overloading Ink
Excessive ink application can lead to poor adhesion and subsequent cracking. Using the correct amount of ink for each print is crucial.
This ensures that the ink is applied evenly, providing a strong foundation for the design to adhere to the fabric.
Avoid Excessive Heat
While curing is essential, excessive heat can also lead to cracking. Adhering to recommended temperature guidelines for curing ensures that the ink bonds with the fabric without compromising its structural integrity.
Select the Right Fabric
Choosing the appropriate fabric is pivotal for a long-lasting screen print. Cotton and blends are generally more receptive to screen printing, as they readily absorb the ink.
Synthetic fabrics may require special inks and curing methods to achieve optimal results.
Offer Aftercare Instructions
Providing customers with clear and concise care instructions for printed garments is crucial.
Advising them to wash items inside-out, use mild detergents, and avoid high-temperature washing or drying ensures that the print remains vibrant and intact over time.
FAQs
Can I use regular nail polish remover to remove screen printing?
Yes, acetone-based nail polish remover can be effective in removing screen printing.
Will rubbing alcohol work for all types of fabric?
Rubbing alcohol is generally safe for cotton and polyester fabrics. However, it’s always best to perform a spot test to check for any adverse reactions on the specific fabric.
Can I remove screen printing from delicate fabrics like silk or satin?
Removing screen printing from delicate fabrics requires extra care. It’s recommended to consult a professional cleaner or fabric expert for the best approach.
How can I prevent damage to the fabric during the removal process?
Use gentle pressure, blot instead of rub, and test any removal method on a hidden area first.
What if the screen printing has been on the fabric for a long time?
Older screen printing may be more challenging to remove. It may take additional time and effort, and the results may not be as complete as with fresher prints.
Wrap Up
Successfully removing screen printing from clothes requires a delicate balance of technique, patience, and the right materials.
Beginning with a spot test to ensure compatibility, choosing appropriate solvents like acetone or rubbing alcohol, and employing gentle, consistent pressure during the process are all crucial steps.
Adequate drying time and careful post-print care, including proper laundering and air drying, further enhance the likelihood of success. It’s essential to avoid common mistakes such as using excessive force or harsh chemicals.
Ultimately, with diligence and attention to detail, it’s possible to restore garments to their former state, offering a fresh canvas for new designs or prolonging the life of cherished apparel.
Leave a Reply