Unleash your creativity with the enchanting combination of paper and wood! Whether you’re a seasoned crafter or a DIY enthusiast, sealing paper on wood opens up a world of possibilities for unique and lasting creations.
This step-by-step guide will walk you through the process of how to seal paper on wood, providing expert tips and techniques to ensure a flawless finish.
From preserving cherished memories on wooden surfaces to crafting personalized gifts with a touch of elegance, sealing paper on wood is a versatile skill that adds a distinctive charm to your projects.
Join us as we delve into the art of seamlessly blending these two materials, unlocking the potential to transform ordinary pieces into extraordinary works of art.
Let your imagination soar as we explore the fascinating journey of how to seal paper on wood for timeless and enduring masterpieces.

How to Seal Paper on Wood?
Sealing paper on wood is a delicate yet rewarding process that allows you to preserve and enhance your artistic creations. Hence, knowing how to seal paper to wood is essential for DIY enthusiasts. Here’s the process for you:
Prepare the Wood Surface to Seal the Paper
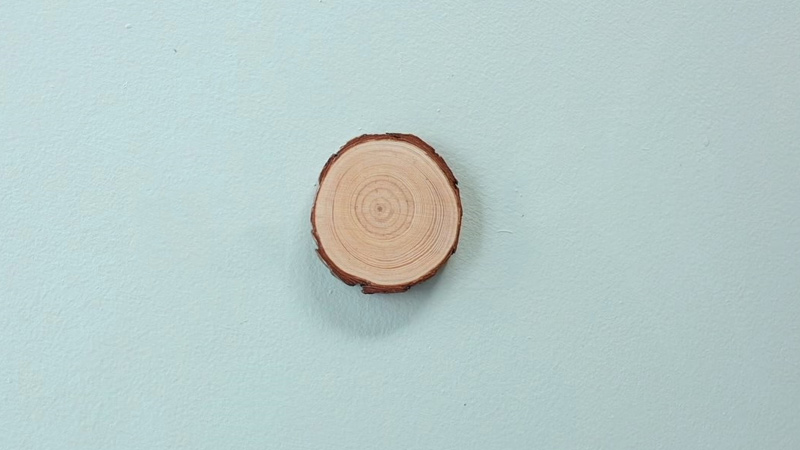
Before diving into the enchanting world of sealing paper on wood, the foundation is key. Begin by gently sanding the wood surface using fine-grit sandpaper.
This not only creates a smooth canvas for your artistic endeavors but also ensures better adhesion of the paper. After sanding, diligently wipe away any lingering dust, leaving the surface pristine, clean, and ready for the next step.
Select and Prepare the Paper
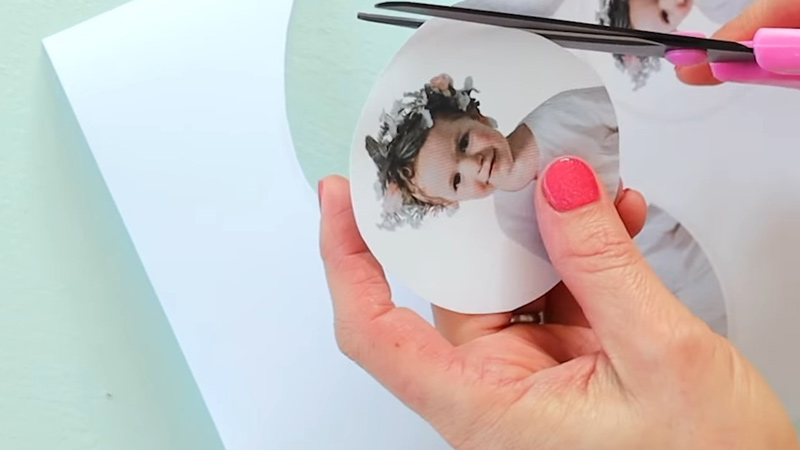
The choice of paper sets the tone for your creation. Consider the project’s requirements and aesthetics when selecting the paper. Whether it’s a vintage map, a sentimental letter, or a decorative pattern, the size and design matter.
Once chosen, delicately cut or tear the paper to fit the dimensions of the wood surface, ensuring a seamless integration of the two mediums.
Apply Adhesive
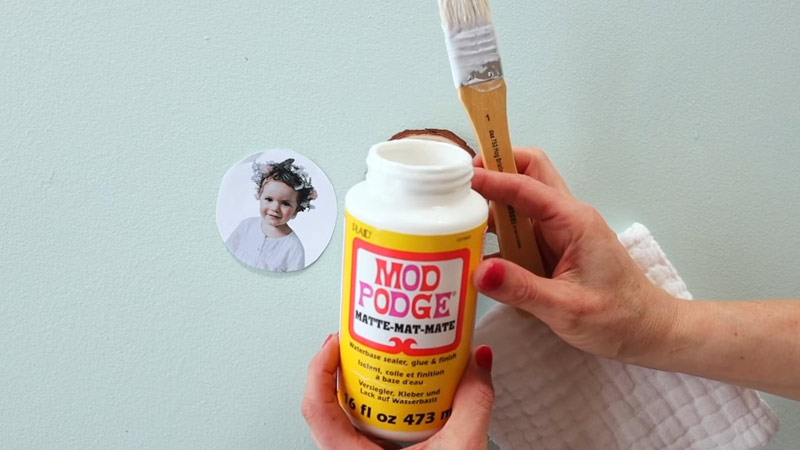
Now, let the artistic alchemy begin. Take a brush and apply a thin, even layer of adhesive to the prepared wood surface. The adhesive serves as the bridge between the tactile wood and delicate paper.
With precision, carefully place the chosen paper onto the adhesive for wood sealing. Take a moment to ensure perfect alignment, as the correct positioning is crucial for the overall aesthetic appeal.
Smooth Out Air Bubbles
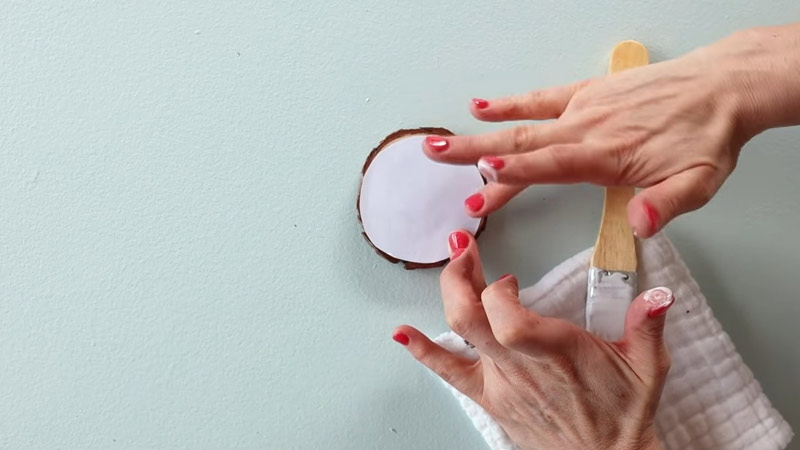
As you embark on the journey of combining wood and paper, a gentle touch becomes paramount. Begin by pressing down on the paper from the center, gradually moving outward.
This method helps eliminate any lurking air bubbles or wrinkles that could disrupt the flawless integration of the two materials.
A clean, dry cloth becomes your trusted companion in this step, aiding in achieving a smooth, bubble-free surface.
Let it Dry
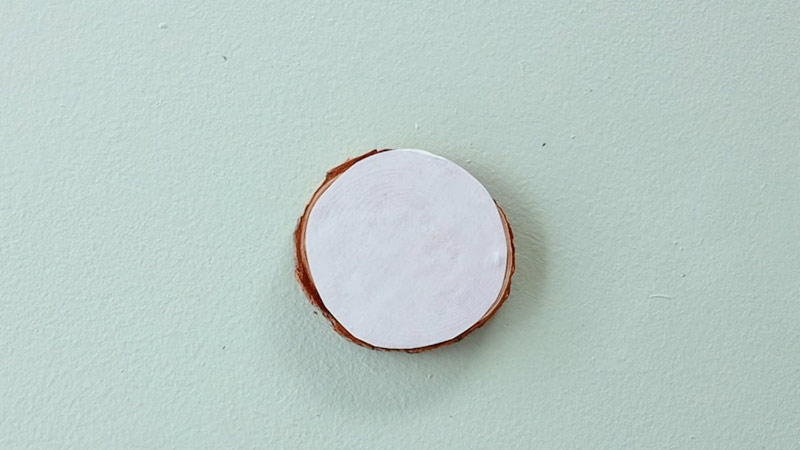
Patience becomes your virtue as you allow the adhesive to dry completely. This intermission in the process is essential for a sturdy and long-lasting bond between the paper and wood.
Refer to the recommended drying time specified by the adhesive manufacturer, ensuring that the foundation is solid before progressing to the next phase of your artistic endeavor.
Apply Sealant to the Paper
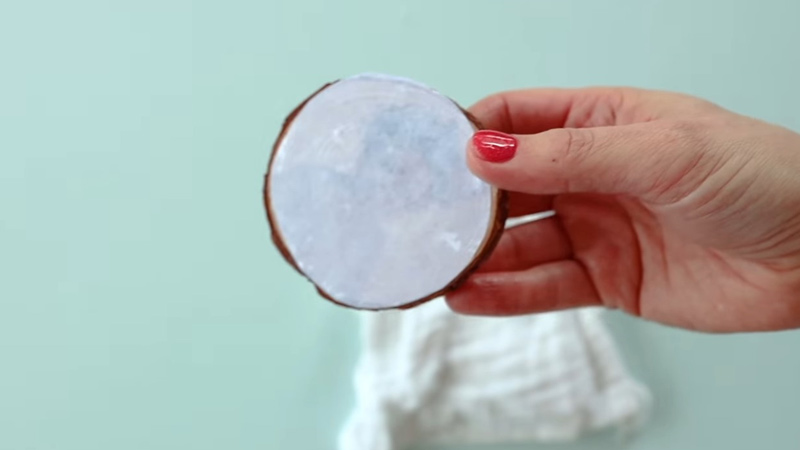
With the foundation securely laid, it’s time to protect your creation for the long haul. Once the adhesive is thoroughly dry, take a clean brush and generously apply a layer of clear sealant.
Ensure even coverage, extending the sealant over the entire paper surface and slightly overlapping onto the wood. This protective layer not only safeguards your creation but also enhances its visual appeal.
Repeat the Process
Building resilience layer by layer, allows the sealant to dry completely before considering additional layers.
This iterative process ensures heightened durability and longevity. Repeat this step as needed, gradually building up the protective shield that will preserve your creation for years to come.
Final Touches
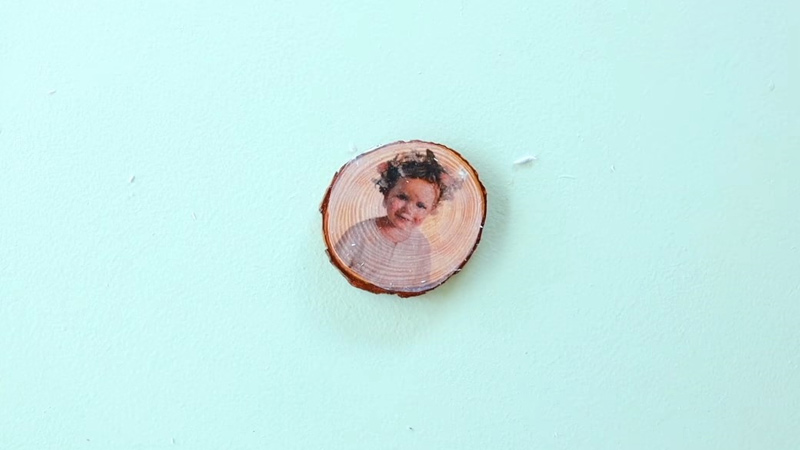
As your masterpiece takes shape, meticulous attention to detail becomes paramount. Inspect the project for any imperfections or uneven surfaces that may have emerged during the application process.
For that final touch of finesse, lightly sand between sealant layers. This not only smoothens the surface but also adds a polished finish, elevating your sealed paper-on-wood creation into a true work of art. So, now you know how to seal paper!
What Adhesives Can I Use to Seal Paper on Wood?
Choosing the right adhesive is a critical step in learning how to seal wood. The adhesive not only serves as the bonding agent between the paper and wood but also plays a significant role in determining the overall durability and appearance of your project.
Here, we explore various adhesives suitable for sealing paper on wood, each with its unique characteristics and applications.
Decoupage Glue
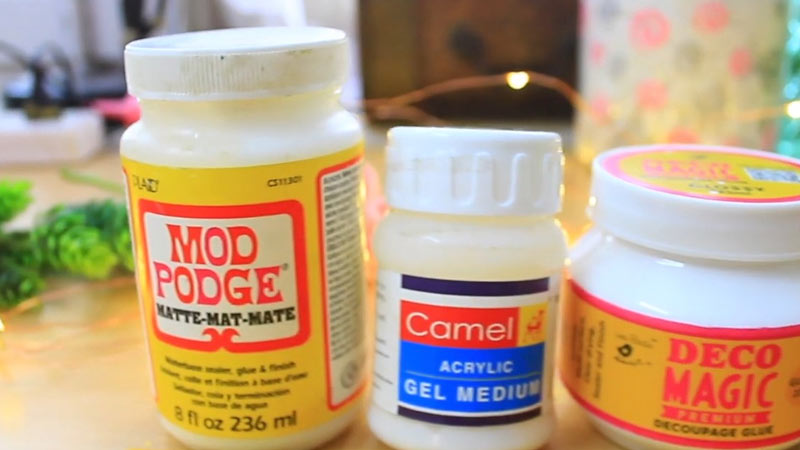
Decoupage glue is a popular choice for sealing paper on wood due to its versatility and ease of use. It is specifically designed for decoupage projects, making it an excellent option for various paper-crafting endeavors.
Apply a thin, even layer of decoupage glue to the wood surface using a brush. Place the paper onto the adhesive, ensuring proper alignment. Smooth out any air bubbles or wrinkles using a clean, dry cloth.
Mod Podge
Mod Podge is a versatile adhesive that works well for sealing paper on wood. It comes in various formulations, including matte, gloss, and satin, allowing you to choose the finish that complements your project. Here’s how to use Mod podge on wood.
Apply a thin layer of Mod Podge to the wood surface, carefully place the paper, and smooth out any imperfections. Once dry, apply additional layers for enhanced protection and durability.
Acid-Free PVA Glue
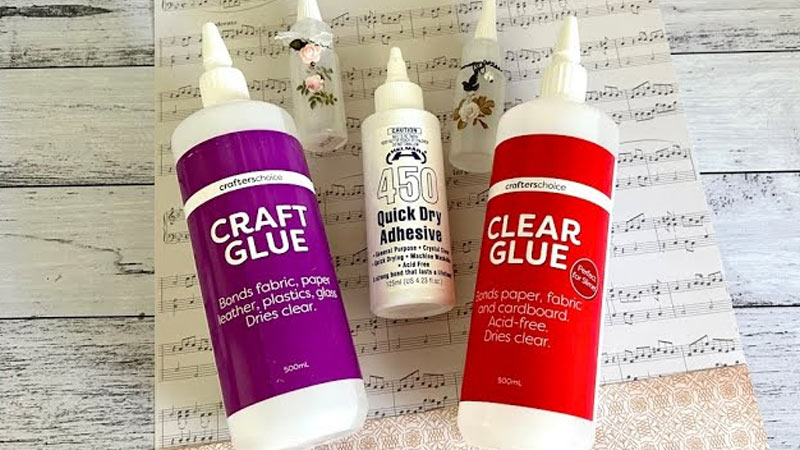
Acid-free PVA (Polyvinyl Acetate) glue is a reliable choice for sealing paper on wood, especially for preserving valuable documents or photos. It is known for its archival quality and ability to dry clear.
Apply a thin layer of acid-free PVA glue to the wood surface, carefully position the paper, and smooth out any bubbles or wrinkles. Allow it to dry completely before applying a sealant.
Spray Adhesive
Spray adhesive offers a convenient and even application, making it suitable for larger projects or when working with intricate designs. It comes in aerosol cans for easy use.
Spray a light, even coat of adhesive on both the wood and the paper. Carefully place the paper onto the wood, ensuring proper alignment. Smooth out any bubbles or wrinkles.
Gel Medium
Gel medium is a thicker adhesive that works well for sealing paper on wood, providing a strong bond. It is available in various finishes, including matte, gloss, and semi-gloss.
Apply the gel medium to the wood surface using a brush or palette knife. Position the paper and press it down, smoothing out any imperfections. Allow it to dry before applying a sealant.
Clear Craft Glue
Clear craft glue is a straightforward and budget-friendly option for sealing paper on wood. It works well for basic projects and is readily available in most craft stores.
Apply a thin layer of clear craft glue to the wood surface, place the paper, and smooth out any bubbles or wrinkles. Ensure it dries completely before adding a sealant.
Tips for Choosing and Using Adhesives
Here are some expert tips for choosing the right seal for paper and wood:
Consider Project Requirements
Choosing the right adhesive is akin to selecting the foundation for a building—it sets the stage for the project’s success. Before reaching for any adhesive, carefully evaluate the unique requirements of your project.
Consider the type of paper you’re working with—whether it’s thin, textured, or delicate. Assess the desired finish; some adhesives offer matte, glossy, or satin finishes, allowing you to tailor the aesthetic to your preference.
Test on Scrap Materials
Before committing to the grand canvas of your project, embark on a smaller-scale exploration. Acquire scrap materials representative of your chosen wood and paper.
Apply the selected adhesive to this test canvas, observing its interaction with both materials. This preliminary step serves as a crucial litmus test, revealing potential issues like discoloration or warping.
Follow the Manufacturer’s Instructions
In the realm of adhesives, knowledge is power, and the manufacturer’s instructions are your guiding beacon. Each adhesive product is accompanied by a set of guidelines that dictate the optimal conditions for application and drying.
Adhere strictly to these instructions pun intended. Respect the recommended drying times, application techniques, and any additional specifications provided by the manufacturer.
Layering for Durability
When durability is non-negotiable, consider adopting a layered approach. Apply the adhesive in thin, even layers, allowing each stratum to dry completely before adding the next.
Sealant Application
Once the adhesive has worked its magic and dried to perfection, the final touch is to fortify your creation with a clear sealant.
This protective layer is the guardian of your project, shielding it from the elements and potential wear. Apply the clear sealant generously, ensuring complete coverage over both the paper and wood surfaces.
FAQs
Can I Seal Paper on Raw Wood Without Sanding?
Sealing paper on raw wood without sanding is not recommended. Sanding is crucial to create a smooth surface, ensuring better adhesion and a polished finish. It removes imperfections, allowing the adhesive to bond effectively with the wood.
What Type of Paper is Best for Sealing on Wood?
Choosing the right paper is essential. Opt for high-quality, acid-free paper with a weight that complements your project. Thicker papers work well for durability, while specialty papers designed for decoupage or crafting enhance the overall result.
How Long Should I Let the Adhesive Dry Before Applying Sealant?
The drying time varies based on the adhesive used. Follow the manufacturer’s instructions for precise timing. Generally, allowing the adhesive to dry completely, often overnight, ensures a strong bond. Only apply the sealant once the adhesive is thoroughly dry.
Can I Use Regular Glue Instead of Specialized Adhesives?
While regular glue may work, specialized adhesives like decoupage glue or Mod Podge are designed for paper-to-wood projects. They offer better adhesion, and durability, and often provide additional benefits like clear finishes.
How Many Layers of Sealant Should I Apply for Maximum Protection?
The number of sealant layers depends on the desired level of protection. Applying at least two to three layers, allowing each to dry completely before adding the next, enhances durability. Consider the project’s use – more layers may be suitable for high-wear items.
Conclusion
The art of sealing paper on wood is a captivating journey that allows you to breathe life into your creations.
Through this guide, you’ve gained insights into the meticulous process of preserving paper on wood, ensuring your projects stand the test of time.
As you embark on your crafting adventures, remember to experiment with different papers, sealants, and techniques to discover your unique style.
Whether you’re embellishing furniture, crafting custom décor, or preserving cherished memories, the fusion of paper and wood opens doors to a realm of artistic possibilities.
Embrace the joy of creating pieces that not only reflect your imagination but also withstand the passage of time.
With the skills acquired, you’re now equipped to embark on future projects with confidence, knowing how to seal paper on wood for enduring and enchanting results.
May your creative endeavors flourish, seamlessly merging paper and wood to produce captivating masterpieces.
Leave a Reply