Mastering the art of sewing precise seams is a cornerstone of successful crafting and garment construction. Among the most fundamental techniques is sewing a 1/4-inch seam.
This slender allowance finds its application in quilting, creating intricate patterns, and ensuring a snug fit in clothing projects.
To achieve this, one must understand the nuances of machine setup, alignment, and stitching precision.
In this guide, we’ll walk through each step with detailed instructions, providing you with the skills to sew impeccable 1/4-inch seams for a wide range of sewing endeavors.
Whether you’re a beginner or a seasoned sewist, this guide will help elevate your sewing prowess.
What Is A 1 4-Inch Seam?
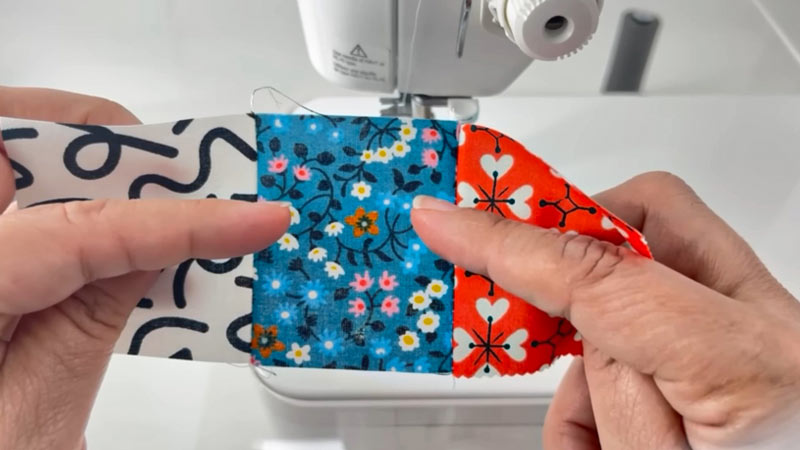
A 1/4-inch seam, often written as “1/4-inch seam allowance,” refers to the distance between the edge of a piece of fabric and the line of stitching that is made when two pieces of fabric are joined together. It’s a standard measurement used in sewing and quilting.
This particular seam allowance is commonly used in various sewing projects, especially in quilting and precision sewing.
It’s considered a narrow seam allowance and is often used for piecing together fabric pieces, creating detailed or intricate patterns, and ensuring a snug fit in garment construction.
Mastering the ability to sew a 1/4-inch seam accurately is an essential skill for achieving neat, professional-looking results in many sewing endeavors.
Why Is a 1/4-Inch Seam Important?
A 1/4-inch seam allowance is important in various sewing and quilting projects for several reasons.
Here are explained:
Accuracy and Precision
A 1/4-inch seam allowance helps ensure accuracy and precision in your sewing.
When you sew with consistent seam allowances, your pieces fit together more accurately, resulting in a neater and more professional-looking finished product.
Interchangeability
Many sewing patterns and quilting templates are designed with a 1/4-inch seam allowance in mind.
Using this standard allows you to easily exchange patterns, templates, and blocks with others, as they will all be compatible.
Reducing Bulk
Smaller seam allowances reduce the bulk of fabric at the seam, which can be particularly important in quilting, where multiple layers of fabric are often joined together.
This reduction in bulk helps your finished quilt lie flat and look more polished.
Preventing Fraying
A 1/4-inch seam allowance provides enough fabric to secure the seam and prevent fraying, but it’s not so wide that it adds unnecessary bulk or becomes visible in the finished project.
Seam Durability
A narrow seam allowance can result in a stronger seam because it concentrates the stitching closer to the edge of the fabric, reducing the risk of the seam unraveling or coming apart.
Quilting Accuracy
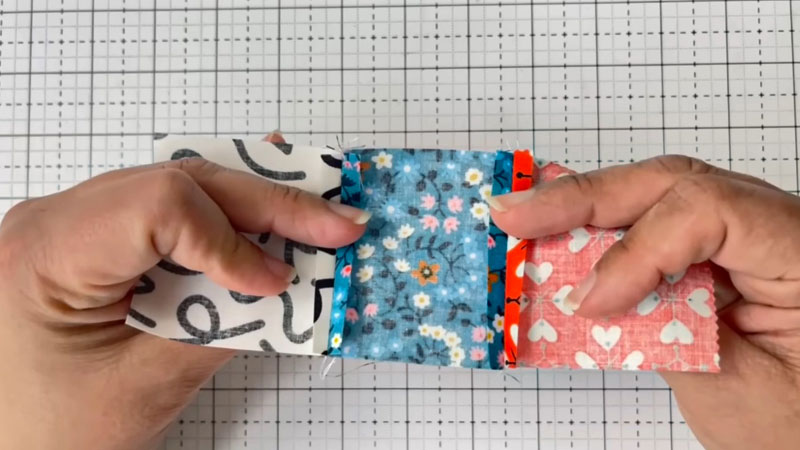
In quilting, precise 1/4-inch seam allowances are crucial for achieving accurate and consistent block sizes. When piecing together quilt blocks with 1/4-inch seams, they are more likely to align correctly, making it easier to create intricate quilt patterns.
Quilt Block Size
In quilting, a 1/4-inch seam allowance is often used to determine the size of quilt blocks.
When you add seam allowances to individual pieces before sewing them together, it ensures that the final block size matches the intended dimensions.
Maintaining Pattern Integrity
In clothing and garment construction, a 1/4-inch seam allowance is often used to maintain the integrity of the pattern. Deviating from this allowance can alter the fit and style of the garment.
How to Sew a 1 4-Inch Seam?
Sewing a 1/4-inch seam is a fundamental skill in sewing, especially for quilters and those working on fine or delicate fabrics.
This narrow seam allowance is often used for piecing together fabric pieces in quilting, creating precise seams in garment construction, or adding a decorative touch to various sewing projects.
Here’s a step-by-step guide on how to sew a 1/4-inch seam:
Materials You’ll Need:
- Fabric.
- Sewing Machine.
- Thread.
- Pins.
Steps to Sew a 1/4-Inch Seam:
Prepare Your Fabric
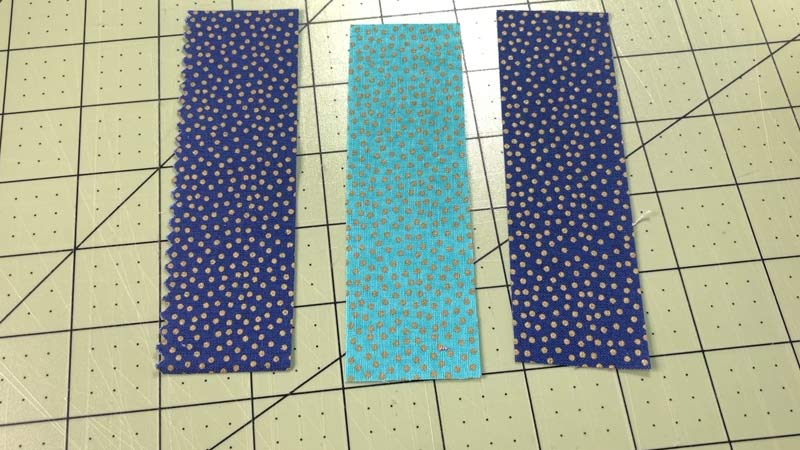
Before you start sewing, it’s crucial to have well-prepared fabric. Use a fabric cutter, rotary cutter, or scissors to cut your fabric pieces to the desired size.
Make sure the edges you intend to sew together are clean, straight, and free from fraying or unevenness.
If needed, iron the fabric to remove any wrinkles or creases that could affect the accuracy of your seam.
Set Up Your Machine
If you’re using a sewing machine, select the appropriate needle and thread for your fabric.
For lightweight fabrics, choose a finer needle, while heavier fabrics may require a heavier needle.
Ensure that your machine is clean, well-oiled, and in good working order. Check the tension settings to ensure they’re appropriate for the fabric you’re using.
Adjust Seam Allowance
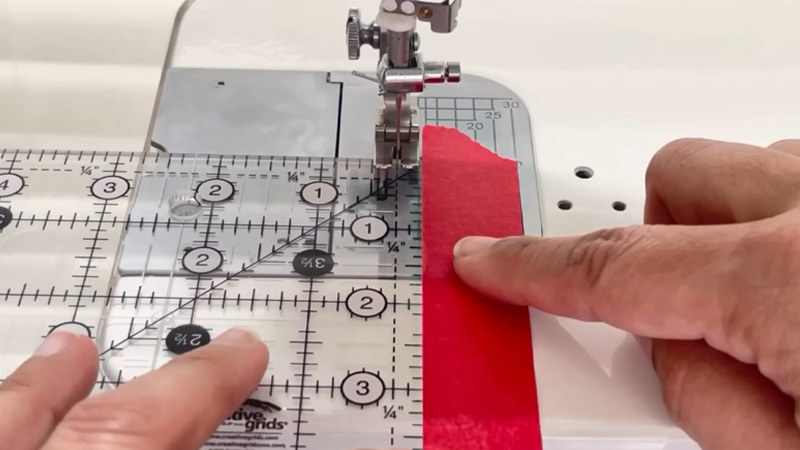
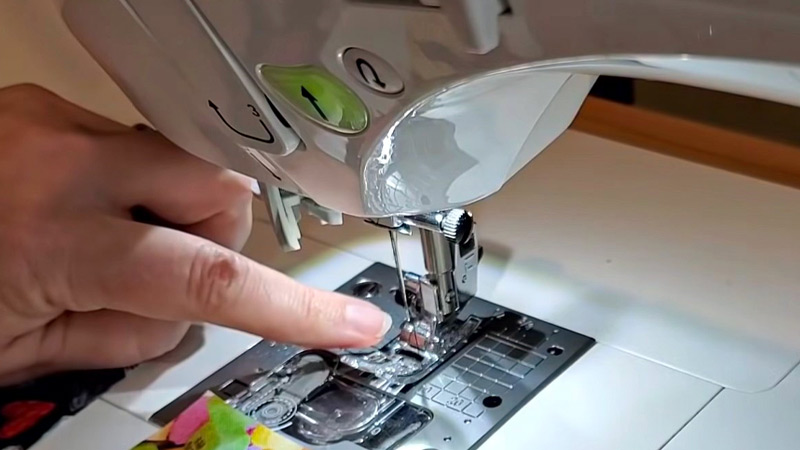
Locate the seam allowance markings on your sewing machine’s needle plate. The 1/4-inch marking is usually indicated by a line or a series of notches.
If your machine doesn’t have clear markings, use a seam guide attachment or apply a strip of masking tape as a visual guide. Position it so that the edge of the fabric aligns with the 1/4-inch guide.
Pin the Fabric
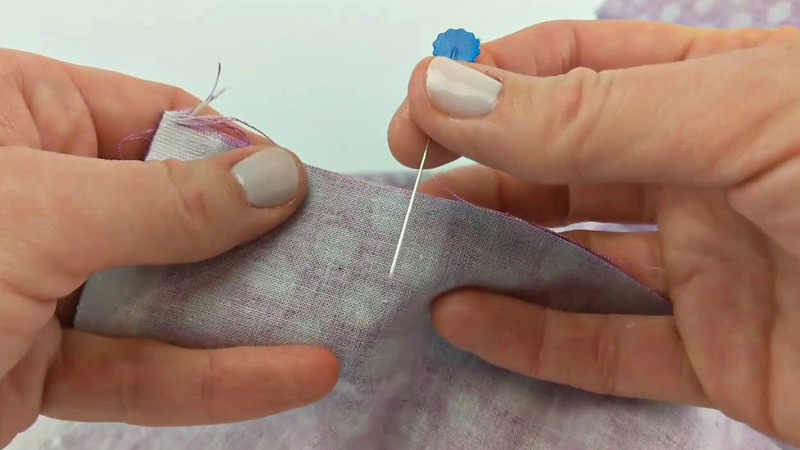
With the right sides of the fabric pieces facing each other, align the edges you plan to sew together.
Use straight pins to secure the fabric in place. Pinning helps maintain alignment and prevents the fabric from shifting as you sew. Place the pins perpendicular to the edge to make it easy to remove them while sewing.
Start Sewing

Lower the presser foot of the sewing machine to hold the fabric in place. Begin sewing by making a few backstitches or a lockstitch at the starting point.
This secures the beginning of your seam and prevents it from unraveling later. Maintain a steady pace and guide the fabric along the 1/4-inch guide, keeping the edge aligned throughout.
Begin Stitching
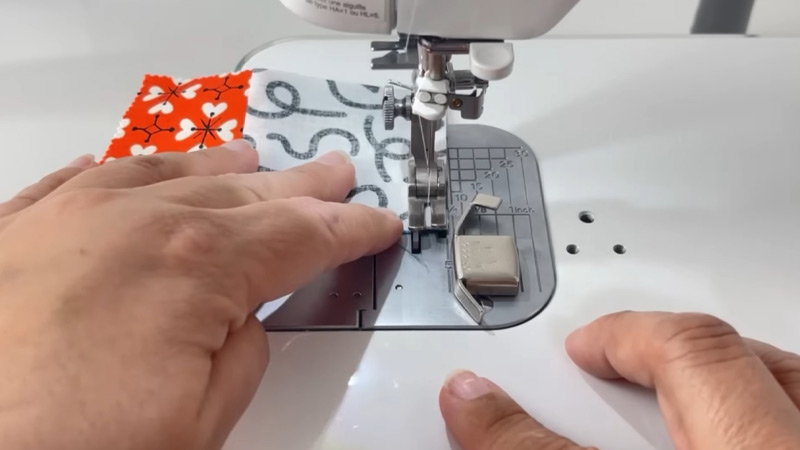
Continue stitching along the edge of the fabric, ensuring that it stays aligned with the 1/4-inch guide.
Watch the edge closely as you sew, making adjustments as needed to maintain a consistent seam allowance. Take care not to rush, as a steady pace contributes to even stitching.
End Seam
When you reach the end of your fabric pieces, sew a few backstitches or a lockstitch to secure the end of the seam.
This reinforces the seam’s end and prevents it from coming apart. Trim any excess thread using a pair of sharp scissors.
Press the Seam
After sewing, set your iron to the appropriate heat setting for your fabric type. Press the seam flat using the iron, moving it back and forth along the stitched area.
Applying gentle pressure helps set the stitches and gives your seam a professional, finished look.
Check Your Work
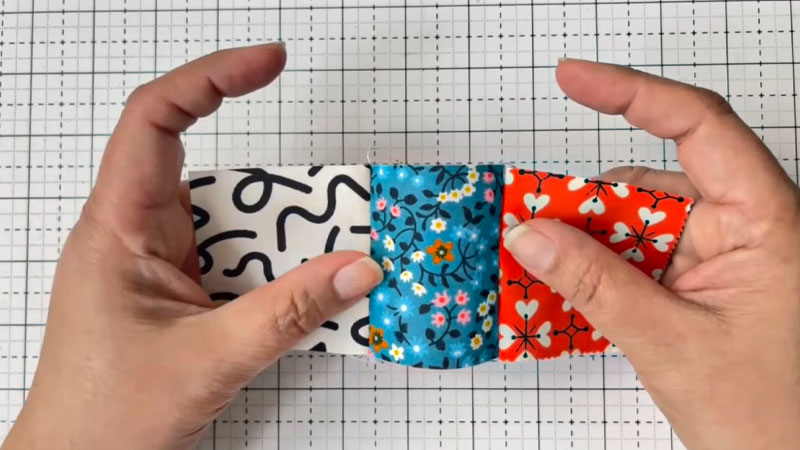
Before moving on to the next step of your project, carefully inspect your seam to ensure it is consistently 1/4-inch wide.
If you notice any areas where the seam allowance deviates, review your technique or adjust your machine settings as necessary to achieve the desired width.
FAQS
What is a 1/4-inch seam allowance used for?
A 1/4-inch seam allowance is commonly used in quilting and precision sewing. It’s ideal for piecing together fabric pieces and creating detailed patterns with accuracy.
How do I ensure my seam is exactly 1/4 inch wide?
Use the 1/4-inch marking on your sewing machine’s needle plate or attach a guide. Practice keeping the edge of the fabric consistently aligned with this guide.
Can I sew a 1/4-inch seam by hand?
Yes, it’s possible to sew a 1/4-inch seam by hand using a needle and thread. Use a ruler or seam gauge to measure and mark the 1/4-inch distance along the fabric edge.
What should I do if my seams aren’t consistent in width?
Double-check your machine’s settings and make sure you’re using the 1/4-inch guide accurately. Practice on scrap fabric to improve your control.
Can I use a regular sewing foot for a 1/4-inch seam?
While it’s possible, using a specialized 1/4-inch foot or a guide attachment can make it easier to maintain a consistent seam allowance.
To Wrap Up
Mastering the art of sewing precise seams is a cornerstone of successful crafting and garment construction.
Among the most fundamental techniques is sewing a 1/4-inch seam. This slender allowance finds its application in quilting, creating intricate patterns, and ensuring a snug fit in clothing projects.
To achieve this, one must understand the nuances of machine setup, alignment, and stitching precision.
In this guide, we’ll walk through each step with detailed instructions, providing you with the skills to sew impeccable 1/4-inch seams for a wide range of sewing endeavors.
Whether you’re a beginner or a seasoned sewist, this guide will help elevate your sewing prowess.
Leave a Reply