Buttons may be small, but they play a crucial role in keeping our clothing intact and stylish. We’ve all experienced that moment when a button decides to make a break for freedom, leaving us in a wardrobe crisis.
But fear not! Learning how to sew a button on a shirt is a valuable skill that can save you time, money, and the embarrassment of a missing button.
In this comprehensive guide, we will discuss how to sew a button on a shirt. Whether you’re a complete novice or just need a refresher, we’ve got you covered.
You’ll discover the tools you need, the types of buttons you may encounter, and step-by-step instructions for both basic and shank-style buttons.
So, dust off your sewing kit and let’s embark on this journey of sartorial self-sufficiency. By the end of this tutorial, you’ll be equipped with the knowledge and confidence to mend your shirts with ease.
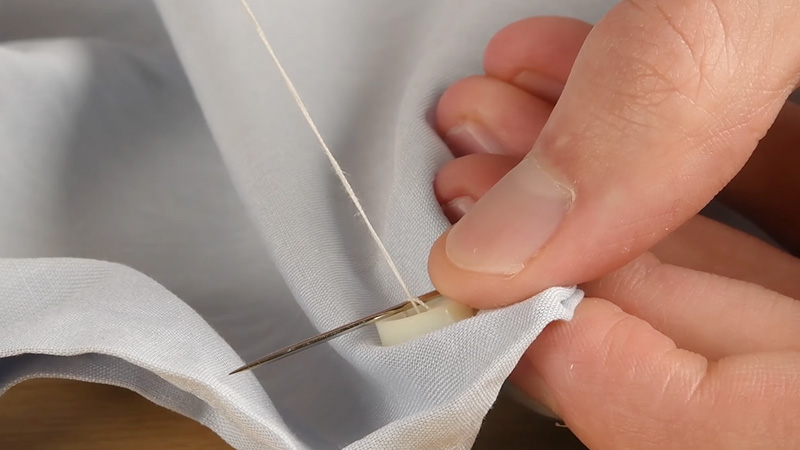
How to Sew a Button on a Shirt? 7 Steps
Sewing a button on a shirt is a practical and essential skill that can save you from wardrobe malfunctions. Whether you’ve lost a button or want to reinforce existing ones, this step-by-step guide will walk you through the process in detail.
Step 1: Select the Button

Start by choosing a replacement button that matches the remaining buttons on your shirt in terms of size, color, and style. If you don’t have a matching button, consider removing one from a less conspicuous area of the shirt, like the bottom hem or inside the collar.
Cut a length of thread (about 18 inches or 45 cm) and thread it through the eye of your needle. Double the thread and tie a knot at the end. This will give you a double thread for added strength.
Step 2: Position the Button
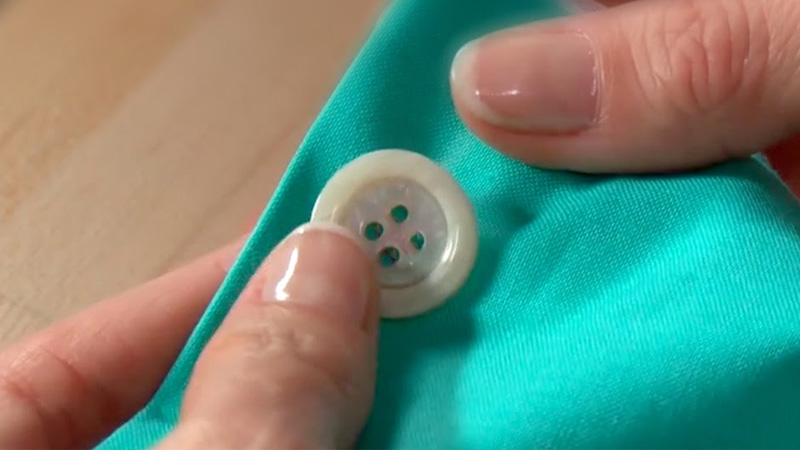
Lay your shirt flat on a table or work surface, with the area where the button is missing facing up. Position the replacement button where you want it, making sure it aligns with the existing buttons. You can use pins to hold it in place temporarily if needed.
Step 3: Start Sewing
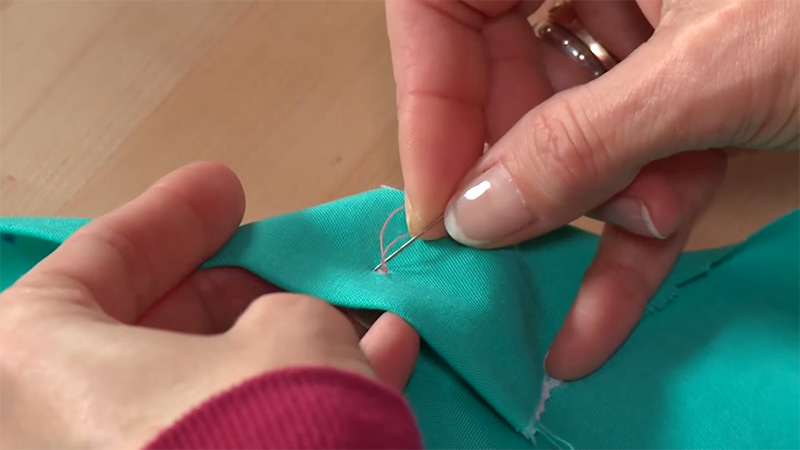
Insert the needle from the inside of the shirt, coming up through the fabric at one of the button’s holes. Pull the thread through until the knot at the end catches on the inside.
Pass the needle down through the opposite buttonhole and pull it tight. Repeat this process a few times to anchor the button securely to the fabric.
Step 4: Create a Shank
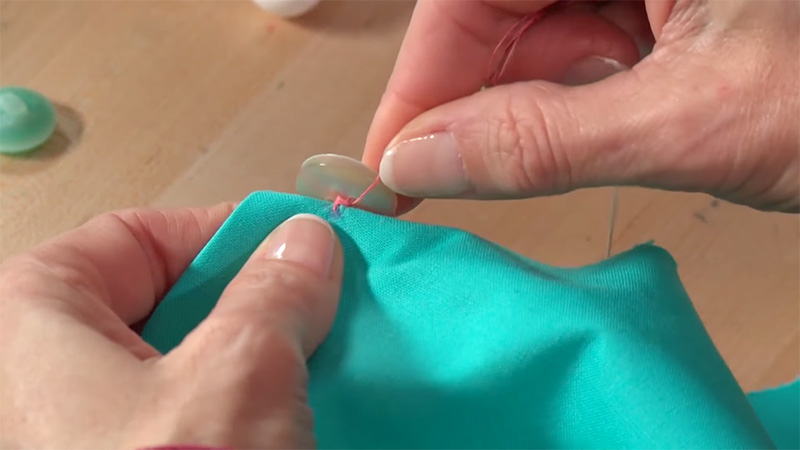
To give your button some room for the fabric to fit underneath it, create a shank. To do this, after securing the button, pass the needle down through the fabric but not through the button.
Place a pin or toothpick horizontally on top of the button, then pass the needle over it, creating a loop of thread. Repeat this process several times, depending on how high you want your shank to be. Remove the pin or toothpick.
Step 5: Attach the Button Securely
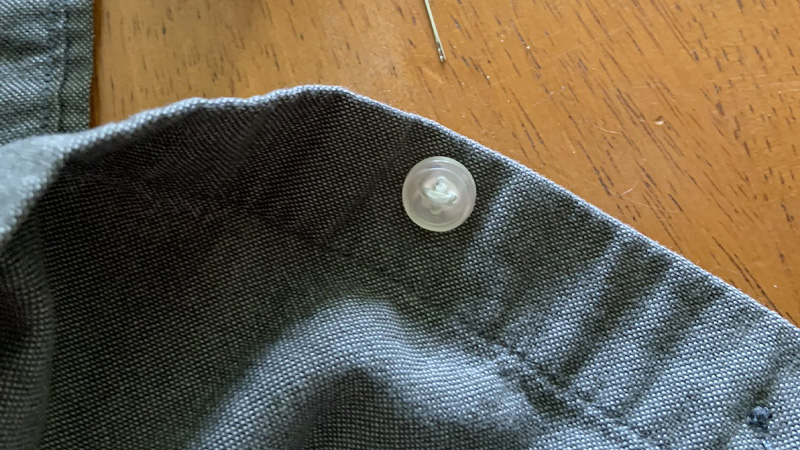
After creating the shank, pass the needle back through the button and fabric several more times, creating a tight connection. Make sure the button is securely attached.
To finish off, pass the needle to the inside of the shirt and tie a knot with the loose end of the thread. Trim any excess thread with small scissors, ensuring the ends are neatly tucked away.
Step 6: Reinforce with Buttonhole Thread
For added durability, you can reinforce the button by using a buttonhole thread. After attaching the button with a regular thread, repeat the process with the buttonhole thread, using the same holes. This will provide extra strength to the button.
Step 7: Final Check
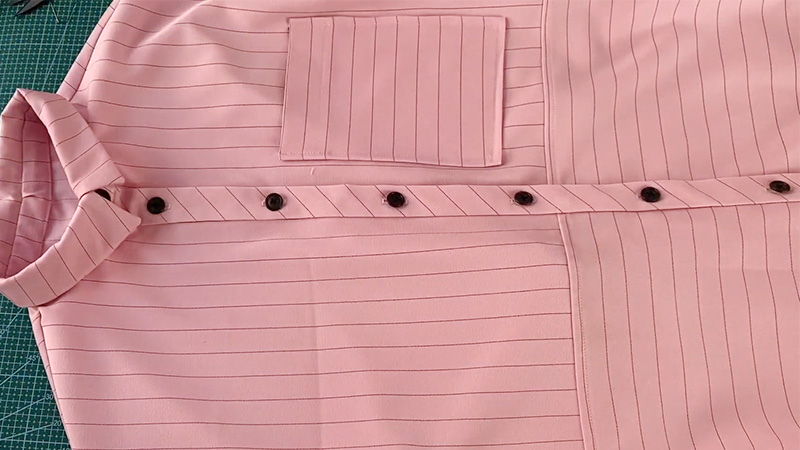
Give the button a few test pushes to ensure it’s securely fastened and that the shank allows the fabric to fit comfortably beneath it. Make any necessary adjustments.
Congratulations, you’ve successfully sewn a button on your shirt! This skill can come in handy for extending the life of your clothing and avoiding wardrobe mishaps. With a bit of practice, you’ll become a button-sewing pro in no time.
Are There Any Tools to Quickly Sew a Button?
While traditional hand-sewing methods work well for sewing buttons, there are tools available that can help you quickly and easily sew a button.
These tools are especially handy if you’re in a hurry or lack sewing experience. In this guide, I’ll introduce you to some of these tools and explain how to use them.
Button-Sewing Machines
Button-sewing machines are small, handheld devices designed specifically for attaching buttons to fabric. They are compact and easy to use, making them a popular choice for quick button repairs. Here’s how to use a button-sewing machine:
Start by selecting a button and threading it onto the machine’s button holder. Place the fabric with the buttonhole on top of the button holder, aligning it with the button.
Press the machine’s lever or button to sew the button in place. The machine will quickly attach the button and secure it with stitches. Trim any excess thread, and your button is securely attached. Button-sewing machines are readily available at craft stores and online retailers.
Button Sewing Clips
Button sewing clips are another handy tool for quickly sewing on buttons. They consist of a clip with a built-in needle and thread, making the process very straightforward:
Open the clip and place it over the fabric with the buttonhole. Press the button on the clip, which will push the needle through the fabric and the button. Flip the clip and pull the thread to secure the button in place.
Trim any excess thread, and you’re done. Button sewing clips are compact and portable, making them a great addition to your sewing kit for on-the-go repairs.
Self-Threading Needles
Self-threading needles are standard sewing needles with a unique design that makes threading them exceptionally easy. While not a tool for sewing buttons per se, they can speed up the process of hand-sewing buttons:
Simply slide the thread into the small groove at the top of the needle, and it will catch the thread, threading the needle automatically. Use the self-threading needle to sew on the button following the traditional hand-sewing method mentioned in the previous response.
Self-threading needles can save you time and frustration when it comes to threading the needle, especially if you have difficulty with fine threading.
Button Sewing Kits
Button sewing kits are compact sets that typically include needles, thread, and a variety of buttons. They are handy for quick repairs and come in different styles and sizes to match your needs. Here’s how to use a button sewing kit:
Choose a button from the kit that matches the one you need to replace. Thread a needle with the provided thread or your own if it’s not included in the kit.
Follow the traditional hand-sewing method mentioned in the previous response to sew the button onto your fabric. Button sewing kits are widely available and are an excellent choice for those who want a compact and comprehensive solution for button repairs.
Fabric Glue
While not a sewing tool, fabric glue can be a quick fix for temporarily attaching buttons. This method is best suited for non-structural buttons or if you’re in a hurry:
Put a small amount of fabric glue on the back of the button. Press the button onto the fabric where you want it to be. Allow the glue to dry completely. This method is best for temporary fixes, as glue may not provide the same durability as sewing.
Keep in mind that fabric glue may not be suitable for all fabrics, and it’s not as secure as sewing, but it can be a handy option in a pinch.
In conclusion, there are several tools available to quickly sew on a button, from button-sewing machines and sewing clips to self-threading needles and button-sewing kits.
These tools can make button repairs more convenient and less time-consuming, allowing you to keep your clothing in good condition with ease. Depending on your preferences and the urgency of the repair, you can choose the tool that suits you best.
FAQs
Can I use regular thread to sew on a button?
Yes, you can use regular thread to sew on a button. In fact, it’s the most common type of thread used for button sewing. Just make sure the thread matches the color of your fabric for a seamless look.
How can I prevent a button from falling off after sewing it?
To prevent a button from falling off, make sure to sew it securely. Create a shank by adding extra stitches between the button and the fabric, and reinforce it with a buttonhole thread if desired.
Can I sew a button on with a sewing machine?
Yes, you can sew a button on with a sewing machine, but you’ll need a special button-sewing foot for your machine. This foot holds the button in place while the machine stitches it securely.
It’s a faster option for sewing multiple buttons, especially on thicker fabrics.
What type of needle should I use for sewing on buttons?
For hand-sewing buttons, use a hand-sewing needle with an eye large enough to accommodate the thread you’re using. For sewing buttons with a sewing machine, use a machine needle suitable for your fabric type, along with a button-sewing foot.
How do I remove a button if I make a mistake or want to replace it?
To remove a button, carefully cut the stitches holding it in place using small scissors or a seam ripper. Take care not to damage the fabric.
Once the button is removed, you can sew on a new one following the steps mentioned in the earlier response.
Conclusion
Sewing a button onto a shirt might seem like a small task, but it’s a valuable skill that empowers you to extend the life of your clothing and maintain a polished appearance.
In this guide, we’ve covered the fundamentals of button sewing, from choosing the right tools and button types to step-by-step instructions for both basic and shank-style buttons.
With each button you sew, you’ll gain more confidence and finesse. This skill can also be applied beyond shirts – think about reviving your coats, and pants, or even crafting your unique button creations.
By mastering the art of button sewing, you’re not just saving money on repairs; you’re also contributing to a more sustainable wardrobe.
So, the next time a button decides to take its leave, you won’t need to rush to the tailor. Instead, you’ll be equipped with the know-how to handle it yourself. Happy sewing!
Leave a Reply