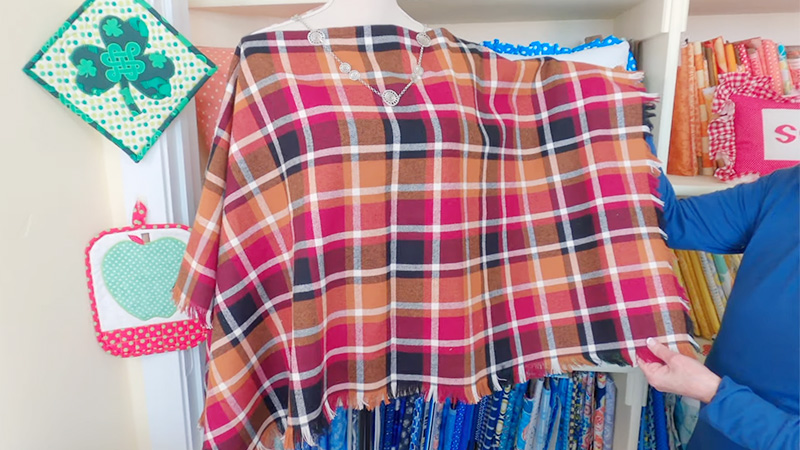
Are you ready to add a touch of fashion-forward flair to your wardrobe while staying cozy and comfortable? Look no further than our comprehensive guide on how to sew an easy poncho.
Whether you’re a seasoned seamstress or a beginner just starting your sewing journey, this tutorial will walk you through the process, from selecting the perfect fabric to stitching up a poncho that’s uniquely yours.
In this tutorial, we’ll explore how to sew a poncho easily – a poncho sewing pattern and fabric. We’ll provide you with a simple poncho sewing pattern and share valuable tips on choosing the right fabric to ensure both style and comfort.
So, grab your sewing supplies, follow our step-by-step instructions, and in no time, you’ll have a fabulous handmade poncho that’s bound to turn heads and keep you snug on chilly days. Let’s get started!

How to Sew a Poncho Easy – Poncho Sewing Pattern and Fabric?
Creating your very own poncho is not only a rewarding sewing project but also a versatile addition to your wardrobe. Ponchos are timeless garments that provide both style and comfort.
This comprehensive guide will walk you through the process of sewing an easy poncho, complete with a poncho sewing pattern and fabric selection tips. So, let’s dive in!
Materials You’ll Need
Here’s a summarized list of the materials you’ll need for sewing a poncho:
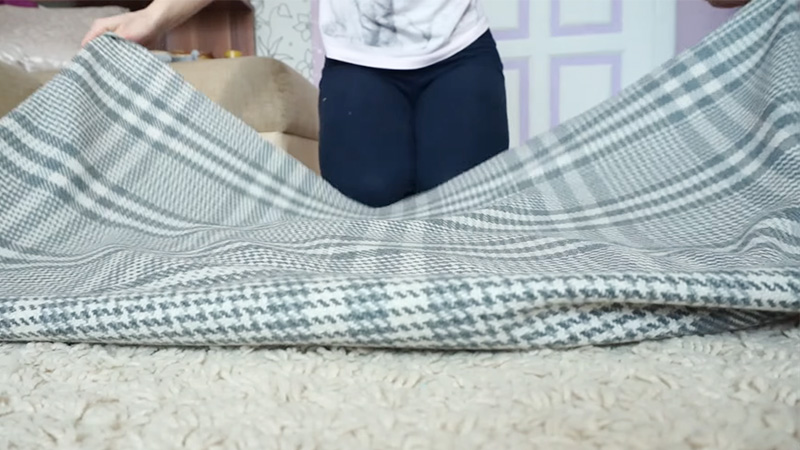
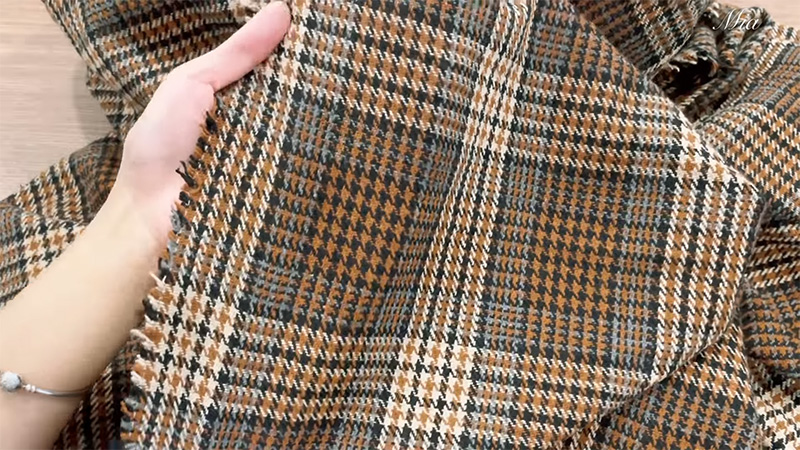
- Fabric: Choose a fabric that matches your style and the season. Options include lightweight fabrics like cotton, linen, or flannel for a casual poncho, or silk, satin, or wool for a dressier option.
- Thread: Select a thread that complements your fabric. Ensure you have enough thread for the entire sewing project.
- Measuring Tape: You’ll need this to take your measurements and ensure a proper fit for your poncho.
- Fabric Scissors: Sharp fabric scissors are essential for cutting your fabric neatly and accurately.
- Pins: Pins will help you secure your fabric pieces together while sewing, ensuring they stay in place.
- Sewing Machine (optional): While you can sew a poncho by hand, using a sewing machine will make the process faster and more efficient.
- Iron and Ironing Board: Ironing your fabric before and during the sewing process is crucial for achieving clean and professional-looking seams.
- Poncho Pattern: You can find poncho patterns online or create a simple one yourself by drawing a large rectangle with a neck hole in the center. The size of the rectangle will depend on your measurements and the desired poncho length.
Step 1: Taking Measurements

The first step in creating your custom poncho is taking accurate measurements. Ponchos are typically loose-fitting, but it’s essential to ensure a comfortable fit.
Measure your shoulder width from one end to the other. This measurement will determine the width of your poncho.
Decide on the desired length of your poncho, whether it’s hip-length, thigh-length, or longer. Measure from your shoulders down to your preferred length.
Determine the size of the neck hole. A standard neck hole size is around 7-8 inches in diameter, but you can adjust it to your preference.
Step 2: Cutting the Fabric
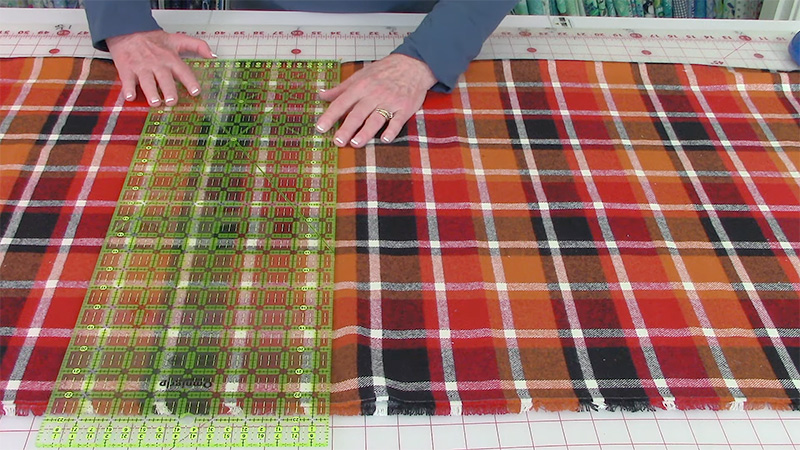
Once you’ve gathered your materials and taken measurements, it’s time to cut your fabric. Follow these steps: Fold your fabric in half lengthwise with the right sides facing each other.
Place your poncho pattern on the folded fabric, aligning the neck hole with the fabric’s fold. Cut along the pattern, creating two identical fabric pieces. These pieces will form the front and back of your poncho.
Step 3: Sewing the Poncho

Now that you have your fabric pieces cut, it’s time to start sewing your poncho together. Follow these steps: With the right sides of the fabric facing each other, pin the sides of the poncho together, leaving an opening for your arms.
The opening should be located about 12-15 inches from the fold, depending on your preference. Sew the sides together using a straight stitch, leaving the arm openings open.
Make sure to reinforce the stitches at the beginning and end to prevent unraveling. Hem the neck hole by folding the fabric under about 1/2 inch and sewing it in place to create a clean edge.
Hem the bottom edge of the poncho by folding it up about 1 inch and sewing it in place. This will prevent fraying and give your poncho a finished look.
Step 4: Finishing Touches

Your poncho is almost complete! Here are some optional finishing touches you can add to personalize your creation: Add decorative trim along the edges of your poncho for a unique touch. Lace, fringe, or pom-poms can enhance the overall look.
If you’d like to add pockets to your poncho, cut out pocket shapes from your fabric scraps and sew them onto the front of your poncho. Get creative with embellishments like embroidery, appliqué, or fabric paint to make your poncho one-of-a-kind.
For added warmth and comfort, consider adding a lining to your poncho. Sew a lining from a complementary fabric and attach it to the inside of your poncho.
Before you slip into your newly created poncho, give it a final press with an iron to ensure all seams are neat and flat. Now, it’s time to enjoy the fruits of your labor!
Poncho Sewing Patterns
There are various poncho sewing patterns available, catering to different styles and skill levels. Here are a few popular poncho patterns you can explore:
Simple Rectangle Poncho
This classic design is the ideal starting point for beginners. It involves creating a rectangle of fabric, often folded in half, and sewing up the sides, leaving an opening for your head.
The beauty of this pattern lies in its simplicity; you can easily adjust the dimensions of the rectangle to achieve your desired length and width.
V-Neck Poncho
To add a touch of sophistication to your poncho, consider a V-neck pattern. This style features a V-shaped neckline, providing a flattering and eye-catching detail.
You can keep it minimalistic or get creative by adding fringe, tassels, or contrasting fabric along the V-neckline for added flair.
Hooded Poncho
For those seeking extra warmth and a cozy aesthetic, a hooded poncho is an excellent choice. This pattern includes the creation of a hood, which can be lined for added comfort.
A hooded poncho is perfect for chilly days and can be customized with various hood styles, such as a pointy elf hood or a rounded one.
Asymmetrical Poncho
To infuse your poncho with a modern and chic look, explore an asymmetrical poncho pattern. This design results in a poncho with an uneven hemline, offering a stylish twist on the classic rectangle shape. The asymmetry can be subtle or dramatic, depending on your preference.
Button-Up Poncho
Versatile and fashion-forward, the button-up poncho allows you to wear it open or closed, depending on your outfit and the weather. This pattern incorporates buttons, toggles, or other closures along the sides, offering room for creativity in selecting closure styles and decorative buttons.
Cape Poncho
If you’re looking for a poncho that leans more toward the appearance of a cape, this style is a great choice. Cape ponchos often feature a rounded or squared neckline and drape gracefully over the shoulders. They exude an elegant and slightly retro vibe.
Children’s Poncho
When sewing for kids, you’ll find specific poncho patterns designed with children in mind. These patterns often incorporate playful elements like hoods with animal ears, vibrant colors, and fun prints to appeal to younger tastes.
Poncho with Sleeves
To achieve a more structured and tailored look while retaining the essence of a poncho, consider a pattern that includes sleeves. This style offers versatility, allowing you to enjoy the comfort of a poncho with the practicality of sleeves.
Lace or Crochet Poncho
Crocheters can explore the world of lace or crochet poncho patterns. These patterns enable you to create intricate and lacy designs using a variety of crochet techniques and stitches. The result is a lightweight and airy poncho, perfect for spring and summer.
When selecting a poncho pattern, it’s essential to match your choice with your sewing or crafting skills, the type of fabric you want to use, and the style you aim to achieve.
With countless patterns available online, in sewing books, and at craft stores, you have the flexibility to express your creativity and sew a poncho that perfectly suits your preferences and needs.
FAQs
What’s the best fabric for making a warm winter poncho?
For a warm winter poncho, consider using fabrics like wool, fleece, or a wool blend. These materials offer excellent insulation and will keep you cozy in cold weather.
Can I sew a poncho without a sewing machine?
Yes, you can sew a poncho by hand using basic sewing techniques like running stitch or backstitch. It may take more time and effort, but it’s entirely possible to create a beautiful poncho by hand.
How can I customize my poncho pattern for a child’s size?
To adjust a poncho pattern for a child, you can simply reduce the dimensions of the fabric rectangle while maintaining the neck hole size. Be sure to consider the child’s height and desired poncho length.
Are there reversible poncho patterns available?
Yes, there are reversible poncho patterns that allow you to use two different fabrics for the inside and outside of your poncho. This provides versatility and a different look depending on how you wear it.
What’s the best way to add a fringe or tassel detail to my poncho?
To add fringe or tassels to your poncho, cut strips of fabric or yarn and attach them along the edges. You can use a crochet hook or simply knot them onto the fabric. Be creative with colors and lengths to achieve your desired look.
Conclusion
Congratulations, you’ve now mastered the art of sewing your very own stylish and cozy poncho! With the easy-to-follow pattern and fabric guidance we’ve provided, you’re well on your way to creating a fashion statement piece that reflects your unique style.
Remember that sewing is not just a craft; it’s an expression of creativity. Feel free to customize your poncho with embellishments, and different fabrics, or even experiment with various lengths and designs to make it truly your own.
As you wear your handmade poncho, take pride in the fact that you’ve not only saved money but also contributed to sustainable fashion by crafting a piece that’s tailored to your preferences.
We hope this guide has been a source of inspiration and empowerment for your sewing endeavors. Whether you’re sewing for yourself or for loved ones, the joy of creating something with your own hands is a reward in itself.
Leave a Reply