The art of sewing empowers you to transform simple pieces of fabric into wearable works of art. When it comes to creating sleeveless garments, mastering the art of sewing armholes is essential.
Whether you’re designing a breezy summer dress, an elegant evening gown, or a classic tank top, a well-sewn armhole is the key to comfort and style.
In this comprehensive guide, we will discuss how to sew a sleeveless armhole. You’ll learn how to prepare your fabric, mark and shape the armhole, and execute clean and precise stitching.
Whether you’re a seasoned seamstress or just starting your sewing journey, this tutorial will equip you with the skills to achieve a professional finish every time.
So, grab your fabric, sewing machine, and a dash of creativity, and let’s embark on this sewing adventure to create sleeveless wonders that are as stylish as they are comfortable!
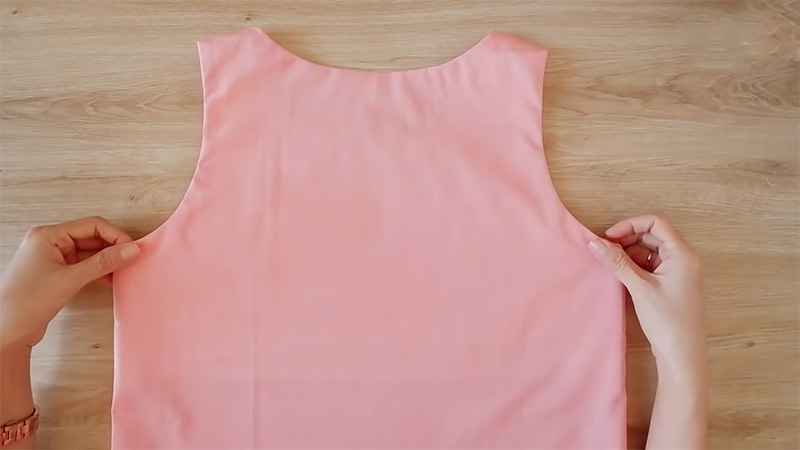
How to Sew a Sleeveless Armhole? 8 Steps
Achieving a clean, well-finished armhole is essential for both comfort and aesthetics. In this comprehensive guide, we’ll take you through the process of sewing a sleeveless armhole step by step.
Materials You’ll Need
First, choose the right fabric for your project and a sewing machine. Select threads to match your fabric. You’ll also need scissors and pins or clips to cut and hold the fabric. Gather seam gauge or ruler, fabric marker or chalk, iron, and ironing board.
Step 1: Prepare Your Fabric
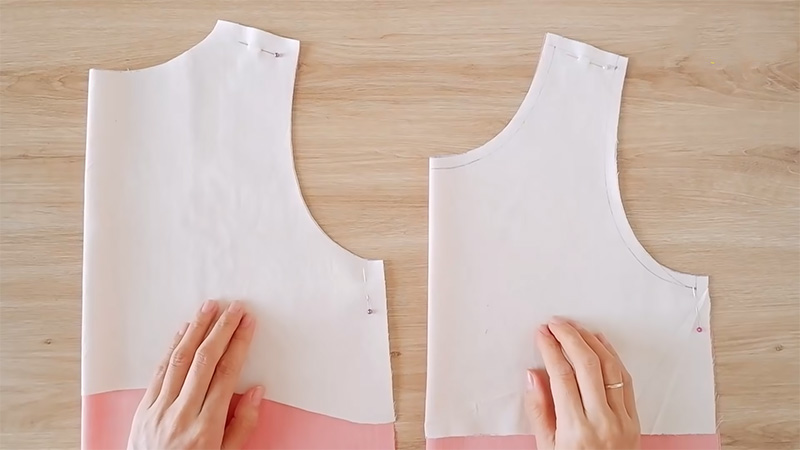
Before you begin sewing your sleeveless armhole, make sure your fabric pieces are cut and prepared according to your pattern’s instructions. This includes marking the armhole on your fabric pieces if it’s not already indicated.
If your garment has shoulder seams, sew and finish them before working on the armholes. This ensures that the shoulder area is stable and well-structured.
Step 2: Mark the Armhole
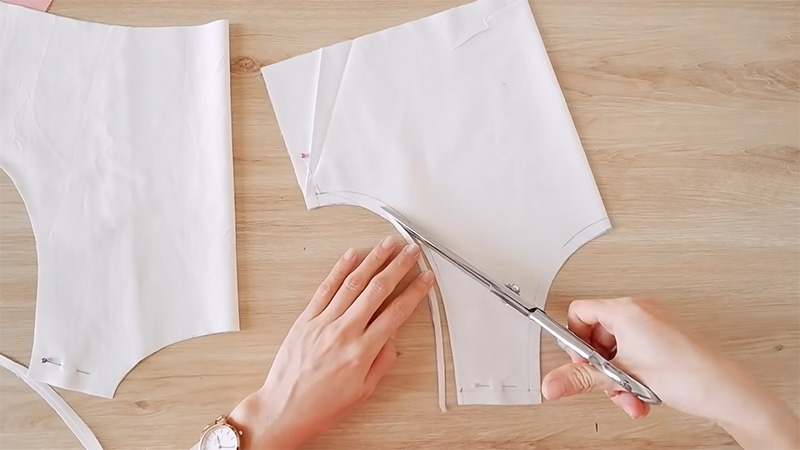
Using your fabric marker or chalk, mark the armhole shape on the wrong side of your fabric. If your pattern provides armhole markings, follow them carefully.
If not, you can use an armhole template or a curved ruler to create a smooth, even curve. Be precise with your markings as they will guide your sewing.
Step 3: Staystitch the Armhole
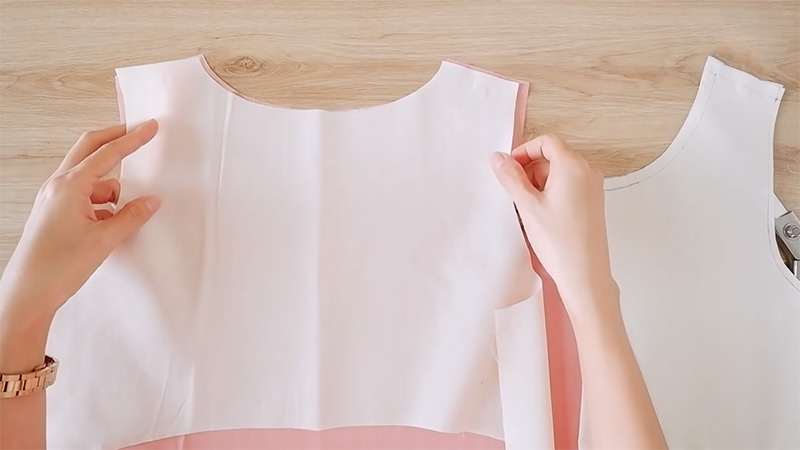
Staystitching is a row of straight stitches sewn just inside the seam allowance. It helps stabilize the fabric and prevents stretching or distortion. Stitch around the armhole, about 1/8 inch (3mm) inside the seam allowance, with a regular stitch length.
Step 4: Clip Curves (if needed)
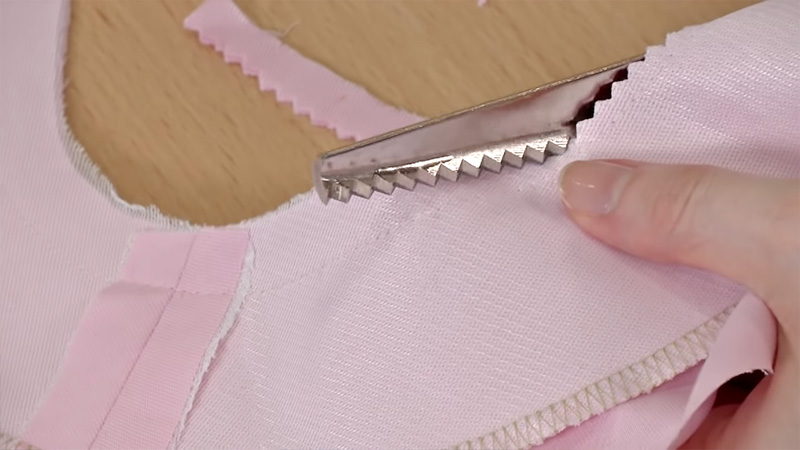
If you have tight curves in your armhole, make small snips into the seam allowance (not through the stitching) at regular intervals. These clips will allow the fabric to ease into the curve smoothly.
To create a clean and professional finish on the armhole, you can apply bias binding. Fold the bias binding in half lengthwise and press it to create a crease.
Align the raw edge of the bias binding with the raw edge of the armhole, right sides together. Pin or clip it in place, starting at the shoulder seam.
Step 5: Sew the Armhole Seam

Using your sewing machine, sew the armhole seam. If you’re using bias binding, stitch along the inner fold of the binding. If you’re not using binding, sew directly along the marked armhole line, following the curve.
Be sure to backstitch at the beginning and end to secure your stitching. To reduce bulk and create a smoother finish, you can grade the seam allowance by trimming one layer of fabric slightly shorter than the other.
Be careful not to cut through the stitches. This step is particularly helpful in areas with tight curves.
Step 6: Press the Seam
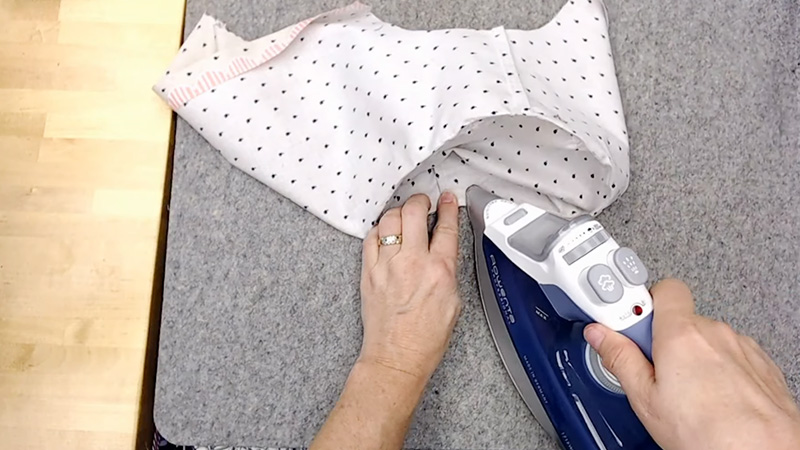
After sewing, press the armhole seam with an iron. Pressing sets the stitches and gives your armhole a neat appearance. Use a pressing cloth if your fabric is delicate or prone to heat damage.
If you didn’t use bias binding in Step 6, you can finish the armhole edge by applying bias binding now. Fold the bias binding in half lengthwise and press it to create a crease. Open it up and align the raw edge of the binding with the raw edge of the armhole, right sides together.
Stitch along the inner fold of the binding, encasing the raw edge of the armhole. Continue around the entire armhole, overlapping the binding where you started.
Step 7: Fold and Press the Binding
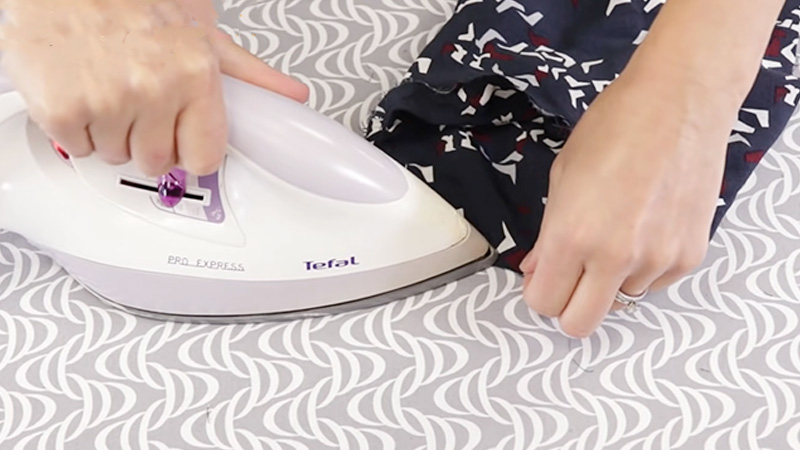
Fold the bias binding to the wrong side of the fabric, covering the seam allowance entirely. Press the binding in place with an iron. Ensure it’s folded evenly and lies flat along the armhole edge.
Stitch the folded bias binding to the wrong side of the fabric. You can use a straight stitch close to the inner edge of the binding or a decorative stitch for added flair. Ensure your stitching catches the folded edge of the binding and goes through all layers of fabric.
Step 8: Trim Excess Binding (if necessary)
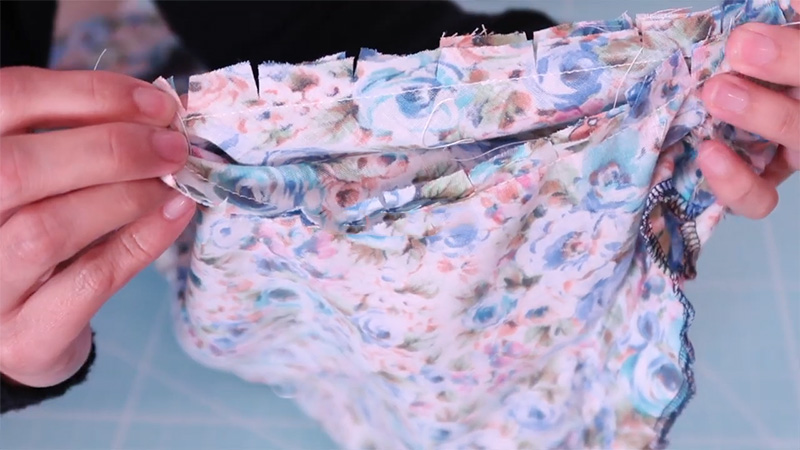
If your bias binding extends beyond the seam allowance, trim it evenly to match the seam allowance width.
Give the entire armhole one last press to set the stitches and ensure a polished finish. Take a moment to inspect your work, trim any loose threads, or make any necessary touch-ups.
Congratulations! You’ve successfully sewn a sleeveless armhole, adding a professional and polished finish to your garment. With practice, you’ll become more skilled at sewing armholes that are comfortable, attractive, and well-structured.
What Are the Methods of Finishing Sleeveless Armholes?
There are several methods for finishing sleeveless armholes, each offering a different look and level of complexity.
The choice of finishing method depends on the type of garment you’re making, your fabric, and your personal preferences. Here are some common methods:
Bias Binding
Bias binding is a popular choice for finishing armholes. It provides a clean and polished look, especially when using contrasting colors or patterns. To apply bias binding, cut strips of bias tape (either store-bought or homemade) to the desired width.
Fold the bias tape in half lengthwise, wrong sides together, and press to create a crease. Align the raw edge of the bias binding with the raw edge of the armhole, right sides together, and pin or clip in place.
Stitch along the inner fold of the bias binding, encasing the raw edge of the armhole. Fold the bias binding to the wrong side of the fabric and stitch it in place, concealing the seam allowance.
Facing
A facing is a fabric piece sewn to the armhole edge, providing a clean and neat finish. To create a facing, cut fabric pieces in the shape of the armhole, including seam allowance. Sew the facing to the armhole, right sides together.
Trim and clip the seam allowance, and understitch the facing to help it lay flat. Turn the facing to the inside of the garment and press it, ensuring it’s hidden from the right side.
Serger/Overlock Stitch
If you have a serger or overlock machine, you can finish the armhole edge with a serged or overlocked stitch. This method works well for preventing fraying and is suitable for lightweight fabrics. Simply serge around the armhole edge, trimming any excess fabric.
Turn and Topstitch
This method is often used for casual or sporty garments. To finish armholes using turn and top stitch, fold the armhole edge under by the desired seam allowance width and press. Stitch close to the folded edge, securing the fabric in place. This creates a clean and simple finish.
Hong Kong Finish
The Hong Kong finish is a technique that involves binding the raw edge of the armhole with a contrasting fabric or bias tape. It adds a pop of color and a unique touch to your garment. To create a Hong Kong finish, cut strips of contrasting fabric or bias tape.
Align the raw edge of the binding with the raw edge of the armhole, and right sides together, and sew it in place. Press the binding away from the armhole and fold it to the inside. Stitch the folded edge in place, concealing the raw edge.
French Seam
French seams are typically used for lightweight and sheer fabrics. To finish armholes with French seams, sew the armhole with the wrong sides together using a very narrow seam allowance.
Trim the seam allowance close to the stitching. Turn the garment inside out and sew the seam again, this time with the right sides together, enclosing the raw edge inside the seam.
Binding with Piping
For a decorative finish, you can use piping along with binding to accentuate the armhole edge. This method adds a pop of texture and color. To use binding with piping, create or purchase piping and binding strips.
Attach the piping between the armhole edge and the binding, with the piping sandwiched between the layers. Stitch the binding in place, securing the piping, and finish the armhole edge.
Raw Edge with Fray Check (for Some Fabrics)
In some cases, like bohemian-style garments or with fabrics that don’t fray easily, you might opt for a raw edge finish. Apply a fray check or a similar product to the armhole edge to prevent fraying.
For a more complex and clean finish, you can line the armholes of your garment. This method involves sewing a separate lining piece to the armhole, enclosing the raw edges. Lined armholes are common in formalwear and tailored garments.
Choose the finishing method that best suits your project’s design and fabric. Experiment with different techniques to add unique touches to your sleeveless garments, ensuring both a polished look and comfort.
FAQs
Do I need special tools or equipment to sew a sleeveless armhole?
You don’t need specialized tools, but some helpful items include fabric markers or chalk for marking the armhole, bias binding or facing material for finishing, and iron for pressing. A sewing machine with a straight stitch is essential for sewing the armhole.
How can I ensure that my armhole is the right size and shape for my body?
To ensure a well-fitted armhole, it’s crucial to use a pattern that matches your measurements or make necessary adjustments. Test the fit with a muslin or scrap fabric before cutting into your final fabric.
What type of stitch should I use to sew the armhole seam?
A regular straight stitch is suitable for sewing the armhole seam. If you’re using bias binding, you’ll also use a straight stitch when attaching it. Ensure you backstitch at the beginning and end of your stitching to secure it.
Can I sew a sleeveless armhole by hand if I don’t have a sewing machine?
Yes, you can sew a sleeveless armhole by hand using basic hand-sewing techniques. Use a backstitch or slipstitch to secure the seam and finish the raw edge.
It may take more time and effort, but it’s entirely possible to achieve a professional-looking finish by hand.
What fabrics are suitable for sewing sleeveless armholes?
The choice of fabric for sleeveless armholes depends on your project. Lightweight and breathable fabrics like cotton, linen, and lightweight knits work well for casual sleeveless garments. For formalwear or structured designs, consider fabrics like silk, satin, or crepe.
Conclusion
Sewing a sleeveless armhole is a valuable skill that opens up a world of design possibilities in your sewing projects. The beautifully finished armhole not only ensures comfort but also adds an element of sophistication to your garments.
By following the steps outlined in this guide, you’ve gained the knowledge and confidence needed to create flawless and well-fitted sleeveless armholes.
As you continue your sewing journey, remember that practice is key to mastery. Experiment with different fabrics, styles, and designs to hone your skills and refine your technique.
Whether you’re crafting casual tank tops, elegant evening gowns, or anything in between, the ability to sew perfect sleeveless armholes will set your creations apart.
So, unleash your creativity, embrace the art of sewing, and have fun crafting sleeveless wonders that showcase your unique style and expertise.
Leave a Reply