Sewing belt loops is a fundamental skill in the realm of garment construction and alteration, serving both functional and aesthetic purposes.
These unassuming fabric strips play a crucial role in keeping belts securely in place while adding a touch of elegance to clothing.
Whether you’re a novice seamstress or a seasoned DIY enthusiast, mastering the art of sewing belt loops is a valuable addition to your repertoire.
In this comprehensive guide, we will take you through each step of the process, from selecting the right materials to attaching the loops to your garments.
By the end, you’ll have the knowledge and confidence to create professional-quality belt loops that enhance the look and functionality of your clothing projects.
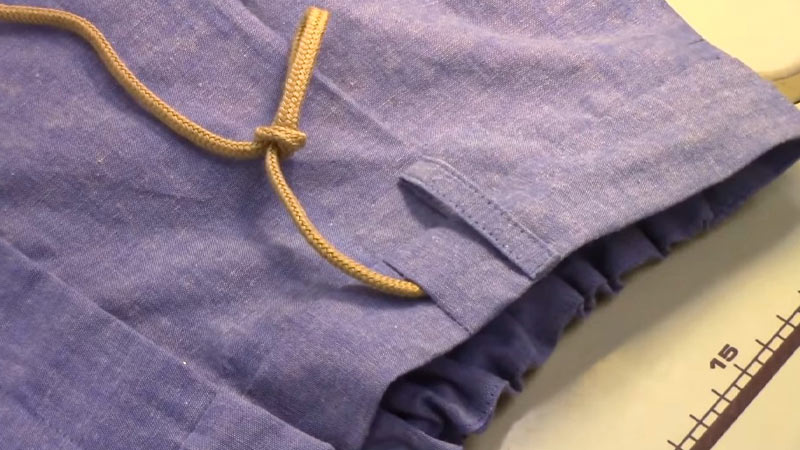
Step-by-Step Guide on How to Sew Belt Loops
Sewing belt loops is a useful skill to have, especially if you’re into making your own clothing or performing alterations. Belt loops serve as attachment points for belts, allowing them to stay in place and provide a secure fit.
Here’s a step-by-step guide on how to sew belt loops:
Materials You’ll Need:
- Fabric for belt loops (matching or contrasting with your garment)
- Sewing machine or hand-sewing needle
- Matching thread
- Fabric scissors
- Measuring tape or ruler
- Straight pins
- Iron and ironing board
Step 1: Gather Your Materials

Before you embark on your sewing project, it’s essential to gather all the materials you’ll need.
This includes not only your fabric for the belt loops but also your sewing machine or hand-sewing needle, matching thread, fabric scissors, measuring tape or ruler, straight pins, and an iron with an ironing board.
Having everything prepared in advance will make your sewing process more efficient and enjoyable.
Step 2: Measure and Cut Fabric Strips
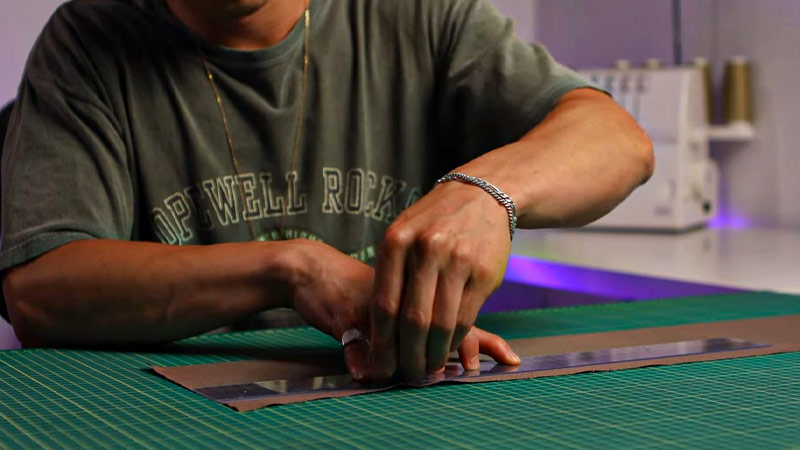
Precision is key when measuring and cutting your fabric strips. If you’re creating multiple belt loops, ensure that they’re all the same length for a uniform look.
A measuring tape or ruler is invaluable here, helping you maintain consistency. Use sharp fabric scissors to cut the strips cleanly, preventing fraying along the edges.
Step 3: Fold and Press
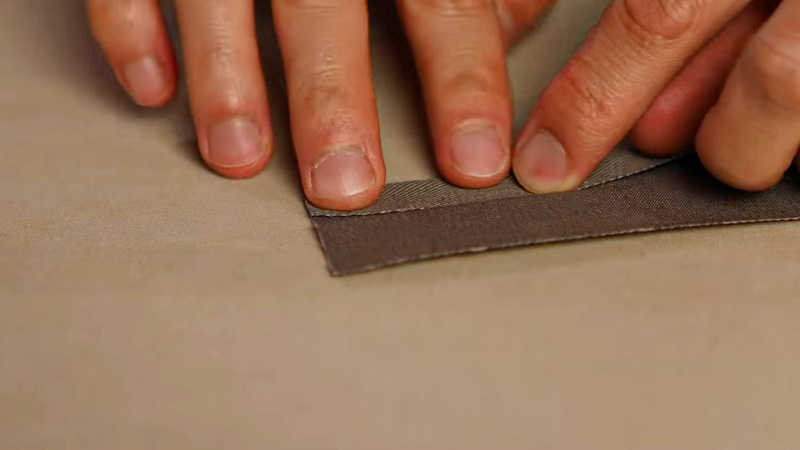
When folding your fabric strips in half lengthwise, take care to align the edges perfectly. The right sides of the fabric should be facing each other, and the fold should run down the center.
To achieve a crisp, well-defined crease, press the fold with an iron. This step will not only make your belt loops look professional but also make it easier to sew them later.
Step 4: Sew the Long Edge
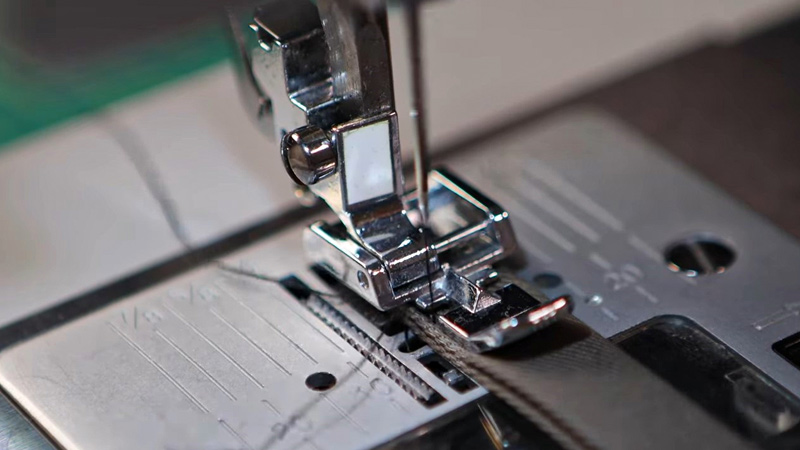
Stitching along the long, open edge of the folded fabric strip is where precision matters most. Maintain a consistent seam allowance, which is typically about 1/4 inch from the edge. Ensure your stitches are straight and even.
Don’t forget to backstitch at both the beginning and end of the stitching line to secure your work and prevent unraveling.
Step 5: Trim and Turn Inside Out
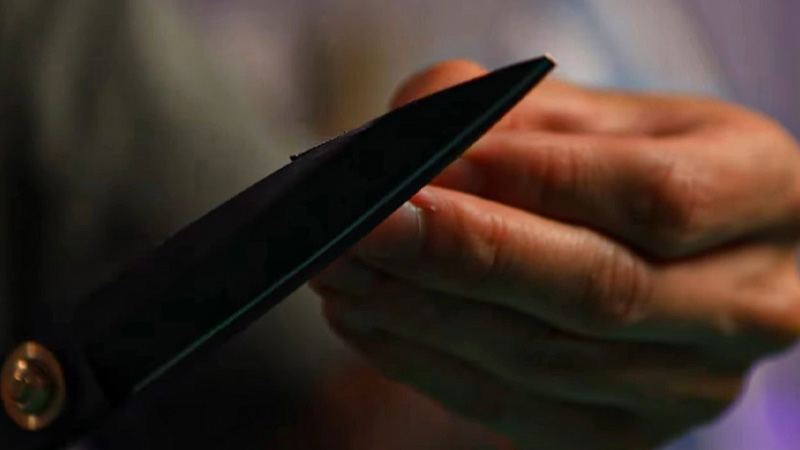
After sewing, carefully trim any excess fabric close to the stitching line. Use small, sharp scissors for this task to avoid accidentally cutting your stitches.
Turning the fabric strip inside out can be a bit challenging but is crucial for achieving a clean finish. Consider using a loop turner, tweezers, or a safety pin to assist with this step.
Step 6: Press Again
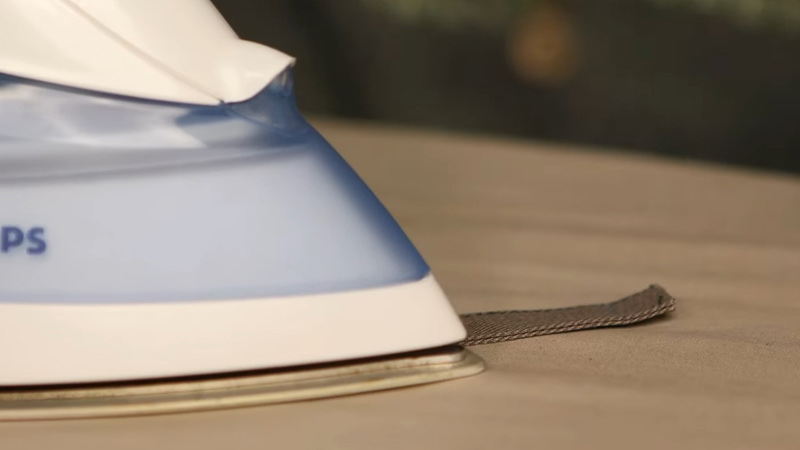
To achieve a polished appearance for your belt loops, press them again after turning them right side out. Focus on the seam running down the center and the folded edge. This step will set the shape and make your belt loops look neat and professional.
Step 7: Attach Belt Loops to Your Garment
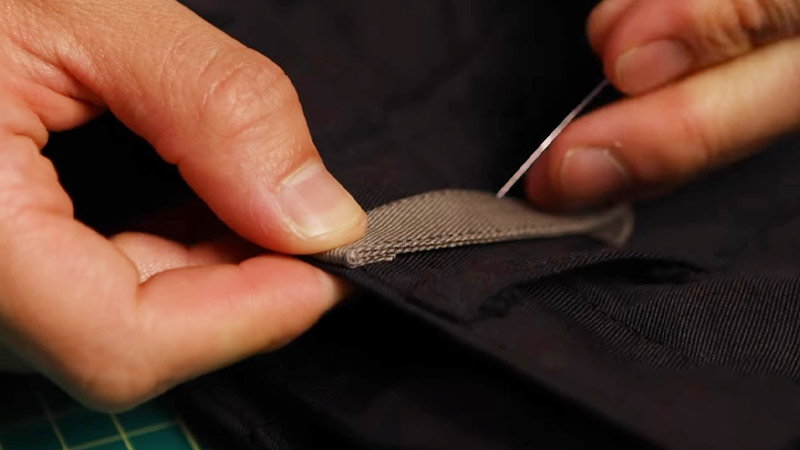
Determine the ideal placement for your belt loops on your garment, ensuring they are evenly spaced around the waistband. Use straight pins to temporarily secure the loops in place.
Take your time during this step to achieve straight alignment and consistent spacing for a balanced and attractive look.
Step 8: Sew Belt Loops to Garment
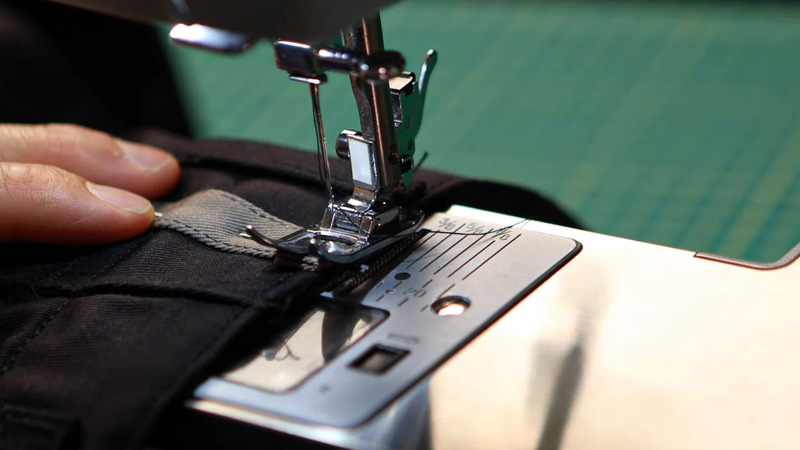
Whether you’re using a sewing machine or hand-sewing, be patient and methodical when sewing the ends of each belt loop to your garment. Ensure your stitches are secure, straight, and evenly spaced. The durability of your belt loops depends on the quality of your sewing in this step.
Step 9: Trim Excess Thread
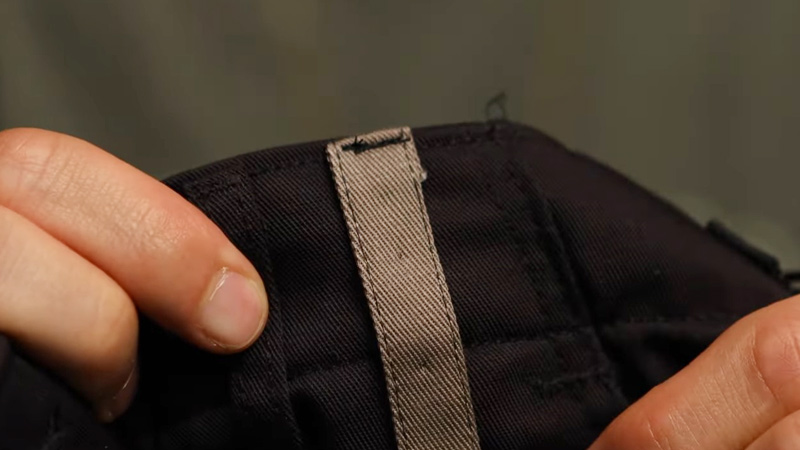
Once you’ve finished sewing the belt loops to your garment, take a moment to trim any excess thread. Neatly trimmed threads contribute to a professional and tidy appearance.
Step 10: Final Press
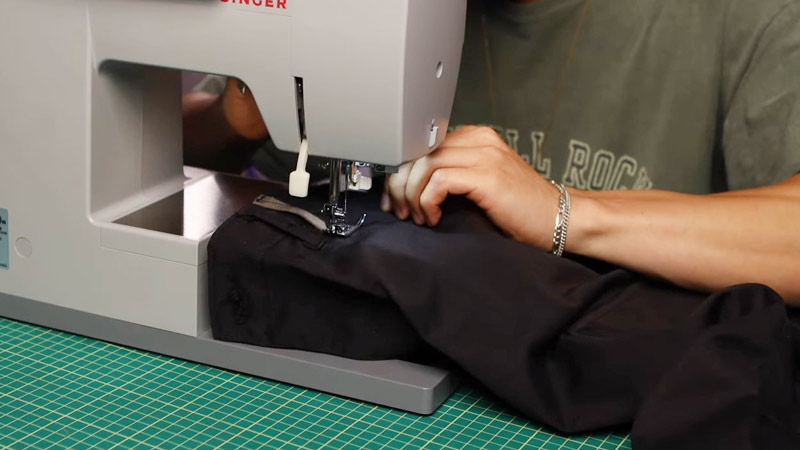
Before declaring your project complete, give your entire garment one last press with the iron. Avoid pressing directly over the belt loops to prevent flattening them. This final touch helps set your stitches and enhances the overall finish of your garment.
Tips on Sewing Belt Loops for Different Types of Clothing
Sewing belt loops for different types of clothing can present unique challenges based on the style and fabric of the garment.
Here are some tips to consider when sewing belt loops for various types of clothing:
Lightweight Fabrics (e.g., Blouses and Dresses):
- Opt for lightweight and delicate fabrics like chiffon, silk, or satin. To avoid adding bulk, use thin fabric strips for your belt loops.
- Consider making narrow fabric tabs with buttonhole loops to maintain a delicate appearance while still offering belt support.
- When sewing, use a fine, lightweight thread that matches the fabric to ensure your stitches are inconspicuous.
Denim and Heavy Fabrics (e.g., Jeans and Trousers):
- For heavy fabrics like denim, choose sturdy, medium to heavyweight thread to ensure the loops can withstand the weight of a belt.
- Sew belt loops using a double layer of fabric for added durability, especially in high-stress areas like the waistband of jeans.
- Consider reinforcing the stitching by sewing over the loops a few times or sewing a square or an “X” shape for added strength.
Formal or Dressy Attire (e.g., Suits and Gowns):
- When sewing belt loops for formal or dressy garments, select a fabric that matches the formality of the outfit, such as satin or velvet.
- Ensure that the loops are evenly spaced and meticulously aligned for an elegant appearance.
- For added refinement, you can use a hidden or invisible stitch to attach the loops to the garment, creating an almost seamless look.
Stretchy or Knit Fabrics (e.g., Leggings and Jersey Dresses):
- When sewing belt loops on stretchy or knit fabrics, consider using a stabilizing interfacing or elastic thread in the bobbin to prevent stretching.
- Opt for fabric strips that have some stretch to accommodate the fabric’s movement.
- Use a narrow zigzag stitch or a stretch stitch on your sewing machine to sew the loops, as this stitch type allows the fabric to stretch without breaking the stitches.
Tailored Clothing (e.g., Blazers and Suit Jackets):
- For tailored garments, precision is crucial. Measure and mark the loop placement accurately to ensure the belt sits at the correct position.
- Sew the loops securely, as tailored garments often endure more stress due to frequent use and layering.
- Match the thread color precisely to the fabric to maintain a polished and professional look.
Vintage or Retro Styles:
- When sewing belt loops for vintage or retro clothing, research and replicate the design and placement of loops from the era you’re emulating.
- Consider using contrasting fabric or decorative stitching to achieve an authentic vintage look.
- Sew the loops securely to ensure they can support wide or heavy vintage-style belts.
Spacing Belt Loops on Different Types of Garments
The spacing of belt loops on different types of garments can vary depending on the style and purpose of the garment.
Here are some general guidelines for spacing belt loops on various types of clothing:
Pants and Jeans
When it comes to pants and jeans, the typical approach is to distribute belt loops evenly around the waistband.
The first loop is often positioned about 1-2 inches from the center back seam, followed by an equal spacing of loops around the waist, with the last one placed approximately 1-2 inches from the center front seam.
Shorts
Shorts tend to follow a similar pattern as pants and jeans in terms of belt loop placement. You’ll commonly find four to six evenly spaced belt loops, with the first one near the center back and the last one near the center front.
Skirts
The presence of belt loops on skirts can vary significantly based on the style. Some skirts may have no belt loops, especially if they’re designed to be worn with a belt at the wearer’s preferred height.
For skirts that feature belt loops, placement can be more flexible and based on individual preferences.
Coats and Jackets
Coats and jackets with belts typically have belt loops near the waist or slightly above it. The number and positioning of these loops can vary according to the specific design of the outerwear.
Robes and Bathrobes
Belt loops on robes and bathrobes are generally spaced evenly around the waist to hold the tie belt securely. The number of loops can vary, but robes often have two to four loops.
Overalls
Overalls typically have a series of evenly spaced belt loops along the waistband. These loops are essential for securing the bib or bodice in place and may vary in number depending on the size and style of the overalls.
Uniforms and Workwear
Uniforms and workwear are designed with practicality in mind. Belt loops on such garments are strategically placed to ensure that belts and tools remain secure during physical activities.
The number and spacing of loops may be specified by regulations or tailored to suit specific job requirements.
FAQS
Yes, you can use a contrasting fabric for belt loops to add a unique design element to your garment.
If your belt loops are too long, carefully trim the excess fabric from the ends before attaching them to your garment. Be cautious not to cut too close to your stitches to prevent unraveling.
Absolutely! Belt loops can be sewn by hand using a strong, even stitch. It may take a bit more time and effort, but it’s entirely possible to create durable and attractive belt loops manually.
Yes, you can add belt loops to an existing garment that lacks them.
A durable, medium to heavyweight thread in a color that matches your fabric is ideal for sewing belt loops.
Yes, you can reinforce your belt loops with fusible interfacing.
To Recap
Sewing belt loops is a skill that combines both functionality and craftsmanship in the world of garment design and alteration.
By following the steps outlined in this guide, you’ve learned how to select the right materials, measure, cut, sew, and attach belt loops to your garments with precision and care.
These small yet significant details not only hold belts in place but also contribute to the overall aesthetics of your clothing creations or alterations.
With practice and attention to detail, you can perfect this skill, making your garments not only fit better but also look more polished and professional.
Whether you’re a beginner or an experienced seamstress, sewing belt loops is a valuable technique that adds both style and functionality to your clothing projects.
Leave a Reply