Whether you want to add a handy pocket to your favorite pair of jeans or embellish a tote bag with a touch of creativity, learning how to sew patch pockets is a valuable skill for any DIY enthusiast.
Patch pockets are a versatile addition to clothing and accessories, offering both functionality and style. In this comprehensive guide, we will take a look at the process of sewing patch pockets that will elevate your sewing projects to a whole new level.
Whether you’re a sewing novice or an experienced seamstress looking to expand your repertoire, our step-by-step instructions and tips will help you achieve polished and professional results.
So, dust off your sewing machine, gather your fabric and notions, and let’s embark on a journey to master the art of sewing patch pockets. Your garments and accessories will thank you for it!
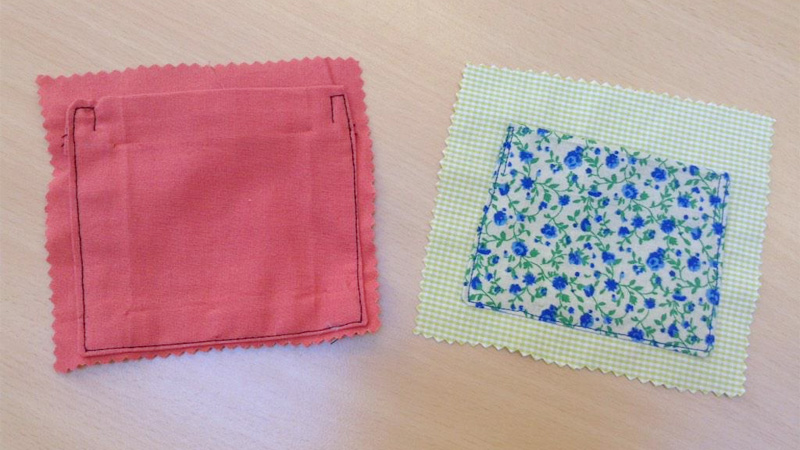
How to Sew Patch Pockets? 7 Steps
Sewing patch pockets is a fundamental skill for any sewing enthusiast. With the right materials, careful measuring, precise stitching, and a touch of creativity, you can create functional and fashionable patch pockets that add character to your projects.
In this comprehensive guide, we will walk you through the process of creating perfect patch pockets step by step.
Materials You’ll Need
Before we dive into the sewing process, gather the following materials. Choose a fabric that complements your project. For clothing, use the same fabric as the garment or a coordinating one.
For bags or accessories, you can get creative with different fabrics. Select a thread color that matches your fabric or provides a contrasting look, depending on your design preference.
Sharp fabric scissors are essential for clean cuts. Straight pins help keep your fabric pieces in place during sewing. A sewing machine is recommended for more efficient and precise stitching, but you can also sew patch pockets by hand if necessary.
Step 1: Measuring and Cutting
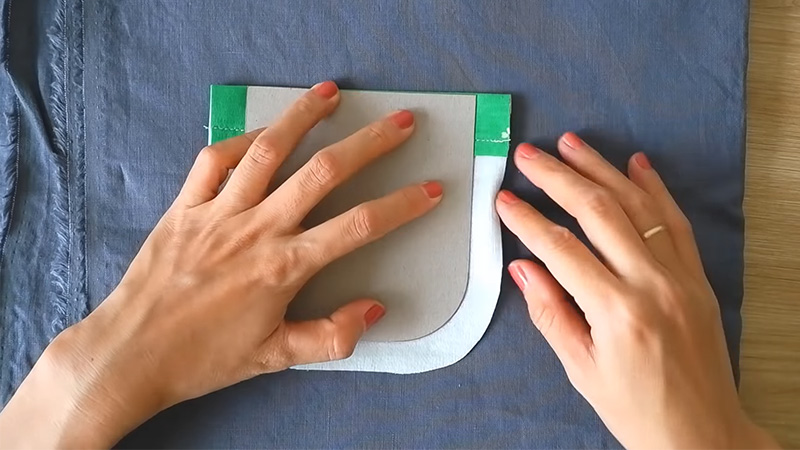
Decide on the size and shape of your patch pocket. For clothing, consider the item’s functionality and aesthetics. Measure and mark the desired pocket dimensions on your fabric using a ruler, chalk, or fabric pen.
To create a clean edge, add a 1/2-inch seam allowance to all sides of the pocket. This extra fabric will be folded under during sewing.
Carefully cut out the pocket piece following the measurements and seam allowance you marked. You should have a square or rectangular fabric piece for your pocket.
Step 2: Folding and Pressing
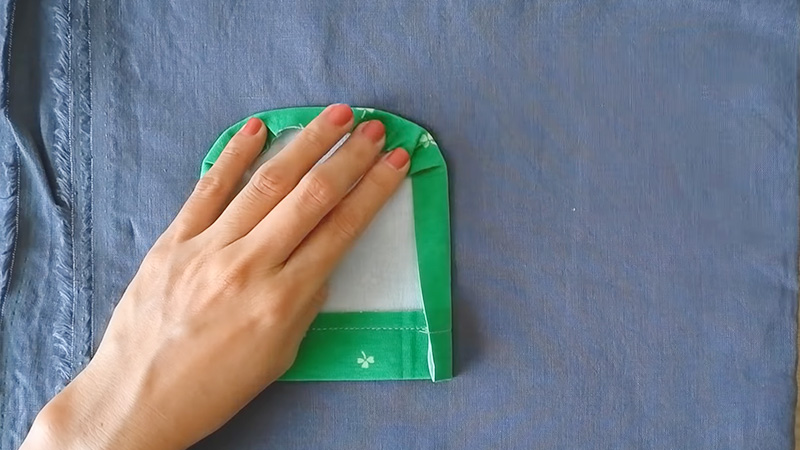
On each side of the pocket piece, fold the seam allowance inwards by half (1/4 inch) and press it with an iron. This creates a clean, folded edge. If your pocket has a top opening, fold the top edge (the edge opposite the seam allowance) down by 1/4 inch and press it.
Step 3: Pinning the Pocket
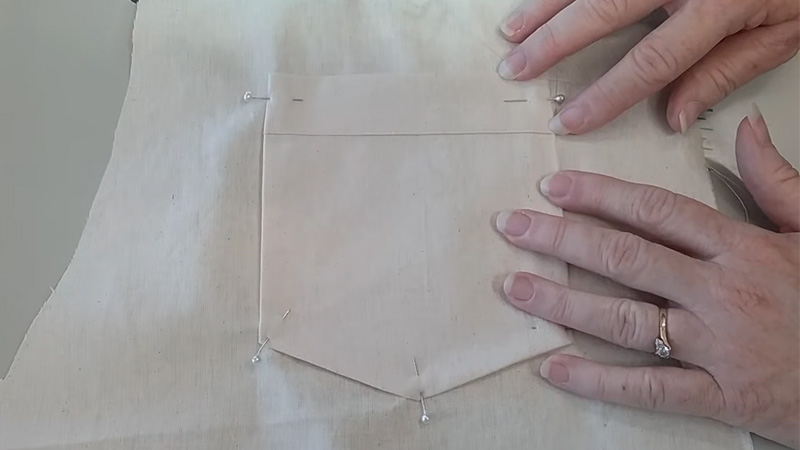
Decide where you want to attach your pocket on your project and mark its placement with pins or fabric chalk. Ensure it’s level and centered if needed. Align the folded sides of the pocket with the marked lines on your project.
Use straight pins to secure the pocket in place. Make sure the pins are perpendicular to the fabric to avoid shifting during sewing.
Step 4: Sewing the Pocket
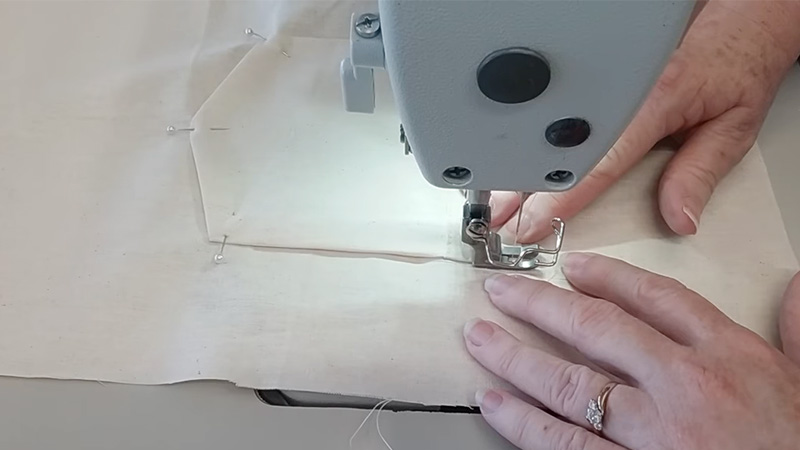
Select the appropriate stitch on your sewing machine. For most patch pockets, a straight stitch or a zigzag stitch will work well. Begin sewing along one of the folded sides of the pocket, starting at the top and backstitching at the beginning for reinforcement.
Continue stitching along the bottom edge of the pocket, maintaining your seam allowance. Pivot at the corners by stopping with the needle down, lifting the presser foot, and turning the fabric.
Step 5: Finishing Touches
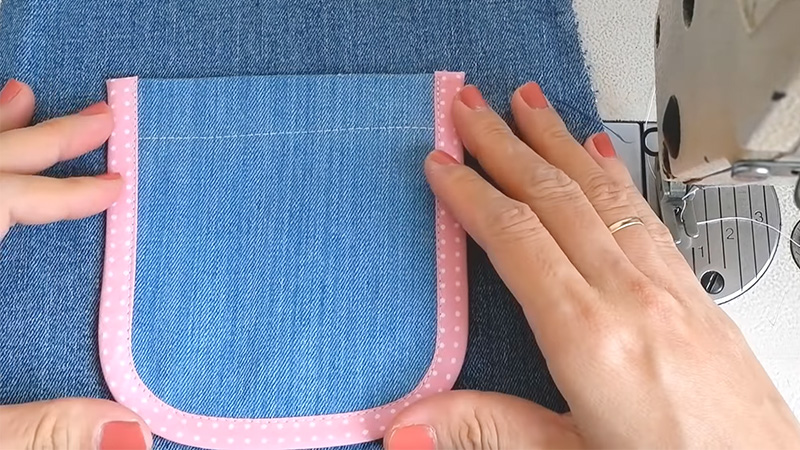
Stitch up the other side of the pocket, again backstitching at the top for durability. If your pocket has a top opening, stitch along the folded edge to secure it, making sure to backstitch at the beginning and end.
Trim any loose threads with scissors for a neat appearance. After sewing, press the pocket with an iron to smooth out any wrinkles or creases. This step adds a professional finish to your patch pocket.
Step 6: Sewing Patch Pockets by Hand (Optional)
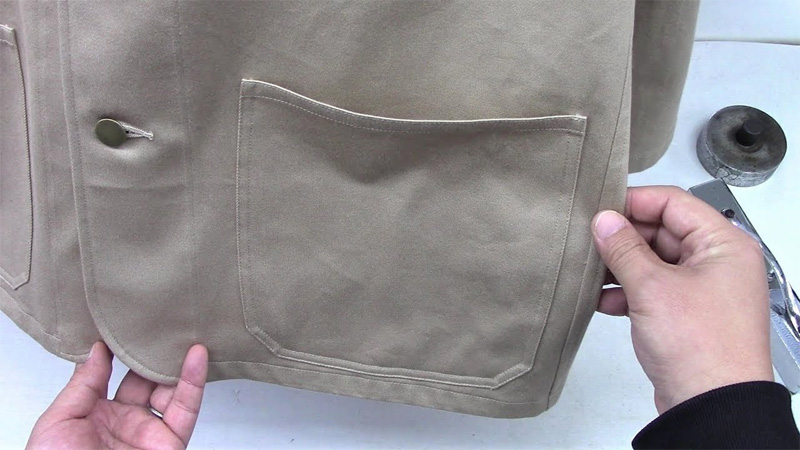
If you prefer or don’t have access to a sewing machine, you can sew patch pockets by hand using a needle and thread.
Follow the same steps, but instead of a machine, use a straight stitch or a whipstitch to secure the folded edges of the pocket. Hand sewing requires more patience but can yield beautiful results.
Step 7: Experiment and Get Creative
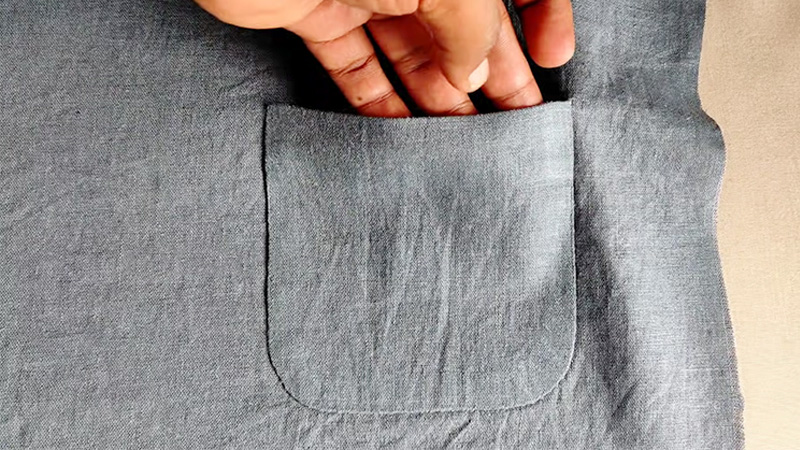
Now that you’ve mastered the basics of sewing patch pockets, don’t be afraid to get creative. Try different fabric combinations, shapes, sizes, and embellishments to customize your pockets to suit your style and project.
Whether you’re adding pockets to clothing, bags, or home decor items, patch pockets are a versatile and stylish way to enhance your sewing creations.
What Are the Best Stitches for Patch Pockets?
When it comes to sewing patch pockets, choosing the right stitch is crucial for achieving both functionality and aesthetics.
The choice of stitch can vary depending on your project, fabric, and personal preferences. Here, we’ll explore some of the best stitches for patch pockets and when to use them.
Straight Stitch
The straight stitch is the most basic and commonly used stitch in sewing. It’s ideal for patch pockets in various situations. Straight stitches work well for attaching patch pockets to clothing items like pants, shirts, or skirts.
They provide a clean, simple, and secure seam. When adding patch pockets to bags, purses, or accessories, a straight stitch can provide durability and a neat finish.
Zigzag Stitch
The zigzag stitch is versatile and can be used in a variety of patch pocket applications: If you’re attaching patch pockets to stretchy or knit fabrics, a zigzag stitch is a great choice. It allows the fabric to stretch without breaking the stitches.
A zigzag stitch along the raw edges of your patch pocket fabric can prevent fraying and add a professional touch. For a decorative touch, consider using a contrasting thread color and a wide zigzag stitch for a unique look.
Topstitching
Topstitching is a visible stitch that adds both style and functionality to patch pockets. Topstitching along the edges or seams of a patch pocket can create a polished, decorative effect. It’s often used in denim or workwear-inspired clothing for a rugged look.
Topstitching can serve a functional purpose by reinforcing the pocket edges, making them more durable. Using a twin needle creates parallel lines of topstitching, which can add a professional finish to your patch pockets.
Edge Stitch
Edge stitching is a close parallel stitch to the edge of the fabric and is great for securing folded edges. Use an edge stitch when you want to create a clean, finished edge on your patch pockets, especially around top openings.
This stitch adds structure and stability to your pockets, making them more resistant to wear and tear.
French Seam
French seams are excellent for creating a clean, enclosed seam on patch pockets, especially when you want to hide raw edges.
French seams work well on sheer or delicate fabrics where raw edges might be visible or prone to fraying. They provide a professional finish by concealing raw edges inside the seam for a polished look.
Welt Stitch
A welt stitch is used for attaching welt or piped pockets and creates a clean, recessed seam. Welt stitches are commonly used in tailored garments like blazers and dress pants to create sophisticated, functional pockets.
Achieving a neat welt stitch requires precision and careful attention to detail, making it ideal for more structured and formal pieces.
Blind Hem Stitch
The blind hem stitch is used for attaching patch pockets discreetly and securely. This stitch hides the thread on the outside of the fabric, making it nearly invisible and suitable for projects where aesthetics is a priority.
Blind hem stitches are often used on formal wear or high-end garments to maintain a clean, elegant appearance.
Satin Stitch (for Appliqué)
If you’re using patch pockets as appliqué embellishments, a satin stitch is perfect for these applications: Satin stitches are used to outline and secure appliqué patches, ensuring they stay in place and look polished.
Satin stitches come in various widths and can be adjusted to match the desired thickness and appearance of the appliqué edge.
FAQs
What is a patch pocket in sewing?
A patch pocket is a functional and decorative pocket style in sewing. It’s a separate piece of fabric attached to the outside of a garment or project, typically by sewing it onto the surface.
How do I measure and determine the size of a patch pocket for my sewing project?
To measure a patch pocket, consider the desired dimensions, ensuring it’s large enough to hold what you need. Add a 1/2-inch seam allowance to all sides for folding and sewing. Customize the size to suit your project’s functionality and aesthetics.
What is the best stitch to secure the edges of a patch pocket to prevent fraying?
To prevent fraying, use a zigzag stitch along the raw edges of the patch pocket fabric. This stitch encases the fabric’s edges and prevents them from unraveling.
Can I sew patch pockets by hand, or do I need a sewing machine?
You can sew patch pockets by hand using a needle and thread if you don’t have a sewing machine. While sewing machines offer efficiency, hand sewing allows for a more personal touch and is a viable option for smaller projects or those without access to a machine.
Are there any creative ways to embellish patch pockets for a unique look?
Yes, you can get creative with patch pockets! Consider using contrasting fabrics, decorative stitching, or appliqué to add flair. You can also experiment with unique shapes, such as rounded or asymmetrical pockets, to give your project a distinct style.
Conclusion
Congratulations! You’ve now unlocked the secrets to sewing patch pockets with finesse. By following the steps outlined in this guide and practicing your newfound skills, you’ll be able to enhance your sewing projects with functional and stylish pockets that are uniquely your own.
Remember that sewing is an art that improves with practice, so don’t be discouraged if your first attempts aren’t perfect. With time and dedication, your patch pockets will become a signature element of your creations.
As you continue to explore the world of sewing, you’ll discover countless opportunities to apply your patch pocket expertise. From clothing alterations to crafting accessories and home decor, the possibilities are endless.
So, keep those needles threaded and your imagination running wild. The world of sewing is yours to explore, one patch pocket at a time.
Leave a Reply