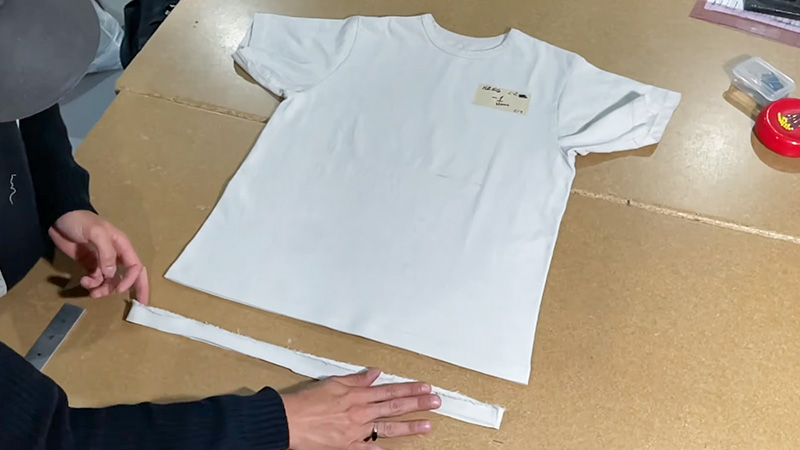
Shortening T-shirts is a creative and practical way to transform your wardrobe, whether you want to upcycle an oversized shirt or customize the length to suit your style.
While traditional sewing methods are effective, not everyone has sewing skills or access to a sewing machine. The good news is that you can achieve shorter T-shirts without the need for sewing, using various no-sew techniques.
In this guide, we will explore easy and versatile methods for shortening T-shirts without sewing, allowing you to personalize your clothing with minimal effort and no stitching required.
Whether you’re looking for a quick, temporary alteration or a more permanent change, these methods will help you achieve the perfect T-shirt length to match your fashion preferences.
Let’s dive into these creative alternatives and give your T-shirts a stylish makeover!

5 Methods to Shorten T-shirts Without Sewing
When it comes to fashion, sometimes it’s the little adjustments that make a big difference. Shortening T-shirts without sewing is a fantastic way to revamp your wardrobe effortlessly.
In this guide, we’ll explore five creative methods that require no stitching, offering you flexibility and style customization for your favorite tees.
Method 1: Knotting Technique

The knotting technique offers a trendy and adjustable way to shorten t-shirts without the need for sewing. It’s a fun and creative method to transform your t-shirt.
Here’s how to do it:
Gather the Necessary Materials
Before diving into the knotting technique, ensure you have the essential materials at hand. You’ll need an oversized t-shirt that you want to shorten, a measuring tape to determine the desired length, and a pair of scissors for any necessary trimming.
With these tools, you’ll be ready to transform your t-shirt.
Determine the Desired Length and Mark It
The first crucial step in the knotting technique is to measure and mark the length you want your t-shirt to be. Put on the t-shirt and use your measuring tape to measure from the bottom edge of the shirt up to your desired length.
Mark this length with a pencil or chalk on both sides of the t-shirt. These marks will serve as your guide for creating the knots evenly along the hemline.
Create Knots at the Sides of the Shirt
Lay the t-shirt flat on a clean surface, ensuring it’s well spread out. Start at one side of the t-shirt where you’ve marked the desired length.
- Take a small section of the fabric, approximately 1 inch wide, and gently twist it.
- Fold the twisted fabric back on itself to create a loop, leaving a small tail of fabric at the end.
- Tie the loop into a secure knot, making sure it’s tight enough to hold but not so tight that it distorts the fabric. You can double-knot it for added security.
- Repeat this knot-tying process at regular intervals along the marked line on both sides of the t-shirt. You have the flexibility to choose the spacing between knots, allowing you to create as many or as few knots as you like.
- After tying all the knots, give a gentle tug on the fabric below each knot to create a slightly ruched effect. This will further shorten the t-shirt and add a stylish touch.
Try It on
Put on your newly knotted t-shirt to check if the length suits your liking. Feel free to make adjustments by either tightening the knots for a shorter look or adding more knots if you want to increase the length.
This adjustability allows you to personalize your t-shirt to your desired fit and style.
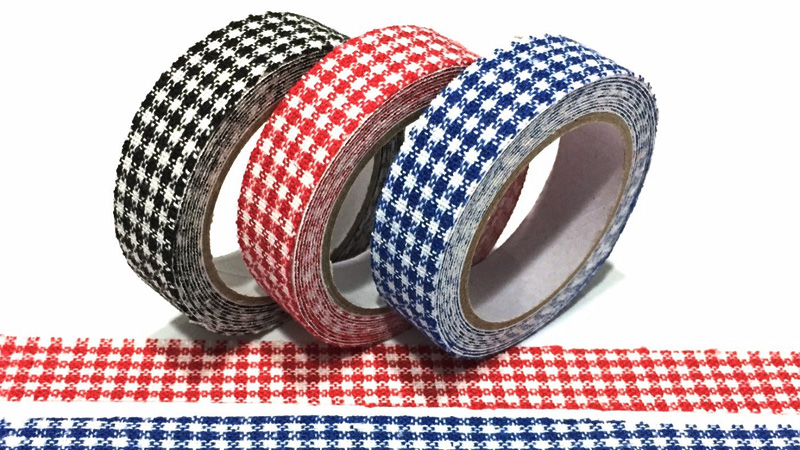
Method 2: Fabric Adhesive Tape

If you’re looking for a clean and secure way to shorten your t-shirts without sewing, the fabric adhesive tape method is an excellent choice. This technique ensures a professional finish and is hassle-free.
Here’s a step-by-step guide for shortening t-shirts using fabric adhesive tape:
Gather the Necessary Materials
To get started, assemble the materials you’ll need: an oversized t-shirt you want to shorten, double-sided fabric adhesive tape, a measuring tape to determine the desired length, and a pair of scissors (for trimming, if necessary).
Determine Desired Length and Mark It
Put on the t-shirt and determine how much shorter you want it to be. Use a measuring tape to measure from the bottom edge of the t-shirt up to your desired length.
Mark this length on the t-shirt with a pencil or chalk. These marks will serve as your guides when applying the adhesive tape.
Apply Fabric Adhesive Tape and Secure Hem
With your t-shirt flat on a clean surface, it’s time to apply the fabric adhesive tape:.
- Carefully place the double-sided fabric adhesive tape along the marked line on the inside of the t-shirt. Ensure that the tape covers the entire length of the marked line.
This tape will serve as a clean and secure hem for your t-shirt. - Next, fold up the excess fabric along the marked line, pressing it onto the adhesive tape. This action will create a neat and secure hemline, ensuring that your t-shirt maintains a polished appearance.
- To activate the adhesive and guarantee a strong bond, use a hot iron. To protect the fabric, place a cloth or parchment paper between the iron and the t-shirt.
Follow the specific instructions provided by the adhesive tape manufacturer. Typically, a few seconds of ironing will suffice.
Trim Excess Fabric (Optional)
If there’s any excess fabric above the adhesive tape after creating the hem, you can carefully trim it with scissors. Be cautious not to cut through the tape itself, as you want to maintain a clean finish.
Try It on and Enjoy
With your t-shirt now shortened and the fabric adhesive tape securely in place, try it on to ensure the length meets your satisfaction. You’ll appreciate the polished look and professional finish achieved with this no-sew technique.
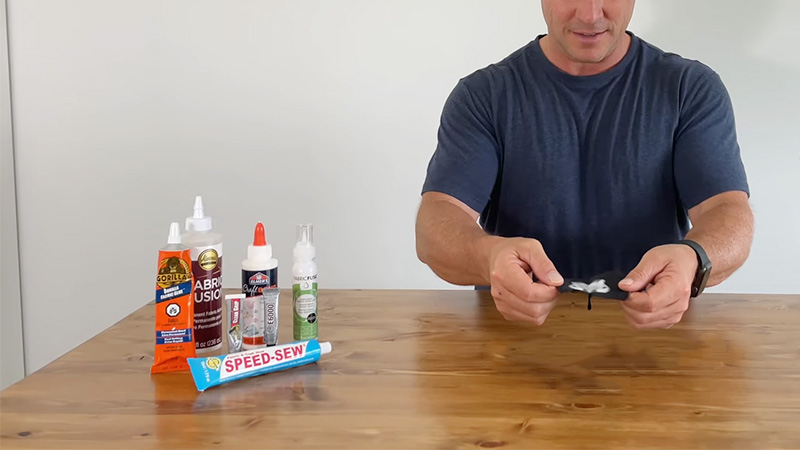
Method 3: Fabric Glue

Shortening t-shirts without sewing can be achieved with the fabric glue method, particularly suitable for stretchy fabrics. This no-sew technique offers flexibility and customization.
Here’s a step-by-step guide for shortening your t-shirt using fabric glue:
Gather the Necessary Materials
To begin with the Fabric Glue method for shortening t-shirts without sewing, gather the essential materials: an oversized t-shirt for alteration, fabric glue suitable for your fabric type, a measuring tape, and a flat working surface.
These items are crucial for a successful no-sew alteration.
Determine Desired Length and Mark It
Wear the t-shirt and decide how much shorter you’d like it to be. Use a measuring tape to measure from the t-shirt’s bottom edge up to your desired length.
Mark this length on the inside of the t-shirt with a pencil or chalk. These marks will serve as your guidelines for applying the fabric glue.
Apply Fabric Glue
Now, it’s time to apply the fabric glue to create a secure hem:.
- On the inside of the t-shirt, mark the desired length using your previous measurements.
- Apply a thin, even layer of fabric glue along the marked line. It’s important not to overapply glue, as excess glue can seep through the fabric or make the hem stiff.
Fold and Press the Hem
After applying the fabric glue, fold up the excess fabric along the marked line. Ensure that the glued edge is neatly tucked inside to create a clean and secure hem.
Press the folded fabric firmly to the glued area. You can use your fingers or a clean cloth to smooth out any wrinkles or bubbles, ensuring a solid bond.
Allow It to Dry Completely
For a strong bond and a secure hem, it’s essential to allow the fabric glue to dry thoroughly. Follow the drying time recommended by the glue manufacturer, which typically ranges from several hours to overnight.
Try It on and Enjoy
Once the fabric glue has fully dried, try on your shortened t-shirt to verify if the length meets your preference. You’ll appreciate the flexibility and security of this fabric glue method, which allows you to confidently wear your customized t-shirt.
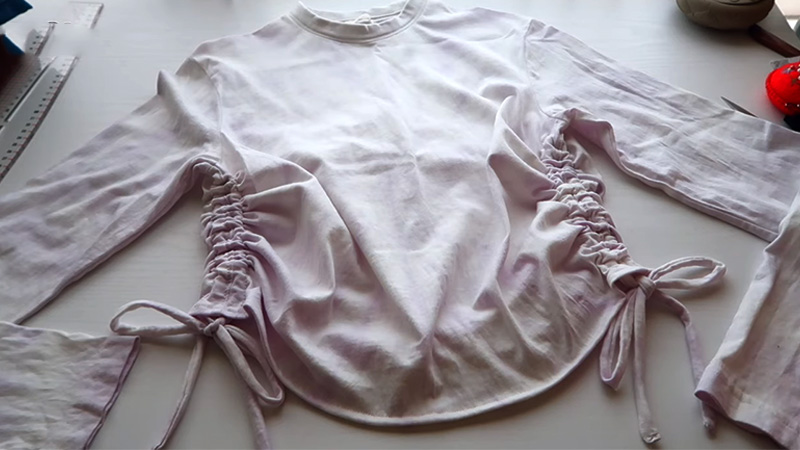
Method 4: Ruching Technique

The ruching technique is an elegant and customizable way to shorten t-shirts without sewing, adding a stylish touch to your garment.
Follow these steps for a no-sew transformation:
Gather the Necessary Materials
Before diving into the ruching technique, make sure you have the essential materials ready: an oversized t-shirt to be shortened, elastic bands (preferably matching the t-shirt’s color), a measuring tape, and a flat surface for working.
These items are crucial for a successful alteration without sewing.
Determine Desired Length and Mark It
Begin by wearing the t-shirt and deciding how much shorter you want it to be. Use a measuring tape to measure from the bottom edge of the t-shirt up to your desired length.
Mark this length on the t-shirt with a pencil or chalk. These marks will guide you in creating the ruches evenly.
Create Ruches Using Elastic Bands
Now, let’s add some stylish ruches to your t-shirt:.
- Starting at one side of the t-shirt where you’ve marked the desired length, gather a small section of fabric along the marked line.
- Carefully wrap an elastic band tightly around the gathered fabric, securing it in place. The tension of the elastic band will determine the tightness of the ruches.
- Repeat this process at regular intervals along the marked line on both sides of the t-shirt. You have the freedom to space the ruches closely or widely, depending on your style preference.
Adjust the Tightness
One of the key benefits of the ruching technique is its adjustability. To customize the t-shirt’s length further, simply pull on the fabric between the elastic bands.
This allows you to shorten or lengthen the shirt as desired, offering a personalized fit and style.
Try It on and Enjoy
With the ruches created and the tightness adjusted to your liking, try on your newly shortened t-shirt. Check if the length suits your preference and admire the elegant ruched effect you’ve added to your garment.
This method not only shortens the t-shirt but also elevates its style, making it a versatile and fashionable choice.
Method 5: Safety Pins or Clips

The safety pins or clips method is a quick, temporary, and adjustable way to shorten t-shirts without sewing. It’s especially handy for last-minute outfit adjustments.
Here’s a step-by-step guide:
Gather the Necessary Materials
Begin by ensuring you have the essential materials at your disposal: an oversized t-shirt you wish to temporarily alter, safety pins or clothing clips (traditional safety pins or specially designed fashion clips work), a measuring tape for precision, and a flat, clean surface to work on.
These items are all you need for this quick alteration.
Determine Desired Length and Mark It
Put on the t-shirt and determine how much shorter you want it to be for your current outfit. Utilize a measuring tape to measure from the t-shirt’s bottom edge up to your desired temporary length.
Mark this length on the t-shirt’s fabric using a pencil or chalk. These marks will serve as your visual guide for placing the safety pins or clips.
Secure the Hem With Safety Pins or Clips
Now, let’s create a temporary hem with safety pins or clips:.
- Beginning at one side of the t-shirt where you’ve marked the desired length, gently fold up the excess fabric along the marked line.
- Secure the folded fabric in place using safety pins or clothing clips. Space them out evenly along the hemline to ensure the fabric stays in position and doesn’t unfold.
Ensure that the pins or clips are tightly fastened to maintain the temporary hem.
Try It on and Adjust as Needed
Put on your t-shirt with the temporary alteration to assess if the length aligns with your outfit. Should you find that you require a slightly different length, fret not.
The beauty of this method lies in its adjustability. Simply move or reposition the safety pins or clips to fine-tune the t-shirt’s length, customizing it to match your desired look.
Enjoy Your Temporary Alteration
With the safety pins or clips in place, you can confidently don your t-shirt for the occasion. This temporary alteration method enables you to customize the t-shirt’s length as needed, making it a practical choice for quick outfit changes without the commitment of permanent sewing.
FAQs
Is shortening a T-shirt without sewing reversible?
Yes, many no-sew methods are reversible, allowing you to revert to the original length if desired.
Can I use these methods on any type of T-shirt fabric?
Most methods work well on various fabric types, but consider the fabric’s stretch and thickness for best results.
How long does the fabric adhesive tape method last?
Fabric adhesive tape provides a secure hold but may need occasional touch-ups after multiple washes.
Are these methods suitable for cropped T-shirts?
Absolutely! These techniques are versatile and can be applied to both long and short T-shirts.
Is there a risk of damaging the T-shirt with the cutting method?
There is a risk if not done carefully, so measure and cut cautiously to avoid mistakes.
To Recap
Shortening T-shirts without sewing opens up a world of possibilities for those seeking quick and easy wardrobe customization.
Whether you opt for the folding and tucking method for a non-permanent alteration, the cutting method for a more permanent change, or the fabric adhesive tape method for a clean and professional finish, these techniques offer versatility and convenience.
They allow you to tailor your T-shirts to your liking without the need for intricate sewing skills or specialized equipment. With the ability to achieve various styles and lengths, you can now confidently refresh your T-shirt collection and express your unique fashion sense effortlessly.
Embrace the freedom to experiment and transform your clothing, all while saving time and avoiding the hassle of traditional sewing. Shortening T-shirts without sewing is the perfect solution for those looking to revamp their wardrobe with style and ease.
Leave a Reply