Embarking on the journey of back stitch cross stitch opens a world of intricate detailing and refined artistry within embroidery.
This technique, vital in outlining and adding nuance to designs, introduces a new dimension to cross-stitching. Starting the back stitch cross stitch involves careful preparation, from selecting the right thread thickness to securing the initial knot.
Understanding the nuances of tension, mastering curves and corners, and maintaining optimal lighting are essential elements.
Through practice and persistence, one can refine this skill, creating precise, defined lines that elevate the overall aesthetic of a cross-stitch project.
This guide delves into the nuanced steps, offering a comprehensive approach to mastering backstitch cross-stitch.
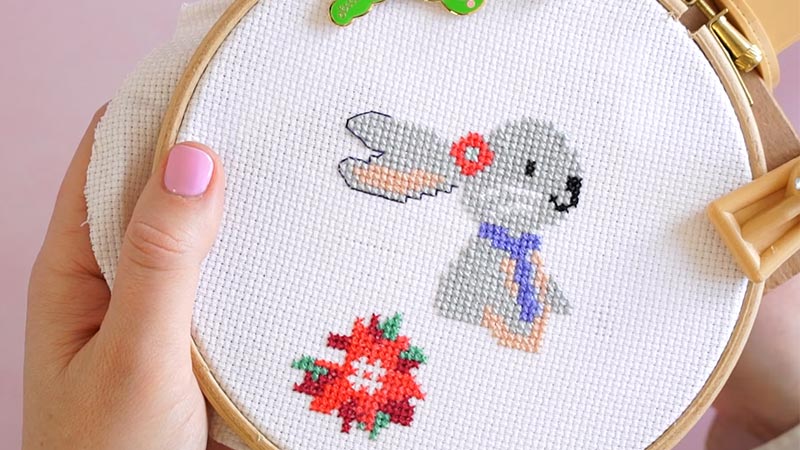
What Is Back Stitch Cross Stitch?
Backstitch in cross stitch is a crucial outlining technique used to define shapes, add details, or create text within a design. Unlike the “X” stitches of traditional cross stitches, back stitching involves creating continuous lines with a single thread.
It’s executed by bringing the needle up from the fabric’s back, making a small stitch, and then reinserting the needle a short distance ahead, effectively forming a line. This technique provides structure and clarity to the overall pattern.
Commonly used for intricate patterns or text, mastering backstitch elevates the level of detail and professionalism in cross-stitch projects, making it an essential skill for embroiderers.
How to Start Back Stitch Cross Stitch?
Back stitch is a fundamental embroidery technique commonly used in cross-stitching to outline designs, add fine details, or create text. It provides a definition and structure to your cross-stitch project.
When you’re just getting started with back stitch in cross stitch, here’s a step-by-step guide to help you begin:
Materials Needed:
- Aida Fabric
- Embroidery Thread
- Embroidery Needle
- Embroidery Hoop
Steps to Start Back Stitch Cross Stitch:
Step 1: Prepare Your Thread
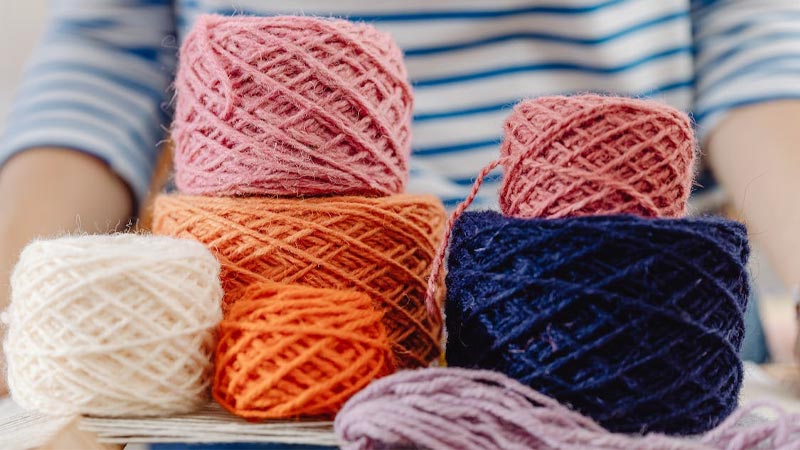
Before you start stitching, selecting the right color of embroidery thread for your project is important. If you’re following a specific pattern, the recommended colors will be indicated.
Take the skein of embroidery floss and separate the required number of strands. Using two strands is common for most back stitches, but this can vary based on your preference and pattern instructions.
Step 2: Thread the Needle
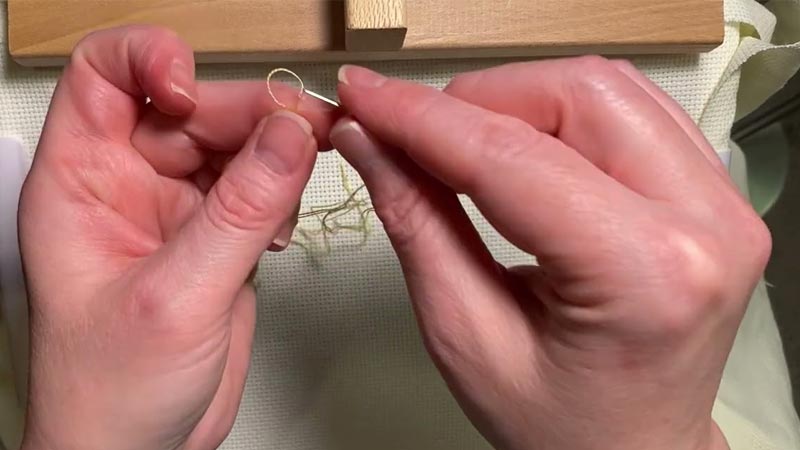
Thread the separated strands through the eye of the needle. Pull them through if you’re using two strands until they’re doubled up.
Knot the end to secure it. This prevents the thread from slipping out of the needle while you’re stitching.
Step 3: Position Your Fabric
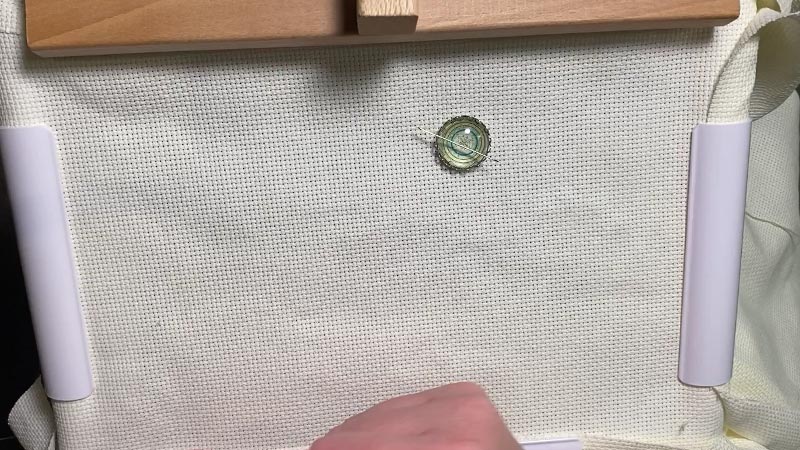
When you have an embroidery hoop, place your fabric in it. This tool helps to keep the fabric taut, which makes it easier to create even and neat stitches. Tighten the hoop so that the fabric is held firmly in place.
Step 4: Plan Your Stitches
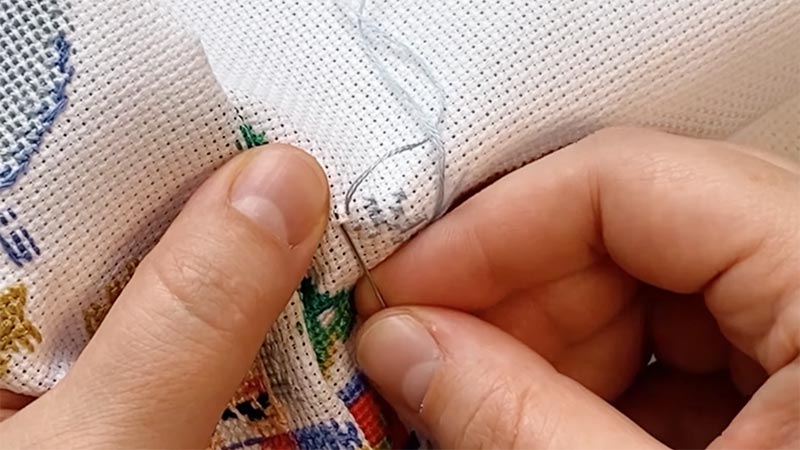
Examine your cross-stitch pattern and identify the areas where the backstitch is required.
The back stitch is typically used for outlining and adding fine details to your design. Take a moment to visualize where your backstitches will go before you begin.
Step 5: Start with a Knot
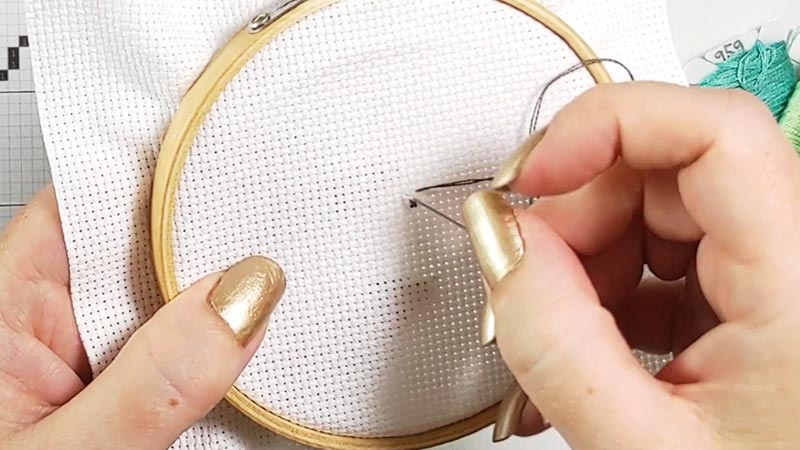
Bring the needle up from the backside of the fabric at the starting point of your backstitch line.
Leave a small tail of thread on the back, which you can secure with a small knot. This ensures that your thread doesn’t pull through as you start stitching.
Step 6: Create the First Stitch
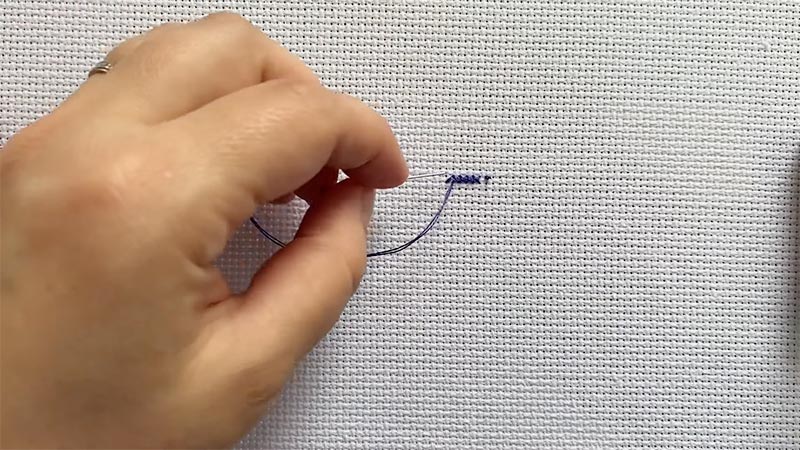
Decide on the starting point of your back stitch line, aligning it with your pattern. Insert the needle back down into the fabric a short distance away (usually about 1-2 fabric threads). This will be the end point of your first stitch.
Step 7: Create Subsequent Stitches
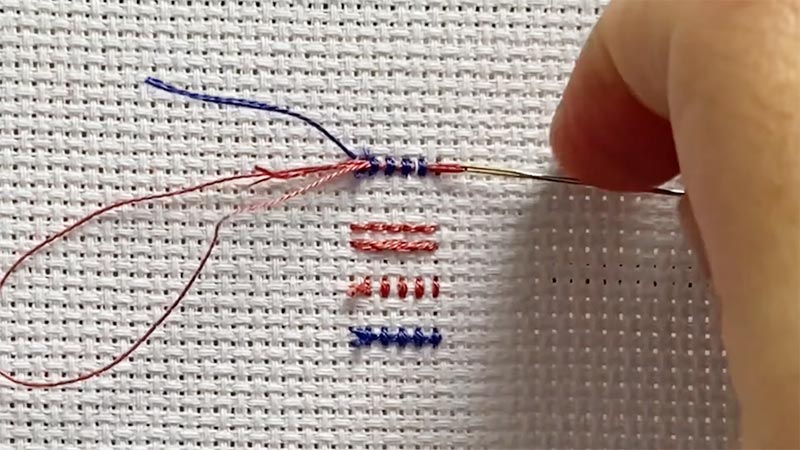
Bring the needle up again from the back a short distance from where you went down in step 6. Then, return to where the first stitch ended, effectively retracing your steps.
This creates a straight line. Repeat this process for each stitch, always moving in the same direction.
Step 8: Continue Stitching
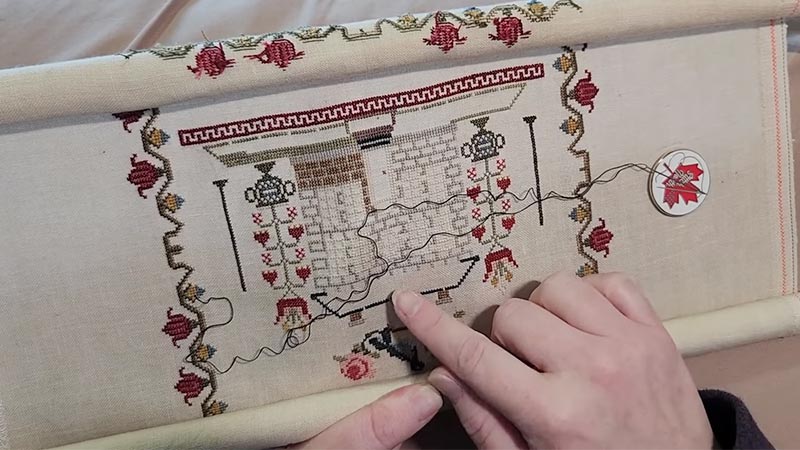
Continue creating back stitches following your pattern’s guidelines. Take your time and aim for even, neat stitches. When you need to change direction or create curves, adjust the direction of your stitches accordingly.
Step 9: Ending the Stitching
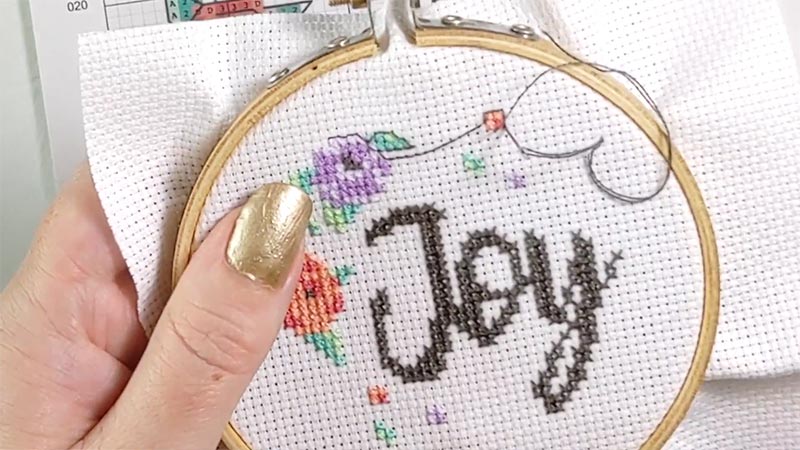
Once you’ve completed the desired line or shape, secure the thread on the backside of the fabric by making a small knot. Trim any excess thread with scissors. This ensures that your back stitches remain secure and don’t unravel over time.
Step 10: Changing Colors
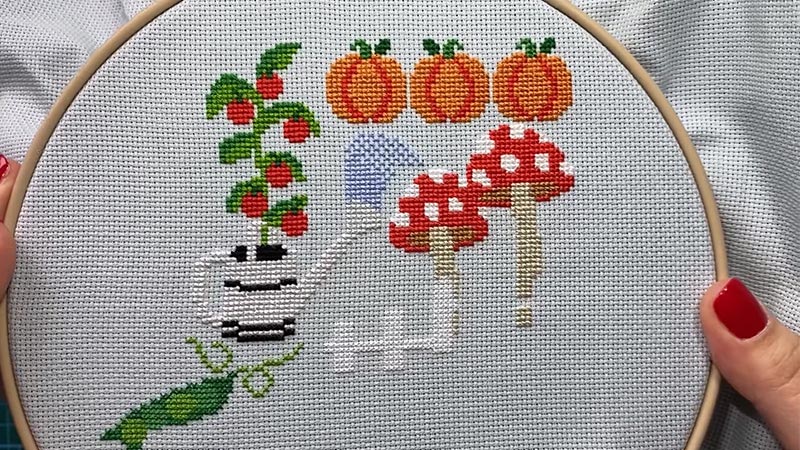
When your pattern requires changing colors for different sections of the back stitch, simply end one color by securing it on the back, as described in step 9. Then, start a new color by repeating steps 1-9 with the new thread color.
Difference Between Back Stitch and Running Stitch
Backstitch and running stitch are two basic embroidery techniques, each with its own distinct characteristics and applications.
Here are the key differences between the two:
Technique
- Back Stitch:
Description: The back stitch is a strong, continuous stitch created by bringing the needle up through the fabric and then inserting it back down slightly behind the starting point. This creates a solid, unbroken line of stitches.
Characteristics: It is commonly used for outlining, adding fine details, or creating text in embroidery. Back stitches are generally more precise and sturdy compared to running stitches.
- Running Stitch:
Description: A running stitch is a basic, simple stitch that involves passing the needle and thread in and out of the fabric in a straight line. Each stitch is independent of the previous one.
Characteristics: Running stitches quickly work and create a dashed or dashed-line effect. They are commonly used for basting (temporary stitches), gathering fabric, or creating decorative patterns.
Strength and Durability
- Back Stitch:
Back stitches are known for their strength and durability. They create a solid line of stitches, making them suitable for outlining and adding structural elements to embroidery projects.
- Running Stitch:
Running stitches are not as strong as back stitches. They are considered temporary stitches and are often used for tasks that do not require long-lasting strength, such as basting or creating decorative patterns.
Use in Embroidery
- Back Stitch:
It is commonly used in embroidery to outline shapes, add fine details, and create text. It provides a clear definition to designs and is especially useful for intricate patterns.
- Running Stitch:
Running stitch is versatile and can be used for a variety of purposes. It’s often used for basting fabric layers together, gathering fabric, creating decorative patterns, and even as a base for more complex stitches.
Appearance
- Back Stitch:
Back stitches create a solid, continuous line on the fabric’s surface. This results in a clean and precise appearance, which is excellent for creating well-defined shapes and text.
- Running Stitch:
Running stitches create a dashed or dashed-line effect on the fabric. They are spaced apart and do not create a continuous line. This can give a more delicate or airy appearance to the embroidery.
Tips for Back Stitch Cross Stitch
Back stitching is an essential technique in cross stitching, used for outlining and adding fine details to your designs.
To create beautiful and precise back stitches, consider the following tips:
Use the Right Thread Thickness
Selecting the correct number of strands from your embroidery floss is crucial. While two strands are commonly employed for backstitching, you may adjust for thicker or finer lines according to your project’s requirements.
Thread Length Matters
Opt for a manageable thread length, typically around 18-24 inches. Longer threads are likelier to tangle or fray, potentially leading to frustration and impeding progress.
Secure the Starting Knot
Prior to commencing, ensure the thread is securely knotted at the end. This steadfast anchor prevents it from slipping through the fabric, maintaining the integrity of your stitches.
Plan Your Stitches
A meticulous examination of your pattern and strategic planning of back stitches are essential.
Mark the starting and ending points to ensure precise alignment and avoid potential deviations.
Consistent Stitch Length
Maintaining a uniform stitch length throughout your project enhances the overall tidiness of your design. This consistency is key to achieving a polished, professional look.
Mind the Tension
Balancing the tension on your thread is pivotal. Too much tension may cause the fabric to pucker, while insufficient tension may result in loose, uneven stitches. A delicate equilibrium ensures a smooth and even finish.
Use a Thimble
For dense or resistant fabrics, employing a thimble can be immensely beneficial.
It facilitates the passage of the needle through the fabric, preventing strain on your fingers and ensuring smoother stitching.
Hide Thread Ends Neatly
When transitioning thread colors or concluding a line, adeptly concealing the thread ends on the reverse side of your work is imperative.
This not only maintains a neat appearance but also safeguards against unraveling.
Practice Curves and Corners
Mastering smooth transitions on curves and achieving sharp angles in corners is crucial for intricate designs.
Regular practice will enhance your proficiency in executing these challenging elements.
Maintain Good Lighting
Adequate lighting is essential for precision work. It reduces eye strain and enables you to discern your stitches clearly. Stitching in a well-lit environment fosters a more enjoyable and accurate crafting experience.
Regularly Check Your Work
Periodically stepping back to assess your progress is invaluable. This practice aids in promptly identifying any deviations from the pattern and ensures the overall quality of your back stitches remains consistent.
Stay Patient and Persistent
Mastery of the back stitch technique demands practice and patience. Be kind to yourself, and remain committed to refining your skills over time. With perseverance, your backstitches will evolve into precise, refined works of art.
FAQs
What is Back Stitch in Cross Stitching?
Back stitch is a fundamental embroidery technique used in cross stitching to create continuous lines for outlining, adding details, or writing text in a design.
How Many Strands of Thread Should I Use for the stitch?
Using two strands of embroidery floss for backstitching is commonly recommended, but you can adjust the number based on your preference and pattern instructions.
What’s the Purpose of Starting with a Knot?
Starting with a knot secures the thread, preventing it from slipping through the fabric while you stitch, ensuring a clean, uninterrupted line.
Can Back Stitch Be Used for Curved Lines and Corners?
Yes, the back stitch is versatile and can be used for both straight lines and curves. With practice, you can create smooth transitions and sharp angles.
How Do I Change Colors in Back Stitch Cross Stitch?
To change colors, finish a line of back stitches, secure the thread on the back, and start a new color by threading the needle with the desired thread and continuing the stitching process.
Wrap Up
Mastering the art of starting back stitch cross stitch opens a gateway to a world of intricate and refined embroidery.
The careful selection of thread thickness, securing the initial knot, and strategic planning are essential foundations. Understanding tension, navigating curves and corners, and ensuring optimal lighting enhances precision.
With practice and persistence, one can elevate their creations, producing defined, polished lines that bring depth to any cross-stitch project.
With its strength and durability, the back stitch is a fundamental technique for outlining and detailing. By incorporating these techniques, one embarks on a journey toward creating stunning, professional-grade cross-stitch designs.
Leave a Reply