Adjusting the crotch of pants is a valuable skill for achieving a comfortable and well-fitted garment.
Whether dealing with bagginess or an improper rise, the process of taking in the crotch involves strategic alterations to enhance the overall fit and appearance.
This guide provides a step-by-step approach, starting with assessing the fit and marking areas for adjustment.
Delving into the use of a seam ripper, pinning techniques, and the importance of a thorough try-on session, it outlines the key steps to ensure a successful alteration.
With attention to detail, precision in sewing, and careful finishing touches, this process empowers individuals to tailor their pants for a personalized and flattering fit.
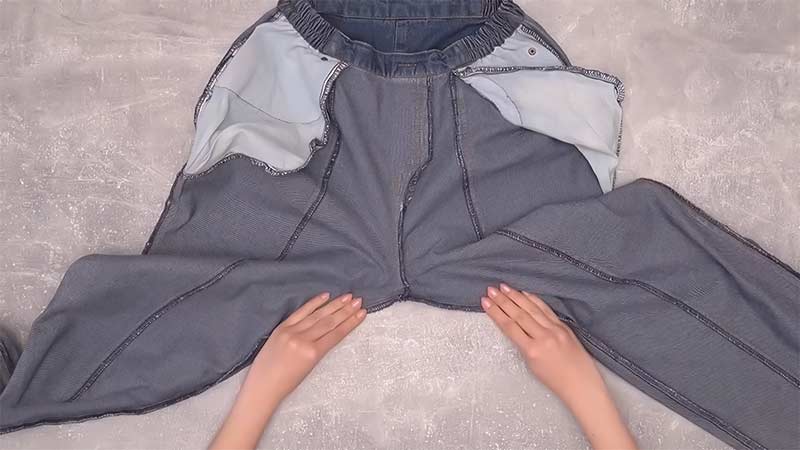
How to Take In Pants Crotch?
Taking in the crotch of pants involves adjusting the seam in the area between the legs to achieve a better fit.
This alteration is commonly done to address issues such as sagging, bagginess, or an uncomfortable fit in the crotch region.
Here’s a step-by-step guide on how to shorten crotch in pants:
Materials Needed:
- Sewing machine
- Needle and thread (matching the color of the pants)
- Pins
- Seam ripper
- Chalk or fabric marker
- Measuring tape
- Iron
Step-by-Step Instructions:
Assess the Fit

Start by wearing the pants and pay attention to how they feel around the crotch area. Note any discomfort, sagging, or excessive fabric. Walk around and sit to get a comprehensive understanding of the fit issues.
Identify if the crotch feels too low, causing the fabric to bunch up, or if it’s too high, leading to tightness and discomfort.
Mark the Area
Once you’ve identified the problematic areas, use fabric chalk or a pencil to mark along the crotch seam. Extend the markings into the thigh area if needed.
Make clear and distinct marks to guide you during the alteration process. Take your time to ensure precision in marking the areas that require adjustment.
Seam Ripper
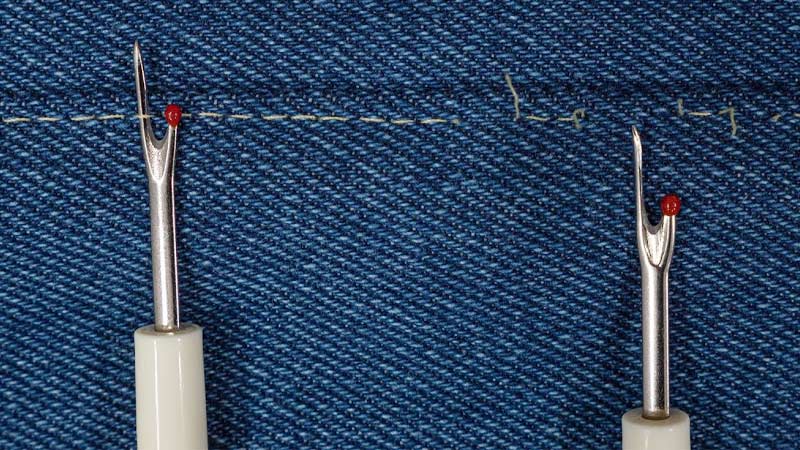
Using a seam ripper, carefully open the crotch seam. Start from the crotch point and extend the rip along the seam line and into the thigh area based on your markings.
Take caution not to damage the fabric, especially if it’s delicate or prone to fraying. This step is crucial for preparing the pants for the necessary adjustments.
Pin the Adjustments
With the pants inside out, begin pinching and pinning the excess fabric along the marked seam. Pin on both sides of the crotch seam to create a new seam line that ensures a snugger fit.
Distribute the adjustments evenly to maintain symmetry in the final alteration. Adjust the pins as needed, and take your time to achieve a comfortable and balanced fit.
Try On

Put the pants on again to assess the fit with the pinned adjustments. Pay attention to how the crotch feels and check if the changes provide the desired fit.
Walk, sit, and move around to ensure comfort and flexibility. If further adjustments are needed, make them at this stage by re-pinning or marking areas that require fine-tuning. The goal is to achieve a well-fitted and comfortable crotch area.
Sew the New Seam
Now that you have pinned the adjustments and are satisfied with the fit, it’s time to secure the changes by sewing the new seam.
Use a sewing machine or a needle and thread, following the marked line. Opt for a straight stitch to create a strong and neat seam. To reinforce the seam and prevent unraveling, backstitch at the beginning and end of the seam.
Trim Excess Fabric
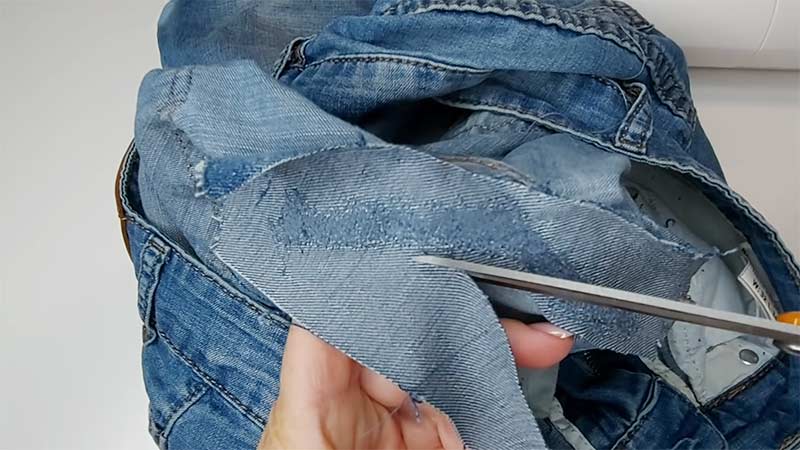
After sewing the new seam, trim the excess fabric carefully. Leave a small seam allowance to maintain the integrity of the seam.
However, exercise caution not to cut too close to the seam to avoid fraying. Precision in trimming ensures a clean finish and contributes to the overall durability of the alteration.
Finish the Edges
If you have access to a serger, use it to finish the raw edges of the new seam. Serging prevents fraying and adds a professional touch to the alteration.
In the absence of a serger, you can achieve a similar effect by using a zigzag stitch on a sewing machine. Run the stitch along the raw edges to secure the fabric and maintain a clean appearance.
Press the Seam
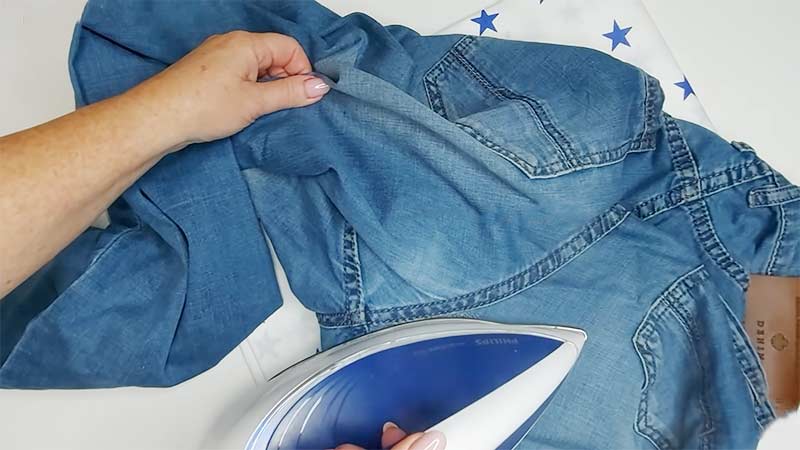
To give the altered crotch seam a polished look and encourage the fabric to lay flat, use an iron to press it open.
Pressing helps set the stitches and ensures a crisp finish. Take care to press both sides of the seam evenly to achieve a smooth and professional appearance.
Try On Again
Put the pants on once more to assess the final result. Check for comfort, fit, and overall satisfaction with the altered crotch.
Pay attention to how the pants feel during movement and ensure that any adjustments made have met your expectations. If necessary, make any final tweaks at this stage to achieve the perfect fit.
Common Mistakes to Avoid When Taking in Pants Crotch
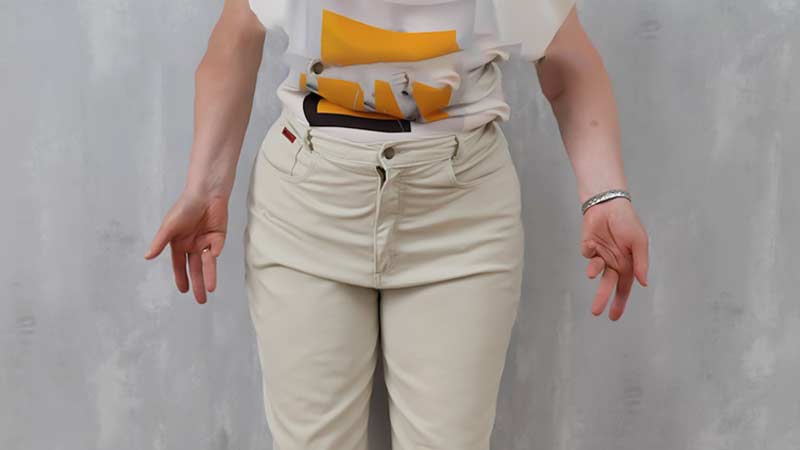
Taking in the crotch of pants can be a delicate alteration, and there are common mistakes that individuals might make during the process. Being aware of these pitfalls can help you achieve a successful alteration.
Here are some common mistakes to avoid when taking in pants crotch:
Neglecting Proper Assessment
Mistake: Rushing through the assessment phase.
Why to Avoid: A thorough evaluation of the fit issues is crucial. Neglecting this step can lead to an inaccurate understanding of the problem, resulting in an unsuccessful alteration.
Inadequate Marking
Mistake: Unclear or imprecise markings.
Why to Avoid: Clear and precise markings are essential for guiding the alteration. Inaccurate markings can lead to uneven adjustments and an unsatisfactory final fit.
Overlooking Seam Ripper Precision
Mistake: Being too aggressive with the seam ripper.
Why to Avoid: Vigilance is needed when using a seam ripper to avoid damaging the fabric. Overzealous ripping can cause unnecessary fraying or even create irreparable holes.
Uneven Pinning
Mistake: Pinning the adjustments unevenly.
Why to Avoid: Uneven adjustments can result in an imbalanced fit. Ensure that the excess fabric is distributed symmetrically on both sides of the crotch seam for a harmonious look and feel.
Skipping the Try-On Stage
Mistake: Skipping the fitting after pinning.
Why to Avoid: Trying on the pants after pinning is crucial to ensure that the adjustments provide the desired fit. Skipping this step may lead to overlooked issues that become apparent only after the alteration is complete.
Ignoring Reinforcement Stitches
Mistake: Neglecting to reinforce the new seam.
Why to Avoid: Failing to reinforce the seam with backstitches can result in unraveling over time. Adequate reinforcement ensures the durability of the alteration.
Cutting Too Close
Mistake: Trimming excess fabric too closely to the seam.
Why to Avoid: Cutting too close increases the risk of fraying. Leave a small seam allowance to maintain the structural integrity of the altered seam.
Skipping Edge Finishing
Mistake: Neglecting to finish raw edges.
Why to Avoid: Unfinished edges can fray, compromising the neatness of the alteration. Use a serger or a zigzag stitch to prevent fraying and enhance the overall appearance.
Inadequate Pressing
Mistake: Not pressing the new seam properly.
Why to Avoid: Pressing the seam helps set the stitches and contributes to a polished finish. Skipping this step can result in a less refined look.
Ignoring Final Try-On
Mistake: Not trying on the pants after completing the alteration.
Why to Avoid: The final try-on is essential to ensure that the adjusted crotch provides the desired fit. Ignoring this step may lead to overlooked issues that could have been addressed before finishing the alteration.
FAQs
Why would I need to take in the crotch of my pants?
Taking in the crotch helps address fit issues, such as sagging or bagginess, providing a more comfortable and personalized fit.
Can I take in the crotch of any type of pants?
Yes, the process applies to various pant styles. However, the level of complexity may vary based on factors like fabric type and design.
Do I need advanced sewing skills to take in the pants crotch?
Basic sewing skills are beneficial, but with patience and practice, even beginners can successfully execute this alteration. Start with simpler alterations and gradually progress.
Can I use a needle and thread instead of a sewing machine?
Absolutely. While a sewing machine provides efficiency, hand-sewing with a needle and thread is a viable alternative, particularly for those without access to a machine.
To Recap
Mastering the art of taking in the crotch of pants is a rewarding endeavor that allows individuals to tailor their clothing for a superior fit.
By following the outlined steps – from initial assessment and precise markings to seam adjustments and final fittings – one can transform ill-fitting pants into a customized and comfortable wardrobe staple.
Avoiding common pitfalls such as hasty cutting or neglecting reinforcement stitches ensures the durability of the alteration. Whether using a sewing machine or needle and thread, attention to detail is key.
This skill empowers individuals to breathe new life into their wardrobe, fostering a sense of confidence and satisfaction with a well-tailored, personalized garment.
Leave a Reply