Embarking on a painting project involving round objects can be a daunting task without the right techniques. Whether you’re revitalizing furniture, customizing home décor, or working on a DIY masterpiece, precision is key.
In this comprehensive guide, we will how to tape a round object for painting and unravel the secrets of effective taping, ensuring crisp lines and flawless results.
Taping a round surface requires a unique approach to overcome the challenges presented by curves and edges. From choosing the right tape to mastering the proper application, we’ll walk you through step-by-step instructions to achieve professional-grade outcomes.
Say goodbye to uneven edges and paint bleed as you delve into the art of taping for rounded perfection.
Elevate your painting skills and transform your projects with this indispensable guide tailored for those seeking precision in every stroke. Let’s dive into the world of precision painting together!
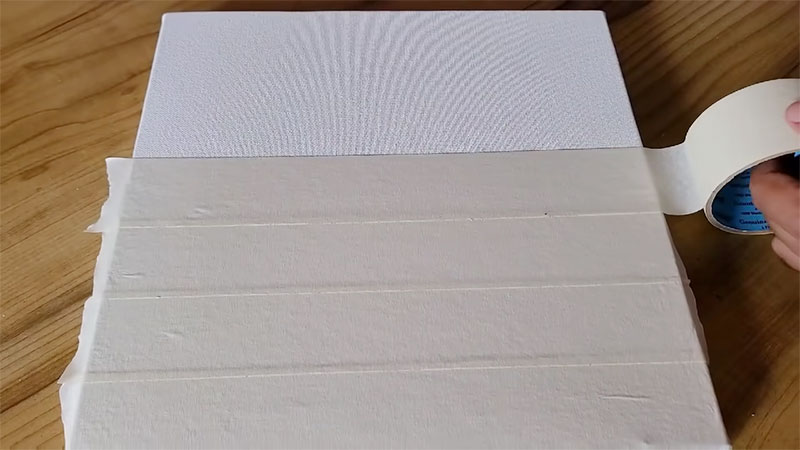
How To Tape a Round Object for Painting?
Painters tape rounded edges with a careful and precise approach to achieve clean lines and professional results. To help you do the same, here’s the process of how to mask a circle for painting, ensuring your projects turn out flawlessly.
Step 1: Choose the Right Painter’s Tape
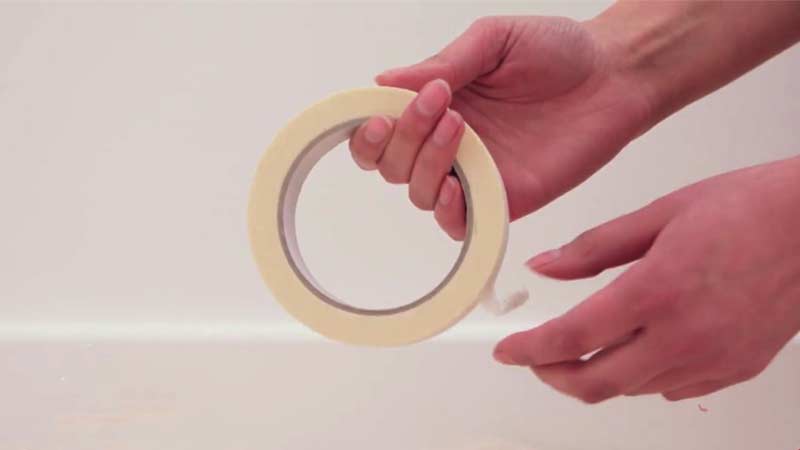
Selecting the appropriate painter’s tape is crucial. For curved surfaces, consider using a delicate surface painter’s tape, as it is less likely to damage the existing paint or surface. Additionally, ensure the tape is wide enough to cover the curved area effectively.
Step 2: Prepare the Surface
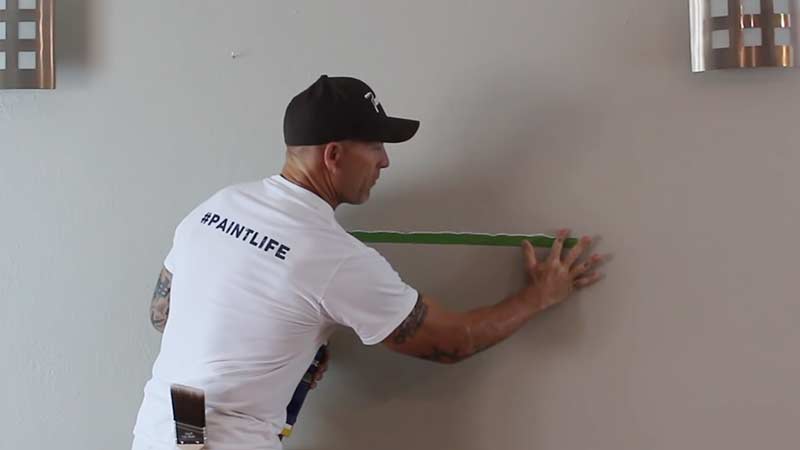
The second step of learning how to tape a circle for painting. Clean the surface of the round object thoroughly. Any dust or debris can interfere with the adhesion of the painter’s tape, leading to paint bleeding or uneven lines.
Use a damp cloth or mild cleaning solution to wipe down the surface, and let it dry completely before proceeding.
Step 3: Measure and Cut the Tape
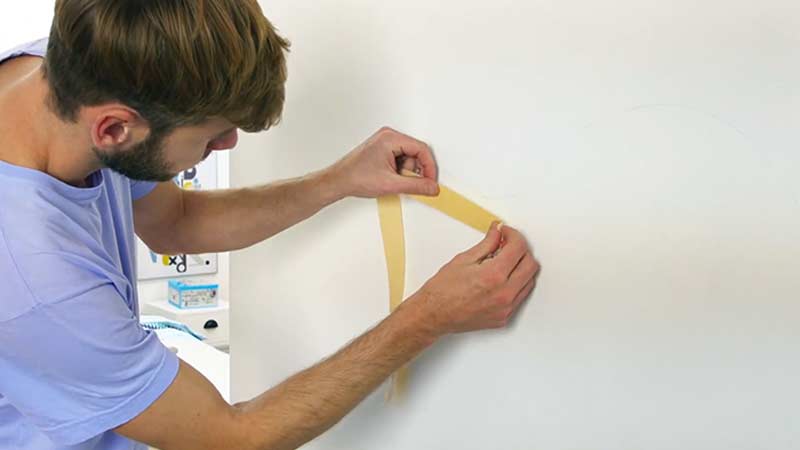
Using the measuring tape, measure the circumference of the round object. Cut pieces of painter’s tape to match this measurement. It’s better to have several shorter strips than one long one, as it allows for better flexibility and control.
Step 4: Apply the Tape
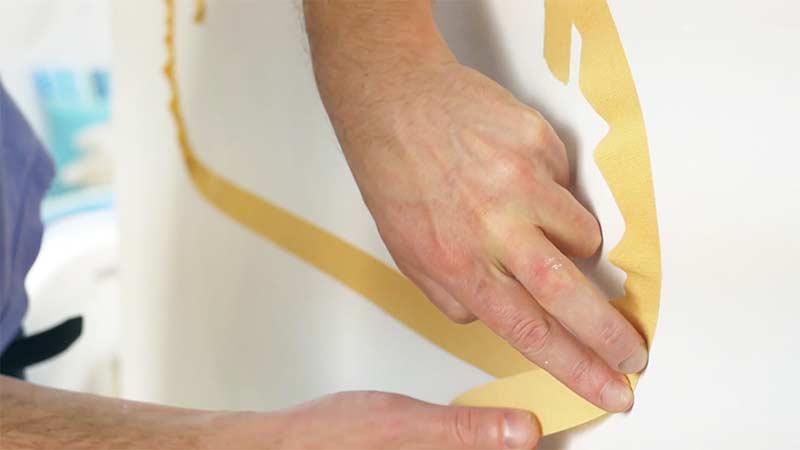
Begin applying the painter’s tape along the circumference of the round object. Ensure the bottom edge of the tape aligns with the desired paint line.
As you go around the curve, gently stretch the tape to accommodate the shape without causing wrinkles or folds. Smooth down the tape with your fingers to ensure proper adhesion.
Step 5: Overlapping the Tape
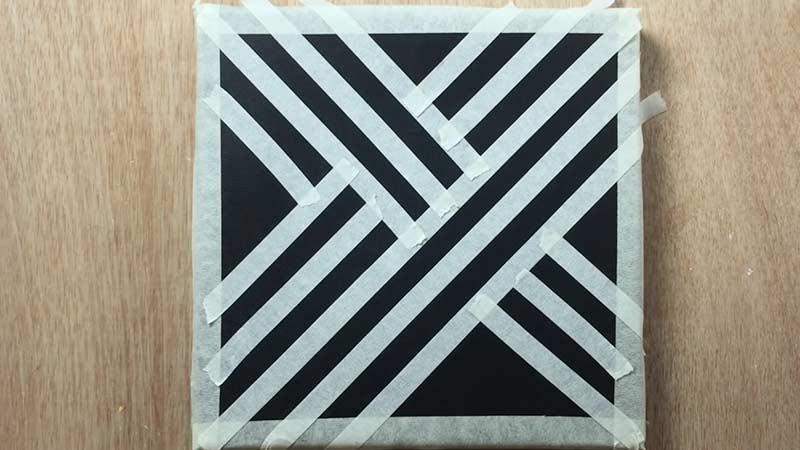
If the circumference of the round object exceeds the length of your tape, overlap the edges slightly to create a seamless connection. Press down on the overlapping sections to prevent any paint from seeping through.
Step 6: Seal the Edges
To prevent paint bleed, seal the edges of the painter’s tape by running a credit card or a similar flat tool along the tape’s edge. This ensures a tight seal, preventing paint from seeping underneath.
Step 7: Double-Check Alignment
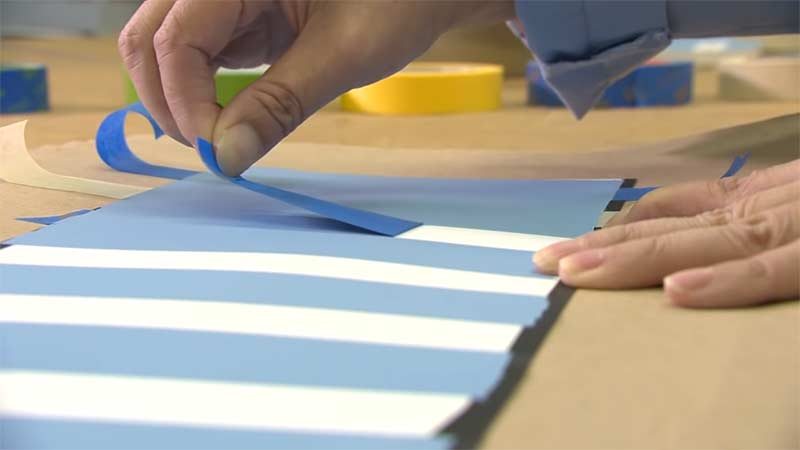
Before painting, double-check that the painter’s tape is aligned correctly and covers the entire circumference evenly. Any gaps or misalignments can result in uneven paint lines.
Step 8: Paint with Precision
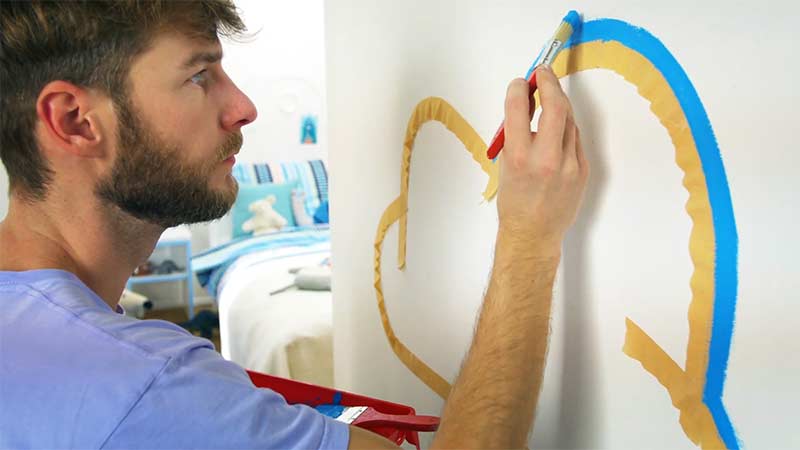
Now that your round object is taped and prepared, it’s time to paint. Use a brush or spray paint, depending on your preference and the size of the object. Apply the paint evenly, following the natural curves of the round surface.
Step 9: Allow Paint to Dry
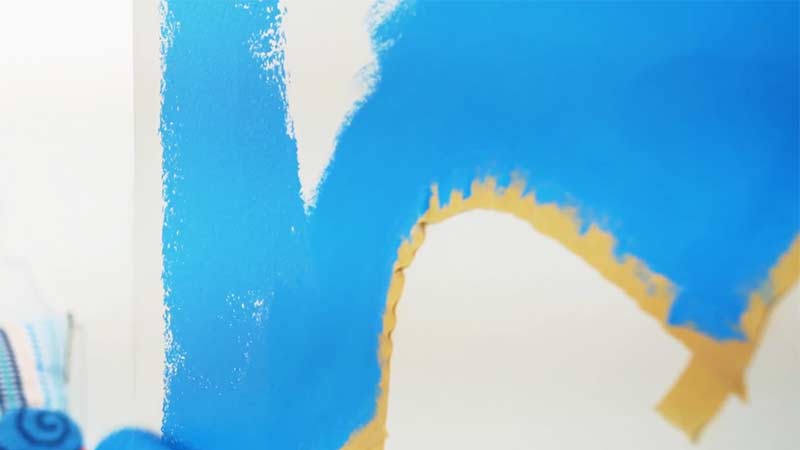
Once you’ve achieved the desired paint coverage, allow the paint to dry completely before removing the painter’s tape. Refer to the paint can for recommended drying times.
Step 10: Remove the Tape Carefully
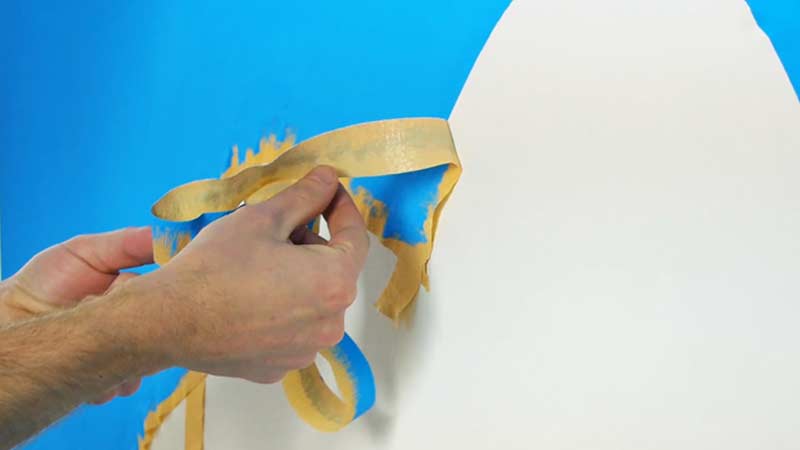
Peel off the painter’s tape slowly and at a 45-degree angle. Removing the tape while the paint is still slightly tacky can help achieve cleaner lines.
If you notice any imperfections or uneven lines, touch them up with a small brush. And that was all about how to tape off a circle for painting.
Tips and Tricks on How to Tape Around a Circle
Round Objects
If you’re working with intricate designs, use additional painter’s tape to create patterns or sections. Experiment with different tape widths for varied paint effects.
For round objects with multiple tiers or levels, consider using a combination of painter’s tape and masking paper to protect different sections.
Types of Painter’s Tape
Painter’s tape is an indispensable tool for achieving clean lines and professional finishes in painting projects.
With various types available in the market, it’s essential to understand their unique features and applications. Here are the different types of tape and their characteristics:
General Purpose Painter’s Tape
This type of tape is an all-around solution suitable for most painting projects. It adheres well to a variety of surfaces and is easily removable without leaving behind residue.
General-purpose painter’s tape is an excellent choice for basic masking needs, making it ideal for walls, trim, and other common surfaces.
Delicate Surface Painter’s Tape
Designed for use on delicate surfaces such as freshly painted walls, wallpaper, or faux finishes, delicate surface painter’s tape ensures clean removal without damaging the existing paint or surface.
Its low adhesion level minimizes the risk of paint bleed, making it perfect for intricate projects where precision is crucial.
Multi-Surface Painter’s Tape
If your project involves a combination of surfaces – like painted walls meeting glass or metal – multi-surface painter’s tape is the go-to choice. It adheres well to various materials, offering versatility without sacrificing adhesion quality.
This type of tape is a time-saver for projects that require masking different surfaces within proximity.
Outdoor Painter’s Tape
Exterior painting projects demand a tape that can withstand the elements. Outdoor painter’s tape is designed to resist UV rays, moisture, and temperature fluctuations.
Whether you’re revamping your front door or tackling outdoor furniture, this tape ensures sharp lines and durability against the elements.
Textured Surface Painter’s Tape
For surfaces with texture, like stucco or brick, textured surface painter’s tape provides optimal adhesion. Its design allows the tape to conform to irregular surfaces, preventing paint bleed and ensuring crisp lines.
This type of tape is a must-have for projects where achieving a smooth paint line on textured surfaces is challenging.
Specialty Painter’s Tape
Specialty tapes cater to specific needs, such as preventing paint bleed in intricate patterns or achieving unique paint effects. Examples include edge-lock or advanced precision tapes designed for detailed work.
Specialty tapes are often pricier but offer enhanced features for projects demanding a higher level of precision.
Masking Paper and Tape Combinations
Some projects require more than just tape. Masking paper and tape combinations provide additional coverage, protecting larger areas from overspray or accidental paint application. This combination is ideal for large-scale projects like painting rooms or exteriors.
Choosing the Right Painter’s Tape: Tips and Considerations
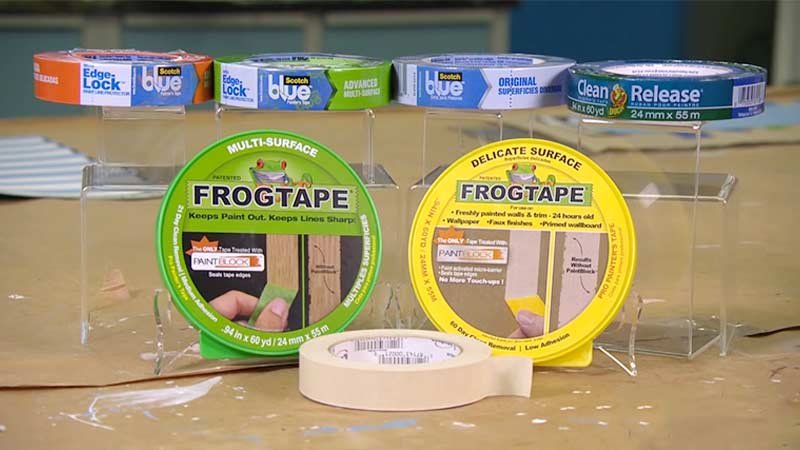
Before you choose a particular tape for your project, here are some things to consider:
Surface Type
Consider the surface you’ll be working on. Delicate surfaces, rough textures, or outdoor projects may require specific types of painter’s tape to achieve optimal results.
Understanding the nature of the surface is crucial in selecting the right painter’s tape. Delicate surfaces like recently painted walls, wallpaper, or intricate finishes demand the gentleness of delicate surface painter’s tape.
For rough textures such as stucco or brick, textured surface painter’s tape ensures optimal adhesion, preventing paint bleed on irregular surfaces.
Adhesion Level
Different types have varying levels of adhesion. Low adhesion is suitable for delicate surfaces, while higher adhesion levels are preferable for more robust applications.
The adhesion level of the painter’s tape plays a crucial role in achieving clean lines without damaging the underlying surface.
For delicate surfaces, opt for tapes with low adhesion to prevent any potential damage or paint lift when removed. Conversely, higher adhesion tapes are ideal for projects where a strong bond is necessary.
Project Scale
Larger projects may benefit from masking paper and tape combinations, providing comprehensive coverage and protection.
Scale matters when it comes to painting projects. For extensive endeavors like painting a room or the exterior of a house, using masking paper in conjunction with painter’s tape ensures thorough coverage and protection.
Budget
While general-purpose tapes are cost-effective for common projects, investing in specialty tapes can enhance precision for intricate or challenging surfaces.
Budget considerations play a role in determining the type of painter’s tape to use. General-purpose tapes are cost-effective and suitable for common projects where precision requirements are moderate.
However, for intricate or challenging surfaces, investing in specialty tapes can significantly enhance precision and the overall quality of the finish.
Removability
If easy removal without residue is a priority, opt for painter’s tapes designed for clean and damage-free removal.
The ease of tape removal is a crucial factor, especially if you want to maintain a clean and damage-free surface. Tapes designed for easy removability leave minimal to no residue behind, ensuring a smooth finish.
This is particularly important for delicate surfaces or when you anticipate frequent repositioning of the tape during intricate projects.
FAQs
Can I use regular masking tape for painting round objects?
While regular masking tape may work for flat surfaces, it is not ideal for round objects. Opt for painter’s tape specifically designed for curved surfaces to ensure proper adhesion and prevent paint bleed on rounded edges.
How do I prevent painter’s tape from peeling off during painting?
Ensure the surface is clean and dry before applying the tape. Press down firmly on the edges, use high-quality painter’s tape, and avoid leaving the tape on for an extended period. If needed, secure the edges with additional adhesion or touch up the edges during painting.
Can I leave the painter’s tape on overnight?
It’s generally recommended to remove the painter’s tape after the paint is dry to the touch. Leaving it on overnight may increase the risk of the tape bonding with the paint, making removal challenging. For best results, remove the tape within a few hours of completing your painting project.
What should I do if the paint bleeds under the painter’s tape?
If you notice paint bleeding, stop immediately and address it. Use a utility knife or a fine brush to carefully remove excess paint along the tape line. To prevent future bleeding, ensure the tape is properly sealed by pressing it down firmly, and consider using a low-tack or delicate surface painter’s tape.
Can I reuse painter’s tape for multiple coats of paint?
Reusing painter’s tape is not recommended, as the adhesive may lose its effectiveness, leading to potential paint bleed. For each new coat, it’s advisable to use fresh tape to ensure clean lines and optimal adhesion.
Conclusion
Mastering the art of taping round objects for painting is a game-changer for anyone striving for impeccable results. Our guide provides step-by-step techniques for flawless tape application, ensuring stunning professional results in your DIY projects.
By following the techniques outlined in this guide, you’ve acquired the skills to navigate the challenges posed by curved surfaces with finesse.
Remember, the key lies in thoughtful tape selection, precise application, and patience throughout the process.
As you apply these newfound skills to your projects, you’ll witness a transformation in the quality of your painted round objects. No longer will you be plagued by uneven lines or frustrating paint bleed.
Now armed with the knowledge to tape like a pro, unleash your creativity, and turn every painting endeavor into a masterpiece.
As you elevate your skills, revel in the satisfaction of achieving professional-grade finishes that will leave onlookers in awe.
Leave a Reply