Threading a sewing machine is a fundamental skill for any sewing enthusiast, ensuring precision and functionality in stitching.
This guide will walk you through the essential steps of threading a Brother XL 5700 Sewing Machine.
Proper threading is crucial for achieving seamless stitches and preventing potential issues during your sewing projects.
From winding the bobbin to threading the needle, each step is meticulously detailed to simplify the process.
Following these instructions will enhance your sewing experience and contribute to the overall maintenance and longevity of your Brother XL 5700, allowing you to unleash your creativity with confidence and ease.
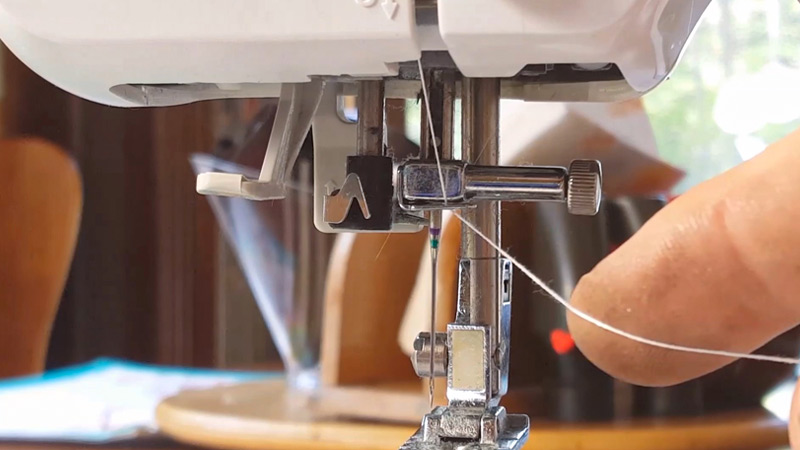
8 Steps on How to Thread a Sewing Machine Brother XL 5700?
Threading a sewing machine can be crucial to ensure proper stitching and functionality.
Here’s a general guide on how to thread a Brother XL 5700 sewing machine:
Winding the Bobbin
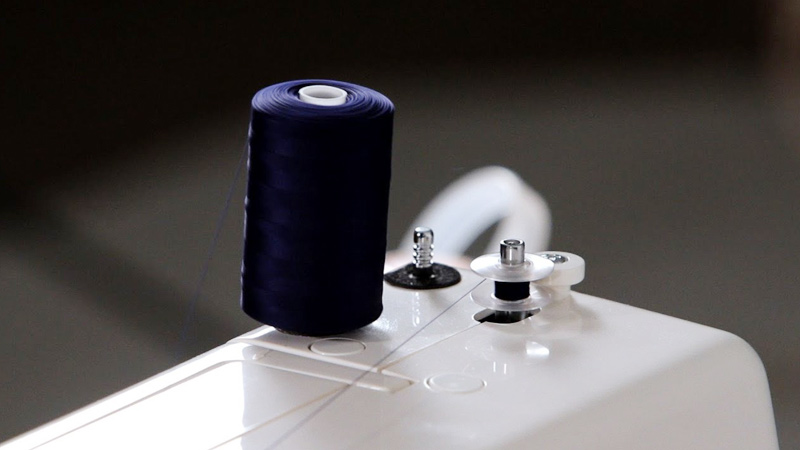
The initial step involves winding the bobbin to prepare your Brother XL 5700 sewing machine for a stitching project.
Begin by placing a spool of thread onto the designated spool pin. Guide the thread through the bobbin winding thread guide, ensuring a smooth path.
Take the end of the thread and insert it through one of the holes in the bobbin. Once threaded, position the bobbin onto the bobbin winder spindle and gently push it to the right.
To commence winding, depress the foot controller and cease the process once the bobbin is adequately filled.
Installing the Bobbin
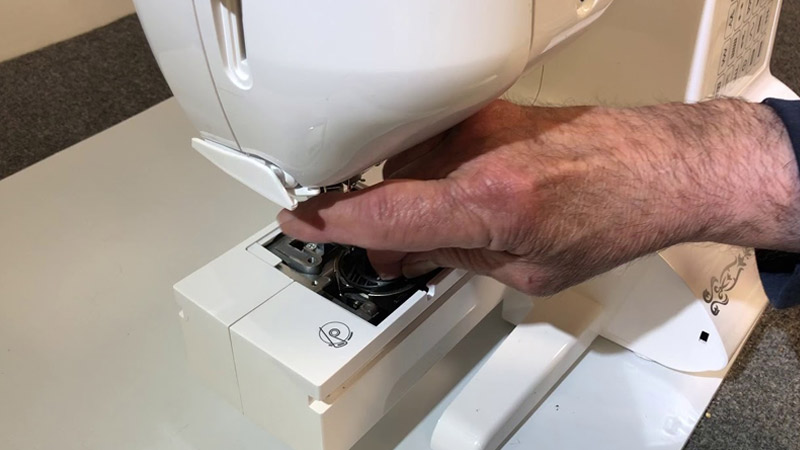
Now that your bobbin is wound, place it into the bobbin case. Pull the thread through the slot and under the tension spring, securing it in place.
Ensure that the bobbin rotates counterclockwise as you pull the thread, allowing for seamless stitching during operation.
Threading the Upper Thread
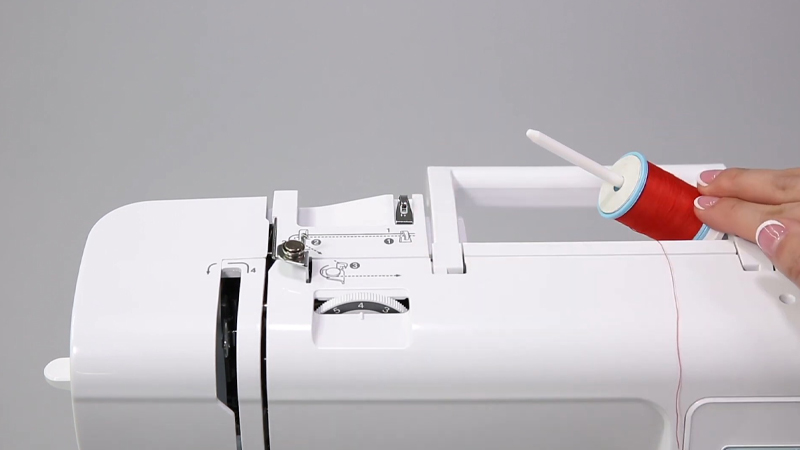
Moving on to threading the upper thread, raise the presser foot using the lever. Set a spool of thread onto the spool pin and pull the thread through the thread guide, allowing it to navigate smoothly.
Guide the thread through the tension discs, ensuring proper tension for stitching. Follow the threading path indicated on the machine to thread the take-up lever. Bring the thread down through the guides until it reaches the needle.
Threading the Needle
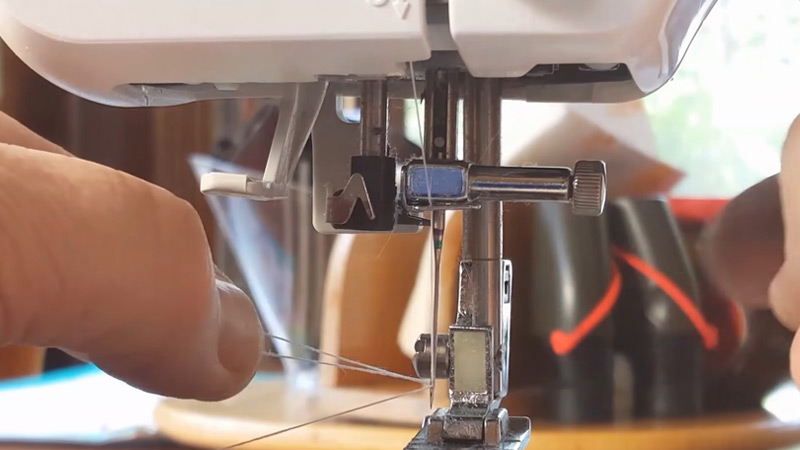
Thread the needle from front to back, providing enough slack by pulling about 6 inches of thread through the needle.
This step prepares the machine for the intricate stitching process, ensuring that the upper thread is properly threaded through the needle eye.
Pulling Up the Bobbin Thread
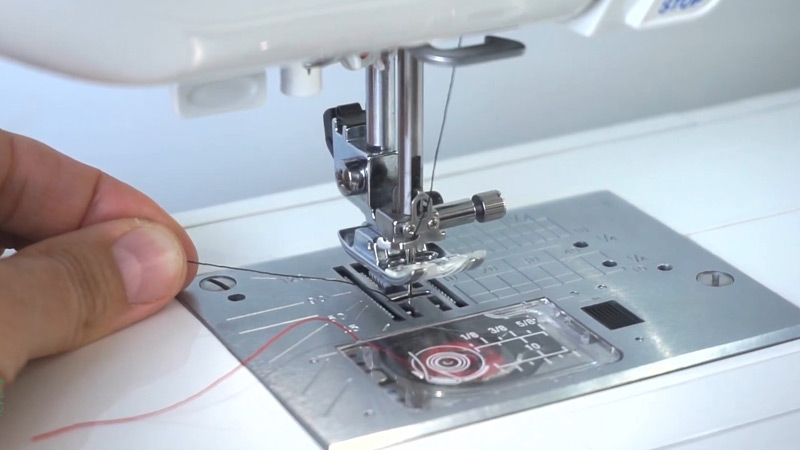
Hold the upper thread with your left hand to seamlessly integrate the upper and bobbin threads. Turn the handwheel toward you with your right hand, completing one full revolution.
As the needle goes down and comes back up, gently pull the upper thread. This action prompts the bobbin thread to come up, creating a connection between the two threads.
Securing the Threads
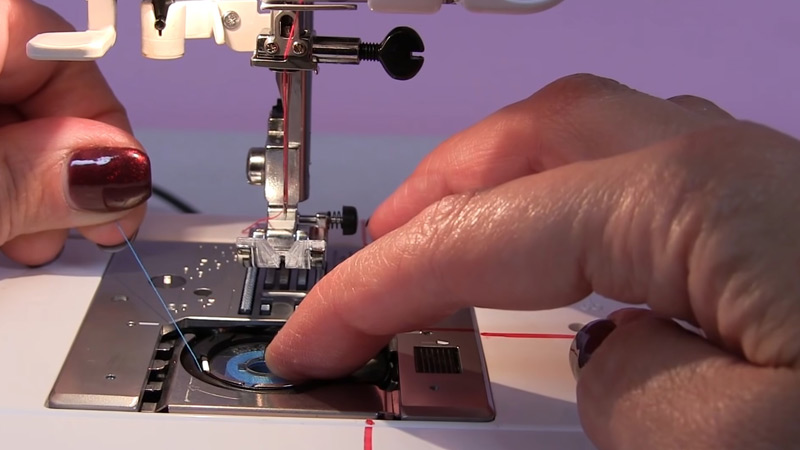
Hold both the upper and bobbin threads to the back, ensuring they are well-positioned. Proceed to close the bobbin cover, secure the threads in place, and prepare the machine for the upcoming sewing task.
Ready to Sew
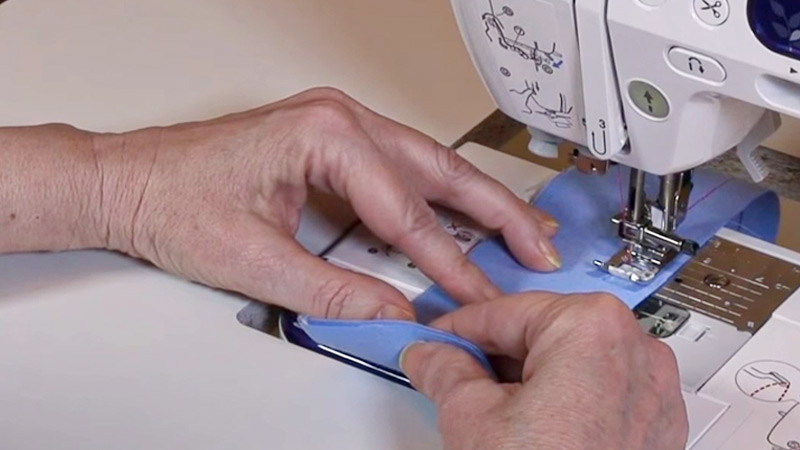
Position the fabric under the presser foot with the threads secured and the bobbin cover closed. Lower the presser foot to secure the fabric in place.
Select the desired pattern and adjust the length and width according to your preferences. Your Brother XL 5700 sewing machine is now ready for sewing.
Adjusting Tension if Needed
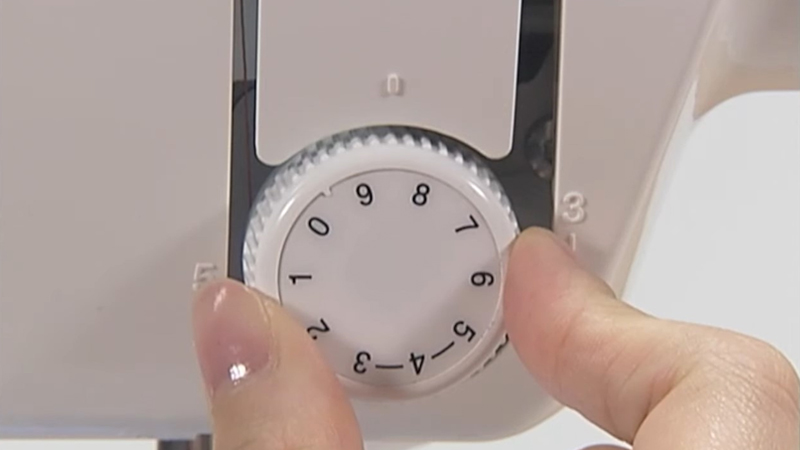
To guarantee optimal stitch quality, observe the initial stitches. If they appear too loose or too tight, make necessary adjustments by turning the tension dial accordingly.
This fine-tuning ensures that the machine operates smoothly, producing high-quality stitches throughout your sewing project.
Troubleshooting Common Issues When Threading a Brother XL 5700 Sewing Machine
Threading a sewing machine is a fundamental step for any sewing project, and understanding how to troubleshoot common issues with the Brother XL 5700 can save you time and frustration.
Here’s a comprehensive guide to addressing typical problems that may arise during the threading process:
Thread Breaking
If you find that your thread keeps breaking, it’s essential to conduct a thorough inspection. Examine both the spool and bobbin for any snags, tangles, or knots that may be causing the breakage.
Additionally, ensure that the tension settings are appropriate for the type of fabric you are working with.
Take a closer look at the needle; it should be sharp, and the size should match the fabric’s thickness and type.
Uneven Stitches
Dealing with uneven stitches requires a meticulous approach. Begin by re-threading the machine carefully, paying close attention to following the correct threading path.
Check the bobbin’s tension and adjust if necessary to achieve balanced stitches.
Confirm that you are using the right needle size and type for the specific fabric you are working on, as using an incorrect needle can contribute to uneven stitching.
Bobbin Thread Issues
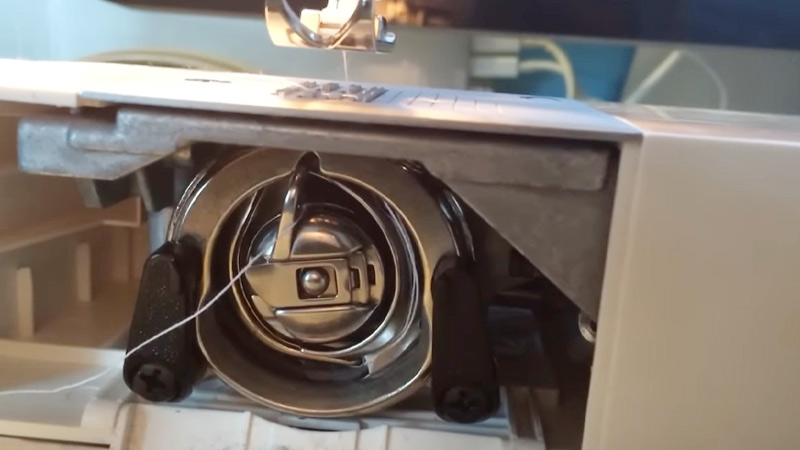
When facing issues with the bobbin thread, double-check that it is inserted correctly into its case.
Ensure that you’ve wound the bobbin properly and that there is appropriate tension during the winding process.
Regularly clean the bobbin area to prevent the accumulation of lint and debris, which could impede the smooth flow of the thread.
Thread Bunching or Jamming
Resolving thread bunching or jamming requires a systematic approach. Begin by re-threading both the upper and bobbin threads, following the correct threading path as indicated in your machine’s manual.
Additionally, clean the feed dogs and bobbin case thoroughly to remove any lint or debris that might be causing the issue.
Needle Breakage
If your needles are breaking, it’s crucial to troubleshoot the problem. Ensure that you are using the correct needle size suitable for your fabric.
Inspect the needles for any signs of bending or dullness and replace them as needed. Confirm that the needle is securely inserted into the machine, as improper insertion can lead to breakage.
Thread Looping on Fabric
Addressing thread looping on fabric involves adjusting tension settings to achieve balanced stitches.
Ensure that the threading path through guides and tension discs is correct, preventing any disruptions in the thread flow.
Regularly clean the tension discs to eliminate lint buildup, which can contribute to thread looping issues and compromise stitch quality.
Needle Hits Bobbin Case
When dealing with the problem of the needle hitting the bobbin case, first, confirm that the needle is straight and not bent. Check the alignment and proper insertion of the needle into the machine.
If necessary, adjust the needle position to prevent it from contacting the bobbin case, which could lead to needle breakage and impact overall sewing performance.
Machine Jamming During Bobbin Winding
When your machine encounters jams during bobbin winding, ensure the bobbin is correctly placed on the winder spindle.
Check for any tangled thread around the bobbin area that may impede smooth winding. Regularly clean and lubricate the bobbin winding mechanism to maintain optimal functionality and prevent jams during this critical stage.
Thread Puckering Fabric
To address fabric puckering, select the appropriate needle and thread for the specific fabric you are working with.
Adjust tension settings to achieve a balanced stitch, ensuring that neither the upper nor bobbin thread is too tight or too loose.
Additionally, confirm that the presser foot pressure is set correctly to prevent excessive fabric gathering or puckering during sewing.
Fabric Not Feeding Properly
When your fabric is not feeding properly, check that the presser foot is securely down, allowing for proper fabric engagement.
Inspect and clean the feed dogs and the surrounding area to eliminate any obstructions hindering smooth fabric movement.
Adjust the presser foot pressure as needed, ensuring it is tailored to the specific fabric characteristics for optimal feeding during sewing.
FAQs
How do I wind the bobbin on a Brother XL 5700 Sewing Machine?
Place a spool on the spool pin, guide the thread through the bobbin winding thread guide, insert it through a hole in the bobbin, and place the bobbin on the winder spindle. Depress the foot controller to start winding.
What is the correct way to insert the bobbin in a Brother XL 5700?
Place the wound bobbin into the bobbin case and pull the thread through the slot and under the tension spring, ensuring the bobbin rotates counterclockwise when pulling the thread.
How do I thread the upper thread on a Brother XL 5700?
Pass the thread through the thread guide, tension discs, and take-up lever, and follow the indicated threading path to bring the thread down through the guides to the needle.
What should I do if the bobbin thread doesn’t come up after threading?
Hold the upper thread, turn the handwheel toward you to make a complete revolution, and gently pull the upper thread to bring up the bobbin thread.
How do I adjust the tension on a Brother XL 5700 if the stitches are uneven?
If stitches are too loose or too tight, adjust the tension dial accordingly, ensuring smooth and even stitches during your sewing projects.
To Recap
Mastering the art of threading your Brother XL 5700 Sewing Machine is an empowering skill that sets the foundation for successful sewing endeavors.
This comprehensive guide demystifies the threading process, offering a clear roadmap from bobbin winding to needle threading.
By following these steps diligently, you ensure optimal stitching performance and prolong your machine’s life.
The ability to thread your sewing machine confidently opens the door to a world of creative possibilities, allowing you to bring your sewing projects to life with precision and finesse.
With a well-threaded Brother XL 5700, you can embark on a seamless sewing journey, turning your visions into beautifully crafted realities.
Leave a Reply