Transferring a design onto fabric is a fundamental skill that opens the door to a world of creative possibilities. Whether you’re an avid crafter, a passionate quilter, or an embroidery enthusiast, knowing how to transfer your designs onto fabric is the first step toward bringing your creative visions to life.
From intricate embroidery patterns to custom stencils for fabric painting, the ability to transfer designs empowers you to add personal touches to your projects and transform plain fabrics into works of art.
In this guide, we will explore a variety of methods and techniques for transferring designs onto fabric, catering to different preferences and project requirements.
Whether you prefer traditional methods like tracing or modern techniques involving technology, this knowledge will help you embark on your textile journey with confidence.

How To Transfer A Design Onto Fabric?
Transferring a design onto fabric is a fundamental step in various crafting and sewing projects. Here are some simple methods to accomplish this:
Tracing Paper or Transfer Paper
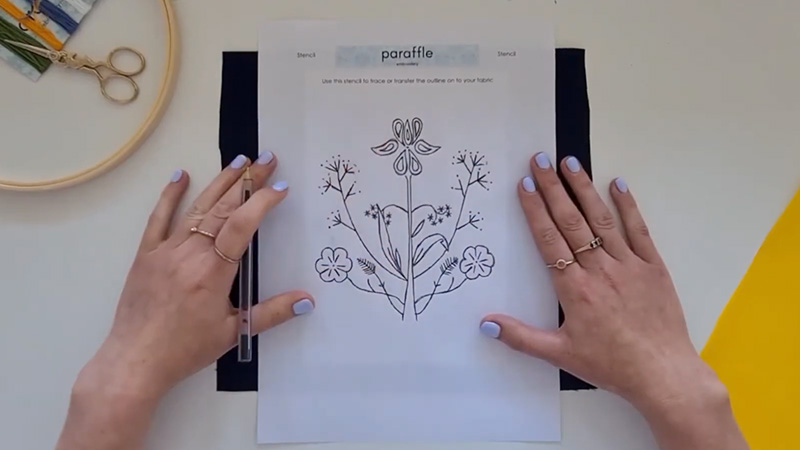
Place tracing paper or transfer paper (also called carbon paper) between your design and the fabric. Trace the design using a pen or pencil, pressing firmly. The design will transfer onto the fabric beneath.
Iron-On Transfer Paper
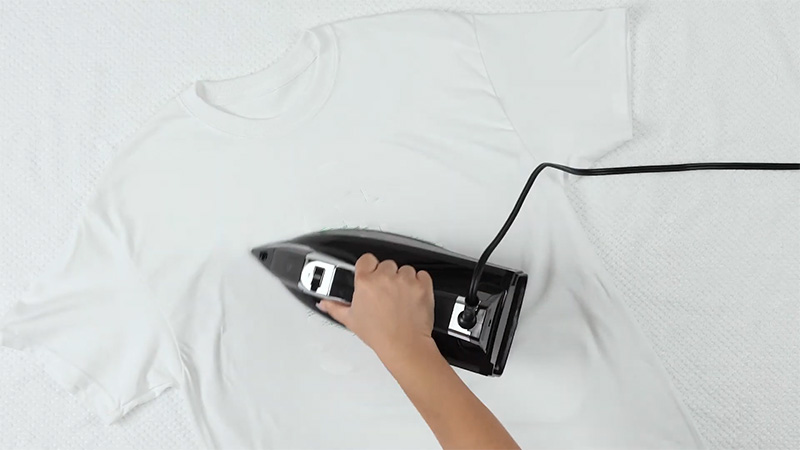
Print your design on iron-on transfer paper using an inkjet printer. Place the paper, printed side down, onto the fabric. Apply heat with an iron, following the manufacturer’s instructions. The design will transfer to the fabric when heated.
Freezer Paper Stencil
Cut a stencil from freezer paper and iron it onto the fabric, shiny side down. Paint or dye the exposed fabric within the stencil. Once dry, remove the freezer paper to reveal your design.
Heat Transfer Vinyl (HTV)
Cut your design from HTV using a cutting machine like a Cricut or Silhouette. Place the vinyl design on the fabric and apply heat with an iron or heat press. The design will adhere to the fabric.
Stencil and Fabric Paint
Create or purchase a stencil of your design. Secure the stencil on the fabric and use fabric paint or a fabric marker to fill in the design within the stencil. Carefully remove the stencil once the paint is dry.
Embroidery or Cross-Stitch
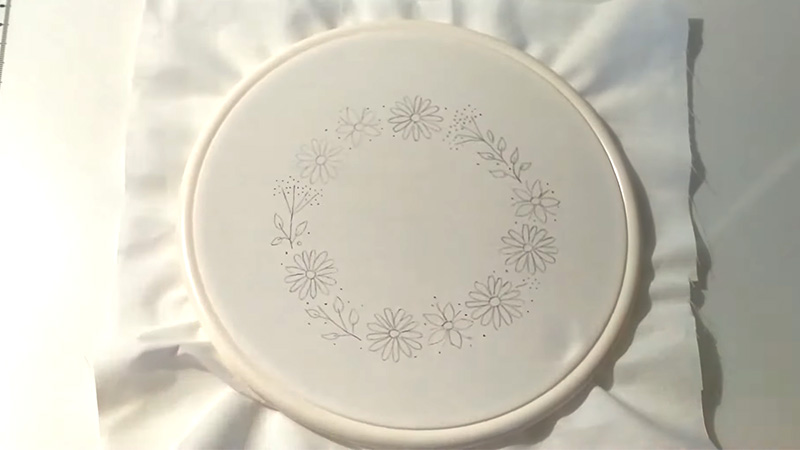
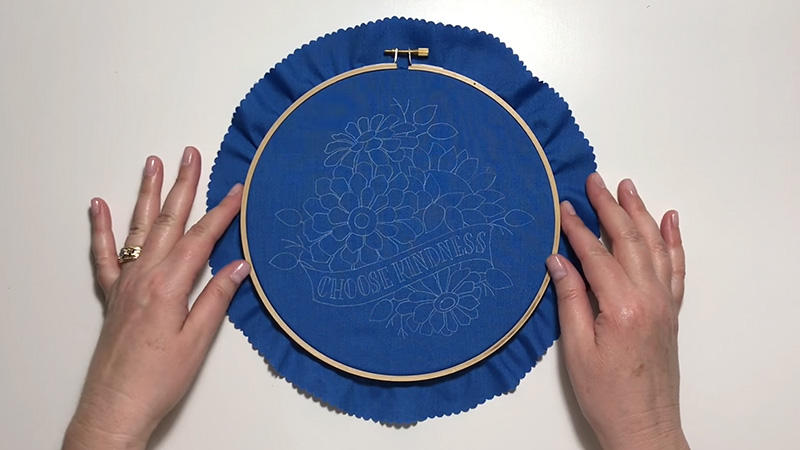
For a more intricate look, use embroidery or cross-stitch to transfer a design onto fabric. Print or draw your design on the fabric and follow the pattern, stitching over the lines to recreate the design.
Water-Soluble Pencils or Markers
Use water-soluble fabric pencils or markers to draw your design directly onto the fabric. Once your project is complete, simply wash or dampen the fabric to remove the markings.
These methods offer a range of options for transferring your design onto fabric, allowing you to choose the one that best suits your project’s complexity and the materials you have on hand. Whether you’re crafting, sewing, or creating custom textiles, these techniques can help bring your design to life on fabric.
What Can I Use For Tracing Patterns?

Here’s a table listing the materials you’ll need for tracing patterns:
| Material | Description |
| Pattern paper or tracing paper | A translucent paper that allows you to see the underlying pattern. |
| Original pattern | The pattern you want to trace or transfer. |
| Pencil or fine-tip pen | For tracing the pattern onto the tracing paper. |
| Clear ruler or straight edge | For drawing straight lines and measuring. |
| Weights or tape | To hold the pattern and tracing paper in place. |
| Scissors or craft knife | For cutting out the traced pattern pieces. |
| Cutting mat (optional) | To protect your work surface when using a craft knife. |
| Eraser (optional) | For correcting mistakes or removing stray marks. |
| Tape (optional) | To secure the pattern paper to the original pattern. |
| Highlighters or colored pens (optional) | For highlighting or color-coding pattern pieces. |
| Magnifying glass (optional) | Useful for tracing small or intricate patterns. |
| Lightbox (optional) | Illuminated surface for tracing intricate patterns. |
How To Make Iron On Embroidery Transfers?

Creating iron-on embroidery transfers is a useful skill for transferring intricate designs onto fabric for embroidery projects. Here are some tips to help you make iron-on embroidery transfers:
Select the Design
Begin by choosing or creating the embroidery design you want to transfer. Ensure the design is clean, detailed, and appropriately sized for your project.
Use Transfer Paper
Purchase iron-on transfer paper designed for embroidery or fabric projects. You can find this paper at craft stores or online. Ensure you choose the correct type, whether for inkjet or laser printers, based on your equipment.
Print the Design
Print the chosen design onto the transfer paper following the paper manufacturer’s instructions. Be sure to mirror the image if necessary, especially for text or asymmetrical designs.
Cut Out the Transfer
Trim the excess paper around your design, leaving a small margin. Cutting as close to the design as possible reduces the transfer’s visible edges on your fabric.
Prepare the Fabric
Place your fabric on a flat, heat-resistant surface, such as an ironing board or a table, with a towel or cloth over it. Ensure the fabric is clean and wrinkle-free.
Iron the Transfer
Position the printed side of the transfer paper (design facing down) onto the fabric where you want the embroidery to be. Use a dry, medium to high heat setting on your iron and press firmly and evenly over the design for the specified duration, as indicated on the transfer paper’s instructions.
Cool and Peel
Allow the transfer to cool completely before gently peeling off the paper. The design should adhere to the fabric. Check the manufacturer’s instructions for any specific cooling times.
With these tips, you can easily create iron-on embroidery transfers for your projects. Whether you’re embellishing clothing, accessories, or home decor items, this method allows you to transfer intricate and custom designs onto your chosen fabric surface for beautiful embroidery work.
How To Transfer Embroidery Patterns Onto Dark Fabrics?

Transferring embroidery patterns onto dark fabrics can be a bit challenging, but there are several methods that work well. Here are the ways to do it:
White Transfer Paper
White transfer paper is designed for use on dark fabrics. Place the transfer paper, with the chalky side facing down, between your pattern and the dark fabric.
Trace over your design with a stylus or a ballpoint pen. The chalky residue will transfer the design onto the fabric.
Chalk or Charcoal Powder
Lay your dark fabric on a lightbox or a well-lit surface. Place your embroidery pattern on top and secure it in place. Use white chalk or charcoal powder to trace the design by gently rubbing it over the lines. The contrast will make the pattern visible on the dark fabric.
Water-Soluble Stabilizer
Print your embroidery pattern on a water-soluble stabilizer using an inkjet printer. Place the stabilizer on top of your dark fabric, securing it with pins or an embroidery hoop.
Stitch through the stabilizer and fabric, following the printed design. Once you’re finished, rinse the stabilizer away, leaving only the embroidery on the fabric.
Heat Transfer Pens for Dark Fabrics
Some pens are specifically designed for transferring designs onto dark fabrics. Trace your pattern onto the fabric using the pen, and the design will become visible. These pens often come in white or light colors to contrast against dark fabrics.
Tracing Paper and White Pencil
Place tracing paper on your dark fabric, securing it with pins. Trace your design onto the tracing paper using a white pencil or a tailor’s chalk pencil. The design will transfer onto the fabric underneath.
Tape and Carbon Paper
Secure your pattern to the dark fabric with tape. Place carbon paper (chalk side down) between the pattern and fabric. Trace over the design with a ballpoint pen. The pressure will transfer the design onto the fabric.
Embroidery Lightbox
If you have an embroidery lightbox, it can be a valuable tool for transferring designs onto dark fabrics. Place the dark fabric on the lightbox, position your pattern on top, and trace the design directly onto the fabric.
These methods offer a range of options for Transferring embroidery patterns onto dark fabrics, allowing you to choose the one that best suits your preferences and the materials you have on hand.
Whether you prefer traditional tracing methods or modern tools like water-soluble stabilizers, you can achieve beautiful embroidery on dark fabrics with these techniques.
FAQs
What is the easiest way to transfer a design onto fabric?
The easiest way to transfer a design onto fabric is by using transfer paper. Place the transfer paper, with the design side down, on the fabric and trace over your design. The design will transfer onto the fabric with minimal effort.
Can I use a regular printer for fabric transfers?
Yes, you can use a regular inkjet printer for fabric transfers. You’ll need specially designed fabric transfer sheets that are compatible with your printer. Print your design on the transfer sheet, following the manufacturer’s instructions, and then use heat to transfer it onto your fabric.
How can I transfer intricate embroidery patterns onto fabric?
For intricate embroidery patterns, you can use water-soluble stabilizers or embroidery lightboxes. Print or trace your pattern onto the stabilizer, secure it to your fabric, and stitch through it.
Is it possible to transfer a design onto dark fabric?
Yes, you can transfer designs onto dark fabric using white transfer paper, chalk or charcoal powder, or water-soluble stabilizer. These methods provide contrast against the dark fabric, making the design visible for tracing.
What’s the best method for transferring intricate hand-drawn designs to fabric?
To transfer hand-drawn designs onto fabric, you can use carbon paper or a lightbox. Place the carbon paper between your design and the fabric, or use a lightbox to trace directly onto the fabric.
Conclusion
Mastering the art of transferring designs onto fabric is a valuable skill that empowers crafters and artists to create beautiful and personalized textiles. From the classic methods of tracing and stenciling to modern advancements like heat transfers and digital printing, the possibilities are limitless.
Whether you’re adding intricate embroidery to a garment, creating custom fabric patterns, or quilting with precision, the ability to transfer designs accurately is a crucial step in your creative process.
With the techniques discussed in this guide, you can choose the method that best suits your project, ensuring that your creative vision becomes a reality on fabric.
So, embrace the art of design transfer, and let your imagination run wild as you adorn fabric with your unique creations, turning ordinary cloth into extraordinary works of art.
Leave a Reply