Transferring embroidery patterns with precision is a fundamental skill that sets the stage for a successful and visually striking embroidery project.
Whether you’re a seasoned embroiderer or just beginning your stitching journey, the ability to transfer patterns flawlessly is essential to achieving the desired outcome.
Perfect transfers ensure that your design is centered, symmetrical, and ready for embellishment. This guide explores a comprehensive range of 15 tried-and-true methods to transfer embroidery patterns perfectly.
From traditional techniques like tracing and pricking to modern tools such as transfer pens and computer printing, each method offers its unique advantages.
By mastering these techniques, you’ll unlock endless creative possibilities and elevate your embroidery to new heights of artistry and craftsmanship.
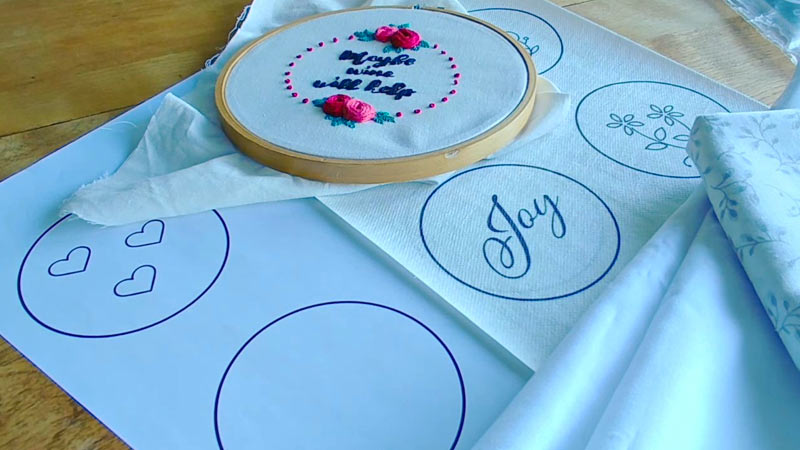
Easy 15 Ways to Transfer Embroidery Patterns Perfectly
Transferring embroidery patterns perfectly is a crucial step in ensuring the success of your embroidery project. A precise transfer ensures that your design is centered, symmetrical, and ready for stitching.
Whether you’re a beginner or an experienced embroiderer, here are 15 ways to help you transfer embroidery patterns flawlessly:
1. Tracing Paper
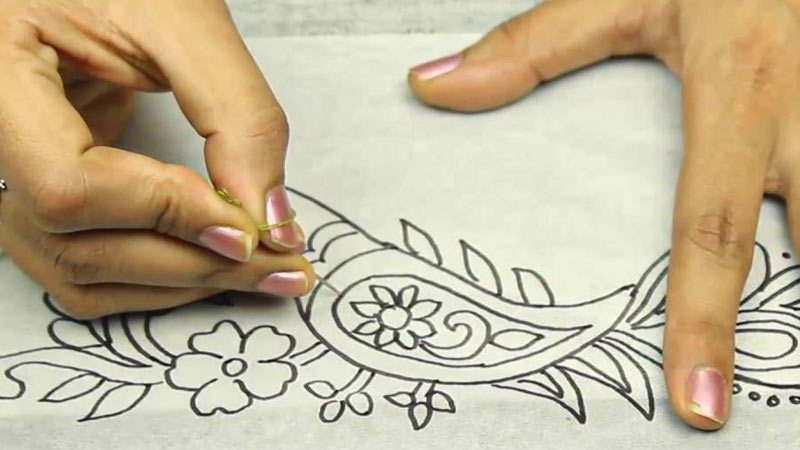
Tracing paper is a straightforward and widely used method. Place a sheet of tracing paper over your pattern and secure it in place. Then, use a sharp pencil or stylus to trace the design onto your fabric.
The advantage of tracing paper is that it allows for precise tracing and is easily removable. However, it may not work well on very textured fabrics.
2. Iron-On Transfer Pens or Pencils

Iron-on transfer pens and pencils are handy tools for transferring patterns. To use them, draw your pattern onto tracing paper or a plain sheet of paper. Once the design is complete, position it on your fabric and iron over it.
The heat from the iron causes the ink or graphite to transfer onto the fabric, creating a clear and durable outline. This method is especially effective on light-colored fabrics.
3. Transfer Paper
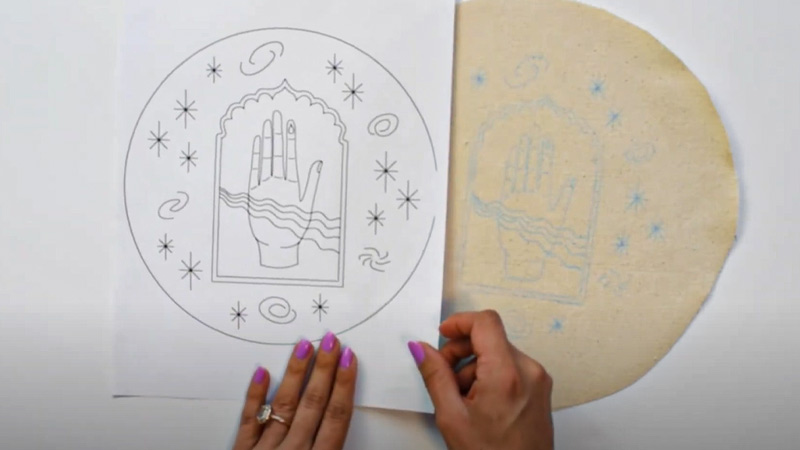
Transfer paper, also known as carbon transfer paper or dressmaker’s carbon, is available in various colors, allowing you to choose the one that contrasts well with your fabric.
Place the transfer paper between your pattern and fabric, with the colored side facing down.
Then, use a stylus or pencil to trace the design onto the fabric. The pressure applied transfers the colored marks, giving you a visible and precise guide for your embroidery.
4. Water-Soluble Markers
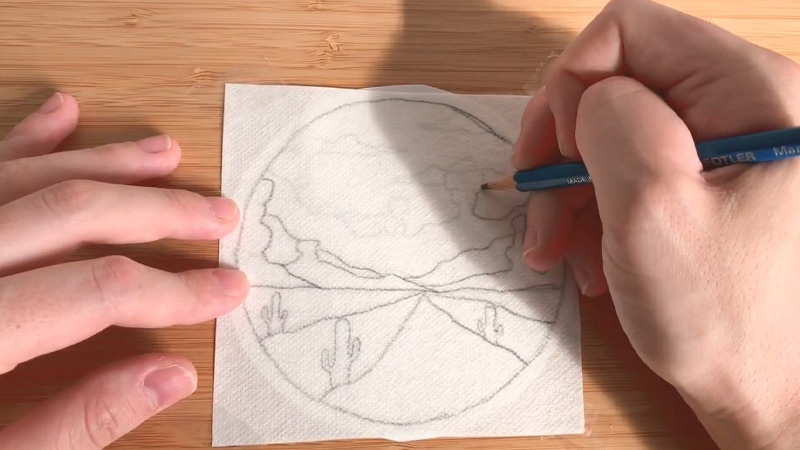
Water-soluble fabric markers are a favorite among embroiderers because they provide a direct method of transferring patterns. Simply use these markers to trace your pattern directly onto the fabric.
The lines are highly visible and will guide your stitching. What makes them particularly appealing is that the marks disappear completely when you wash the finished piece, leaving no residue.
5. Carbon Paper
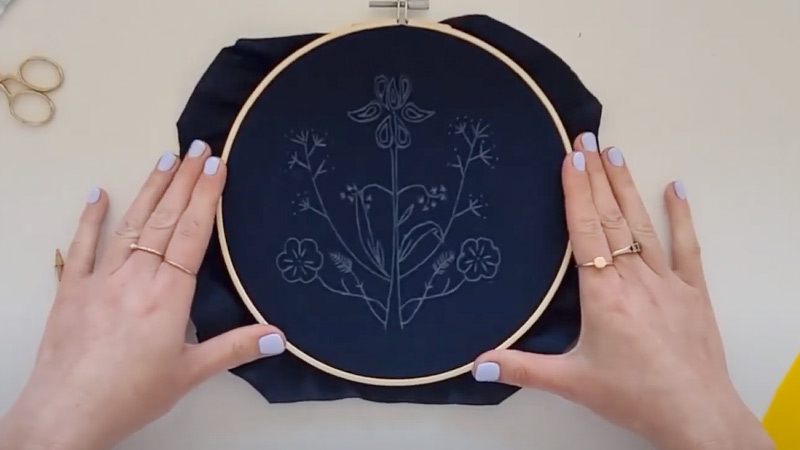
Carbon paper is an age-old method that remains effective. Place a sheet of carbon paper, which is usually available in various colors, under your pattern on the fabric. Then, use a ballpoint pen or stylus to trace the design.
The pressure causes the carbon marks to transfer onto the fabric. This method is suitable for a wide range of fabrics and provides a reliable guide for your embroidery.
6. Embroidery Transfer Pens
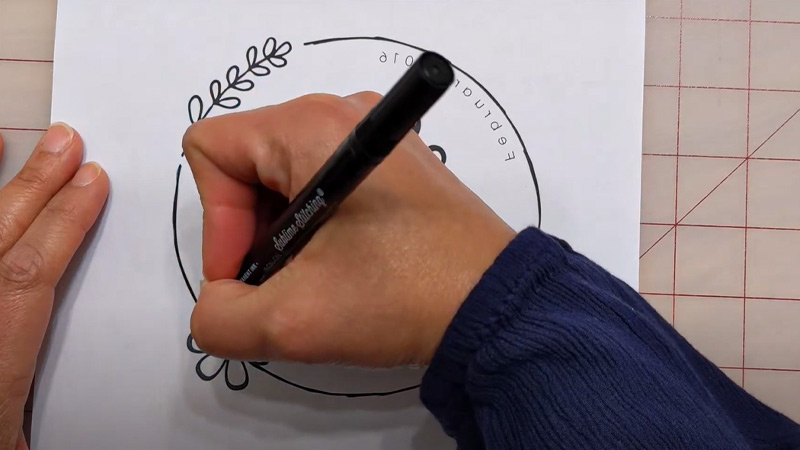
Embroidery transfer pens are a convenient option for transferring patterns. These pens contain ink that disappears with the application of heat. Simply draw your pattern directly onto the fabric using the pen.
Once you have completed your embroidery, the lines will vanish when you press the fabric with an iron. This method ensures that your markings won’t interfere with your finished piece, leaving a clean and professional look.
7. Heat Transfer Pencil
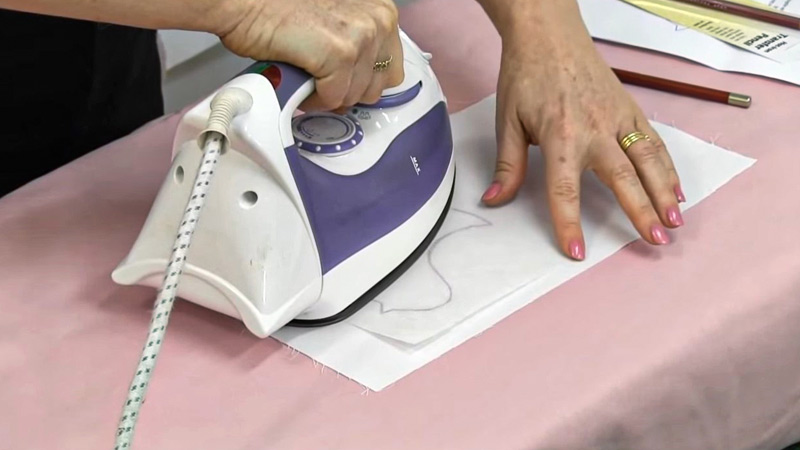
Similar to transfer pens, heat transfer pencils are an excellent choice for those who prefer using pencils over pens.
Draw your pattern on the fabric using the heat transfer pencil, and the lines will disappear when you iron over them. This method is especially useful for intricate designs that require fine lines and details.
8. Stamps
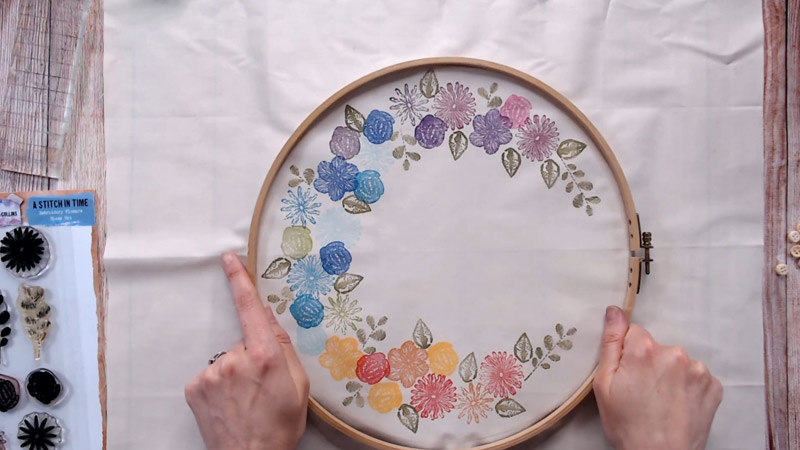
Creating custom rubber or silicone stamps of your design adds a creative touch to your embroidery project. After making your stamp, apply fabric ink to it and then press it onto your fabric.
This method is perfect for repeating patterns or adding unique embellishments to your embroidery. It ensures consistent and precise transfers.
9. Light Table or Window
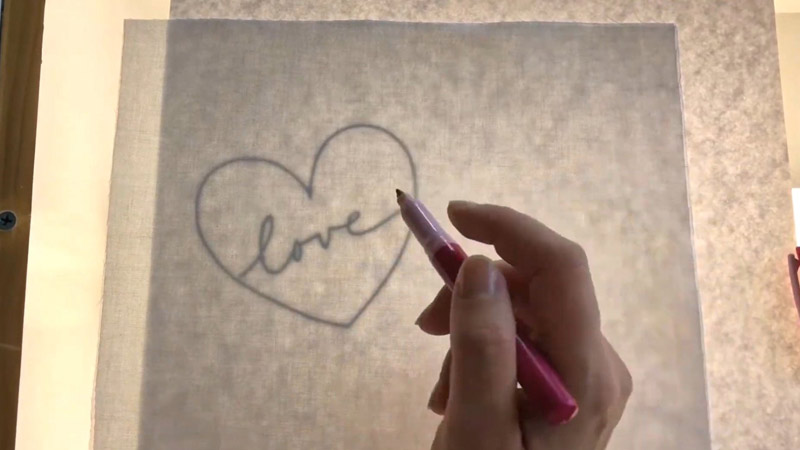
If you don’t have access to specialized transfer materials, you can use a simple light table or a well-lit window to transfer your pattern. Tape your pattern to the surface, place your fabric over it, and use a pencil or water-soluble pen to trace the design.
The backlighting makes the lines of the pattern visible through the fabric, allowing for accurate tracing.
10. Freezer Paper
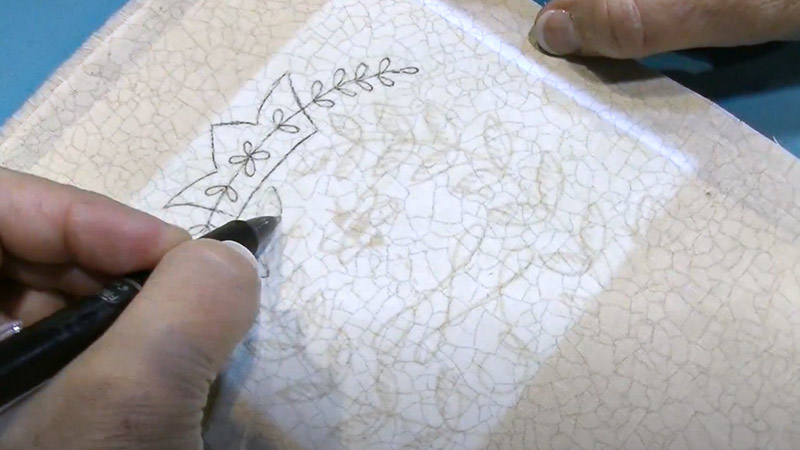
Freezer paper is a versatile tool for pattern transfer. Iron a sheet of freezer paper onto your fabric with the shiny side facing down.
Once it adheres, trace your pattern directly onto the paper. The wax coating adheres temporarily and can be peeled off when you’re finished.
This method provides stability to your fabric while you work and ensures your lines are easily visible.
11. Computer Printing
This modern method involves printing your pattern directly onto a water-soluble stabilizer or transfer paper using an inkjet printer.
Once printed, attach the printed sheet to your fabric. You can do this by basting or pinning it in place. Then, stitch through the paper, following the printed lines.
When you’re finished, simply rinse the fabric, and the stabilizer or transfer paper will dissolve, leaving behind your embroidery.
12. Prick and Pounce
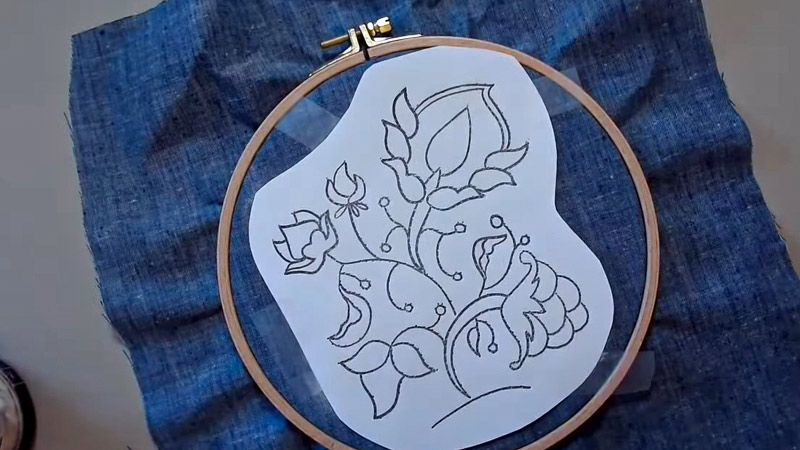
The prick-and-pounce method is a traditional technique that requires precision. To use this method, place your pattern on top of your fabric and secure it. Then, use a fine needle or pin to prick holes along the pattern lines.
Once you’ve pricked the entire design, gently pounce powdered chalk or charcoal through the holes onto the fabric. This transfers the design into fine lines that are easy to follow for embroidery.
13. Tracing Wheel
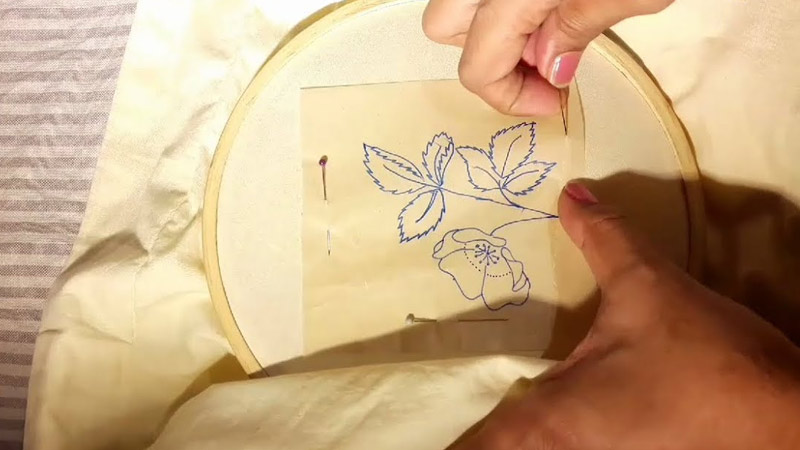
A tracing wheel is a specialized tool with spiked wheels that can transfer your pattern lines onto fabric. Place your paper pattern on top of the fabric and use the tracing wheel to roll over the lines while applying firm pressure.
The spikes of the wheel create indents on the fabric, marking your design for embroidery. This method is especially useful for transferring intricate or delicate patterns.
14. Basting or Running Stitch
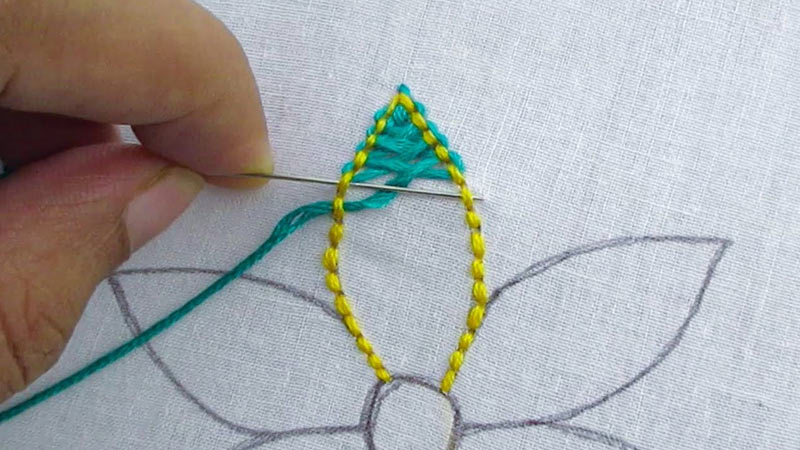
To transfer your pattern using a basting or running stitch, simply trace the design onto the fabric using a contrasting thread. Stitch along the pattern lines, creating temporary markings with the thread.
Once your embroidery is complete, you can remove the basting or running stitches by carefully pulling them out. This method is ideal when you want a straightforward and easily removable transfer.
15. Direct Drawing
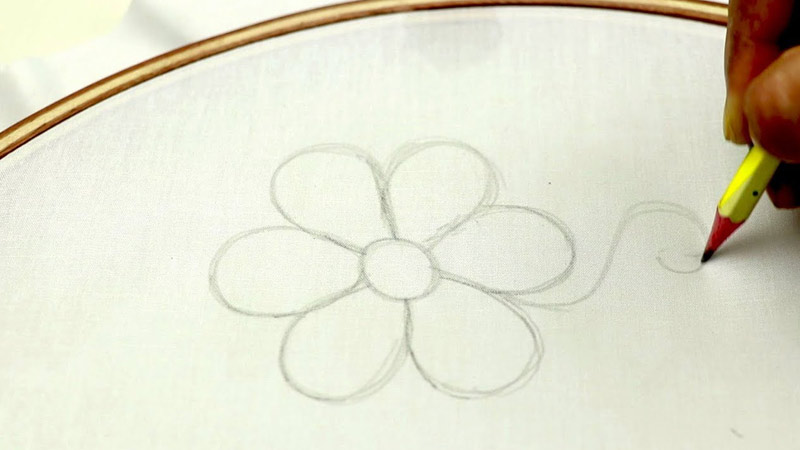
If you have confidence in your drawing skills, you can freehand the design directly onto the fabric using a water-soluble pen or chalk pencil. This method allows for creative freedom and spontaneity in your embroidery.
After completing your stitching, you can wash or gently brush off the markings to reveal your finished piece.
How to Choose the Best Method to Transfer Embroidery Patterns Perfectly

Choosing the best method for transferring embroidery patterns depends on various factors, including your personal preferences, the complexity of the pattern, the type of fabric you’re using, and the tools you have at hand.
Here’s a step-by-step guide to help you make the right choice:
Assess Your Skill Level
Consider your level of experience in embroidery. If you’re a beginner, you might prefer simpler methods like tracing or using iron-on transfer pens. As you gain confidence and expertise, you can explore more intricate techniques.
Examine Your Pattern
Take a close look at your embroidery pattern. Is it intricate with fine details, or is it a simple design? Complex patterns may benefit from methods that offer greater precision, such as computer printing or stamping.
Consider Your Fabric
Different fabrics require different transfer methods. Delicate fabrics like silk or chiffon may need gentler techniques like basting or using water-soluble markers. Sturdier fabrics can handle methods like tracing or carbon paper.
Evaluate Available Tools
Take stock of the tools you have on hand. Do you have access to an inkjet printer for computer printing, or do you have specialized embroidery transfer pens? Your toolset can influence your choice.
Think About Longevity
Consider whether you want the transfer marks to disappear completely or if they can remain visible during embroidery. Water-soluble methods, like markers or stabilizers, leave no trace once washed, while other methods may leave faint lines.
Experiment and Test
Before committing to the final transfer, practice on a scrap piece of fabric with the chosen method. This allows you to get a feel for the technique and ensure it works well for your specific project.
Flexibility and Ease
Choose a method that aligns with your working style. Some methods, like tracing or drawing directly on the fabric, provide more creative freedom, while others, like iron-on transfers, offer ease and convenience.
Project Requirements
Consider the requirements of your specific embroidery project. If you need to transfer a pattern multiple times, stamping or printing methods can be efficient. For a one-off project, simpler methods may suffice.
Personal Preference
Ultimately, choose a method that you’re comfortable with and enjoy using. Your enjoyment and confidence in the transfer process can greatly impact the quality of your embroidery work.
Adapt as Needed
Don’t be afraid to mix and match techniques for different aspects of your project. For instance, you might use tracing paper for a large design and then use water-soluble markers for smaller details.
FAQS
While it’s possible to use regular scissors for cutting fabric, it’s highly recommended to invest in quality fabric scissors or shears.
Fabric scissors are designed to make clean, precise cuts without fraying the fabric’s edges, ensuring a more professional finish.
Yes, it’s a good practice to wash and press your fabric before cutting.
When working with delicate or slippery fabrics, consider using pattern weights or pins to secure the pattern in place.
To achieve straight cuts on long strips of fabric, use a rotary cutter, a clear quilting ruler, and a self-healing cutting mat.
Depending on the severity of the mistake, you may be able to salvage the project by piecing together scraps, adding a contrasting border, or altering your design.
To Recap
Perfecting the art of transferring embroidery patterns is the key to transforming ordinary fabric into a canvas for creativity.
Through this journey of discovery across 15 diverse methods, embroiderers gain the tools to translate their artistic visions with precision.
Be it the time-honored traditions of tracing and pricking, the modern finesse of transfer pens and digital printing, or the tactile hands-on approach of using stamps and tracing wheels, each technique offers a unique path to perfection.
Yet, let us remember that perfection in embroidery is not a static goal, but an evolving journey where skills deepen and creativity flourishes.
These methods are your compass, guiding you to weave your stories and imagination into each meticulously stitched masterpiece.
Leave a Reply