Cricut machines have revolutionized the world of crafting, enabling enthusiasts to turn their creative visions into reality with ease. One of the most versatile and exciting materials to work with is Cricut iron-on vinyl.
This incredible material allows you to customize clothing, accessories, home decor, and more. Whether you’re a seasoned crafter or a novice looking to explore a new artistic medium, this guide will take you on a journey of exploring how to use Cricut iron-on vinyl.
From choosing the right vinyl type for your project to mastering the art of heat application, you’ll discover the essential steps to create vibrant and long-lasting designs.
We’ll delve into the tips, techniques, and troubleshooting methods to ensure your iron-on projects are not just beautiful but also built to last.
So, let’s embark on this creative adventure, and soon, you’ll be adding personalized and stylish touches to your world with Cricut iron-on vinyl.
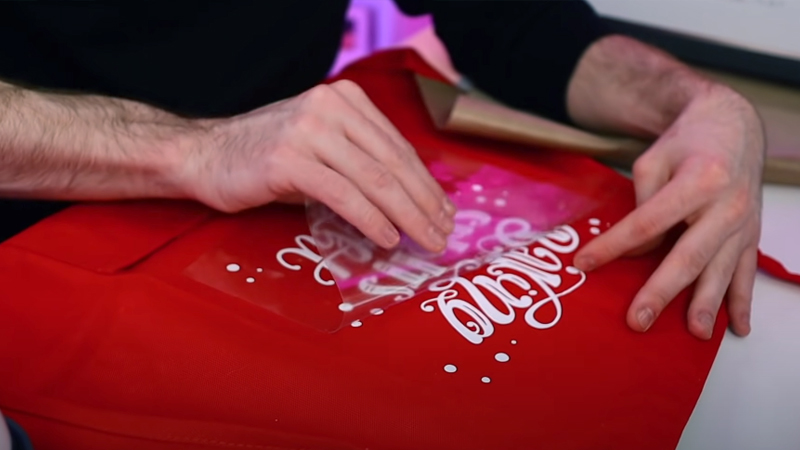
How to Use Cricut Iron-On Vinyl? 6 Steps
Let’s learn how to use Cricut Iron-On Vinyl to transform your ideas into stunning, professional-quality creations. Follow the steps given below.
Step 1: Design Your Vinyl Project
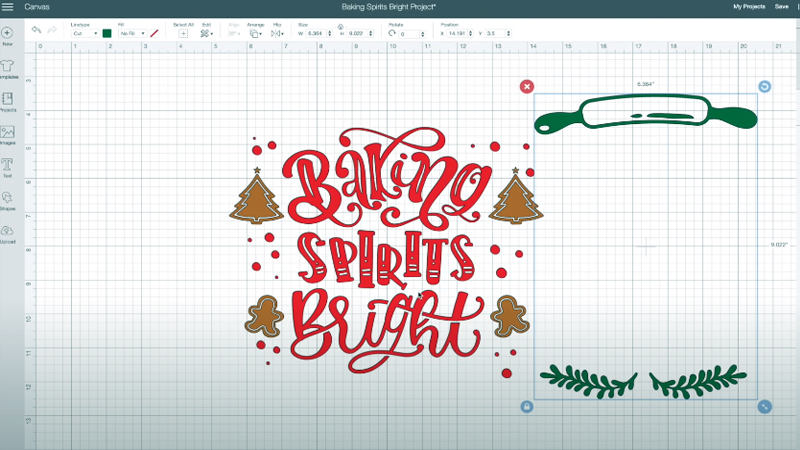
Now that you have your materials ready, let’s dive into the process. Start by designing your project in Cricut Design Space, Cricut’s design software. You can also use other design software and import the file into Cricut Design Space.
Choose the image or text you want to cut from the Iron-On Vinyl. Adjust the size as needed and make sure to mirror your design horizontally if it includes text or any non-symmetrical elements. This step is crucial to ensure the design appears correctly when applied.
In Design Space, select the type of material you’re using, which, in this case, is Iron-On Vinyl. The software will recommend cut settings, such as blade depth and pressure.
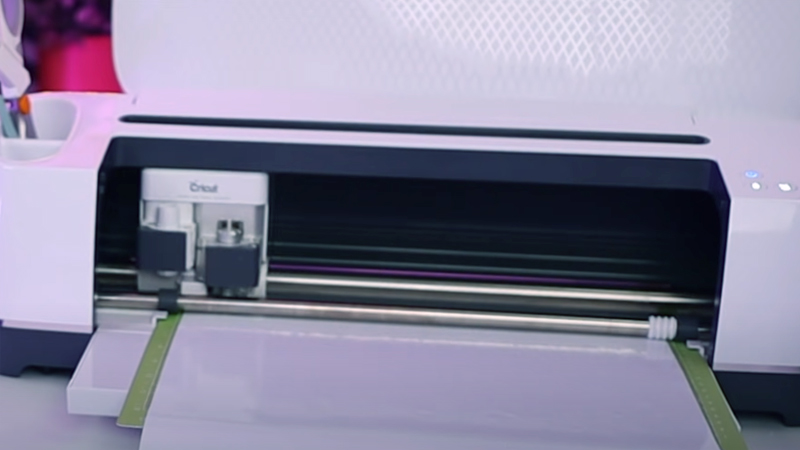
Load your Iron-On Vinyl onto a cutting mat and feed it into your Cricut machine. Press the “Go” button in Design Space, and your Cricut machine will precisely cut out your design.
Step 2: Weed Your Vinyl Design
Weeding is the process of removing the excess vinyl from your design. Carefully remove the cutting mat from the Cricut machine. Use weeding tools to gently lift and remove the excess vinyl from around and within your design. Take your time, especially if your design is intricate.
Step 3: Prepare Your Fabric
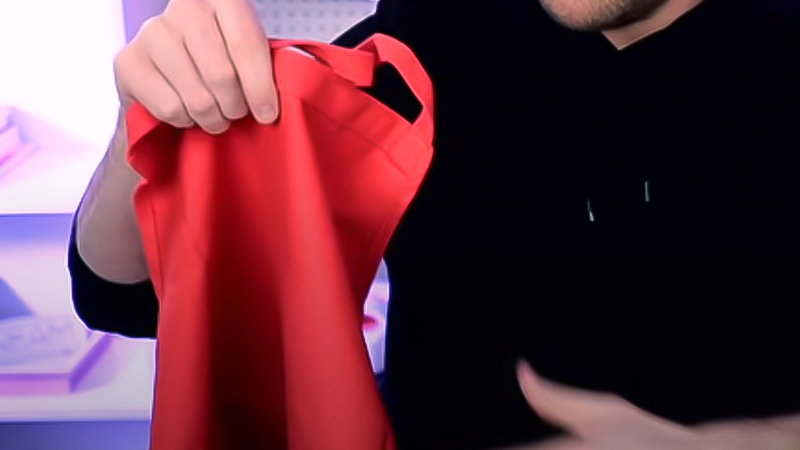
If you’re applying Iron-On Vinyl to clothing or textiles, it’s a good idea to pre-wash and thoroughly dry the fabric. This removes any sizing or residues that might hinder adhesion.
Decide where you want to place your design on the fabric and mark the center or desired position with a small, easily removable item, like a fabric pen.
Step 4: Apply the Iron-On Vinyl
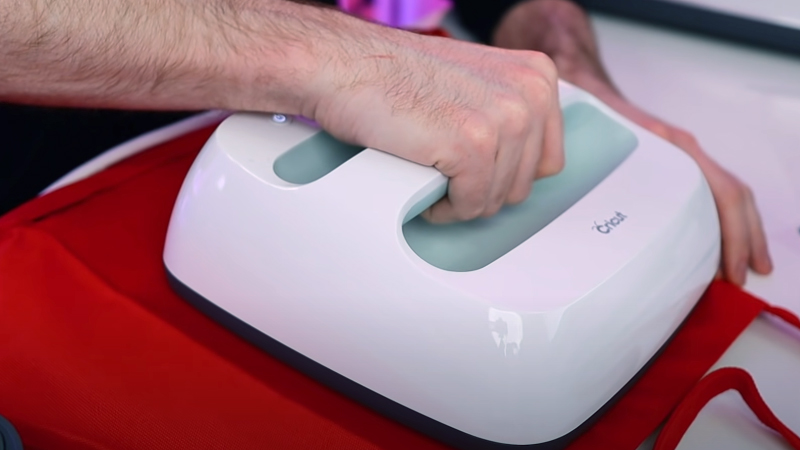
Depending on the heat source you’re using (household iron, heat press, or EasyPress), follow the temperature and time recommendations for the type of Iron-On Vinyl you’re using.
These details are often included with the vinyl or available on the Cricut website. Preheat the area on your fabric where you’ll be applying the design for a few seconds. This helps the vinyl adhere better.
Step 5: Place Vinyl Design Position your weeded vinyl design on the fabric, ensuring it’s centered and in the correct location.
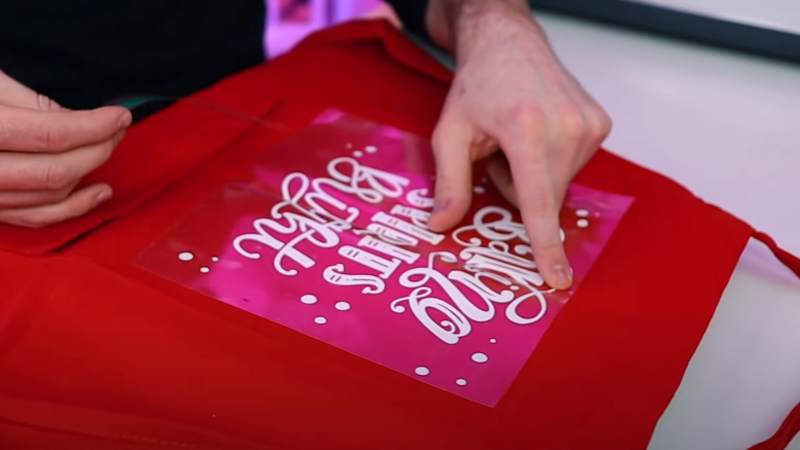
Place a protective material, like a Teflon sheet or parchment paper, over your design.
This prevents direct contact between the heat source and the vinyl. Using your heat source, apply firm and even pressure to the design. Follow the recommended time and temperature settings.
After heating, allow your fabric and design to cool for a minute or two. You can remove the protective material while it cools. Gently peel the backing of the Iron-On Vinyl. If any part of the design starts to lift, stop and press it again with the protective material in place.
Step 6: Final Touches
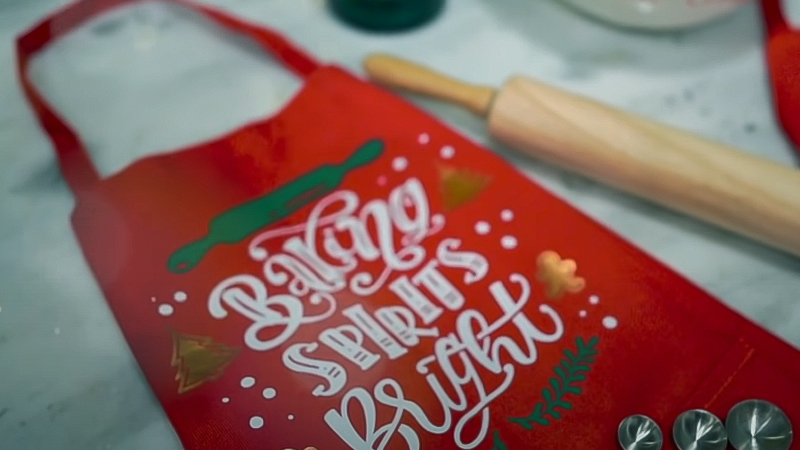
After removing the backing, you can place the protective material back over the design and reheat it for a few seconds. This ensures a secure bond. Your Iron-On Vinyl design is now applied! Your completed project is ready to use, wear, or gift.
Tips and Tricks
Don’t be afraid to experiment with different types of Iron-On Vinyl and fabric to find the best combination for your projects. Before cutting your final design, it’s a good idea to do a test cut on a small piece of vinyl to ensure your settings are correct.
You can layer Iron-On Vinyl to create multi-color or intricate designs. Make sure to press each layer separately. Always check the care instructions for your specific Iron-On Vinyl, but in general, turn your garment inside out before washing and avoid high heat settings.
Take your time when weeding and applying the vinyl to avoid mistakes. By following this comprehensive guide, you’ve learned how to use Cricut Iron-On Vinyl to personalize a wide range of items.
Whether you’re making custom clothing, decorative pillow covers, or unique gifts, your creativity knows no bounds. Enjoy your newfound crafting skills and have fun exploring the world of Iron-On Vinyl applications!
Does Iron-On Vinyl Last Long?
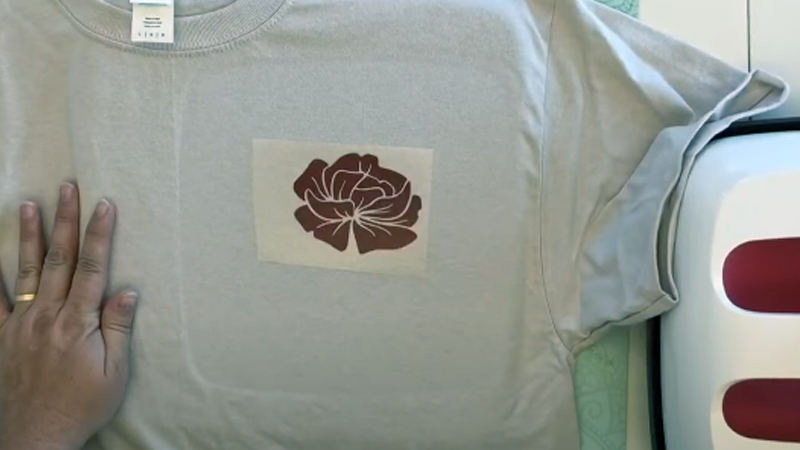
The longevity of iron-on vinyl (also known as heat transfer vinyl or HTV) depends on several factors, including the quality of the vinyl, the application process, and how the item is cared for.
When applied correctly and cared for appropriately, iron-on vinyl can last a long time, often outlasting the fabric or item it’s adhered to. Here are some key considerations that influence the lifespan of iron-on vinyl:
Quality of the Iron-On Vinyl
The quality of the vinyl itself plays a significant role in its durability. Higher-quality vinyl tends to have stronger adhesive properties and better resistance to wear and tear.
When shopping for iron-on vinyl, consider trusted brands and inquire about the vinyl’s specific qualities, such as whether it’s designed for long-lasting results.
Application Process
The proper application of iron-on vinyl is essential for ensuring its longevity. Factors that contribute to a successful application include using the correct temperature.
Applying even pressure during the heat transfer process ensures that the vinyl adheres securely to the fabric or item. Allowing the vinyl to cool completely after applying heat is crucial.
This cooling time allows the adhesive to bond properly. Rushing the process may result in the vinyl not adhering as well as it could.
Fabric or Item Selection
The choice of fabric or item to which the vinyl is applied also matters. Fabrics that are prone to frequent stretching, such as spandex or certain jersey knits, may pose challenges to the long-term adhesion of the vinyl.
Choosing fabrics that are less likely to stretch excessively can help extend the lifespan of the vinyl design.
Care and Maintenance
Proper care and maintenance of items adorned with iron-on vinyl are critical for ensuring that the designs last as long as possible. Wait 24-48 hours after applying the vinyl to allow the adhesive to set.
When washing the item, turn it inside out, and use a gentle cycle with cold or warm water. Avoid using high heat settings in the dryer. Harsh detergents, bleach, and strong cleaning chemicals can weaken the adhesive over time. Stick to milder, fabric-friendly detergents.
Store items with iron-on vinyl in a cool, dry place. Avoid folding or stacking items with the vinyl touching other vinyl or materials that might cause adhesion issues.
Intended Use
Consider the intended use of the item with the iron-on vinyl. Items that receive regular and heavy use, such as sportswear, may experience more wear and tear than items that are worn less frequently.
Understanding the demands placed on the vinyl can help set realistic expectations for its longevity.
FAQs
Can iron-on vinyl be used on any type of fabric?
Iron-on vinyl can be applied to a wide range of fabrics, including cotton, polyester, canvas, and more. However, some fabrics that stretch significantly, like spandex, may require special care during application to ensure longevity.
Is it possible to remove the iron-on vinyl from the fabric if I want to change the design?
Removing iron-on vinyl from fabric can be challenging, and it may damage the fabric in the process. It’s typically not recommended unless you’re willing to accept potential damage to the item.
Can iron-on vinyl be applied to non-fabric items, like glass or wood?
Iron-on vinyl is designed for fabric applications and may not adhere well to non-fabric surfaces. For non-fabric projects, consider using adhesive vinyl designed for those specific materials.
Can iron-on vinyl withstand outdoor use?
Iron-on vinyl is typically not recommended for outdoor applications, as prolonged exposure to UV rays, moisture, and temperature extremes can affect its longevity. If you need outdoor durability, explore adhesive vinyl intended for that purpose.
Is it possible to reapply iron-on vinyl if it begins to peel or wear off?
Yes, you can often reapply iron-on vinyl if it starts to peel or show signs of wear. Applying heat and pressure with an iron or heat press can help re-adhere the vinyl. However, it’s essential to ensure that the fabric or item can withstand additional heat without damage.
Conclusion
The world of crafting and personalization has never been more accessible, thanks to Cricut Iron-On Vinyl. With this guide, you’ve unlocked the secrets to turning your creative visions into reality on fabric and textiles.
From selecting the right materials and creating your designs to applying the vinyl with precision, you now possess the knowledge to embark on exciting projects.
Remember that practice and experimentation are your allies. As you dive into your Cricut Iron-On Vinyl adventures, don’t be afraid to let your imagination run free.
The more you experiment, the more you’ll refine your skills and discover new techniques to make your creations truly unique.
So, whether you’re revamping your wardrobe, adding a personal touch to home décor, or crafting thoughtful gifts, Cricut Iron-On Vinyl empowers you to express your style and sentiment with stunning, long-lasting results.
Embrace the endless possibilities, and let your creativity flourish. Your next DIY masterpiece is just a cut and paste away!
Leave a Reply