Discovering how to use elastic thread in a Brother sewing machine opens up a realm of creative possibilities for your sewing projects.
Elastic thread adds a touch of flexibility, making it perfect for shirring, smocking, and creating gathers in garments.
In this guide, we’ll walk through the essential steps, from choosing the right elastic thread to adjusting tension and stitch length.
Unlock the potential of your Brother sewing machine as we delve into the intricacies of winding bobbins, threading the machine, and mastering the art of securing ends.
Whether you’re a seasoned sewist or a novice, this comprehensive tutorial ensures you’ll confidently achieve stretchable, stylish results in every project.
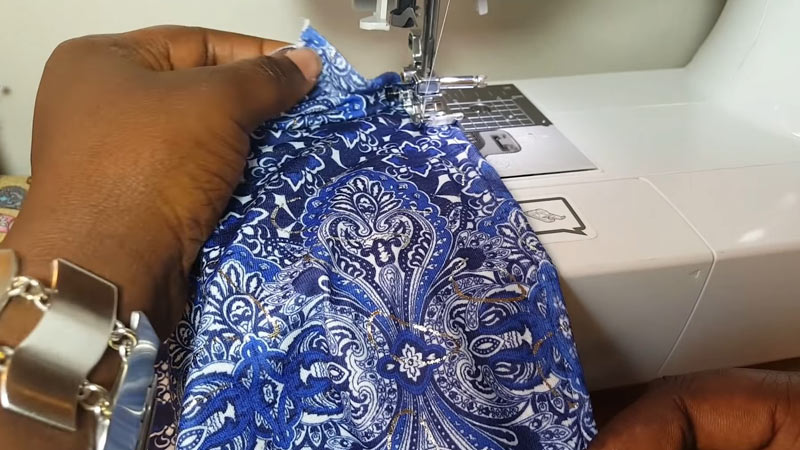
What Is Elastic Thread and How Is It Different From Regular Thread?
Elastic thread is a specialized sewing material designed to impart stretch and flexibility to fabric.
Unlike regular thread, which is typically made of cotton, polyester, or a blend, elastic thread incorporates a stretchable material like rubber or spandex.
Its unique composition enables it to create gathered or shirred effects in garments, making it ideal for projects requiring elasticity.
Regular thread, on the other hand, lacks the inherent stretch of elastic thread and is primarily used for standard stitching and seam reinforcement.
The distinct property of elastic thread allows it to be employed in projects like shirring on dresses or smocking on tops, providing a dynamic and comfortable fit that regular thread cannot achieve.
How to Sew With Elastic Thread on a Brother Sewing Machine?
Using elastic thread in a Brother sewing machine can add stretch and flexibility to your sewing projects, making them suitable for fabrics that require a bit of give.
Elastic thread is commonly used for shirring, smocking, and creating gathers in your garments.
Here’s a step-by-step guide on how to use elastic thread in a Brother sewing machine:
Choose the Right Elastic Thread
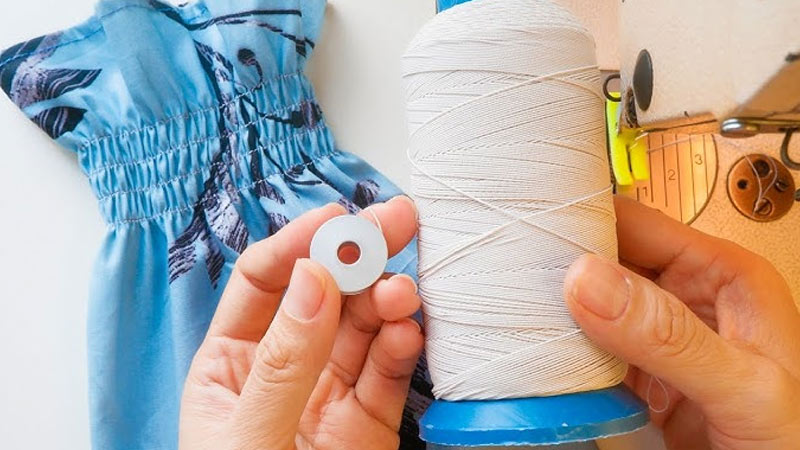
When selecting elastic thread for your project, consider the type, thickness, and material.
Some elastic threads are better suited for lightweight fabrics, while others work well with heavier materials.
Match the elasticity of the thread to the desired stretch in your finished garment. Consult the recommendations on the packaging or your sewing machine’s manual for guidance on suitable elastic threads.
Wind the Bobbin
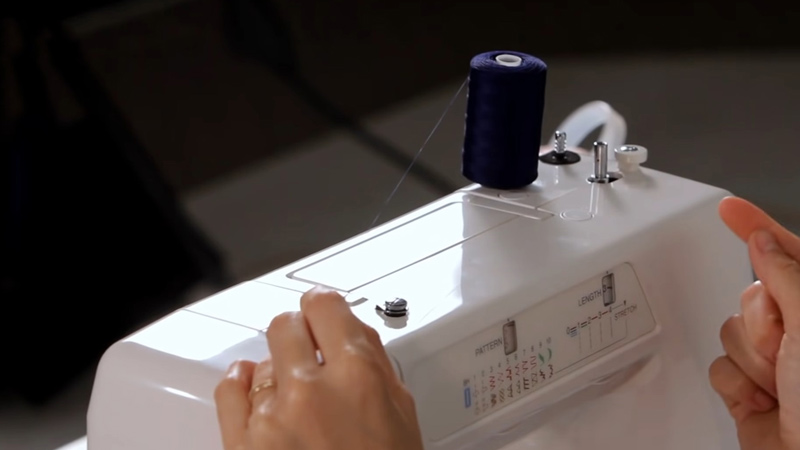
Winding elastic thread onto the bobbin requires special attention to prevent tension issues during sewing.
Place the spool of the elastic thread on the designated spool pin, ensuring it unwinds freely. Thread the elastic through the bobbin winder tension discs, following your machine’s instructions.
Wind the bobbin evenly, avoiding overfilling, which could affect the tension. Take the time to wind a few test bobbins to ensure consistent tension.
Install the Elastic Thread Bobbin
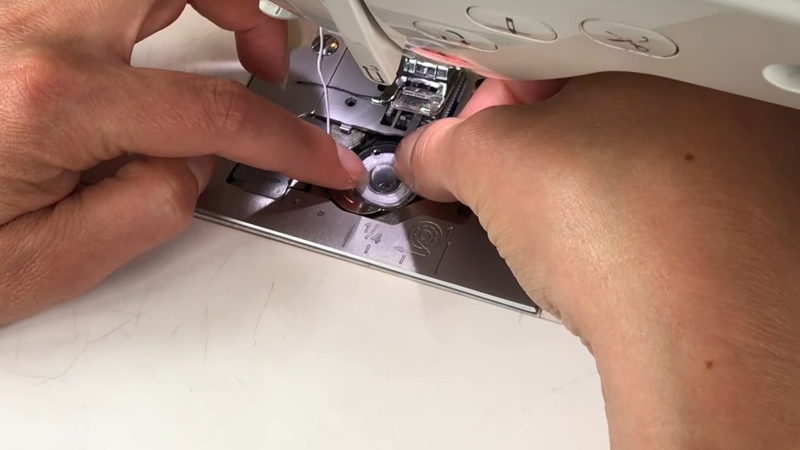
Once the bobbin is wound, insert it into the bobbin case following the machine’s instructions. Make sure the elastic thread is properly threaded through the bobbin case’s tension guide.
This step is crucial for maintaining even tension throughout your sewing project. Double-check your machine’s manual for any specific guidelines related to inserting and threading the elastic bobbin.
Thread the Machine
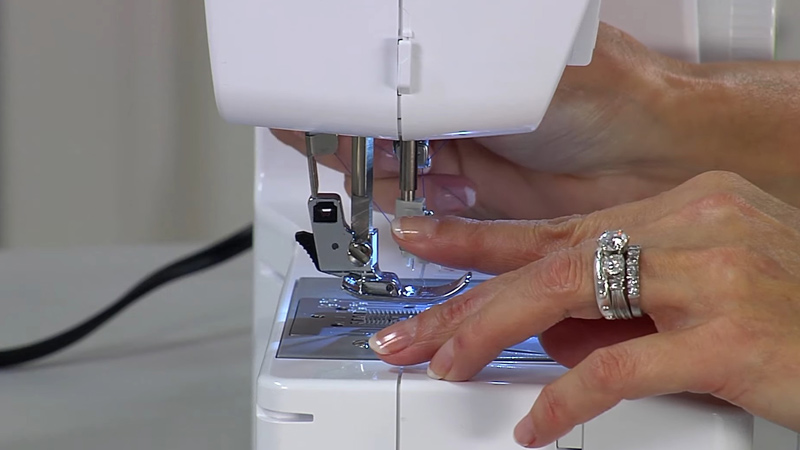
Thread your Brother sewing machine with regular thread on the upper thread path according to the machine’s manual.
Ensure that the regular thread and the elastic thread do not become tangled during the process. Following the threading diagram provided in the manual helps prevent errors.
This step ensures that both threads work harmoniously, allowing you to create balanced stitches.
Adjust Tension
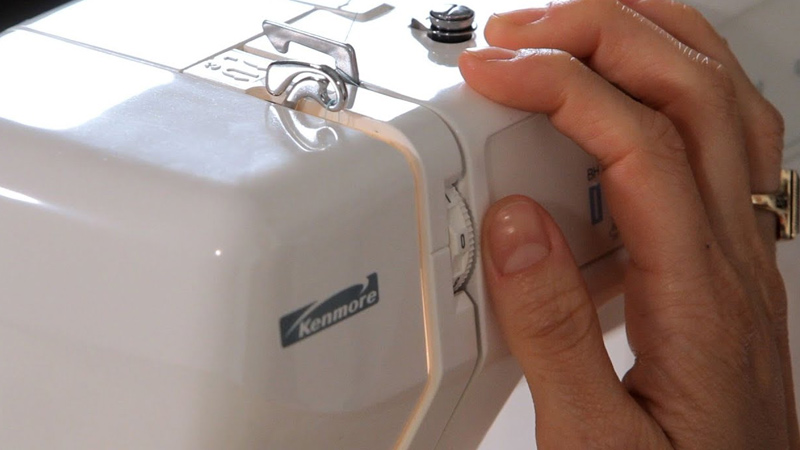
Elastic thread requires a lower tension setting compared to regular thread. Adjust the tension dial on your sewing machine to a lower setting to accommodate the elasticity of the thread.
Experiment with different tension levels on a scrap piece of fabric until you achieve the desired result.
Be patient and make incremental adjustments, as elastic thread tends to stretch more during sewing.
Testing on scrap fabric allows you to fine-tune the tension settings without compromising your actual project.
Set Stitch Length
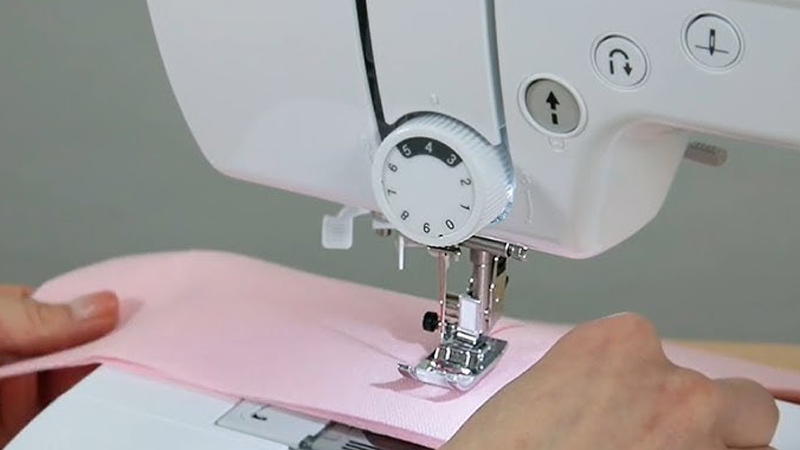
Adjusting the stitch length is crucial when working with elastic thread. Depending on your project’s requirements, you can create different effects by altering the stitch length.
Smaller stitches result in tighter gathers, making it suitable for more pronounced shirring or smocking effects.
On the other hand, longer stitches will produce looser gathers, ideal for subtle and flowing designs.
Experiment with different stitch lengths on scrap fabric until you achieve the look that complements your project.
Practice on Scrap Fabric
Before diving into your main project, practice sewing with elastic thread on a scrap piece of fabric.
This step is essential for familiarizing yourself with the behavior of elastic thread and fine-tuning both tension and stitch length settings.
Use a variety of stitch lengths and tensions on the scrap fabric to observe how the elastic thread interacts with different settings.
This practice ensures greater confidence and precision when you begin your actual sewing.
Start Sewing
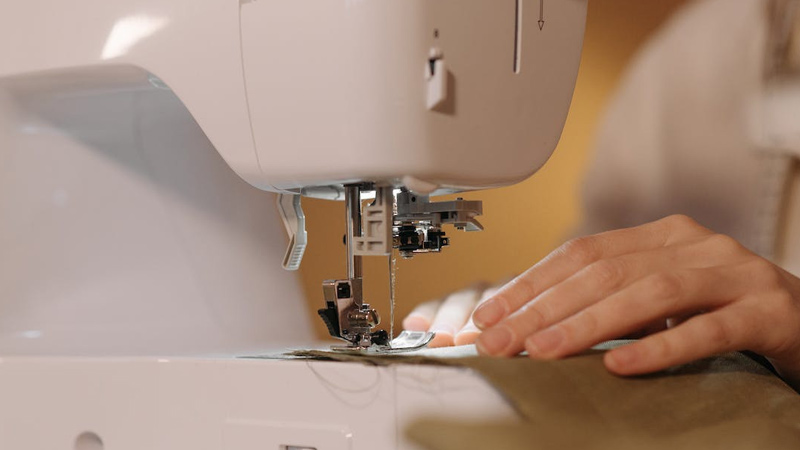
Once you’ve achieved the desired tension and stitch length on your practice fabric, transition to your actual project.
Keep in mind that elastic thread works best on lightweight to medium-weight fabrics. Start sewing, paying attention to the evenness of your stitches and the desired level of gathers.
Adjust the machine settings as needed while sewing to maintain consistent results throughout your project.
Secure the Ends
When you finish sewing, take extra care to secure the ends of the elastic thread. This can be done through backstitching or tying knots.
Securing the ends prevents the gathers from unraveling over time and ensures the longevity of your project.
Be attentive to this step, as the security of the elastic thread ends contributes significantly to the durability of your finished piece.
Be Patient
Sewing with elastic thread may present a learning curve, so patience is key. Understand that achieving the perfect result may require some experimentation with tension, stitch length, and even different types of elastic thread.
Don’t hesitate to go back and make adjustments if needed. With practice, you’ll become more adept at working with elastic thread and produce professional-looking, stretchable garments.
FAQs
What type of elastic thread is suitable for use in a Brother sewing machine?
Choose an elastic thread that complements your fabric and project needs. Opt for one recommended in your Brother sewing machine’s manual for compatibility.
Can I wind the elastic thread on the bobbin along with the regular thread?
No, the elastic thread is typically wound separately onto the bobbin.
Follow your machine’s manual for specific instructions on winding the elastic thread without combining it with regular thread.
Can I use elastic thread with any fabric weight?
Elastic thread works best with lightweight to medium-weight fabrics.
Experiment with scrap fabric to ensure the chosen elastic thread is suitable for the fabric you intend to use.
To Recap
Mastering the art of using elastic thread in a Brother sewing machine opens a gateway to creative sewing possibilities.
From selecting the right thread and winding the bobbin to adjusting tension and stitch length, this comprehensive guide empowers you to achieve stretchable, stylish results.
The importance of practice on scrap fabric cannot be overstated, allowing you to fine-tune settings and understand the nuances of elastic thread.
As you embark on sewing projects, securing the ends ensures the longevity of your creations.
Patience is key in this process, and with each stitch, you’ll gain confidence in transforming ordinary garments into comfortable, dynamic pieces with the unique properties of elastic thread.
Leave a Reply