In the world of sewing and crafting, preserving the integrity of fabric edges is paramount. Whether you’re a seasoned seamstress or a novice DIY enthusiast, the solution to unraveling threads lies in the versatile tool known as Fray Check.
This invaluable liquid seam sealant is a game-changer, preventing fraying and ensuring the longevity of your creations.
In this comprehensive guide, we’ll delve into the intricacies of how to use Fray Check effectively. From understanding its composition to step-by-step application techniques, you’ll gain insights into harnessing this tool for optimal results.
Say goodbye to frayed edges and hello to polished, unique, and professional finishes as we unravel the secrets of incorporating Fray Check into your sewing repertoire.
Let’s embark on a journey to elevate your fabric projects and unleash the full potential of this crafting essential.
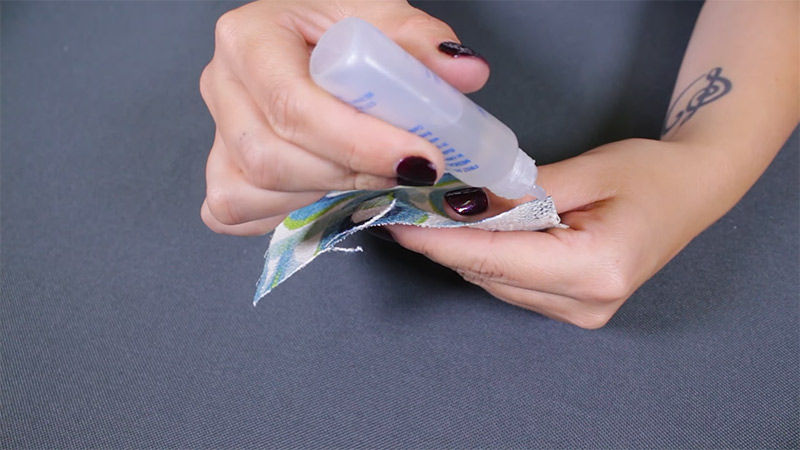
How to use Fray Check?
Let’s start by answering what is Fray Check in sewing. Fray Check is a liquid seam sealant widely used in sewing and crafting. Applied to fabric edges, it prevents fraying and secures seams, enhancing the longevity of projects.
Fray Check offers a solution to the persistent issue of fraying fabric edges. Here’s all about Fray Check, how to use it, and the easiest Fray Check instructions:
Gather Your Supplies
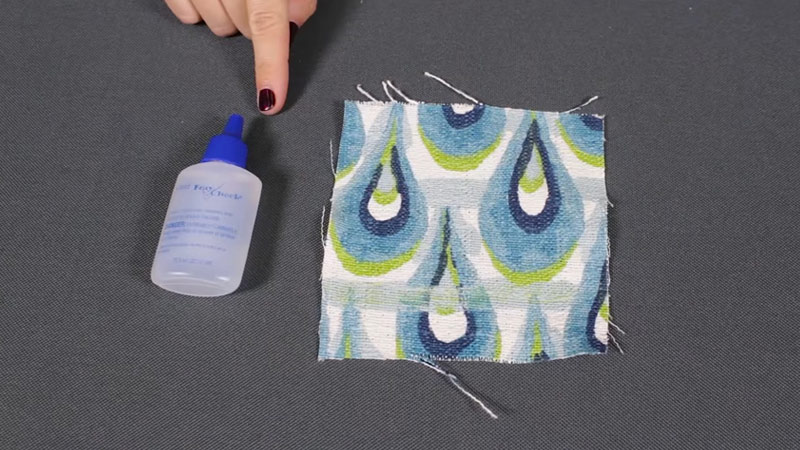
Before diving into the application process, gather your supplies. You’ll need the fabric or item you want to treat, Fray Check, and a steady work surface. Ensure your workspace is well-ventilated, as Fray Check has a distinct odor.
Test on Scrap Fabric
To avoid any surprises, always test Fray Check on a scrap piece of the same fabric you intend to use it on. Apply a small amount to the edge, let it dry, and observe the result. This preliminary test ensures compatibility and helps you understand how the fabric will react to the product.
Prepare the Main Fabric
Ensure the fabric is clean and dry before applying Fray Check. If you’re working on a finished garment, it’s advisable to apply Fray Check before cutting and stitching to prevent fraying in the first place.
Identify Fray-Prone Areas
Carefully inspect the fabric to identify areas prone to fraying, such as raw edges or seams. These are the spots where Fray Check will be most beneficial. Common areas include hems, buttonholes, and edges of appliqué pieces.
Before use, shake the Fray Check bottle well. This ensures that the product is thoroughly mixed, providing consistent results.
Apply Fray Check
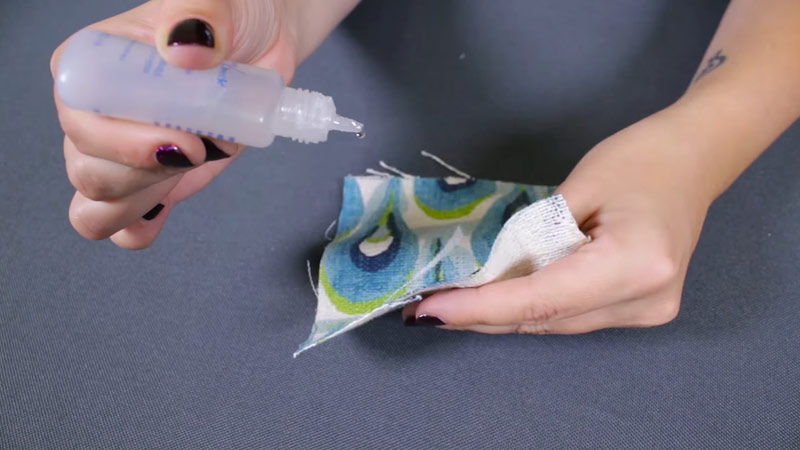
With a steady hand, gently squeeze the Fray Check bottle, allowing a small amount to flow onto the fabric’s edge. The precision applicator tip facilitates accurate application. Apply Fray Check sparingly – a little goes a long way.
Spread and Seal
Use a small brush or the applicator tip to spread the Fray Check evenly along the fabric edge. Ensure that the entire fraying-prone area is covered. Fray Check dries clear, so don’t worry about it altering the appearance of your fabric.
Let it Dry
Allow the treated area to dry completely before handling the fabric. But do you know how long does Fray Check takes to dry? The drying time can vary, but it typically takes 15 to 30 minutes. For best results, leave it undisturbed during this time.
Check for Residue
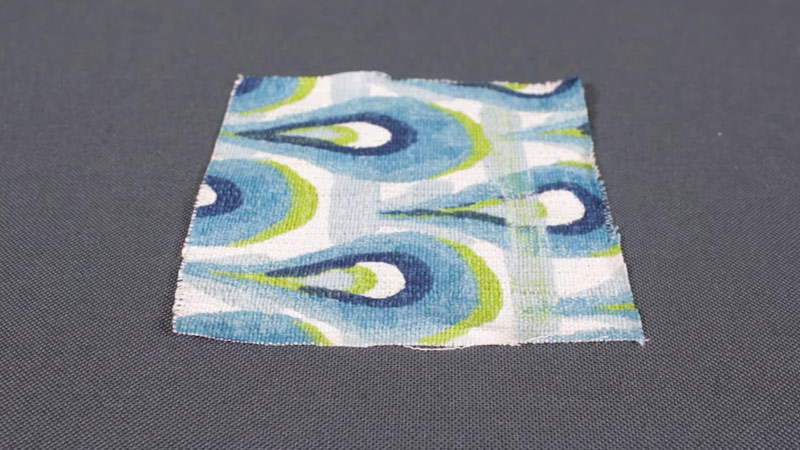
After drying, inspect the treated area for any residue. If you notice a white film or residue, it means you’ve applied too much Fray Check. Don’t worry; you can easily remove excess residue with a damp cloth or by carefully scraping it off.
Washing Instructions
Fray Check creates a flexible seal, making your fabric machine-washable. However, it’s advisable to wait at least 24 hours after application before washing the fabric. Follow the care instructions on the Fray Check bottle for the best results.
Additional Tips and Considerations
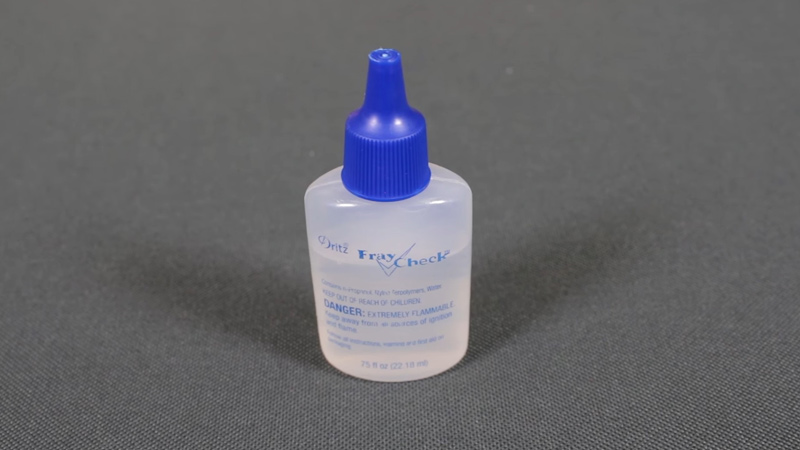
Apply Fray Check with precision, especially on delicate fabrics. Use it sparingly to avoid stiffening the material.
Keep the Fray Check bottle tightly sealed when not in use and store it in a cool, dry place. This ensures the longevity of the product.
Is Fray Check Permanent?
One common question we get about Fray Checks includes ‘does fray check wash out or it’s permanent?’ When applied correctly, Fray Check establishes a strong and flexible bond with the fabric, offering protection against normal wear and tear.
It is designed to withstand typical usage and provides a reliable solution for preventing fraying.
Machine Washability and Laundering
Fray Check is machine washable, allowing treated fabrics to be laundered once the product has fully dried. However, it is advisable to wait at least 24 hours before washing to ensure complete curing and maximize the effectiveness of the seal.
Durability Factors
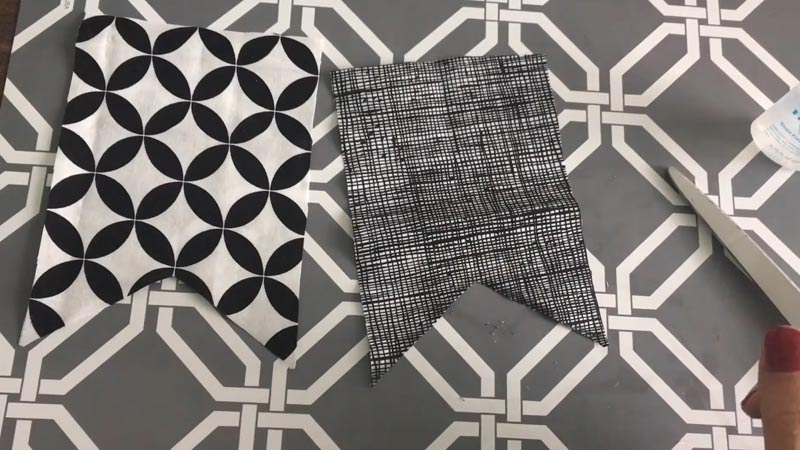
The durability of Fray Check can be influenced by external factors such as exposure to harsh solvents, heavy-duty industrial washing, or extended friction. While effective under regular conditions, these factors may contribute to a gradual reduction in the effectiveness of the Fray Check seal.
Reapplication Considerations
In cases of heavy stress or friction on the treated fabric, such as constant rubbing or pulling, there’s a possibility that the Fray Check seal may wear off over time. Reapplication may be necessary to reinforce fabric edges and maintain the effectiveness of the seal.
Notable Limitations
While Fray Check is a valuable tool in preventing fraying, it is not a permanent alteration to the fabric. It may not withstand extremely harsh conditions or heavy industrial processes. Regular care and appropriate laundering practices contribute to prolonging the integrity of the Fray Check seal.
How to Use Dritz Fray Check?
Dritz Fray Check is your go-to solution for preserving fabric edges and preventing unraveling in sewing and crafting projects. To make the most of this indispensable tool, follow these simple steps:
Preparation is Key
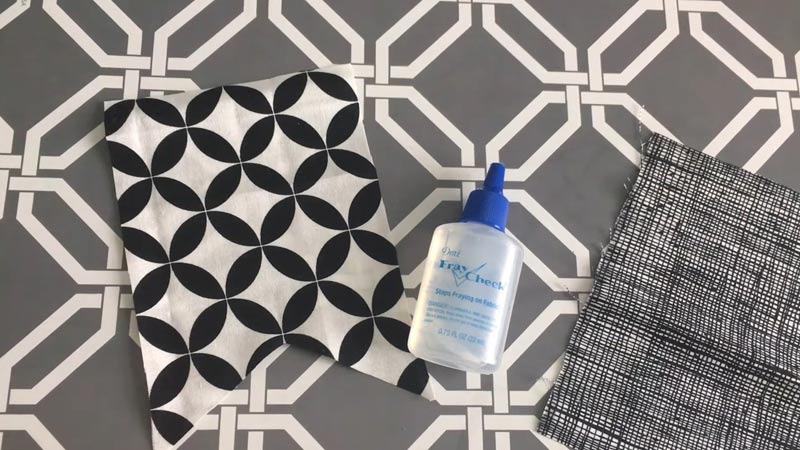
Before applying the Dritz Fray Check, ensure your fabric is clean and dry. Identify areas prone to fraying, such as raw edges or seams, and lay your fabric on a stable work surface.
Testing for Compatibility
To avoid surprises, conduct a preliminary test on a scrap piece of the same fabric. Apply a small amount of Dritz Fray Check to the edge, let it dry, and observe how the fabric reacts. This ensures compatibility and sets the stage for success.
Shake Well
Give the Dritz Fray Check bottle a good shake. Proper mixing ensures uniform application and consistent results. The liquid formula is ready to tackle fraying with precision.
Precise Application
Using the precision applicator tip, squeeze a small amount of Dritz Fray Check onto the fabric’s edge. Apply sparingly – a little goes a long way. The precision tip allows for accurate application, minimizing the risk of overuse.
Evenly Spread the Sealant
With a small brush or the applicator tip, spread the Dritz Fray Check evenly along the fabric edge. Ensure thorough coverage of the fraying-prone area. The clear formula dries transparent, seamlessly integrating with your fabric.
Ensuring Proper Drying
Patience becomes a crucial virtue when it comes to allowing the Dritz Fray Check to dry thoroughly. The treated area demands uninterrupted drying time, and it’s essential to resist the temptation to handle the fabric prematurely.
This phase is not just about the clock; it’s about providing the sealant the time it needs to establish a robust and lasting bond with the fabric.
Understanding Drying Times
The recommended drying times for Dritz Fray Check typically fall within the range of 15 to 30 minutes. While this duration may seem brief, it ensures that the fabric undergoes the complete curing process, maximizing the effectiveness of the seal.
Keep in mind that factors such as ambient humidity and temperature can influence drying times, so adherence to the suggested duration is essential for optimal results.
Undisturbed Fabric
During the drying period, leaving the fabric undisturbed is paramount. Any handling or manipulation during this crucial phase could compromise the integrity of the seal.
By allowing the fabric to rest untouched, you contribute to the seamless integration of Dritz Fray Check with the fibers, promoting a strong and resilient bond.
Inspecting for Excess Residue
After the designated drying period, a meticulous inspection of the treated area is the next step. If, upon examination, you observe a white film or excess residue, it indicates that too much Dritz Fray Check was applied. However, there’s no cause for alarm; this situation is easily rectifiable.
Gentle Removal of Excess Residue
In the event of excess residue, a gentle approach is key. Using a damp cloth, carefully wipe away the surplus Fray Check. Alternatively, employ careful scraping to remove any residual film.
This step ensures that only the necessary amount of Fray Check remains, preventing any potential stiffness in the fabric while maintaining the efficacy of the seal.
Final Assurance
This meticulous approach to drying and residue inspection adds a final layer of assurance to your crafting endeavors.
By adhering to the recommended drying times and delicately managing any excess residue, you not only enhance the visual appeal of your project but also guarantee that Dritz Fray Check fulfills its role in securing fabric edges with precision and finesse.
Dritz Fray Check creates a flexible seal, rendering your fabric machine-washable. However, it’s wise to wait at least 24 hours post-application before washing. Follow the care instructions on the Dritz Fray Check bottle for best results.
FAQs
Is Dritz Fray Check Permanent on Fabric?
Dritz Fray Check is not permanent but creates a durable seal. Factors like washing and exposure to harsh conditions can influence its longevity. Regular care enhances its effectiveness.
Can I Use Dritz Fray Check on Delicate Fabrics?
Yes, Dritz Fray Check is versatile and suitable for delicate fabrics. Apply it sparingly with precision to prevent stiffness while effectively securing edges.
How Long Does Dritz Fray Check Take to Dry?
Drying time for Dritz Fray Check typically ranges from 15 to 30 minutes. Patience is essential to ensure a thorough and effective seal.
Can I Machine Wash Fabric Treated with Dritz Fray Check?
Yes, Dritz Fray Check creates a flexible seal, making treated fabric machine-washable. Wait at least 24 hours post-application for optimal results.
Can I Apply Dritz Fray Check After the Fabric is Finished?
Absolutely! While pre-application is common, Dritz Fray Check can be applied to finished items to reinforce seams or prevent further fraying, offering versatility in your crafting projects.
Conclusion
Mastering the application of Fray Check opens a world of possibilities for seamless and enduring fabric projects. As we wrap up this guide, remember that a small investment in this liquid gem can go a long way in preserving the beauty and functionality of your creations.
By following the techniques outlined here, you empower yourself to tackle fraying issues with confidence, ensuring that your stitches stand the test of time.
So, whether you’re hemming garments, working on intricate quilts, or engaging in any fabric-based endeavor, make Fray Check your steadfast ally. The satisfaction of neatly finished edges and the assurance of long-lasting craftsmanship await you.
As you embrace the art of using Fray Check, you’re not only ensuring the longevity of your work but also opening up a realm of possibilities for innovative and enduring craftsmanship.
Leave a Reply