Sewing patterns are the blueprints that bring fabric to life, enabling you to craft garments and creations precisely. Understanding how to use them is essential for any aspiring or seasoned sewist.
These templates guide every step of the sewing process, from choosing fabric and taking measurements to cutting, assembling, and finishing.
With the right pattern, you can create tailored pieces that fit like a glove or explore your creativity with unique designs.
This guide will walk you through the art of using sewing patterns, offering practical tips and insights to help you master this fundamental aspect of sewing.
What Are Sewing Patterns?
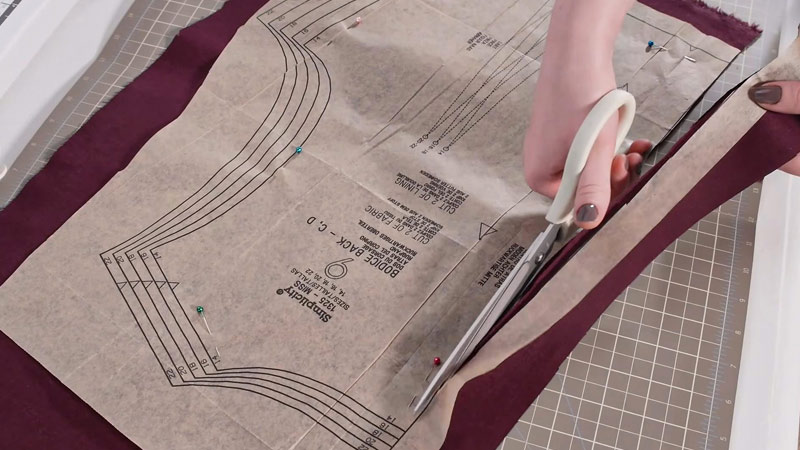
Sewing patterns are templates or guides used in garment and textile construction. They provide precise measurements, shapes, and instructions to create specific clothing or fabric items.
Typically made of paper, patterns contain detailed outlines for cutting fabric pieces and indicate where seams, darts, and other design elements should be placed.
They also offer valuable information on fabric type, layout, and construction techniques. Patterns cater to various skill levels, from beginners to advanced sewers, and encompass various styles and sizes.
Following a pattern’s instructions, individuals can produce custom-made clothing, accessories, and home decor items, allowing for personal expression and creativity in sewing projects.
How to Use Sewing Patterns?
Using sewing patterns is crucial for anyone interested in making their clothing or home decor items. Sewing patterns are templates that guide you in cutting and sewing fabric pieces together to create a specific garment or item.
Whether you’re a beginner or an experienced seamstress, here’s a comprehensive guide on how to use sewing patterns effectively:
Requirements:
- Fabric.
- Sewing machine with the appropriate needles and thread.
- Pins and clips to hold fabric pieces together.
- Scissors for cutting fabric.
- A tape measure.
- A marking tool.
- Iron and ironing board for pressing seams.
Choose the Right Pattern
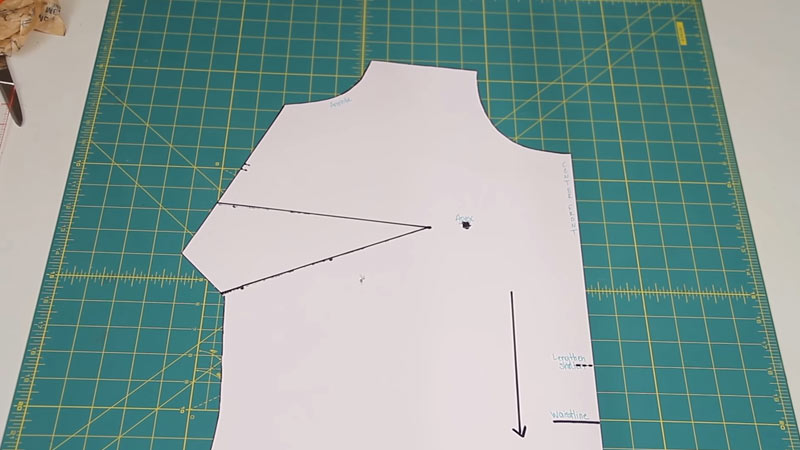
Selecting the appropriate sewing pattern is akin to setting the foundation for your project. Consider your skill level and the style and purpose of the item you’re creating.
Beginners might succeed in patterns labeled as “easy” or “beginner-friendly,” while those with more experience can venture into more intricate designs.
Gather Your Supplies

Beyond the pattern and fabric, ensure you have all the necessary tools.
This includes a selection of sewing needles suitable for your fabric, thread of the appropriate color and type, pins or clips to hold pieces in place, and quality fabric scissors. Having various presser feet for your sewing machine can also be beneficial.
Prepare Your Workspace
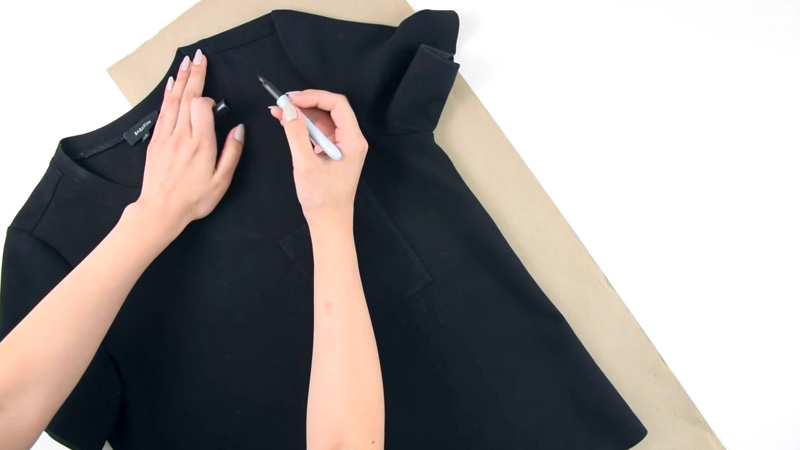
A well-organized and clutter-free workspace is like a blank canvas for your sewing project. Adequate lighting is crucial for accurate cutting and stitching.
Additionally, having a stable surface to work on, such as a sewing table or a cleared-off dining table, sets the stage for a smooth and enjoyable sewing experience.
Take Accurate Measurements
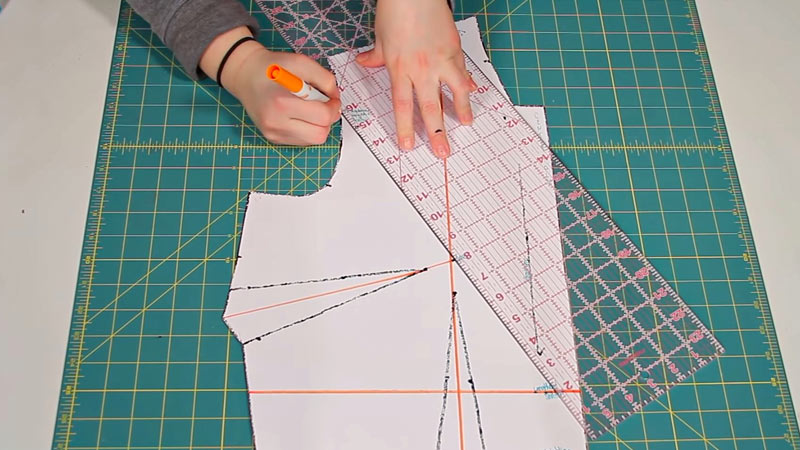
Precision in measurement is the cornerstone of a well-fitting garment. For clothing projects, measuring the intended wearer accurately is advisable, considering not only bust, waist, and hip circumference, but also shoulder width and arm length. Always refer to the pattern’s size chart to ensure the correct size is being cut.
Cut Out the Pattern Pieces
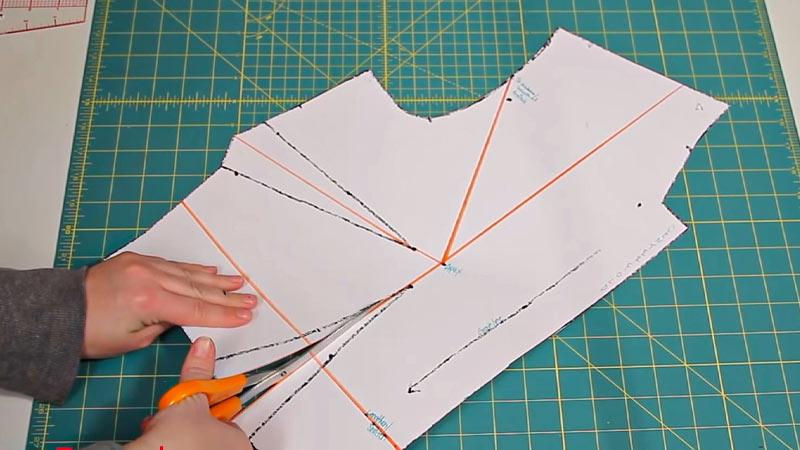
Care and attention during the cutting process ensure that your fabric pieces align perfectly during assembly. Take your time to position the pattern pieces according to the layout diagram provided.
Using sharp fabric scissors or a rotary cutter, follow the lines precisely for clean and accurate cuts.
Transfer Markings
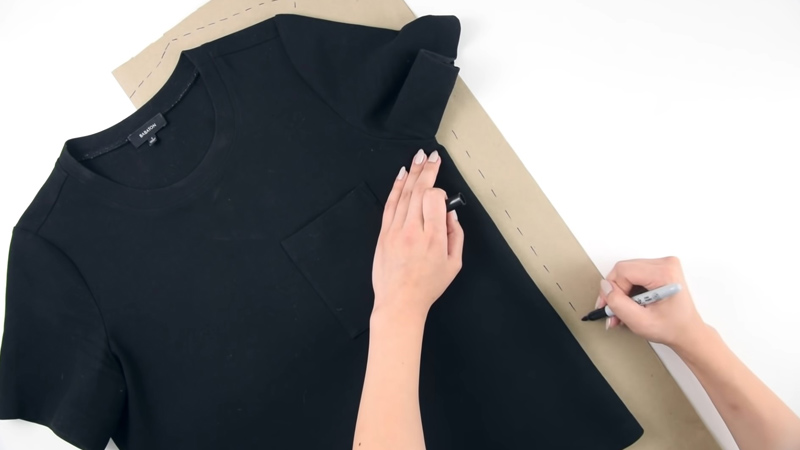
The process of transferring markings is a vital step often overlooked by beginners. Yet, these markings guide the precise assembly of your garment.
Using a marking tool, such as tailor’s chalk or disappearing ink, make clear and accurate indications for darts, notches, and any specific details the pattern outlines.
Follow the Instructions
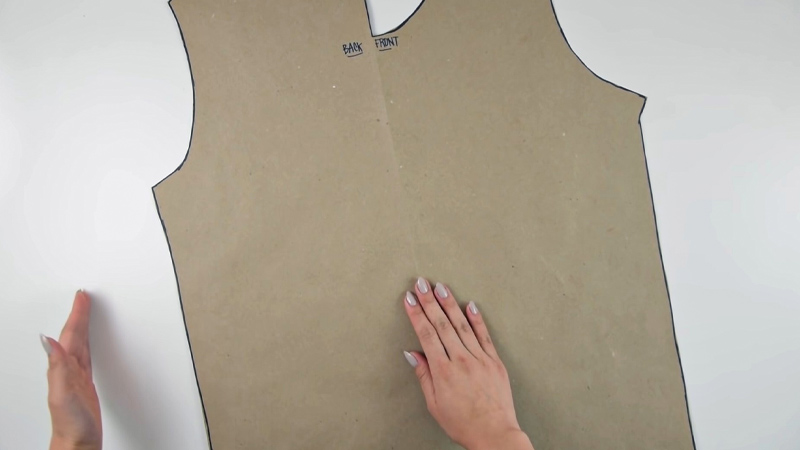
Pattern instructions are like a roadmap for your project. Take the time to read through them thoroughly before beginning.
Each pattern may introduce unique techniques or methods, so having a clear understanding of the steps involved will significantly contribute to the success of your project.
Sew and Assemble
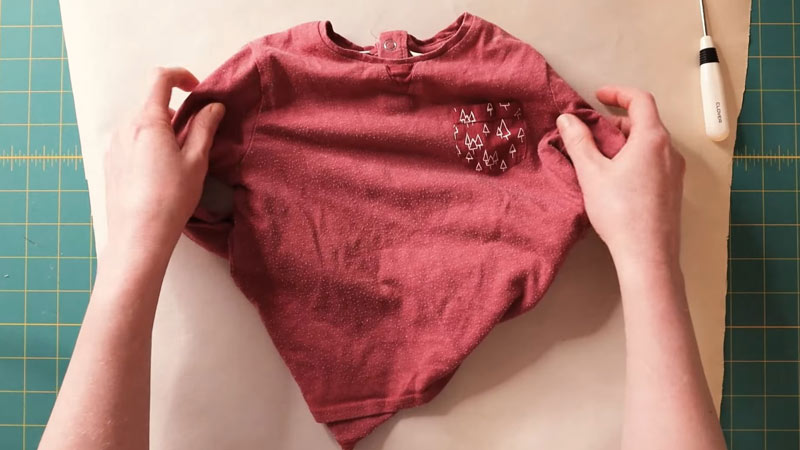
As you begin to sew, be mindful of the indicated seam allowances. These are typically 1/2 inch or 5/8 inch and contribute to your garment’s overall fit and structure.
Secure your seams with backstitches or reverse stitches at both the beginning and end, providing extra durability.
Press Seams
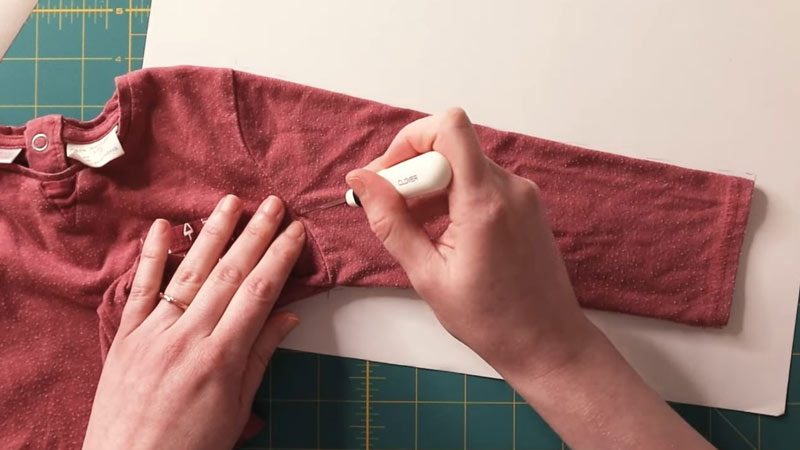
Properly pressing seams is the key to achieving a professional finish. A well-heated iron, adjusted to the appropriate setting for your fabric, is indispensable.
Take care to press open or to one side as the pattern directs, maintaining even pressure and avoiding any stretching or distortion.
Finish Edges
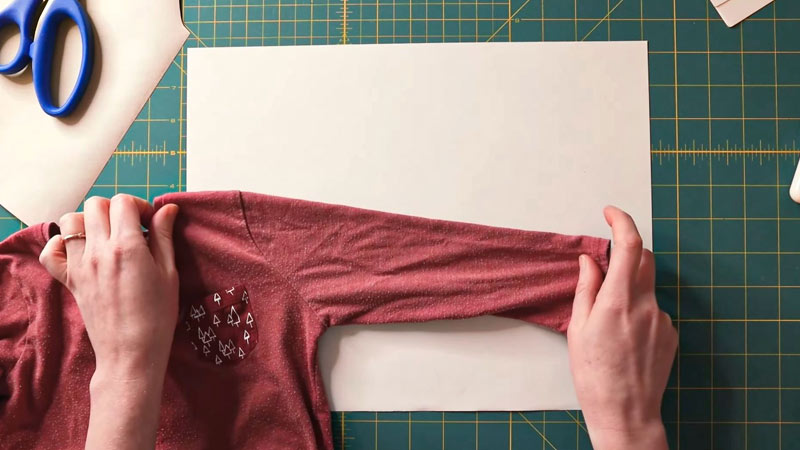
The finishing of raw edges prevents fraying and imparts a clean and polished appearance to your project.
Choose an appropriate technique like serging, zigzag stitching, or binding, depending on the fabric. This step significantly contributes to the longevity and aesthetic appeal of your creation.
Hem and Closure
Hemming and adding closures are critical finishing touches. The hem you choose will depend on the garment, ranging from a basic double-fold hem to more advanced techniques like blind hems.
Similarly, follow the pattern’s instructions for attaching closures such as buttons, zippers, or snaps, ensuring they are secure and functional.
Try On and Make Adjustments
For garments, trying on your creation is pivotal in ensuring the fit is just right. Take note of any areas needing adjustment, such as shortening a hem or taking in the sides. This attention to detail ensures a comfortable and well-fitting finished product.
Final Finishing
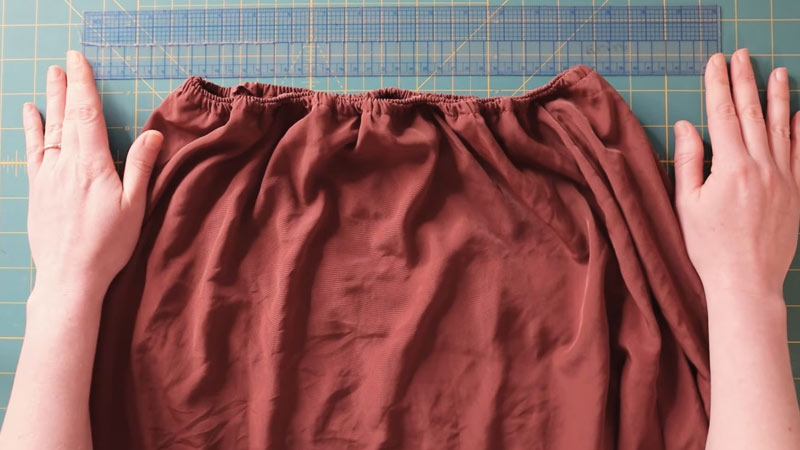
In this phase, meticulous attention to detail is paramount. Trim any loose threads, press any remaining seams, and secure all closures. This final step elevates your project from a homemade piece to a professional-looking creation.
Enjoy Your Creation
Bask in transforming raw materials into a functional, beautiful item.
Whether you’re wearing a garment you’ve painstakingly crafted or admiring a new addition to your home decor, take a moment to revel in the accomplishment of your creativity and skill.
Variations of Sewing Pattern
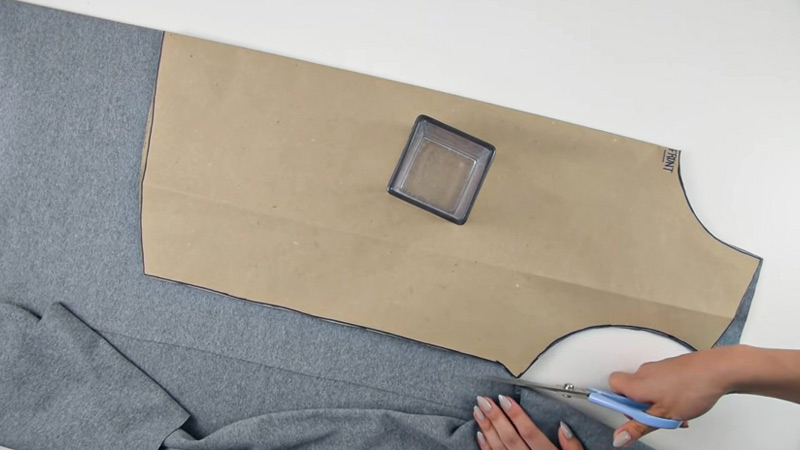
Sewing patterns come in various forms, each tailored to specific preferences, skill levels, and project types.
Here are some common variations of sewing patterns:
Printed Paper Patterns
Printed paper patterns are the traditional format of sewing patterns. They come in large sheets of paper with the pattern pieces printed.
These patterns are typically packaged in envelopes and include instructions for cutting and sewing the fabric pieces together. Printed paper patterns are widely available and are often produced by commercial pattern companies.
Vintage Patterns
Vintage patterns are sewing patterns from previous eras. They may no longer be in production and can be considered collector’s items.
Vintage patterns offer unique styles and design elements that reflect the fashion of their respective periods. These patterns can be found in secondhand stores, online marketplaces, and specialized vintage pattern shops.
Multi-Size Patterns
Multi-size patterns include multiple nested sizes on a single pattern sheet.
This allows sewers to blend between sizes to achieve a customized fit easily. It provides flexibility for adjusting the pattern to suit individual body measurements.
Envelope Patterns
Envelope patterns are conventional sewing patterns that are sold in stores. They are typically packaged in large envelopes and contain the pattern pieces, along with detailed sewing instructions.
The envelope often features a picture of the finished item to give sewers an idea of what the project will look like.
Individual Pattern Pieces
Some sewing resources offer individual pattern pieces for specific design elements, such as sleeves, collars, or pockets. These pieces can be used to customize or modify existing patterns or to create entirely new designs.
Digital Sewing Apps
Innovative sewing apps and software platforms offer digital tools for creating custom-fit patterns.
These tools use measurements to generate digital pattern pieces that can be printed or used directly in a digital environment. They offer advanced features for precise pattern customization.
Specialty Patterns
Specialty patterns cater to specific niches within sewing, such as historical reenactment, cosplay, dancewear, or maternity wear. These patterns often have unique design features tailored to their intended use.
Troubleshooting Common Issues
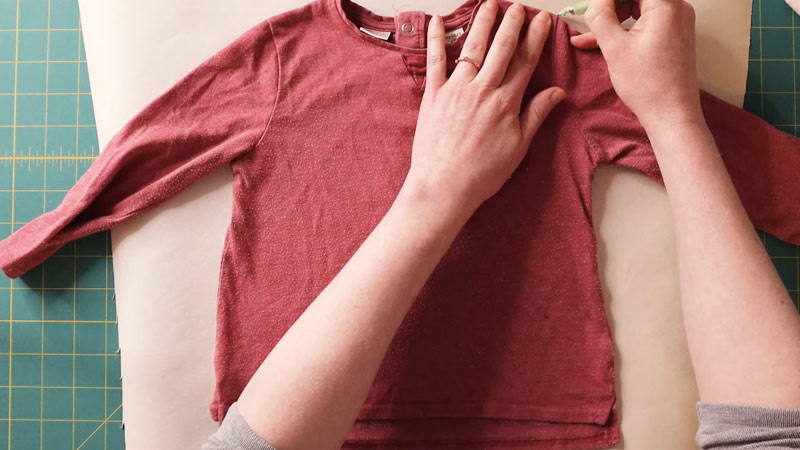
Using sewing patterns is a valuable skill in garment and textile creation. However, like any craft, it has its fair share of challenges.
Let’s explore some common issues that sewers may encounter when working with sewing patterns and how to troubleshoot them effectively:
Pattern Sizing Issues
One of the most common challenges is choosing the correct pattern size. If the finished garment is too big or too small, it’s likely due to incorrect sizing.
Always refer to the pattern’s size chart and take accurate measurements. If you fall between sizes, consider blending to achieve a better fit.
Pattern Layout
Incorrectly laid-out pattern pieces or inaccurate cutting can lead to misaligned seams and fit issues.
Always double-check the layout diagram provided with the pattern, and take your time when cutting. Ensure the fabric grain is aligned as specified.
Notches and Marking Misalignment
Notches and markings are essential for matching up pattern pieces during assembly.
If they don’t align correctly, it can result in twisted seams or misshapen garments. Carefully transfer these markings to your fabric and ensure they correspond when sewing.
Sewing Machine Tension Problems
Uneven or inconsistent tension in your sewing machine can lead to unsightly stitches and fabric puckering.
Regularly clean and maintain your sewing machine, and practice sewing on a scrap fabric piece to adjust the tension correctly for your project.
Misinterpretation of Instructions
Misunderstanding or misinterpreting pattern instructions can result in construction errors. Read the instructions thoroughly before starting and seek clarification if any steps are unclear.
Sometimes, reviewing online tutorials or seeking help from more experienced sewers can provide additional guidance.
Difficulty with Pattern Modifications
If you intend to make alterations or modifications to the pattern, such as adjusting the length or fit, it’s essential to plan these changes carefully.
Consider creating a muslin or test garment to assess the modifications before cutting into your final fabric.
Pattern Matching and Fabric Selection
Matching patterns, stripes, or plaids on your fabric can be challenging but is essential for a professional-looking result. Invest time carefully aligning pattern pieces and ensuring your fabric choices suit the design.
Finishing and Hemming Issues
Achieving clean and well-executed finishes, such as hems and seam allowances, can be tricky.
Practice these techniques separately before attempting them on your project, and consider investing in specialized sewing machine presser feet, like a blind hem foot or a walking foot, for better results.
Care and Storage of Patterns
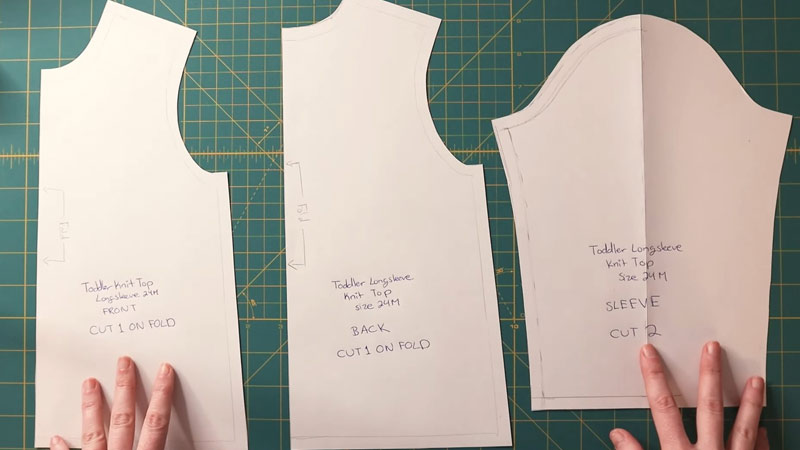
Proper care and storage of sewing patterns are essential for ensuring they remain in good condition and can be used for future projects.
Here are some tips on how to care for and store your sewing patterns:
Keep Patterns Clean and Dry
It’s important to store patterns in a clean and dry environment. If a pattern does get dirty, gently wipe it with a clean, dry cloth. Avoid using liquids or cleaning agents, as they can damage the paper.
Store Patterns in Protective Sleeves
Clear plastic sleeves or envelopes provide an added layer of protection. They shield patterns from dust, spills, and accidental tears.
Additionally, these sleeves make it easy to see the pattern without removing it from its protective covering.
Use Pattern Weights Instead of Pins
Pattern weights, such as heavy metal objects or specially designed sewing weights, are excellent alternatives to pins.
They securely hold down pattern pieces without leaving holes or marks in the paper, ensuring the pattern remains intact and usable for future projects.
Make Copies for Repeated Use
Consider making a copy when planning to use a pattern multiple times, especially if it’s a favorite or a go-to design. Transferring the original pattern onto sturdier paper or even thin cardboard ensures that the original remains pristine for as long as possible.
Label and Organize Pattern Pieces
Clear labeling of pattern pieces is essential. Use a fine-tip pen or pencil to mark each piece with its corresponding letter or number. Organize the pieces neatly, and consider using labeled envelopes or bags to keep them together and prevent any from going missing.
Keep Patterns Flat and Unfolded
To maintain the integrity of patterns, store them flat and unfolded. Avoid creases and folds, as these can weaken the paper and make it more susceptible to tearing. Invest in large, flat storage containers or flat-file cabinets designed for pattern storage if necessary.
Store Patterns in a Cool, Dry Place
Proper environmental conditions are crucial for preserving patterns. Avoid storing them in basements, attics, or other areas prone to dampness. A climate-controlled space with moderate temperature and humidity levels is ideal.
Avoid Direct Sunlight
Prolonged exposure to sunlight can lead to fading and deterioration of patterns. To prevent this, choose a storage location shielded from direct sunlight. If patterns are displayed, consider rotating them periodically to ensure even exposure.
Use Acid-Free Paper for Tracing
When making copies or tracings of patterns, opt for acid-free paper. This type of paper is less likely to yellow or deteriorate over time. It provides a stable surface that ensures the accuracy and longevity of your copied patterns.
FAQs
What is a sewing pattern?
A sewing pattern is a template or guide that provides instructions and markings for cutting and assembling fabric pieces to create a specific design, such as a garment or textile project.
How do I choose the right size pattern?
Refer to the pattern’s size chart and take accurate body measurements. If you fall between sizes, consider blending them for a custom fit.
What should I do if the pattern pieces don’t align correctly?
Check that you’ve accurately transferred markings and notches to your fabric. Carefully review the layout diagram provided with the pattern for proper placement.
Can I modify a sewing pattern to fit my specific measurements?
Yes, patterns can be adjusted for a custom fit. Techniques like grading between sizes, adding or subtracting length, and making bust or waist adjustments can be employed.
How can I prevent my sewing pattern from getting damaged over time?
Store patterns flat, unfolded, and in a cool, dry place. Use protective sleeves or envelopes to shield them from dust and moisture.
Wrap Up
Mastering sewing patterns opens a world of creative possibilities, allowing you to transform fabrics into personalized, well-fitting garments and projects.
With attention to detail, accurate measurements, and practice, you’ll refine your skills in choosing, cutting, and assembling patterns.
As you progress, the process will become second nature, enabling you to tackle more complex designs. Patience is key, and each project is an opportunity to learn and grow.
So, whether crafting everyday wear or one-of-a-kind creations, sewing patterns empower you to express your unique style and bring your imaginative visions to life, stitch by stitch. Embrace the journey and let your creativity soar.
Leave a Reply