The shirring foot, a remarkable tool in the world of sewing, offers endless creative possibilities for fabric manipulation.
This specialized sewing machine attachment enables you to create delicate gathers, pleats, and decorative ruching, transforming plain fabrics into art.
This guide will explore the essential techniques for effectively using a shirring foot.
From fabric selection to mastering tension settings, from creating perfectly spaced stitching lines to securing the gathers, each step plays a crucial role in achieving the desired shirred effect.
Whether you’re a novice or an experienced seamstress, understanding how to harness the power of the shirring foot will elevate your sewing projects to new heights of elegance and style.
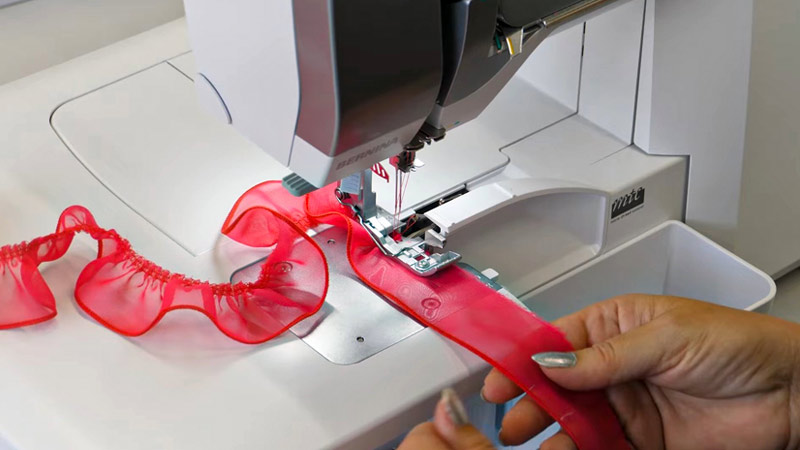
What Is Shirring Foot?
A shirring foot is a specialized sewing machine attachment designed to facilitate shirring in sewing projects.
Shirring involves creating small, controlled gathers or pleats in fabric, typically using elastic thread. The shirring foot aids in evenly spacing and guiding the elastic thread as it’s sewn into the fabric.
The shirring foot has a unique channel or guide that allows the elastic thread to pass smoothly while the fabric is stitched.
This ensures that the elastic thread is evenly distributed, creating consistent gathers. Without a shirring foot, achieving precise and even shirring can be more challenging and time-consuming.
It’s an invaluable tool for various sewing projects, especially when creating clothing items like dresses, blouses, or skirts and decorative elements on home textiles.
Using a shirring foot can add texture, elasticity, and a decorative touch to garments and fabric projects.
Step-By-Step Guide on How to Use a Shirring Foot?
A shirring foot is a specialized sewing machine accessory designed to make shirring or gathering fabric easier and more precise.
Shirring involves creating multiple rows of gathered fabric using elastic thread, giving a decorative and stretchy effect.
Here’s a step-by-step guide on how to use a shirring foot:
Materials You’ll Need:
- Sewing machine with a shirring foot attachment.
- Elastic thread.
- Fabric of your choice.
- Regular thread matching your fabric.
- Bobbin loaded with regular thread.
Steps to Use a Shirring Foot:
1. Thread Your Sewing Machine
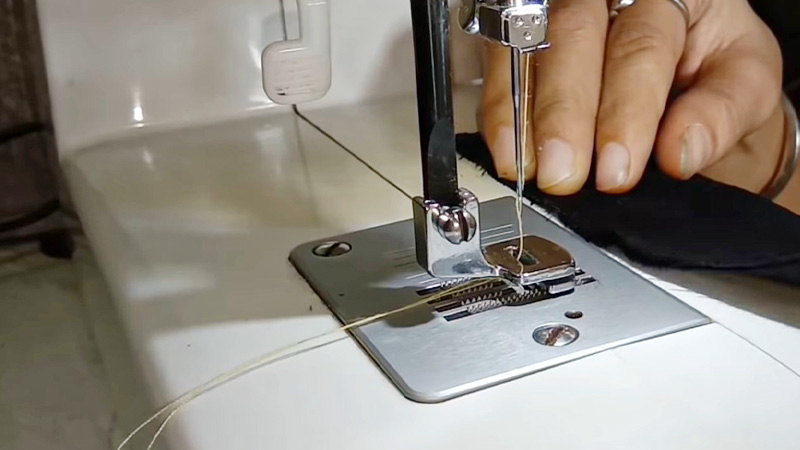
Ensure that the regular thread is securely threaded through the machine’s needle. Follow the threading guide in your machine’s manual to avoid potential issues. Ensure the thread is properly seated in the tension disks and take-up lever.
2. Install the Shirring Foot
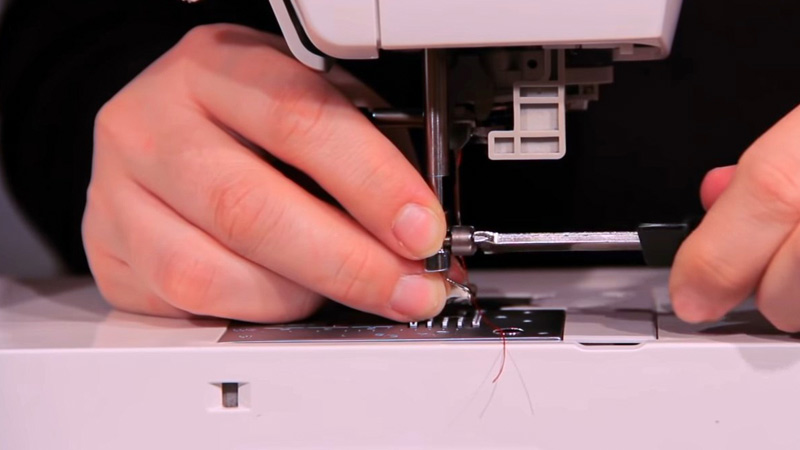
Attach the shirring foot by loosening the presser foot screw and placing the shirring foot in position. Tighten the screw to secure it in place. Ensure it’s seated properly so the fabric feeds smoothly under the foot.
3. Load Elastic Thread

Wind the elastic thread onto the bobbin carefully. It’s crucial to wind it slowly and evenly, as the elastic thread tends to stretch. Ensure it’s not wound too tightly or loosely to prevent any issues while sewing.
4. Adjust Tension
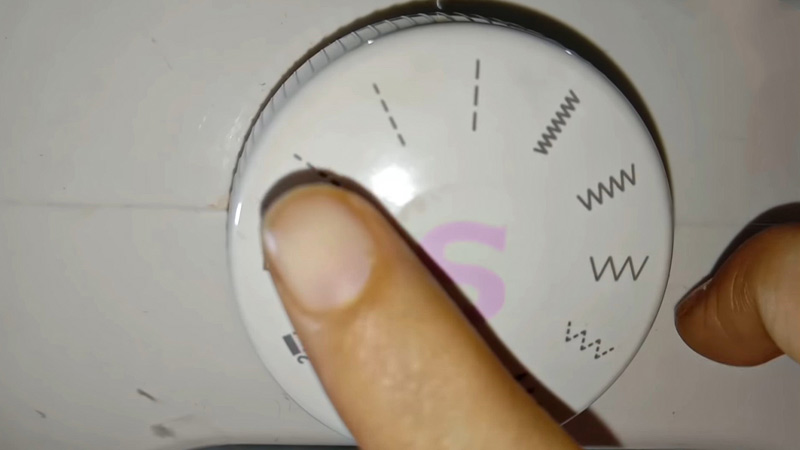
Fine-tune the bobbin tension as needed. Elastic thread requires a slightly different tension setting than regular thread. Gradually adjust the tension and test on a scrap fabric until you achieve the desired shirring effect.
5. Set Stitch Length
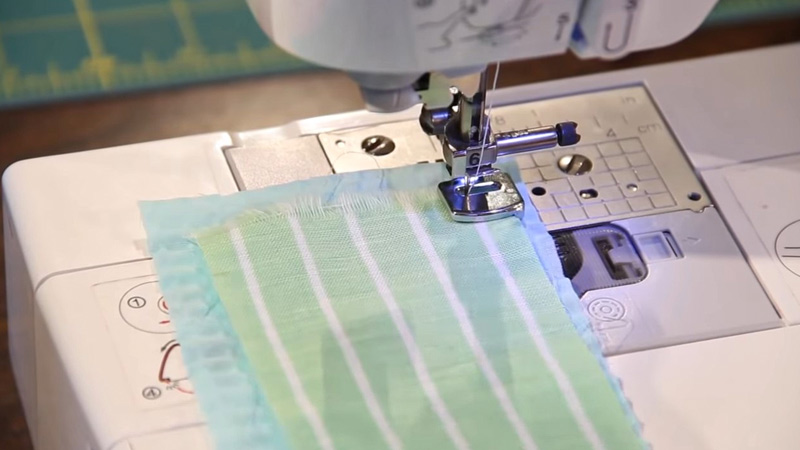
Opt for the longest straight stitch on your sewing machine. This length creates pronounced gathers. Remember that you won’t be backstitching; you’ll secure the threads manually later.
6. Mark Shirring Lines
Use fabric chalk or removable marking tools to create parallel lines where you want the shirring to be. These lines serve as guides and help maintain even spacing between the gathers.
7. Secure the Ends
Tie off the elastic thread tails using a secure knot. This ensures that the gathered fabric remains in place and doesn’t unravel. Consider using a surgeon’s knot for added security.
8. Trim Excess Threads
Use small, sharp scissors to carefully trim any excess thread tails, being cautious not to cut into the shirred fabric. This step gives your project a clean, finished appearance.
9. Press the Fabric
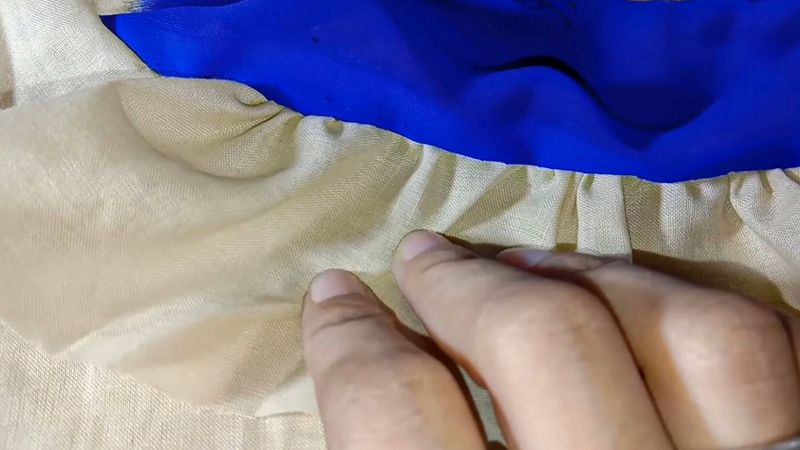
Set your iron to a low heat setting and gently press the shirred fabric. Use a pressing cloth to protect delicate fabrics. Pressing sets the gathers and gives your project a polished, professional look.
Tips for Using Shirring Foot
Here are some helpful tips for using a shirring foot:
Choose the Right Fabric
Opt for lightweight, natural fabrics like cotton or chiffon when using a shirring foot. These materials gather well and provide a beautiful drape that complements the shirred effect.
Select Quality Elastic Thread
Invest in a high-quality elastic thread that’s compatible with your sewing machine. Ensure it’s relatively new and in good condition, as the old or brittle elastic thread may break during sewing, leading to uneven gathers.
Practice on Scrap Fabric
Before starting on your main project, practice shirring on a scrap fabric. This helps you get accustomed to the tension settings and stitching speed needed for optimal results. It’s also an opportunity to fine-tune your technique.
Adjust Tension Settings
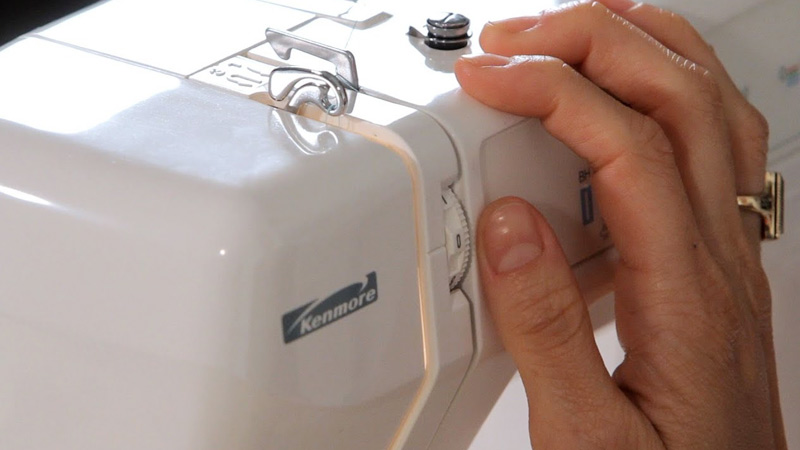
Experiment with your sewing machine’s tension settings for the upper thread and bobbin. Finding the right balance is crucial for achieving even gatherings. Take note of the adjustments that yield the best results for your specific machine and fabric.
Mind Stitch Length
Use a longer stitch length to create more pronounced gathers. This allows the fabric to bunch up evenly along the elastic thread. A longer stitch length also helps prevent the fabric from puckering or bunching in unwanted ways.
Mark Stitching Lines Clearly
Before you start sewing, mark your fabric with parallel lines where you want the shirring. These lines serve as guides, ensuring your gathers are evenly spaced. Consider using tailor’s chalk or disappearing ink pens for clear, temporary markings.
Start and Finish Smartly
Begin stitching a few centimeters away from the fabric edge, and avoid backstitching. Leaving long thread tails at the start and end helps adjust and secure the shirring. These tails can be tied off to ensure the gathers stay in place.
Evenly Distribute Gathers
After sewing, gently distribute the gathers along the stitching lines. Use your fingers to spread out the gathers evenly. This step ensures a uniform and visually appealing shirred effect.
Test Elasticity Before Cutting
Before trimming excess fabric or finishing seams, check the fit and stretch of the shirred section. This prevents accidental over-tightening, which could affect the overall fit of the garment.
Secure the Ends
Tie off the elastic thread tails at both ends of the shirring lines. This ensures that the gathers stay in place and won’t unravel, providing durability to your finished project.
Iron Gently on Low Heat
Once the shirring is complete, press the fabric gently with an iron on a low heat setting. Use a pressing cloth or scrap fabric between the iron and your shirred fabric to prevent any potential damage. This step helps set the gathers and gives a polished finish to your project.
Experiment and Have Fun
Don’t be afraid to try shirring on different fabrics and with varying densities. It’s a versatile technique that can add a unique touch to various sewing projects. Explore different patterns and styles to find the best for your creative vision.
FAQs
What is a shirring foot, and how does it work?
A shirring foot is a sewing machine attachment that aids in creating gathers or shirring in fabric using elastic thread. It guides the elastic thread through a channel while sewing, resulting in evenly spaced gathers.
Can I use any fabric with a shirring foot?
While lightweight, natural fabrics like cotton and chiffon work best, you can experiment with various fabrics. Keep in mind that some fabrics may yield different shirring effects.
Do I need a special elastic thread for shirring?
Yes, you should use elastic thread specifically designed for sewing. The regular thread won’t provide the necessary stretch for shirring.
Why is adjusting tension important when using a shirring foot?
Tension adjustments help control the gathering effect. Incorrect tension can lead to uneven gathers or broken elastic thread.
Can I use a shirring foot for other sewing techniques?
While primarily designed for shirring, a shirring foot can also be used for decorative stitching and smocking. It’s a versatile tool for adding texture and dimension to your sewing projects.
To Wrap Up
Mastering the art of using a shirring foot opens up a world of creative possibilities in sewing.
By selecting the right fabric, ensuring quality elastic thread, and practicing on scrap material, you lay the foundation for successful shirring.
Tension adjustments, appropriate stitch length, and clear stitching lines are pivotal for even gathers.
Starting and finishing strategically, distributing gathers evenly, and testing elasticity before cutting ensure a flawless result. Securing the ends and a gentle press with an iron add the final touches.
Remember, experimentation is key; with practice, you’ll confidently incorporate shirring to enhance the elegance and versatility of your sewing projects.
Leave a Reply