Embarking on the journey to widen shirt sleeves is a practical and rewarding endeavor, offering a customized solution to enhance both comfort and style.
This step-by-step guide provides a comprehensive approach to altering shirt sleeves, addressing considerations from initial assessment to the final touches.
From determining the desired width, delicately removing existing seams, and attaching matching fabric strips, to the meticulous steps of sewing, trimming, and pressing, this process ensures a seamless transformation.
With optional refinements like finishing the edges, the result is a professionally tailored garment that not only fits snugly but also exudes a personalized touch.
Embrace this DIY adventure and witness the evolution of your shirt sleeves with newfound confidence and ease.
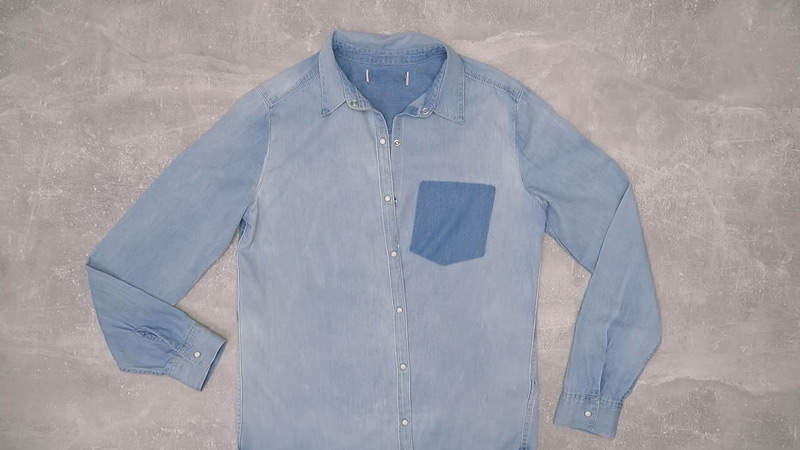
What Are Shirt Sleeves?
Shirt sleeves are the fabric coverings for the arms in a garment, typically extending from the shoulder to the wrist.
Available in various lengths, such as short, three-quarter, or long sleeves, they play a crucial role in defining a shirt’s style and functionality.
Short sleeves are casual and ideal for warm weather, while long sleeves offer formality and warmth.
Three-quarter sleeves strike a balance. Sleeves can vary in design, featuring cuffs, buttons, or decorative elements.
The fit and length of shirt sleeves contribute significantly to a garment’s overall comfort and aesthetic, allowing for diverse styles and adaptations to different occasions.
10 Steps on How to Widen Shirt Sleeves?
Widening shirt sleeves can be a relatively simple alteration that allows for increased comfort and a more stylish fit.
Whether you’ve outgrown your shirt, purchased one with sleeves that are too narrow, or simply prefer a looser fit, you need to know how to widen tight sleeves.
Here’s a step-by-step guide on how to widen shirt sleeves:
Materials Needed:
- Seam ripper or small scissors.
- Fabric.
- Matching thread.
- Measuring tape or ruler.
- Pins.
- Sewing machine or needle.
Step-by-Step Guide:
Step 1: Assess the Shirt

To begin, wear the shirt and assess the fit of the sleeves. Pay attention to how much wider you want them to be.
Use chalk or a fabric pen to mark the desired width on both sleeves, ensuring symmetry and a balanced look.
Step 2: Remove Existing Seams
With precision, use a seam ripper or small scissors to delicately remove the stitches along the inner and outer seams of the sleeves.
Take care not to harm the fabric during this process, as preserving the integrity of the shirt is crucial.
Step 3: Measure and Cut Fabric
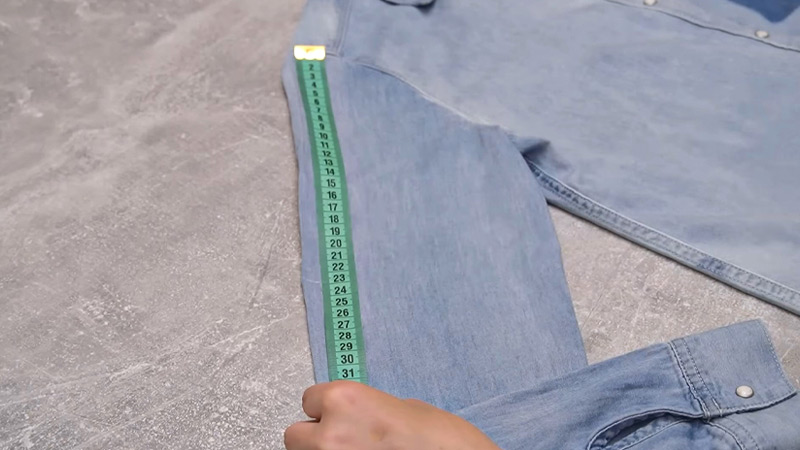
Measure the width you marked on the sleeves and cut two fabric strips of the same length. Choose a fabric that complements the shirt in terms of both material and color. Accurate measurements are essential to achieving a seamless and professional result.
Step 4: Attach Fabric Strips
Carefully position the fabric strips on the inner and outer sides of each sleeve, aligning the edges precisely.
Pin the fabric in place, ensuring it lies flat and maintains an even distribution on both sleeves. This step is crucial for achieving a symmetrical and polished appearance.
Step 5: Sew the New Seams
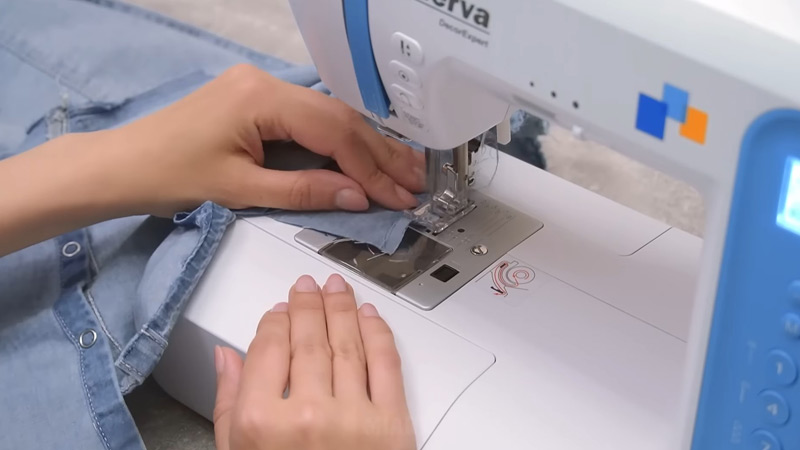
Whether using a sewing machine or a needle and thread, sew along the edges of the fabric strips, attaching them securely to the shirt sleeves.
Employ a backstitch at the beginning and end of each seam to reinforce durability. This stitching not only ensures the fabric stays in place but also contributes to the overall strength of the altered sleeves.
Step 6: Trim Excess Fabric
After securing the fabric strips to the sleeves, carefully trim any excess material. Leaving a small seam allowance is essential to prevent bulkiness and achieve a clean, polished finish.
Precision in this step contributes to the overall neatness and comfort of the altered sleeves.
Step 7: Press the Seams
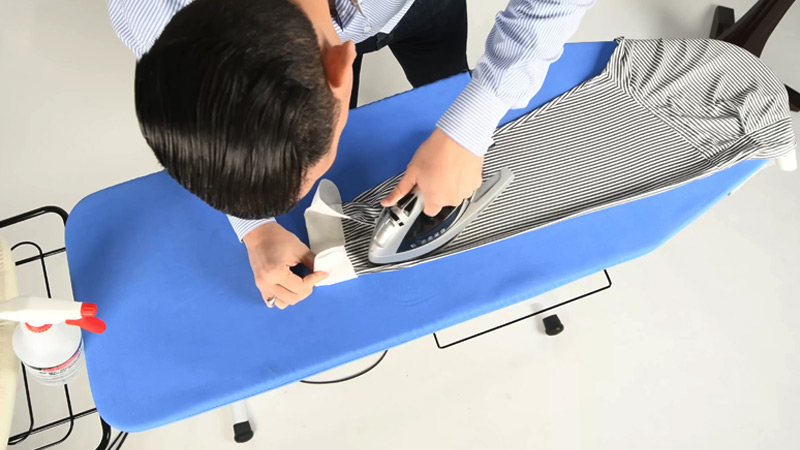
Utilize an iron to press the newly created seams. This step is crucial for ensuring the fabric lays flat and results in a professional appearance.
Properly pressed seams not only enhance the aesthetic appeal but also contribute to the longevity of the alteration.
Step 8: Try on the Shirt
Once the alterations are complete, put the shirt on to evaluate the fit. Ensure that the sleeves now possess the desired width and provide the comfort you were aiming for. Make any additional adjustments if necessary to achieve the perfect fit.
Step 9: Finish the Edges
For those seeking an extra touch of refinement, consider finishing the raw edges of the fabric. This can be accomplished using a serger or by neatly folding the edges inward and sewing them down.
While optional, this step enhances the overall polished look of the widened shirt sleeves.
Step 10: Final Touches
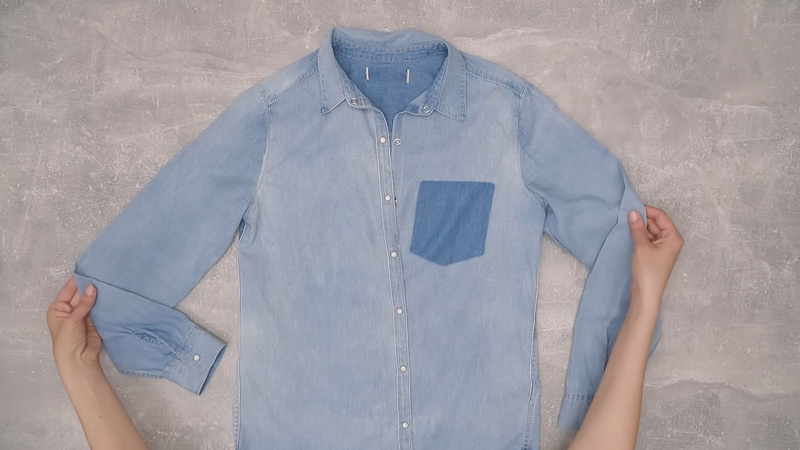
Before showcasing your revamped shirt, inspect for any loose threads and secure them. This final step ensures a clean and finished appearance, leaving you with widened shirt sleeves that are ready to be worn with confidence.
Hacks for Tight Sleeves
Dealing with tight sleeves can be frustrating, but there are several hacks to enhance comfort and flexibility without resorting to major alterations.
Here are some hacks for tight sleeves:
Ice Cube Stretch
Place a sealed bag of ice into the constricted sleeves, allowing it to sit until the ice melts completely.
As the ice melts and then expands, the fabric contracts and expands in tandem, aiding in stretching the sleeves slightly. Once the ice has melted, carefully reshape the sleeves to your desired width.
Roll and Stretch
Roll up the sleeves tightly, creating a compact form. Leave them rolled for a few hours or overnight.
This simple method encourages the fabric to stretch, providing a bit more room for improved comfort. Unroll the sleeves and wear the shirt to assess the effectiveness of the stretch.
Fabric Softener Soak
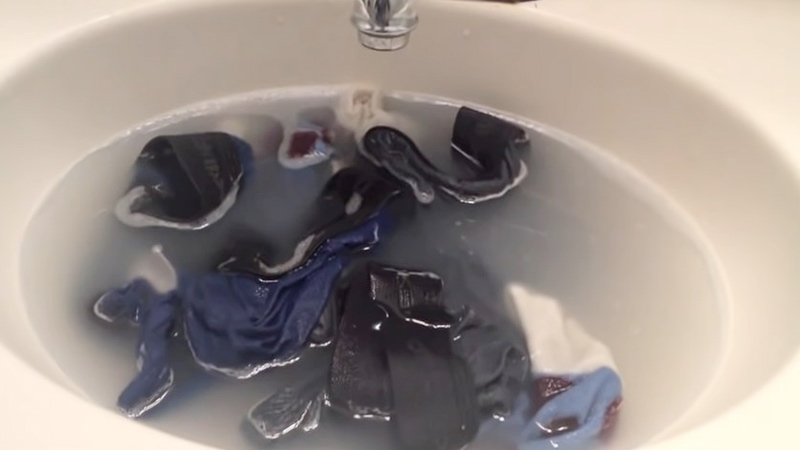
Immerse the tight sleeves in a mixture of water and fabric softener, ensuring an even soak. Allow the fabric to absorb the solution for at least 30 minutes.
The fabric softener works to relax the fibers, making them more pliable. After soaking, gently stretch and manipulate the sleeves to encourage flexibility. Rinse thoroughly and let the garment air dry.
Wet Towel Method
Dampen a towel, roll it up, and insert it into the sleeves. Leave the rolled towel inside the sleeves overnight to promote gentle stretching.
The moisture and pressure from the towel help relax the fibers, allowing the sleeves to expand gradually. Remove the towel in the morning and check for increased comfort.
Use a Hair Dryer
Direct warm air from a hairdryer onto the tight areas of the sleeves. As the fabric warms up, it becomes more pliable.
Take advantage of this by gently stretching and manipulating the sleeves to loosen them. Ensure the fabric is warm but not too hot to touch.
This method allows for immediate adjustments and is particularly effective for cotton or other natural fibers.
Wear Them Around the House
Sometimes, the simplest solution is to wear the shirt around your home for a day. The natural movements and body heat will gradually encourage the fabric to adjust to your body shape, alleviating the tightness over time. This method is convenient and requires minimal effort.
Professional Alterations
For a more permanent and tailored solution, consider consulting a tailor. They possess the expertise to adjust the sleeves precisely to fit your arms comfortably.
While this option may involve a cost, it ensures a professional finish and is ideal for individuals seeking a long-term resolution to tight sleeves.
A tailor can provide personalized adjustments that enhance both comfort and the overall aesthetic of the garment.
FAQs
How much wider should I make my shirt sleeves?
The ideal width is subjective and depends on personal preference. Assess the current fit, and mark the desired width on both sleeves before beginning the widening process.
Can I widen sleeves without a sewing machine?
Yes, widening sleeves can be done with a needle and thread, although a sewing machine may expedite the process.
Ensure secure stitching to guarantee the longevity of the alteration.
What fabric should I choose for widening shirt sleeves?
Opt for a fabric that matches the shirt’s material and color. This ensures a seamless integration, providing both aesthetic appeal and a comfortable fit.
Is it necessary to finish the edges of the widened sleeves?
While optional, finishing the edges contributes to a polished look. Use a serger or neatly fold and sew the edges to prevent fraying and enhance the overall appearance.
Can I widen the short sleeves as well?
Yes, the process applies to short sleeves as well.
Follow the same steps, adjusting measurements based on your preferred sleeve length for a personalized fit.
Wrap Up
Widening shirt sleeves is an empowering journey in garment customization, offering a blend of practicality and personal style.
By meticulously following the outlined steps, from initial assessment to final adjustments, individuals can transform their shirts to achieve an ideal fit and elevated comfort.
This DIY endeavor not only allows for creative expression but also instills a sense of accomplishment as sleeves are widened with precision.
The optional finishing touches add a touch of sophistication, resulting in sleeves that boast both functionality and a polished appearance.
As the wearer dons the revitalized shirt, the culmination of effort and attention to detail becomes evident, showcasing the transformative power of a well-executed sleeve alteration.
Leave a Reply