Is it possible to make an origami elephant? The art of origami, the Japanese paper-folding tradition dating back centuries, captivates with its ability to transform a single sheet of paper into intricate and recognizable shapes.
Among these creations, the origami elephant stands as a symbol of both elegance and challenge. Crafting an origami elephant requires patience, precision, and a creative touch.
In this pursuit, the humble sheet of paper becomes a canvas for folding mastery, taking on the form of a majestic creature, complete with its distinctive features.
This endeavor not only showcases the beauty of origami but also highlights the ingenuity and skill of those who dare to take on this folding adventure.
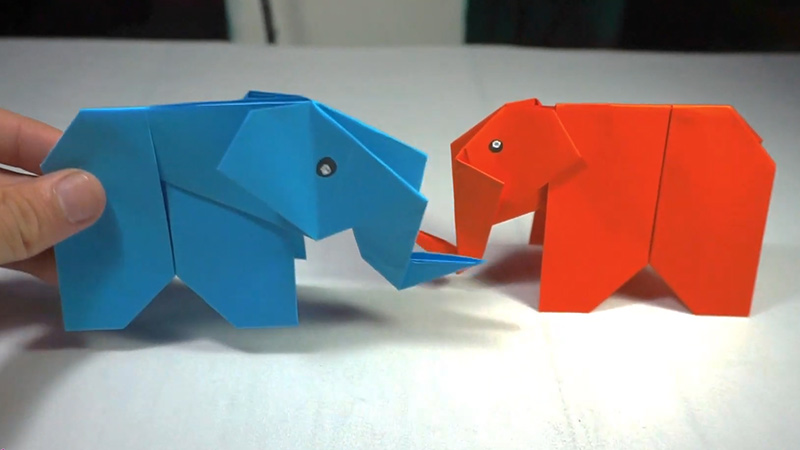
Is It Possible to Make an Origami Elephant?
Yes, it is possible to make an origami elephant using paper-folding techniques. Origami is the art of paper folding, and there are many different origami elephant designs and models created by origami artists and enthusiasts.
The complexity of the elephant you can create will depend on your skill level and the instructions or diagrams you have available.
To make an origami elephant, you’ll typically need a square piece of paper and follow step-by-step instructions of how to make a paper elephant.
There are various resources available, including books, websites, and video tutorials, that provide instructions for folding origami elephants.
Some designs are relatively simple and suitable for beginners, while others are more intricate and require advanced folding skills.
How to Make an Origami Elephant? Step by Step
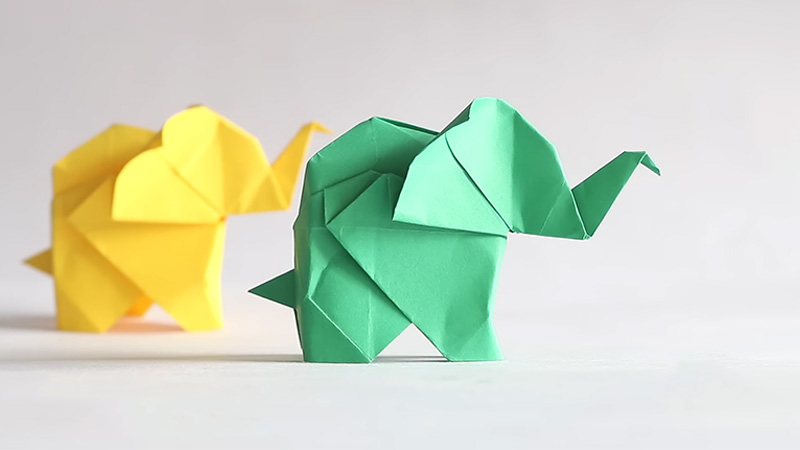
Creating an origami elephant can be a fun and rewarding project.
Here are step-by-step instructions to make an easy origami elephant:
Materials you’ll need:
- Origami Paper
- Flat Surface
- Pen or marker
Now, let’s fold your origami elephant:
Starting Position
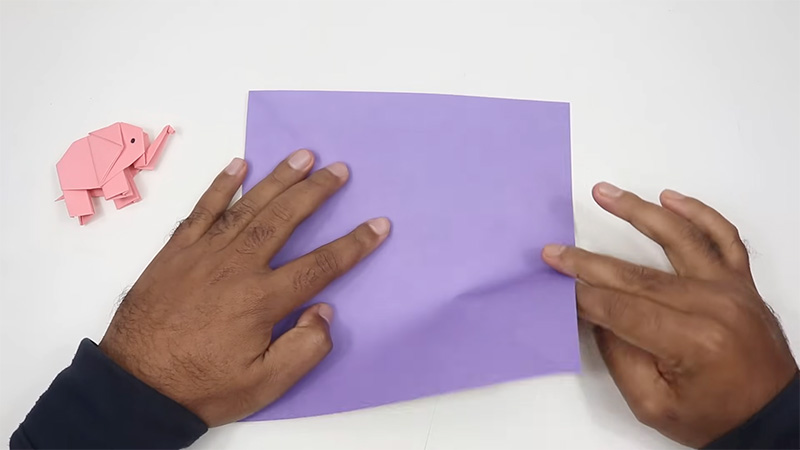
Begin with a square sheet of origami paper, preferably with one side colored and the other white. Place the colored side facing up on a flat surface. This will be the base for your origami elephant.
Initial Diagonal Fold
Take one corner of the square and fold it diagonally to meet the opposite corner. Ensure that the edges align perfectly and create a sharp crease along the fold. This will form a triangle.
Horizontal Fold
With the triangle in place, fold the paper in half horizontally by bringing the top edge down to align with the bottom edge.
Make a precise crease, then unfold the paper. You’ll now have a rectangle with a crease running horizontally through the center.
Vertical Fold
Fold the rectangle in half vertically by bringing the left edge over to meet the right edge. Make another sharp crease and then unfold the paper. This fold creates another crease running vertically through the center of the paper.
Turn the Paper Over
Flip the paper over to the white side if you’re using origami paper with one colored side. The colored side should now be facing down.
Second Diagonal Fold
Fold the paper in half diagonally again by bringing one corner to the opposite corner. This fold creates a smaller triangle, and it’s important to make it as precise as possible.
Creating the Kite Shape
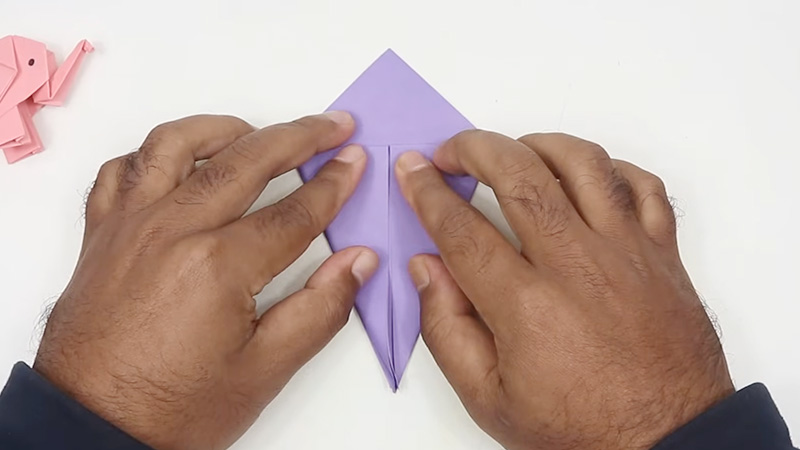
With the smaller triangle in place, fold the left and right corners down to meet at the bottom center point where the diagonal creases intersect. This will form a kite shape, with the two flaps securely folded over.
Fold Down the Bottom Corner
Take the bottom corner of the kite shape and fold it upward to meet the top corner. This fold creates a smaller diamond shape within the larger one.
Forming the Ears
Fold the left and right edges of the smaller diamond inward, aligning them with the center vertical crease. These folds will create the elephant’s ears.
Creating a Smaller Diamond
Fold the top corner of the smaller diamond down to meet the bottom corner, essentially halving the size of the diamond.
Forming the Head
Lift the top flap of the smaller diamond and fold it upward along the existing crease. This will create the elephant’s head, with the folded part serving as the forehead.
Shaping the Head
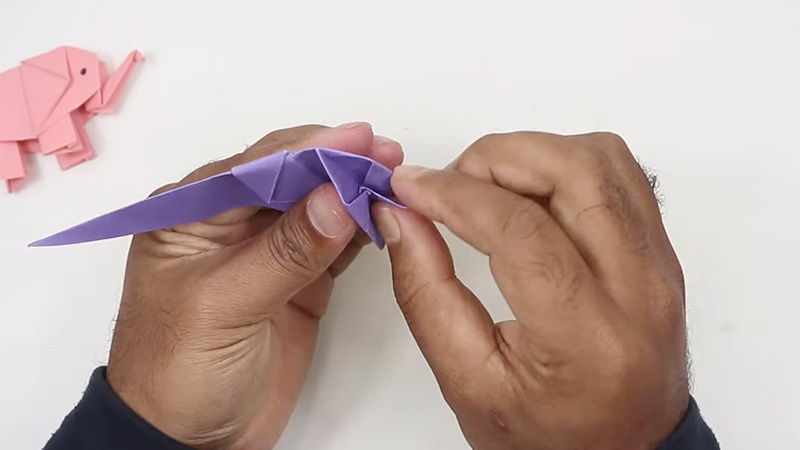
To give the head a rounded appearance, fold the bottom corner of the smaller diamond up slightly. This forms the top of the elephant’s head, and you can adjust the fold to your desired shape.
Making the Trunk
For the elephant’s trunk, fold a small portion of the bottom of the head downward. The trunk can be as short or long as you prefer.
Final Details
To complete your origami elephant, add eyes and any other desired details. You can draw or use small pieces of paper for these features.
Tips for Making a Realistic-Looking Origami Elephant
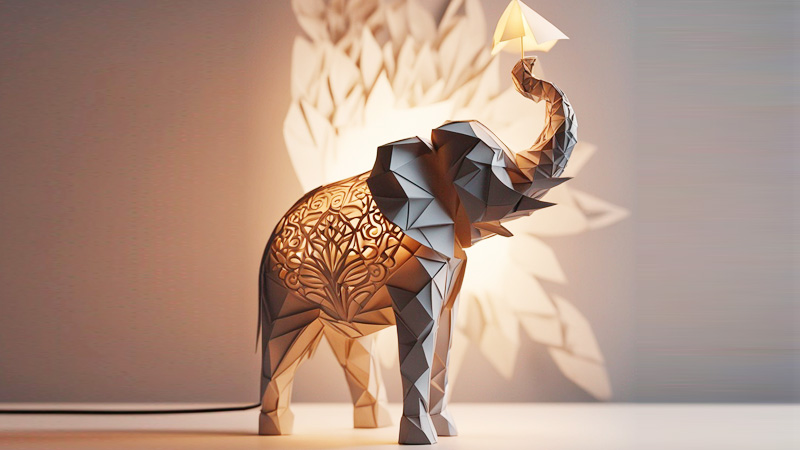
Creating a realistic-looking origami elephant can be a challenging but rewarding project.
To achieve a lifelike appearance, consider the following tips:
Choose the Right Paper
Use high-quality origami paper, preferably two-sided with different colors for the body and ears, to give your elephant a realistic color contrast.
Study Elephant Anatomy
Look at pictures or study the anatomy of elephants to understand their proportions, features, and wrinkles. This will help you fold the paper in a way that mimics their appearance.
Practice Precision
Pay careful attention to the accuracy of your folds and creases. Precision is essential for achieving realistic details.
Experiment with Different Folds
Use various origami folding techniques to create realistic features, such as reverse folds, rabbit ears, and sinks. These folds can help you shape the trunk, legs, and ears.
Use Wet Folding
Wet folding involves lightly dampening the paper before folding it. This technique allows you to sculpt and shape the paper more easily, giving your elephant a more organic look.
Add Details
For features like eyes and ears, consider using smaller pieces of colored paper or drawing them on with a pen. This adds depth and realism to your origami elephant.
Emphasize Texture
Add creases and folds to represent the texture of an elephant’s skin. Crimping or shaping the paper in certain ways can create the appearance of wrinkles and folds.
Work Slowly and Patiently
Realistic origami requires time and patience. Take your time with each step, and don’t rush the folding process.
Refer to Diagrams or Tutorials
Look for origami diagrams or online tutorials that specifically guide you through the steps for a realistic origami elephant. These resources can provide valuable insights and techniques.
Practice and Learn from Mistakes
Don’t be discouraged by mistakes. Origami is an art that requires practice. With each attempt, you’ll learn and improve your skills, getting closer to a realistic result.
FAQS
Can I use regular printer paper to make an origami elephant?
Yes, you can use regular printer paper, but it’s easier to work with origami paper since it’s typically thinner and easier to fold.
Are there different levels of difficulty for origami elephants?
Yes, there are various origami elephant designs with different levels of complexity.
Can I add details like eyes and ears to my origami elephant?
Yes, you can add details like eyes, ears, and tusks to your origami elephant by drawing them on with a pen or attaching smaller pieces of colored paper after folding.
What is the size of the paper needed to make an origami elephant?
The size of the paper needed depends on the desired size of your origami elephant. Generally, a 6×6-inch (15×15 cm) or 7×7-inch (18×18 cm) square of origami paper works well for a standard-sized elephant.
To Recap
It is indeed possible to make an origami elephant, ranging from simple designs suitable for beginners to intricate, lifelike creations for advanced folders. Origami, the ancient art of paper folding, offers endless possibilities for creativity.
By following clear instructions, using the right paper, and practicing various folding techniques, anyone can embark on this artistic journey.
While crafting an origami elephant requires patience, precision, and attention to detail, the satisfaction of transforming a flat sheet of paper into a three-dimensional masterpiece is both rewarding and inspiring.
Whether for a fun project or a serious artistic endeavor, making an origami elephant is a testament to the beauty and versatility of this timeless craft.
Leave a Reply