Sewing appliqué shapes on Minky fabric introduces a unique set of challenges and considerations due to Minky’s plush texture and tendency to stretch.
The question arises: Is it possible to achieve seamless appliqué on this soft, luxurious material?
Navigating through techniques such as stabilizing the fabric, utilizing specialized appliqué stabilizers, and experimenting with fusible webs becomes essential.
Pinning or basting carefully, employing a walking foot, adjusting stitch lengths, and exploring raw-edge appliqué add layers of complexity to the process.
This exploration delves into the intricacies of sewing appliqué on Minky, providing insights and tips for enthusiasts aiming to master this distinctive fabric artistry.
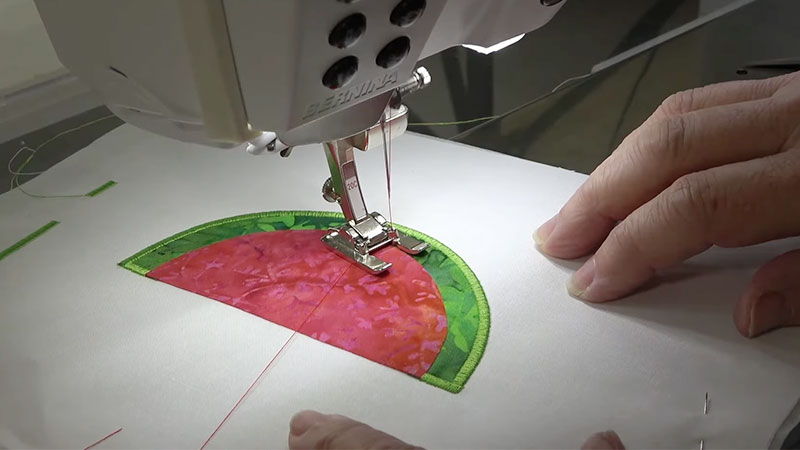
What Is Applique in Sewing?
Appliqué in sewing is a decorative technique where fabric pieces are layered and stitched onto a base fabric to create intricate designs or patterns.
This method allows for the incorporation of various fabrics, textures, and colors, enhancing the visual appeal of the finished piece.
Appliqué can be achieved through hand sewing or machine stitching, offering versatility in crafting garments, quilts, and home décor items.
Commonly used in traditional and contemporary designs, appliqué enables the addition of personalized and artistic touches to sewing projects.
Whether used for embellishment or to cover imperfections, appliqué is a creative and skillful way to elevate the aesthetic value of textile creations.
Is It Possible to Sew an Applique Shape on Minky?
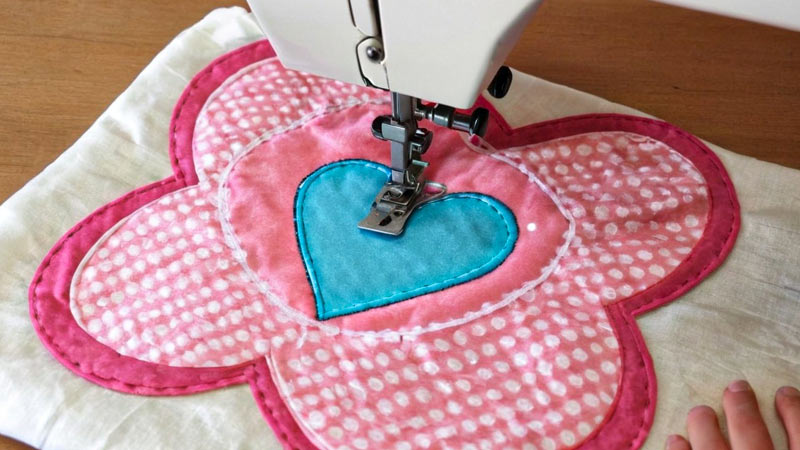
Yes, it is possible to sew appliqué shapes onto Minky fabric, but there are some considerations and techniques that can help you achieve the best results.
Minky fabric, known for its soft and plush texture, can be a bit challenging to work with compared to cotton or other quilting fabrics.
Here are some tips for sewing appliqué on Minky fabric:
Stabilize the Minky
Minky fabric, with its plush texture, is prone to stretching and shifting during the sewing process.
To counteract these challenges, consider stabilizing the entire fabric by applying a lightweight interfacing or stabilizing material to the back of the Minky.
This added layer provides essential support, minimizing distortion and ensuring that the fabric maintains its softness while gaining the stability needed for precise appliqué work.
Use Appliqué Stabilizer
In addition to stabilizing the fabric as a whole, incorporating a stabilizer designed specifically for appliqué enhances the stability of individual appliqué shapes.
This specialized stabilizer, available in various weights and styles, adheres to the back of the appliqué fabric, providing an extra layer of support.
By minimizing any potential puckering or stretching, this appliqué-specific stabilizer ensures that each shape maintains its intended form and lays flat against the Minky background.
Fusible Web
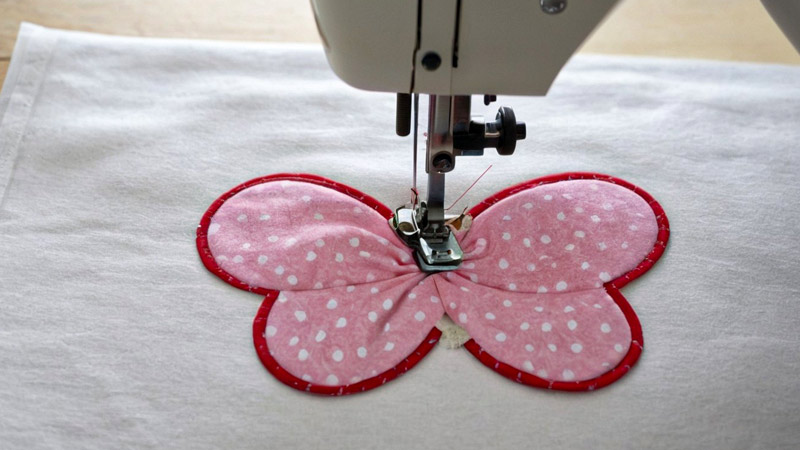
When attaching appliqué shapes to Minky, a double-sided fusible web is a convenient option. However, Minky’s unique texture may impact the behavior of the adhesive.
Therefore, it’s essential to conduct a test on a scrap piece of Minky before applying it to the main project.
Adjusting the heat and duration during the fusing process helps achieve a secure bond without compromising the softness of the Minky fabric.
Pin or Baste Carefully
Minky’s slippery surface makes it important to secure appliqué shapes in place before sewing. Carefully pinning or basting the shapes onto the fabric ensures that they stay aligned during stitching, preventing any unwanted shifting.
This step is particularly crucial when working with intricate designs, ensuring precision and maintaining the integrity of the appliqué layout.
Use a Walking Foot
A walking foot is a valuable tool when sewing Minky fabric. This specialized foot aids in feeding the layers of fabric evenly through the sewing machine, reducing the chances of stretching or distortion.
The walking foot is especially beneficial when working with Minky, as it helps maintain an even tension across the fabric, resulting in a smoother and more professional-looking appliqué.
Adjust Stitch Length
Experimenting with stitch length is vital when sewing on Minky. A shorter stitch length can be more effective in securing the edges of the appliqué shapes without causing the fabric to pucker.
Test different stitch lengths on scrap pieces to find the optimal balance between stability and aesthetics, ensuring that the stitches hold the appliqué securely in place without compromising the softness of the Minky.
Consider Raw-Edge Appliqué
For a relaxed and textured aesthetic, raw-edge appliqué is a viable option on Minky fabric. This technique involves intentionally leaving the edges of the appliqué shapes unfinished, complementing the plush nature of the fabric.
Raw-edge appliqué not only adds visual interest but also eliminates the need to turn under edges, making the process more straightforward and suitable for Minky’s unique characteristics.
Practice on Scrap Fabric
Before diving into the main project, practice the chosen appliqué techniques on a scrap piece of Minky.
This serves as a valuable testing ground, allowing you to familiarize yourself with the fabric’s behavior and assess the effectiveness of your chosen stabilizers, fusible web, and stitching methods.
Through this practice, you can fine-tune your approach and gain confidence in achieving successful and visually appealing appliqué on Minky.
How to Embroider on Minky Fabric? Step-By-Step Guide
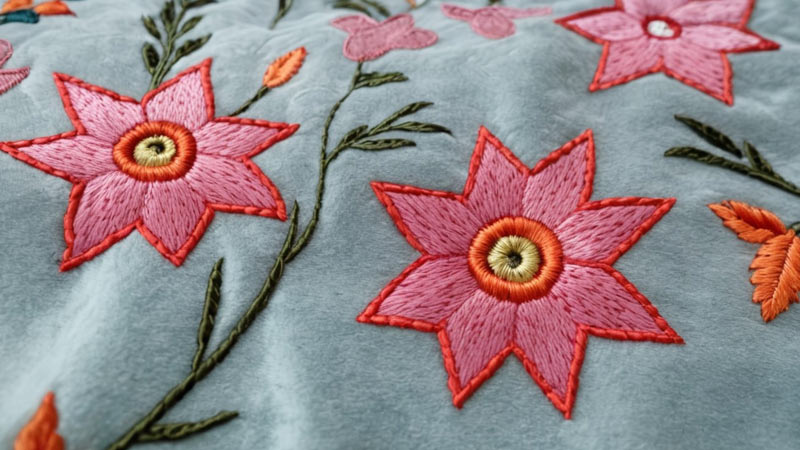
Embroidering on Minky fabric can be a delightful and rewarding experience, as Minky is a plush, soft, and luxurious material commonly used for blankets, baby items, and stuffed animals.
However, working with this fabric requires some special considerations due to its unique texture.
Here’s a step-by-step guide on how to embroider on Minky fabric:
Materials You’ll Need:
- Minky Fabric
- Embroidery Design
- Stabilizer
- Embroidery Hoop
- Embroidery Thread
- Embroidery Needles
- Bobbin Thread
- Scissors and Seam Ripper
Step-by-Step Guide:
Prepare Your Fabric
When preparing Minky fabric for embroidery, the washing and pressing steps are crucial for achieving optimal results.
Use a gentle detergent to clean the fabric, taking care to remove any accumulated dirt or oils. As Minky is prone to stretching, opt for air-drying or a low-heat setting in the dryer to prevent excessive shrinkage.
Press the fabric with a low-heat iron to eliminate wrinkles and ensure a smooth surface for embroidery.
Stabilize the Fabric
Once your Minky fabric is clean and dry, the next step is stabilizing it for embroidery. Hooping the fabric with stabilizer is vital for maintaining stability during the stitching process.
Ensure the fabric is taut within the hoop, but exercise caution not to stretch it excessively. This careful hooping prevents distortions in the final embroidery and guarantees a well-executed design.
Select the Right Needle and Thread
- Needle Choice: Choose a sharp embroidery needle designed for use with plush fabrics like Minky. The sharpness helps pierce the fabric without causing snags or damage.
- Thread Selection: Opt for high-quality polyester or rayon embroidery thread. These materials work well with Minky and provide a vibrant finish. Select thread colors that complement the Minky fabric and your chosen design.
- Bobbin Tension: To prevent thread breaks, consider setting a slightly looser tension on the bobbin. This adjustment can contribute to smoother stitching on plush fabrics.
Choose the Right Design
When choosing an embroidery design for Minky fabric, prioritize simplicity to enhance the visual impact.
Opt for designs featuring larger elements and fewer intricate details. This approach not only showcases the beauty of the fabric but also prevents any intricate elements from getting lost in its plushness.
By keeping the design simple and bold, you create a visually striking embroidery that complements the unique texture of Minky, resulting in a standout and aesthetically pleasing finished product.
Test the Design
Given the plush nature of Minky fabric, taking the time to embroider at a slower speed is a crucial step in achieving a flawless result.
This deliberate pace is particularly important in preventing the fabric from shifting during the embroidery process, which ultimately contributes to the precision and accuracy of the final design.
Adjusting your embroidery machine to a slower speed allows for better control and ensures that intricate details are captured with finesse.
Embroider Slowly
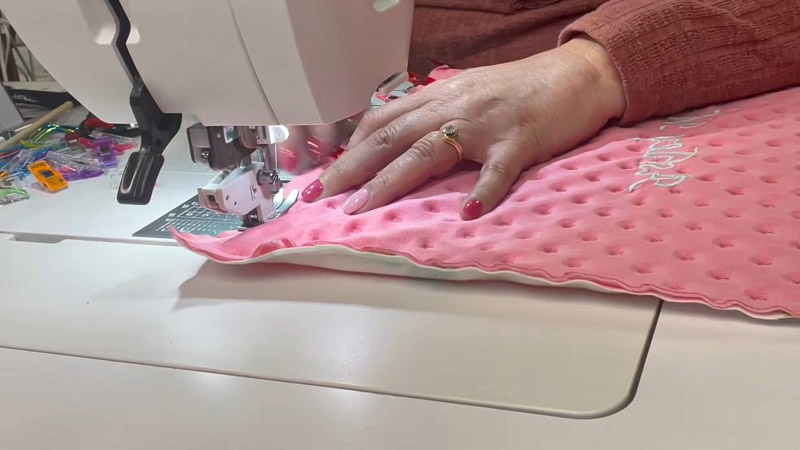
Embroidering slowly on Minky fabric is not just a precaution; it’s a mindful technique to achieve optimal results.
By carefully pacing the embroidery process, you reduce the chances of the fabric bunching or shifting, contributing to a more accurate and visually appealing final design.
Take the time to appreciate the texture of the Minky fabric and allow each stitch to integrate seamlessly, resulting in a beautifully embroidered piece.
Trim Excess Stabilizer
After the embroidery is complete, turn your attention to the back of the design. Carefully trim away any excess stabilizer to refine the appearance of the finished piece.
This step not only enhances the visual appeal but also plays a role in ensuring a comfortable feel against the skin.
Precision in trimming contributes to a clean, professional finish that will be appreciated in the final presentation of your embroidered creation.
Clean Up Loose Threads
To elevate the overall polished look of your embroidered project, focus on cleaning up any loose threads or jump stitches. Using a seam ripper or small scissors, meticulously remove any imperfections.
This attention to detail adds a finishing touch to your work, ensuring that the final product is not only visually appealing but also free from any distracting loose threads.
Press the Embroidered Area
Pressing the embroidered area on the reverse side is a crucial step in the finalization process. This action not only removes any hoop marks but also helps maintain the softness of the Minky fabric.
Utilizing a pressing cloth during this step adds a professional touch to your project, leaving you with a visually stunning and comfortably soft embroidered piece.
Care Instructions
In the final chapter of your embroidery journey, paying attention to care instructions is paramount.
Adhering to the specific guidelines for both the Minky fabric and the embroidery thread ensures the prolonged longevity of your creation.
Whether it’s handwashing delicately, using a gentle cycle, or avoiding prolonged exposure to direct sunlight, these care instructions protect the integrity of both the fabric and the meticulous stitching, preserving your embroidered masterpiece for years to come.
Always prioritize the unique needs of both elements to maintain the quality and beauty of your work.
FAQs
Can You Iron Minky Fabric?
Ironing minky fabric is possible. However, it’s crucial to use a low heat setting and place a pressing cloth between the iron and the fabric to prevent damage to the delicate fibers.
Do You Use Batting With Minky?
Yes, using batting with Minky is common in quilting projects. It adds loft and warmth to the finished piece.
Can You Hand Embroidery on Minky Fabric?
Hand embroidery on Minky fabric is feasible. Use a stabilizer to prevent stretching, and consider a hoop to maintain tension.
To Recap
Sewing appliqué shapes on Minky fabric demands a delicate balance between technique and creativity.
The challenges posed by Minky’s plush nature and potential for stretching are met with thoughtful solutions, from stabilizing methods to specialized appliqué tools.
The journey through fusible webs, careful pinning, and the use of a walking foot unveils a nuanced approach.
Adjusting stitch lengths and considering raw-edge appliqué contribute to the artistry of the final product.
Despite the unique characteristics of Minky, with practice and attention to detail, achieving successful appliqué on this luxurious fabric is not only possible but opens doors to creating textured and visually stunning projects that embrace the distinctive softness of Minky.
Leave a Reply