In the world of garment construction, the art of sewing knit neckbands has long been a challenge for both novice and experienced seamstresses alike.
The delicate nature of knit fabrics, with their stretch and flexibility, often makes achieving a clean and polished neckline seem like a daunting task.
Knit binding is the unsung hero of sewing when it comes to knit neckbands. It offers a straightforward and efficient solution to achieving a professional finish on your knit garments, regardless of your sewing expertise.
With a few essential tools, some patience, and a dash of creativity, you can effortlessly conquer the art of sewing knit neckbands using this technique.
In this exploration, we will delve into the easiest way to sew knit neckbands, uncovering its simplicity and versatility, making it the easiest way to sew knit neckbands.
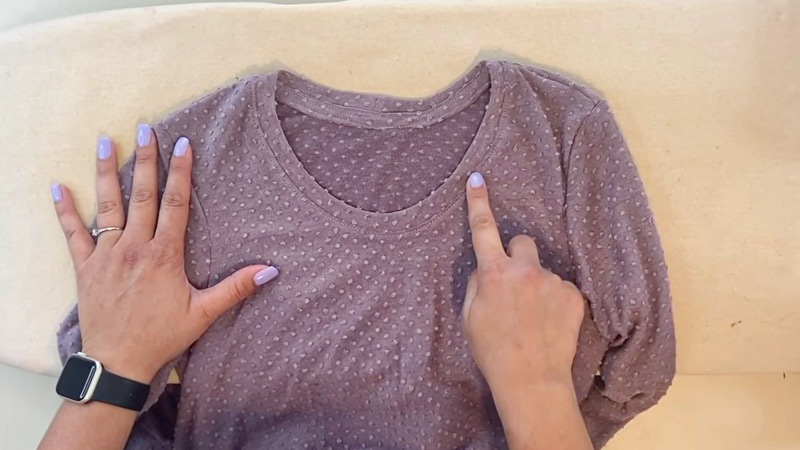
Knit Binding- The Easiest Way to Sew Knit Neckbands
Knit binding is a technique that involves attaching a strip of knit fabric to the neckline of a garment, stretching it slightly to fit the curve, and creating a smooth finish.
Knit binding can be done in different ways, depending on the look and feel you want.
Here are some ways to sew knit neckbands:
Basic Knit Neckband
This is the most common and simple way to sew a knit neckband. You sew the short ends of the neckband together to form a loop, fold it in half lengthwise, and pin it to the neckline, matching the quarter points.
Then, you sew the neckband to the neckline with a stretch stitch, stretching it slightly as you go. You can finish the seam allowance with a serger or a zigzag stitch and press it towards the garment.
You can also topstitch along the neckline with a twin needle or a cover stitch machine for a more professional look.
Knit Neckband With Binding
This is similar to the basic knit neckband, but instead of folding the neckband in half, you fold one long edge under by 1/4 inch or more, depending on your preference.
This creates a binding effect on the right side of the neckline, which can add some contrast and interest to your garment.
You sew the neckband to the neckline in the same way as the basic knit neckband, but you make sure that the folded edge covers the seam allowance on the right side.
Knit Neckband Facing
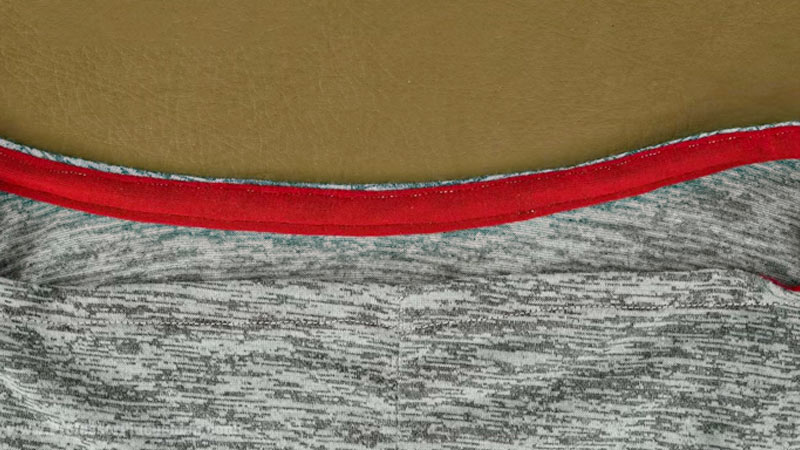
This is another variation of the basic knit neckband, but instead of folding the neckband in half, you cut two pieces of neckband fabric and sew them right sides together along one long edge.
This creates a face that covers the seam allowance on the wrong side of the neckline, giving it a clean finish.
You sew the neckband to the neckline in the same way as the basic knit neckband, but you make sure that the facing edge is aligned with the raw edge of the neckline.
Knit Neckband With Elastic
This is a way to add some stability and structure to your knit neckband, especially if your fabric is very stretchy or thin.
You cut a piece of elastic that is slightly shorter than your neckline measurement and sew it to one long edge of your neckband fabric, stretching it evenly as you go.
Then, you fold the neckband in half lengthwise, enclosing the elastic inside. You pin and sew the neckband to the neckline in the same way as the basic knit neckband.
Knit Neckband With Ribbing
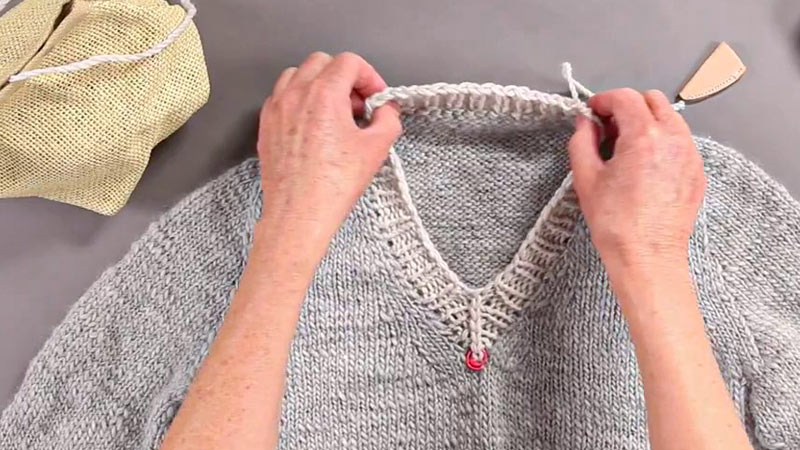
This is a way to create a more casual and sporty look for your knit neckband, using ribbed knit fabric that has more stretch and recovery than regular knit fabric.
You cut a strip of ribbing that is narrower and shorter than your neckline measurement and sew it into a loop.
Then you fold it in half lengthwise and pin and sew it to the neckline in the same way as the basic knit neckband. The ribbing will stretch more than the neckline fabric, creating a snug fit that won’t gape or sag.
Knit Neckband With Lettuce-Edge
This is a way to create a fun and frilly look for your knit neckband using a serger or an overlocker machine. You cut a strip of knit fabric that is wider than your desired neckband width and sew it into a loop.
Then you fold it in half lengthwise and pin and sew it to the neckline with a serger or an overlocker, using a differential feed setting that creates a wavy or ruffled edge on the fabric.
This is called a lettuce edge, and it adds some texture and flair to your garment.
Knit Neckband With Bias Tape
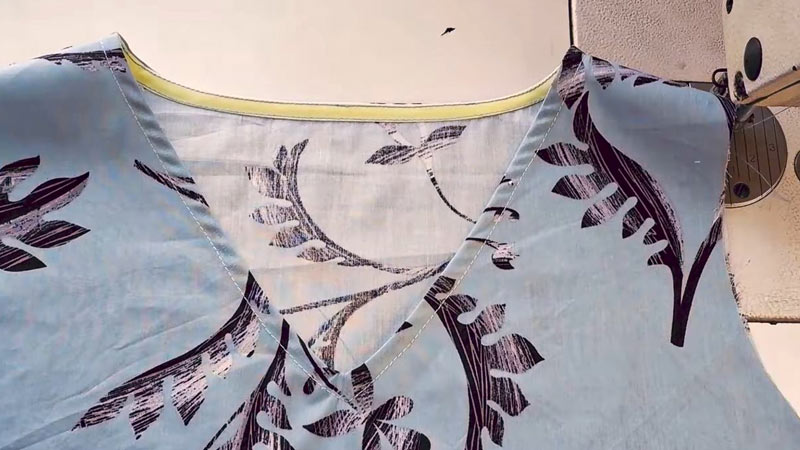
This is a way to create a more refined and elegant look for your knit neckband, using bias tape that matches or contrasts with your fabric color.
Bias tape is a strip of woven fabric that is cut on the bias (diagonally) and folded along both edges. You cut a piece of bias tape that is slightly longer than your neckline measurement and unfold one edge.
Then, you pin and sew it to the wrong side of the neckline, aligning the raw edges.
You fold the bias tape over to the right side of the neckline, covering the seam allowance, and press it flat. Then, you topstitch along both edges of the bias tape, close to the folds.
Knit Neckband With Piping
This is similar to the knit neckband with bias tape, but instead of using plain bias tape, you use piping that has a cord inside. Piping is a type of trim that adds some definition and contrast to your garment edges.
You cut a piece of piping that is slightly longer than your neckline measurement and pin and sew it to the right side of the neckline, aligning the raw edges and the cord with the seam allowance.
You fold the piping over to the wrong side of the neckline, covering the seam allowance, and press it flat. Then you topstitch along the edge of the piping, close to the cord.
Knit Neckband With Lace
This is a way to create a more feminine and delicate look for your knit neckband, using lace trim that matches or contrasts with your fabric colour. Lace trim is a type of embellishment that has a scalloped or decorative edge.
You cut a piece of lace trim that is slightly longer than your neckline measurement and pin it to the right side of the neckline, aligning the raw edges and the scalloped edge with the seam allowance.
You fold the lace trim over to the wrong side of the neckline, covering the seam allowance, and press it flat. Then you topstitch along the edge of the lace trim, close to the scallops.
How Long Does It Take To Cut A Knit Neckband?
The length of a knit neckband depends on the type and stretchiness of the knit fabric, the shape and size of the neckline, and the desired fit and style of the garment.
There is no one-size-fits-all formula for cutting a knit neckband, but there are some general guidelines and tips that can help you achieve a good result.
Here are some points to consider when cutting a knit neckband:
Measure The Neckline Circumference

The first step is to measure the length of the neckline on your garment, either by using a measuring tape or by laying the garment flat and using a ruler.
You can also use the pattern pieces to measure the neckline, but make sure to subtract the seam allowances. This will give you the neckline circumference, which is the basis for calculating the neckband length.
Multiply By A Percentage
The next step is to multiply the neckline circumference by a percentage, usually between 80% and 90%, depending on the stretchiness of your fabric and how snug you want your neckband to be.
The more stretchy your fabric is, the lower the percentage you can use. The less stretchy your fabric is, the higher the percentage you need to use.
The percentage also affects how much you need to stretch the neckband as you sew it to the neckline. A lower percentage means more stretching and a higher percentage means less stretching.
Add Seam Allowances
After you have calculated the neckband length by multiplying the neckline circumference by a percentage, you need to add seam allowances to both ends of the neckband.
The seam allowances should match the ones you used for sewing the shoulder seams of your garment.
For example, if you used 1/4 inch seam allowances for your shoulder seams, you need to add 1/4 inch to each end of your neckband, making it 1/2 inch longer in total.
Cut On The Crosswise Grain Or Bias:
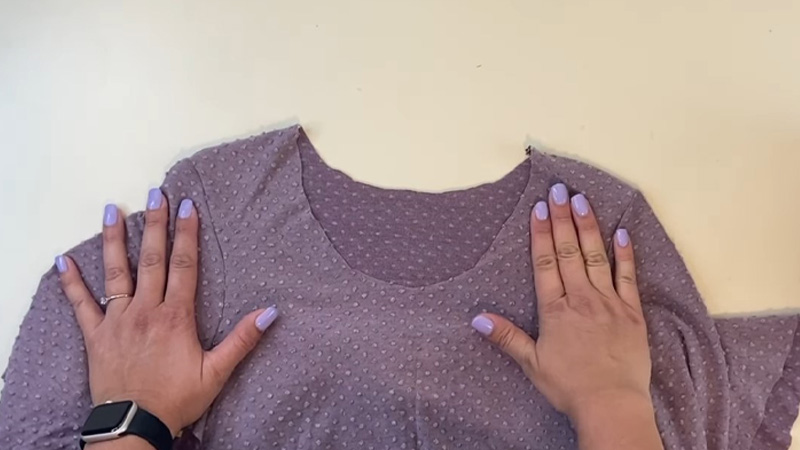
Knit neckbands should be cut on the crosswise grain, perpendicular to the selvedge of the fabric. This is because the crosswise grain has more stretch than the lengthwise grain, which runs parallel to the selvage.
Cutting on the crosswise grain also helps prevent the curling of the fabric edges. However, if your fabric is very stretchy or prone to gaping, you can also try cutting your neckband on the bias, which is diagonal across the fabric.
The bias has even more stretch than the crosswise grain and can help create a smoother and tighter fit for your neckband.
Cut Wider For Thicker Fabrics
The width of your neckband depends on how wide you want your finished neckband to be and how thick your fabric is. Generally, you want to cut your neckband twice as wide as your desired finished width, plus seam allowances.
For example, if you want a 1/2 inch wide finished neckband, and you are using 1/4 inch seam allowances, you need to cut your neckband 1 1/4 inches wide (1/2 x 2 + 1/4 + 1/4).
However, if your fabric is very thick or bulky, you may need to cut your neckband wider to account for the extra fabric that will be folded inside the neckband.
Cut Narrower For Ribbed Fabrics
Ribbed knit fabrics are ideal for making knit neckbands because they have more stretch and recovery than regular knit fabrics.
This means they can hug the neckline better and prevent sagging or gaping. However, because ribbed fabrics are so stretchy, you may need to cut your neckband narrower than usual to avoid having too much fabric in your neckband.
A good rule of thumb is to cut your ribbed neckband about half as wide as your desired finished width, plus seam allowances.
Adjust As Needed
The final point is to remember that cutting a knit neckband is not an exact science, and you may need to adjust your measurements as needed based on your fabric, pattern, and personal preference.
You can always test your neckband length and width by pinning it to your neckline before sewing and seeing how it looks and feels.
If it sits too long or too short, you can trim or add some fabric accordingly. If it sits too wide or too narrow, you can re-cut it or fold it differently.
FAQ
Knit binding is a strip of knit fabric used to finish the raw edges of knit necklines. It’s preferred for sewing knit neckbands because it offers stretch, allowing the garment to maintain flexibility and comfort while providing a clean, professional look.
Absolutely! Knit binding can be used on armholes, hems, or any raw edge on your knit garment. It’s a versatile technique that adds both functionality and style to your creations.
It’s ideal to use the same or a similar type of knit fabric as your main garment for knit binding.
This ensures a consistent look and stretchiness, maintaining the overall integrity of your project.
Yes, it is! Knit binding is relatively beginner-friendly. While it may take a bit of practice to get the stretching and stitching just right, it’s a manageable technique that can yield professional-looking results with some patience and guidance.
To determine the length of knit binding, measure the raw edge of the area you’re binding. Add a little extra for overlap or seam allowance. Typically, 85-90% of the raw edge length works well for most knit binding applications.
Conclusion
In the realm of garment construction, mastering the art of sewing knit neckbands is a valuable skill that can elevate the quality of your handmade creations.
Knit binding, as we have discovered, emerges as the unsung hero, offering a user-friendly approach that simplifies the process and ensures professional-looking results.
The ease and versatility of knit binding make it an invaluable tool for sewists of all levels. It not only provides a polished finish to your knit garments but also opens up opportunities for creative expression.
With the right fabric choices, you can introduce contrasting colours, patterns, and textures to your neckbands, transforming them into eye-catching design features.
Embrace this sewing marvel, and watch your knit creations come to life with newfound ease and elegance.
Leave a Reply