In the world of sewing, mastering the art of sewing plain seams is akin to learning the alphabet before delving into complex literature.
Plain seams are the foundational stitches that form the basis of countless sewing projects, from garments to home decor items and beyond. Understanding how to sew basic seams correctly is the first step toward creating beautifully finished and durable creations.
This comprehensive guide on how to sew plain seams will walk you through the essential steps and techniques required to achieve impeccable results. Whether you’re a novice seamstress or a seasoned sewing enthusiast, honing your plain seam skills is essential.
From selecting the right seam allowance to pressing the seam for a polished look, each aspect of sewing a plain seam will be demystified, enabling you to embark on a wide range of sewing projects with confidence.

What is a Plain Seams?
A plain seam, also known as a single or regular seam, is the most basic and commonly used seam in sewing. It involves joining two fabric pieces with their right sides together and sewing along the selected seam allowance using a straight stitch.
Typically, a plain seam is sewn with a 5/8-inch (or 1.5 cm) seam allowance, though this measurement can vary depending on the pattern and project requirements.
Once sewn, the seam allowance can be pressed open or to one side, depending on the project’s specifications. Plain seams are suitable for a wide range of fabrics and applications, making them a fundamental technique in sewing.
They are often used for constructing garment pieces, attaching darts, and joining fabric panels. While plain seams are straightforward, achieving clean and even stitches is crucial for a polished final result, and they serve as the foundation for more advanced seam finishing techniques like French seams or flat-felled seams.
How to Sew Plain Seams?

Here are the simple methods for sewing plain seams:
Prepare Your Fabric
Start by placing your fabric pieces with the right sides facing each other. The right side of the fabric is the side with the pattern or the more vibrant color.
Pin and Align Edges
Pin the fabric pieces together along the edge you want to sew. Ensure that the edges are aligned and that any notches or markings on the pattern match up.
Select a Seam Allowance
Determine the appropriate seam allowance for your project. The standard seam allowance is 5/8 inch (1.5 cm), but it can vary depending on your pattern or project instructions.
Sew the Seam
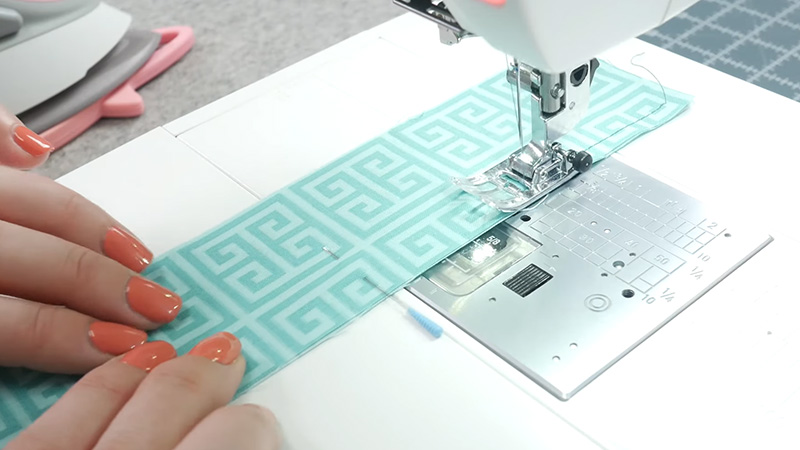
Using a sewing machine, start at the edge of the fabric and sew a straight stitch along the pinned edge, maintaining the chosen seam allowance. Backstitch at the beginning and end to secure the seam.
Trim Excess Threads and Fabric
Trim any excess thread and fabric, especially at the seam ends, to keep the seam neat.
Press the Seam
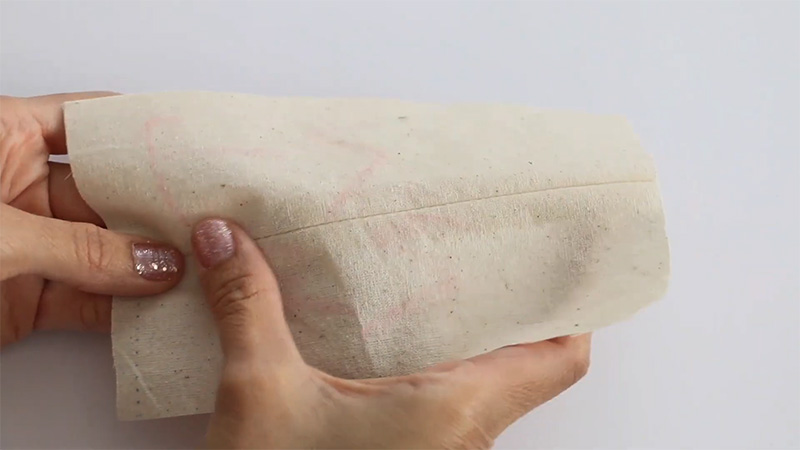
After sewing, press the seam open with an iron. This flattens the seam and sets the stitches for a crisp and polished appearance.
Finish as Needed
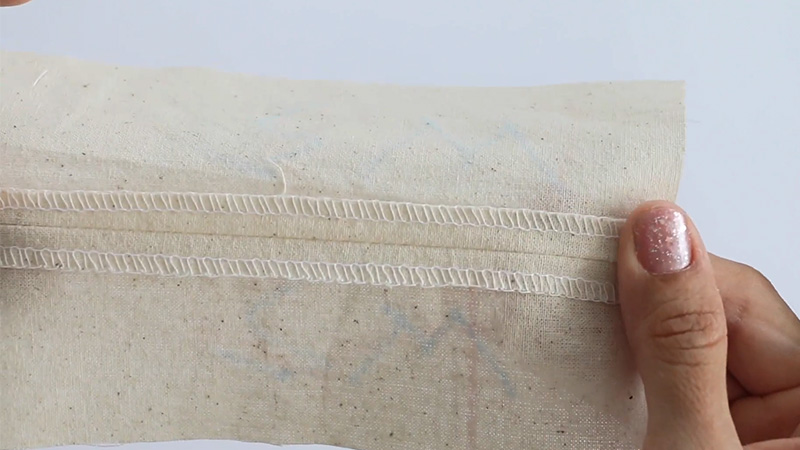
Depending on your project, you may finish the seam allowances with techniques like serging, pinking, or zigzag stitching to prevent fraying. Alternatively, you can leave the seam allowances as is if the fabric doesn’t fray easily.
These seven steps guide you through sewing a basic plain seam, which is the foundation of many sewing projects. Mastering this fundamental skill will enable you to create clean and sturdy seams in various fabrics and garments.
How Is Plain Seam Made?

Here are the historical origins of the plain seam:
Ancient Sewing Techniques
Plain seams have been utilized in clothing construction for centuries, dating back to ancient civilizations such as Egypt and Mesopotamia. Early sewing techniques often involved simple, functional seams to join fabric pieces together.
Medieval European Garments
During the Middle Ages in Europe, plain seams were commonly used in the creation of medieval garments. These seams served as the primary method for joining fabric panels and constructing clothing, contributing to the development of basic sewing techniques.
Renaissance Period Tailoring
The Renaissance era saw an evolution in tailoring techniques, with plain seams becoming a foundation for constructing complex garments. Tailors in this period refined the art of sewing, laying the groundwork for modern sewing methods.
Industrial Revolution Advancements
With the onset of the Industrial Revolution in the late 18th and early 19th centuries, sewing machines were developed to streamline and automate the sewing process. Plain seams became even more integral to mass-produced clothing during this period.
Sewing Machine Innovations
The invention and refinement of the sewing machine by inventors like Elias Howe and Isaac Singer in the mid-19th century revolutionized garment production. Plain seams became a standard feature in sewing machine operations, making clothing manufacturing more efficient.
Garment Industry Standardization
As the garment industry expanded in the late 19th and early 20th centuries, standardized sewing techniques, including plain seams, were established. These techniques ensured consistency and quality in mass-produced clothing.
Modern Sewing Education
Today, plain seams remain a foundational sewing skill taught in sewing education and are used in a wide range of sewing projects, from clothing and home decor to quilting and crafts. The historical development of these seams has contributed to their enduring relevance in contemporary sewing practices.
The history of plain seams reflects their enduring importance in clothing construction and the evolution of sewing techniques over the centuries, from ancient civilizations to modern sewing education.
What Are The Types Of Seams?

There are various types of seams in sewing, each designed to serve specific purposes and accommodate different fabrics and project needs. Here are the types of seams:
Plain Seam
The plain seam, also known as a single or regular seam, is the most basic type. It involves joining two fabric pieces with their right sides together and sewing along the selected seam allowance using a straight stitch.
This seam is versatile and suitable for a wide range of fabrics and projects.
French Seam
A French seam is a method used to encase raw fabric edges, providing a clean and polished finish on both the inside and outside of a garment or item. It is often used with delicate or sheer fabrics to prevent fraying and adds an elegant touch to sewing projects.
Flat-Felled Seam
Commonly found in denim jeans and heavy-duty workwear, flat-felled seams are strong and durable. They involve sewing two fabric layers with right sides together, trimming one seam allowance, folding the remaining one over, and topstitching to create a flat, finished look.
Overlock Seam
Overlock or serged seams are commonly used for finishing edges on woven or knit fabrics. An overlocker or serger machine trims the seam allowance while simultaneously encasing it with a neat, overlocking stitch that prevents fraying.
Bound Seam
Bound seams involve enclosing raw edges with bias tape or binding. This type of seam adds strength and durability and is often used in quilting, home decor, and finishing raw edges in various sewing projects.
Lapped Seam
Lapped seams involve overlapping one fabric edge over another and stitching them together. They are commonly seen in traditional shirt plackets, cuffs, and certain tailored garments, providing a clean and finished edge.
Mock-French Seam:
A mock French seam is a simplified version of the French seam. It involves sewing the wrong sides together first, trimming the seam allowance, and then folding the fabric with the right sides together to encase the raw edges within a second seam, creating a cleaner interior finish.
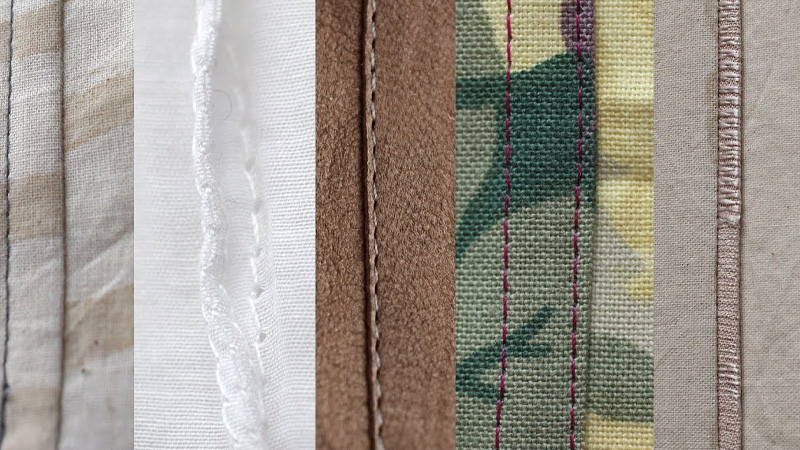
These types of seams offer a range of options for seam finishing, construction, and design in sewing projects, allowing you to choose the most suitable seam type based on your fabric, project requirements, and desired aesthetic.
FAQs
What fabrics are suitable for plain seams?
Plain seams work well with a wide range of fabrics, including cotton, linen, polyester, and lightweight wovens. However, heavier fabrics may require additional seam finishing techniques to prevent fraying.
How do I prevent puckering when sewing plain seams?
To prevent puckering, ensure proper tension on your sewing machine, use the correct needle size, and avoid pulling the fabric as you sew. Practice and a consistent seam allowance help, too.
What is the standard seam allowance for plain seams?
The standard seam allowance is typically 5/8 inch (1.5 cm), but it can vary depending on your project or pattern. Always follow the instructions provided with your sewing pattern.
Can plain seams be used for curved edges?
Yes, plain seams can be used for curved edges. Make small notches along the seam allowance to allow the fabric to curve smoothly without puckering.
How do I finish the edges of plain seams to prevent fraying?
To prevent fraying, you can use techniques like serging (overlocking), pinking, or applying a seam sealant along the raw edges of the seam allowance. This ensures a clean and secure finish.
Conclusion
As you’ve discovered in this guide, the humble plain seam is the cornerstone of sewing, offering the foundation upon which countless sewing projects are built.
Mastering this fundamental skill is essential for anyone seeking to create garments, crafts, or home decor items. A well-executed plain seam ensures both the structural integrity and aesthetic appeal of your creations.
Whether you’re stitching together the pieces of a garment, crafting beautiful quilts, or creating bespoke home decor, the knowledge of how to sew plain seams will empower you to bring your creative visions to life.
With precision and practice, you’ll be able to achieve clean, even, and sturdy seams, setting the stage for sewing projects that are as beautiful on the inside as they are on the outside.
Leave a Reply