You’ve probably ended up with acrylic paint on your glass windows or decorations at some point. Whether from a home renovation project gone awry or an enthusiastic child’s art session, acrylic paint can be tough to remove from glass surfaces.
It dries quickly and adheres strongly, making the task seem daunting. But don’t worry! It’s quite simple to clean up with the right tools and techniques.
The first step in any successful DIY project is understanding what you’re working with. Acrylic paint is water-based, which means it’s not as hard to remove as oil-based paints might be.
However, acrylic becomes plastic-like and water-resistant once dry – things get tricky. Thankfully, there are several methods for removing dried-on acrylic paint that I’ll cover in this article.
In short, yes, you can remove acrylic paint from the glass without damaging the surface underneath or resorting to harsh chemicals. So, let’s dive into how this magic happens.
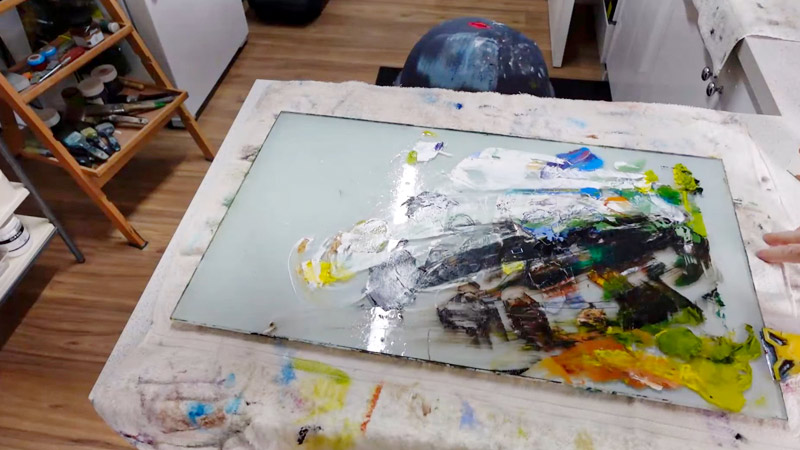
Understanding Acrylic Paint on Glass
Acrylic paint is popular with many artists and hobbyists due to its versatility. It’s water-based, making it easy to manipulate and clean up while still providing vibrant colors that can adhere well to various surfaces. One such surface is glass, but that’s where things get a bit tricky.
Working with acrylics on glass isn’t the same as using them on canvas or paper. When painting on these more common surfaces, the material absorbs some of the paint, helping it stick better and last longer. But glass? Well, it doesn’t offer the same level of absorption.
So why use acrylics on glass at all? The answer lies in our desire for creativity! Painting on glass can create stunning effects – think stained-glass window art or personalized mugs and vases.
However, there’s a catch (isn’t there always?). When acrylic paint dries up on a slick surface like glass, removing it without causing damage can be a task worthy of an art restorer! You’ll need patience and knowledge about how to approach this problem effectively.
Here are some key points about acrylic paint interacting with glass:
- Acrylic paint adheres superficially to glass surfaces.
- Unlike porous materials like canvas or wood, glass doesn’t absorb any of the medium.
- Therefore, removal techniques differ from those used for other substrates.
- Correct technique will minimize the risk of damaging your precious work.
Materials Needed for Acrylic Paint Removal
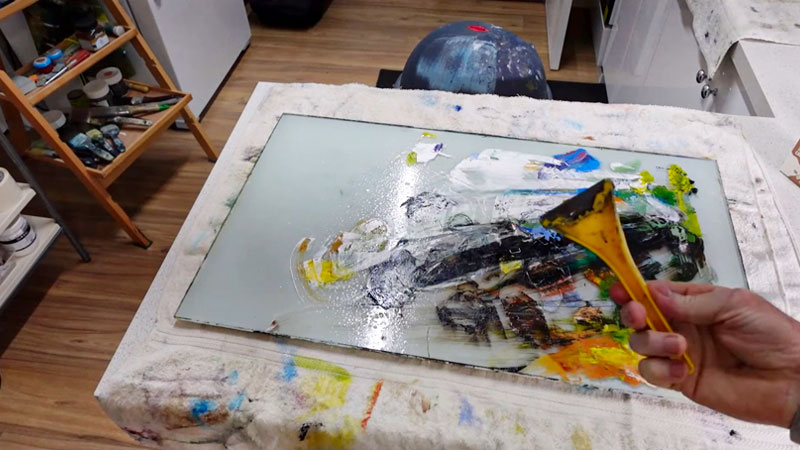
Ready to tackle that stubborn acrylic paint on your glass? I’m here to guide you through the process. But before we dive in, let’s gather all the necessary materials. Having these items on hand will make your job a whole lot easier.
First, you’ll need a basic item – a clean cloth or sponge. It doesn’t have to be anything special, just something that won’t scratch the glass. Next up is warm water and dish soap. These two are like Batman and Robin when loosening up dried paint.
Also, keep some rubbing alcohol or nail polish remover handy! They’re great at breaking down acrylic paint. Plus, they can help remove any leftover residue once most of the paint has been cleaned off.
Now, onto some specific tools: A razor blade or plastic scraper will be your best friend during this task. These tools are excellent at scraping away dried-on acrylic without damaging the glass underneath.
Lastly, don’t forget your safety gear! Protective gloves and glasses aren’t just for looks – they ensure you’re secure while dealing with sharp objects and chemicals.
Here’s a quick recap:
- Clean Cloth or Sponge
- Warm Water
- Dish Soap
- Rubbing Alcohol/Nail Polish Remover
- Razor Blade/Plastic Scraper
- Protective Gloves
- Safety Glasses
Armed with these materials and tips from yours truly, you’re well-equipped to strip that pesky acrylic from your glass surfaces! Stay tuned as we delve deeper into how to use these tools effectively in the next section.
Step-by-Step Guide to Removing Acrylic Paint from Glass
Removing acrylic paint from glass surfaces doesn’t have to be a daunting task. With the right approach and some household items, you can effectively clean off unwanted paint without damaging your glass. Here’s a step-by-step guide to help you tackle this challenge with confidence.
Step 1: Gather Your Materials
Before you start, make sure you have all the necessary items on hand:
- A razor blade or a utility knife for scraping the paint.
- Rubbing alcohol or nail polish remover to dissolve the paint.
- Soap and warm water are used to clean the glass afterward.
- A soft cloth or sponge for applying solutions and cleaning.
Step 2: Blot Wet Paint
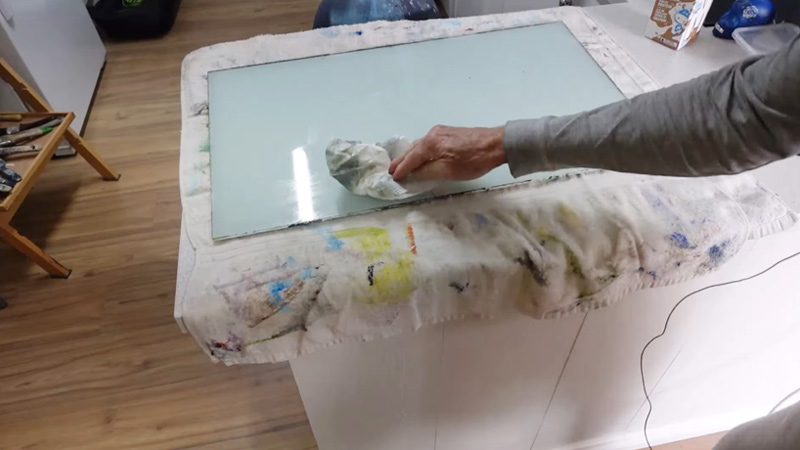
If you catch the spill while the paint is still wet, gently blot the area with a soft cloth or paper towel. Avoid rubbing or spreading the paint further across the glass surface. This initial step can significantly reduce the paint you’ll need to remove once it dries.
Step 3: Scrape Off Dried Paint
For dried paint, use your razor blade or utility knife. Care is key here:
- Hold the blade at a slight angle to minimize the risk of scratching the glass.
- Gently scrape the dried paint, working in small sections and using steady, controlled motions.
Step 4: Apply Rubbing Alcohol or Nail Polish Remover

Once you’ve removed as much paint as possible through scraping, it’s time to tackle any residue:
- Moisten a clean cloth or sponge with rubbing alcohol or nail polish remover.
- Gently rub over the remaining paint spots to dissolve and remove them. These solvents are effective at breaking down acrylic paint without harming the glass.
Step 5: Clean the Glass
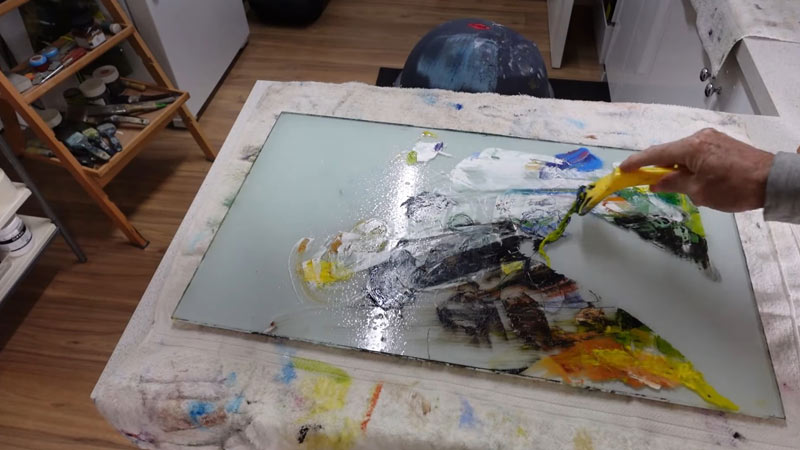
After removing all traces of paint, clean the glass surface:
- Mix soap with warm water to create a gentle cleaning solution.
- Use a soft cloth or sponge to clean the glass thoroughly, ensuring you remove any leftover solvent or paint residue.
- Rinse with clean water, if necessary.
Step 6: Dry the Glass
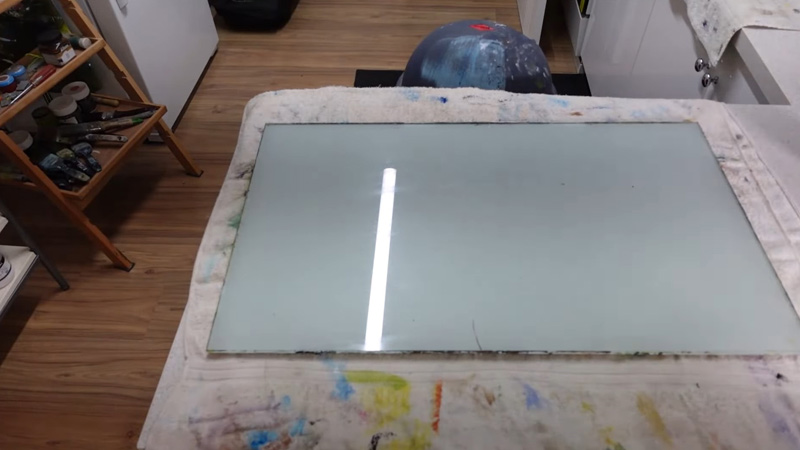
Finish by drying the glass with a clean, dry towel to prevent water spots and ensure a clean finish.
Tips for Success
- Patience is Crucial: Take your time with each step to avoid scratching or damaging the glass.
- Safety First: Wear protective gloves to protect your hands when using a razor blade or chemicals.
- Test First: If you’re using nail polish remover, especially one that contains acetone, test it on a small, inconspicuous area of the glass first to ensure it doesn’t etch or damage the surface.
Precautions and Tips for Effective Cleaning
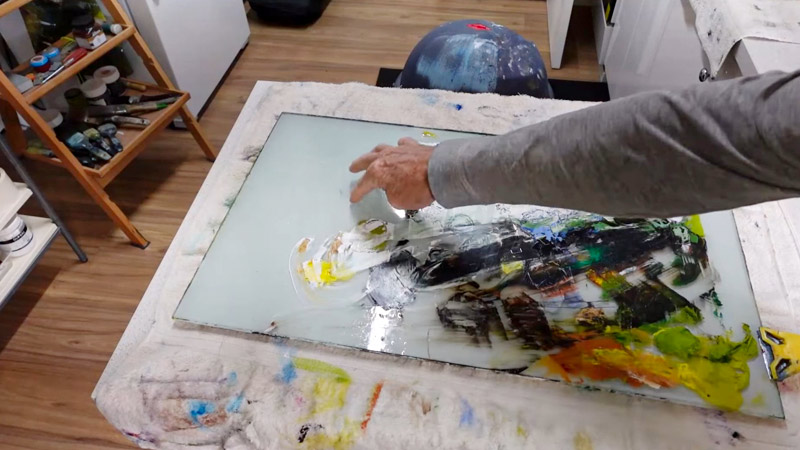
When embarking on removing acrylic paint from glass, it’s crucial to approach the process with care and caution to ensure not only the cleanliness of the surface but also your safety and the preservation of the glass itself.
Here are some important precautions and tips to follow for effective and safe cleaning:
Precautions:
- Wear Protective Gloves: Handling chemicals such as acetone and ammonia or rubbing alcohol can irritate or damage your skin. Protective gloves made of nitrile or latex can provide a barrier against these substances.
- Ensure Adequate Ventilation: Many paint removal agents emit fumes that can be harmful if inhaled, especially in enclosed spaces. Work in a well-ventilated area, such as an open room or outdoors, to minimize inhalation risks.
- Avoid Abrasive Tools: While using abrasive pads or steel wool to scrub off the paint might be tempting, these can easily scratch the glass. Stick to softer tools like plastic scrapers or blades specifically designed for use on glass.
- Protect Your Eyes: Splashes or debris are always risky when using sharp tools or chemicals. Wearing safety glasses can protect your eyes from harm.
Tips for Effective Cleaning:
- Test the Cleaning Method: Before applying any cleaner or solvent to a large area, test it on a small, inconspicuous glass section. This precaution ensures that the cleaner won’t damage or etch the surface.
- Allow Time for the Cleaner to Work: After applying the solvent (such as rubbing alcohol or nail polish remover) to the paint, give it enough time to break down the acrylic.
A waiting period of 10-15 minutes is usually sufficient for the solvent to penetrate and soften the paint, making it easier to remove. - Be Patient and Gentle: Rushing the process or applying too much force can lead to scratches on the glass or incomplete paint removal. Work gently and patiently, especially when scraping off the softened paint.
- Prepare for Multiple Attempts: Removing all traces of acrylic paint may require several rounds of application and removal, especially if the paint has been on the glass for a long time or is in a particularly thick layer. Persistence is key; don’t be discouraged if the first attempt doesn’t remove all the paint.
- Clean and Rinse Thoroughly: After removing the paint, clean the glass with a mild soap and warm water solution to remove any residual cleaner or paint particles. Rinse with clean water and dry with a soft towel for a streak-free finish.
Summary and Final Thoughts
I’ve walked you through removing acrylic paint from glass, which might initially seem daunting. But as you can see, it’s quite doable with the right tools and approach.
First off, remember that patience is key throughout this process. Rushing won’t get you anywhere and may cause more harm than good. Let’s recap on the steps:
- Start by scraping off as much paint as possible using a razor blade.
- Next is applying a commercial paint remover or DIY home solution like vinegar or rubbing alcohol.
- Allow time for these solutions to work on loosening the dried paint.
- Afterward, gently remove the softened paint with a scrub brush or sponge.
- Finally, clean your glass surface with soap and water for an appealing finish.
That said, I’d advise taking precautions when engaging in this task. Safety glasses protect your eyes from splashes, while gloves shield your hands from potential irritation from chemicals used.
The beauty of glass lies in its transparency and gleam. Don’t let unwanted acrylic paint stand between you and this charm! So go ahead – reclaim your clear sparkling windows or revive those old jar crafts gathering dust due to ugly dried-up paint blobs.
Remember, each scenario presents unique challenges; a large window pane isn’t exactly similar to a small decorative item like a vase. Therefore, be flexible in approach – what works best could vary depending on the specifics you’re dealing with.
Leave a Reply