When you’re in a sewing project, a serger that refuses to form a chain of stitches can be a vexing challenge. This malfunction disrupts the fluidity of your creative process and can leave you feeling frustrated.
However, fret not, as there are several common reasons behind this issue, each with its corresponding solution. This guide will delve into the complexities of troubleshooting a serger that won’t make a chain.
We’ll explore the intricacies of threading, tension adjustments, needle health, and other critical factors.
By the end, you’ll be equipped with the knowledge needed to diagnose and resolve this problem, allowing your serger to produce those clean and professional stitches again.
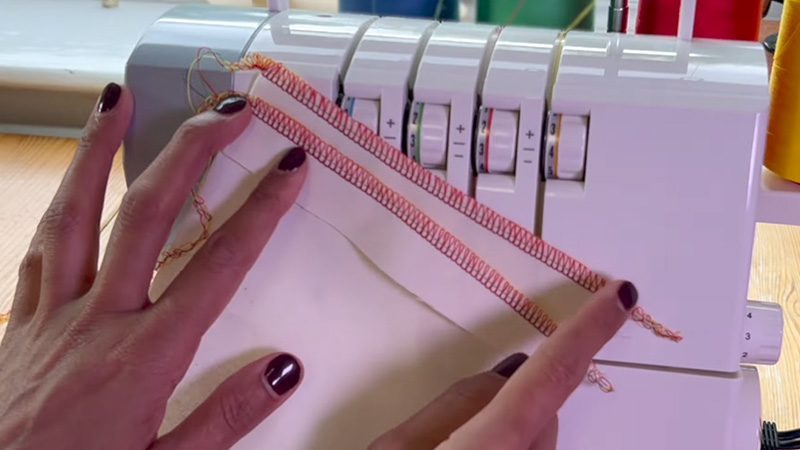
Common Reasons for Serger Not Making Chain Stitch
A serger, or an overlocker, is a specialized sewing machine that creates clean and professional-looking seams and edges on fabric.
Users may encounter a common issue when their serger doesn’t make a chain of stitches.
This can be frustrating, but there are several reasons why this problem might occur:
Threading Errors
Threading a serger can be intricate, with multiple thread paths and guides. Pay close attention to the threading diagram in your serger’s manual, ensuring that each thread is correctly passed through every designated guide.
Start with the upper looper, the lower looper, and finally, the needles. Take extra care to ensure the threads are seated correctly in the tension discs.
Thread Tension Issues
Tension plays a crucial role in the serging process. Imbalanced tension can lead to various problems, including a failure to create a chain.
Check the tension dials for both the upper and lower loopers. It’s often helpful to start with the tension settings recommended for the fabric you’re working with.
Make slight adjustments if necessary, remembering that small changes can significantly affect the quality of stitches.
Needle Issues
The condition of your needles is vital for a properly functioning serger. Examine them closely for any signs of damage, such as bends or blunted tips.
If you find any issues, replace the needles promptly. Ensure that the needles are installed correctly and appropriately for the fabric used.
Thread Quality
The quality of the thread you use can significantly impact the serging process. Cheaper or old, brittle thread is more likely to break or cause other issues.
Invest in good-quality serger thread that matches the requirements of your fabric. If your thread is ancient, consider replacing it to ensure smooth stitching.
Thread Path Obstructions
Over time, lint, stray fibers, and even broken threads can accumulate in the serger’s thread path. This can obstruct the flow of thread and hinder the formation of stitches.
Regularly clean the thread path, paying close attention to the tension discs, thread guides, and the area around the loopers. Use a small brush or compressed air to remove any debris.
Tension Release
Some sergers have a tension release lever or knob that allows for easier threading. It temporarily disengages the tension discs. After threading, make sure to return this lever or knob to its original position for proper tension control during stitching.
Stitch Length Settings
The stitch length setting influences the distance between stitches. If it’s set too short, the serger might struggle to form a chain. Adjust the stitch length to a more extended setting, especially if you’re working with thicker fabrics.
Looper Timing
In more advanced sergers, the timing of the loopers can be a critical factor in achieving proper stitches. Over time, the timing might need adjustment due to wear and tear.
If you’ve tried all other troubleshooting steps and the issue persists, it’s advisable to consult a professional technician who can check and adjust the looper timing.
Machine Maintenance
Regular maintenance is crucial for a smoothly operating serger. This includes cleaning the machine, oiling the necessary parts, and ensuring all mechanisms are in good condition.
Refer to your serger’s manual for specific maintenance instructions and follow them diligently.
Thread Type Compatibility
Ensure that you’re using the correct type of thread for your serger. Some machines are designed for specific thread types, and using the wrong kind can lead to stitching problems. Consult your serger’s manual or manufacturer for recommendations on compatible thread types.
How Do You Fix Your Serger Make Chain?
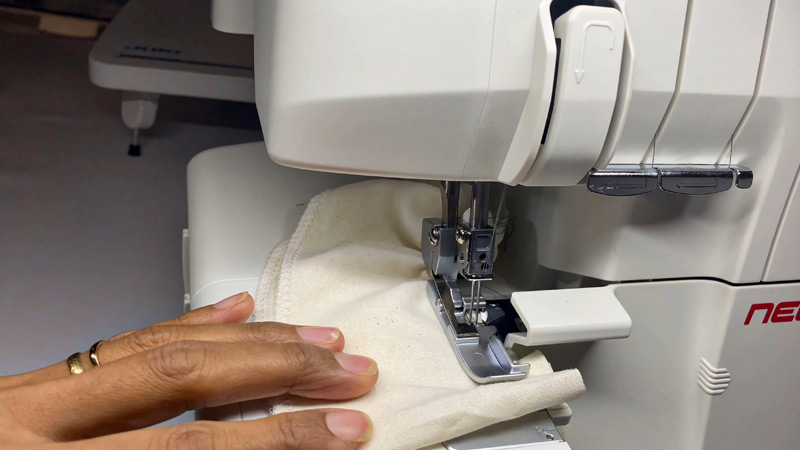
When your serger is not forming a chain, there are several steps you can take to troubleshoot and potentially fix the issue.
Follow these steps in order, and check after each one to see if the problem has been resolved:
Turn Off the Serger
Before troubleshooting, it’s crucial to ensure the serger is powered off and disconnected from the electrical outlet. This is a safety precaution to avoid any accidental mishaps during the process.
Review the Threading
Threading a serger can be a complex process with multiple paths and guides. Consult your serger’s manual for a detailed threading guide.
Take your time to thread each component, starting with the upper looper, then the lower looper, and finally the needles. Ensure the threads are securely seated in every designated guide and tension disc.
Check Thread Tension
Proper tension is vital for achieving clean and balanced stitches. Begin with the recommended tension settings for your fabric, as indicated in your manual.
Make minor adjustments as needed, noting that even slight changes in tension can lead to noticeable improvements in stitch quality.
Inspect the Needles
Carefully scrutinize the condition of the needles. Look for any signs of damage, such as bends, nicks, or blunted tips. If you find any issues, replace the needles promptly with new ones compatible with the fabric you’re working on.
Use Quality Thread
Opt for high-quality serger thread that matches the requirements of your fabric. Cheaper or old, brittle thread is more likely to break or cause other issues. Replacing any thread that shows signs of wear or deterioration is advisable.
Clean the Thread Path
Over time, lint, stray fibers, and broken threads can accumulate in the serger’s thread path, impeding the smooth flow of the thread.
Meticulously clean the entire thread path using a small brush or compressed air. Pay close attention to the tension discs, thread guides, and the area around the loopers.
Reset Tension Release
When your serger features a tension release lever or knob, ensure it’s returned to its regular position after threading.
This lever temporarily disengages the tension discs to facilitate easier threading. Returning it to its original position is crucial for proper tension control during stitching.
Adjust Stitch Length
Depending on the fabric thickness, you may need to adjust the stitch length to a more extended setting. This can help the serger form stitches more effectively, especially with denser or heavier materials.
Consider Looper Timing
In advanced sergers, the timing of the loopers is a critical factor in achieving proper stitches.
If you’ve tried all other troubleshooting steps and the issue persists, consulting a technician who can check and adjust the looper timing may be necessary.
Perform Regular Maintenance
Regular maintenance is essential for the smooth operation of your serger. Follow the maintenance instructions outlined in your serger’s manual.
This includes cleaning the machine, oiling the necessary parts, and ensuring all mechanisms are in good condition.
Test with Scrap Fabric
After completing the above steps, use scrap fabric to test the serger. This will help you assess whether the issue has been resolved and if the serger is forming a chain of stitches.
Serger Model-Specific Solutions
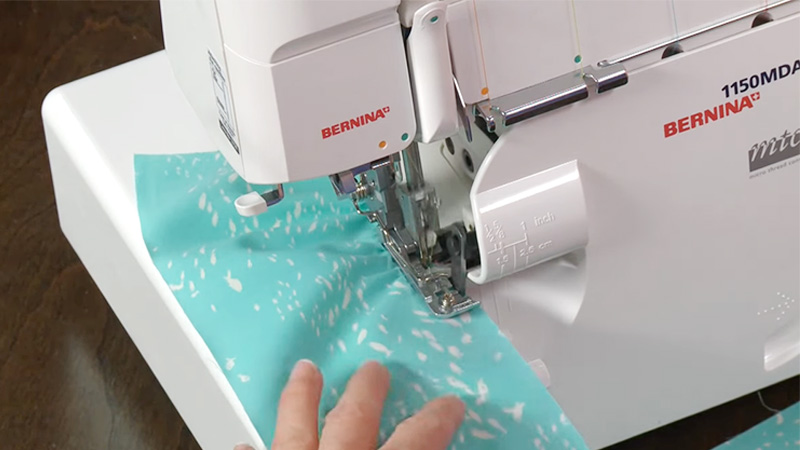
Each serger model has unique features and intricacies, which can lead to specific issues during operation.
In this guide, we’ll address common problems encountered with specific serger models and tailored solutions to help you get back to smooth and precise stitching.
Below are specific problems and corresponding solutions for different serger models:
Janome 8002D Serger
- Problem: The thread Keeps Breaking
Solution: Ensure the thread is correctly threaded through all the guides and tension disks. Check for any knots or tangles in the thread. Additionally, use high-quality thread suitable for your fabric. - Problem: Uneven Stitches
Solution: Gradually adjust the tension dials, starting from the default setting. Test on scrap fabric until you achieve even stitches. Also, check if the needles are correctly aligned and in good condition. - Problem: Fabric Puckering
Solution: Adjust the differential feed dial. Increase for stretchy fabrics and decrease for lightweight fabrics to minimize puckering.
Brother 1034D Serger
- Problem: Looper Thread Breakage
Solution: Ensure the loopers are correctly threaded. Check for any obstructions in the threading path. Use good-quality thread to reduce breakage. - Problem: Skipped Stitches
Solution: Inspect the needles for damage and ensure they are correctly inserted. Adjust the needle thread tension if needed. Also, consider replacing the needles. - Problem: Gathering Fabric
Solution: Adjust the differential feed. Reduce for less gathering and increase for more gathering.
Singer ProFinish 14CG754 Serger
- Problem: Fabric Puckering
Solution: Adjust the tension dials for both the upper and lower loopers. Test on scrap fabric until the puckering is minimized. Also, ensure the needles are aligned correctly. - Problem: Needle Jamming
Solution: Inspect for any bent or damaged needles. Ensure they are compatible with the fabric you’re using. Replace if necessary. - Problem: Thread Skipping
Solution: Check for any lint or debris in the needle area. Make sure the needles are securely inserted.
Juki MO-654DE Serger
- Problem: Uneven Stitch Length
Solution: Adjust the differential feed settings to achieve even stitches on different fabric types. Check if the needles are inserted correctly. - Problem: Looper Timing Issues
Solution: If you notice that the loopers are not moving in sync, it may require professional adjustment. Contact a technician for servicing. - Problem: Thread Breakage
Solution: Check for any sharp edges on the threading path that may be causing the thread to break. Smooth out any rough spots.
Baby Lock Imagine Wave Serger
- Problem: Stitch Length Irregularities
Solution: Adjust the differential feed settings for consistent fabric stitch lengths. Check if the needles are correctly inserted and aligned. - Problem: Tension Imbalance
Solution: Use the tension dials to balance the tension for upper and lower loopers. Test on scrap fabric for optimal results.
Tips and Considerations
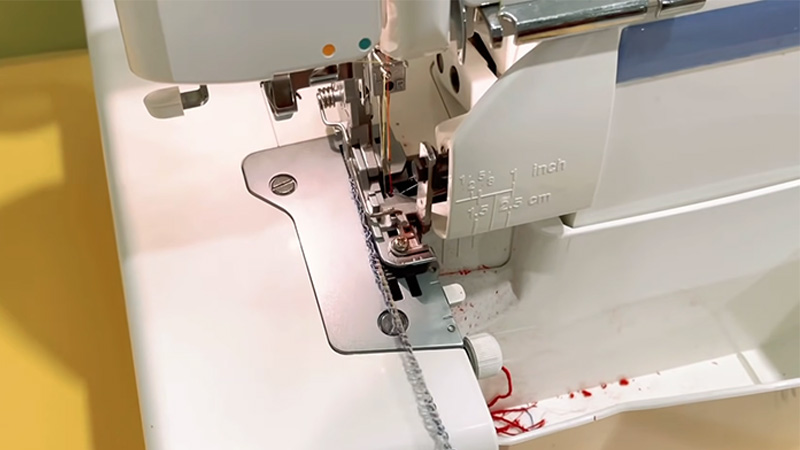
When using a serger, whether you’re a beginner or an experienced sewist, there are several essential tips and considerations to remember. Sergers can be incredibly versatile and efficient tools but have unique challenges.
Here are some key insights to help you make the most of your serging experience:
Threading Mastery
Mastering the art of threading your serger is paramount. Refer to your serger’s manual for precise instructions. Pay close attention to the threading order, ensuring that threads are correctly seated in tension disks and loopers.
Test on Scrap Fabric
Before diving into your main project, always test your serger settings on scrap fabric. This practice helps you fine-tune thread tensions, stitch lengths, and other settings to achieve the desired results.
Choose the Right Thread
Invest in high-quality serger thread suitable for your fabric type. Cheap or old threads can lead to issues like breakage and inconsistent stitches.
Adjust Differential Feed
The differential feed controls the movement of fabric layers. Use it to your advantage when working with different fabrics. Increase it for gathering and lightweight materials, and decrease it for stretchy fabrics to prevent distortion.
Needle Selection
Select the correct needles for your project. Universal or ballpoint needles work well for woven fabrics, while stretch needles are ideal for knits. Replace dull or damaged needles promptly.
Maintain Your Serger
Regular maintenance is crucial. Clean the machine, remove lint, and oil it as your manual recommends. This helps extend the lifespan and performance of your serger.
Stitch Length and Width
Adjust the stitch length and width to suit your project. Shorter stitches provide more secure seams, while longer stitches are suitable for gathering or decorative effects.
Tension Troubleshooting
If you encounter tension issues, such as loose or tight stitches, don’t panic. Refer to your manual for guidance on adjusting thread tensions. Make minor adjustments and test until you achieve balanced stitches.
Practice Rolled Hems
Rolled hems are a serger specialty. Practice this technique on various fabrics to perfect your rolled hemming skills. It’s a handy feature for finishing edges neatly.
Troubleshooting Beyond Basic Fixes
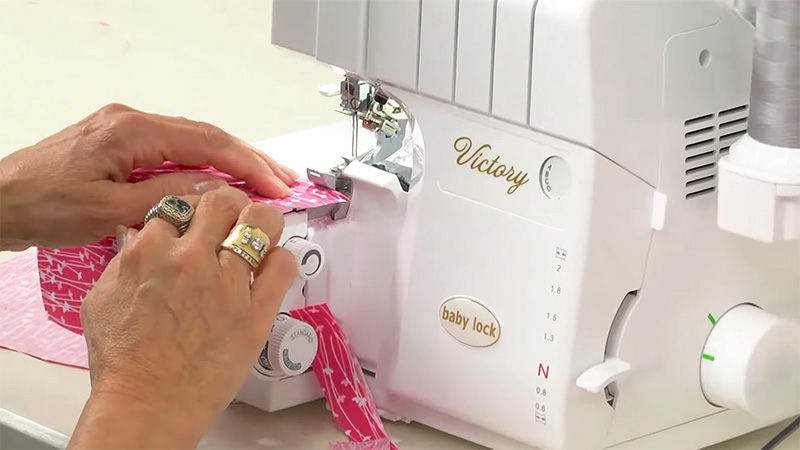
When troubleshooting issues with your serger that go beyond basic fixes, it’s essential to be systematic and thorough.
Here’s a guide on how to address more complex problems:
Identifying the Issue
Start by closely examining the serger and the stitching it’s producing. Try to pinpoint the exact nature of the problem. Is it related to thread tension, stitch formation, or something else?
Consult the Manual
Refer to your serger’s manual for troubleshooting guidance specific to your machine’s make and model. Manufacturers often provide detailed troubleshooting instructions tailored to their sergers.
Check Thread Paths
Inspect the entire thread path, from the spools to the needles and loopers. Look for any obstructions, tangled threads, or improperly seated threads. Make sure the threading is correct and secure.
Looper Timing
When you suspect timing issues, it’s advisable to consult a professional technician. The timing of the needles and loopers in a serger is a precise mechanism and requires expert adjustment.
Tension Problems
When adjusting thread tension doesn’t resolve the issue, it may be a more complex problem. Consider cleaning the tension disks and guides thoroughly. If tension problems persist, consult a technician.
Stitch Irregularities
When experiencing irregular stitches like skipped stitches or loops, it’s essential to check the condition of the needles. Make sure to replace any damaged or bent needles and ensure they are inserted correctly.
Strange Noises or Vibrations
Unusual noises or excessive vibrations could indicate a mechanical issue. Inspect the machine’s moving parts, including the knife, for any loose or damaged components. If necessary, seek professional repair.
Fabric Handling Problems
When the serger struggles to feed or handle fabric properly, examine the feed dogs and differential feed settings. Ensure they are clean and correctly adjusted for your fabric type.
Seek Professional Help
When you’ve exhausted your troubleshooting options, and the issue persists, or if you’re uncomfortable performing advanced repairs, it’s best to consult a technician specializing in serger servicing. They have the expertise to diagnose and address complex problems.
Regular Maintenance
Establish a routine maintenance schedule for your serger to prevent complex issues from arising. Regularly clean and oil the machine, replace needles, and watch for wear and tear on essential components.
FAQs
Why won’t my serger form a chain of stitches?
There could be several reasons, including threading errors, tension issues, needle problems, or maintenance needs.
How do I know if my needles are causing the issue?
Inspect the needles for any bends or damage. Replace them if needed and ensure they’re correctly inserted.
Can thread quality affect the serger’s performance?
Yes, using low-quality or old threads can lead to problems. Investing in good-quality thread can make a significant difference.
What should I do if adjusting tension doesn’t work?
If tension adjustments don’t solve the issue, consider checking for obstructions in the thread path or consulting a professional technician.
How can I prevent this issue in the future?
Regular maintenance, including cleaning, oiling, and replacing needles, can help prevent such problems. Following manufacturer guidelines is also crucial.
Wrap Up
Troubleshooting a serger that won’t make a chain of stitches demands patience, attention to detail, and a systematic approach. We’ve explored the myriad reasons behind this issue, from threading errors to tension imbalances and beyond.
By meticulously inspecting your serger, making necessary adjustments, and conducting thorough tests, you can often identify and resolve the problem.
Additionally, regular maintenance and adherence to manufacturer guidelines can help prevent such issues in the first place.
Remember, while the intricacies of sergers may seem daunting, with practice and understanding, you can conquer any challenge, ensuring that your serger consistently produces those beautifully finished seams and edges.
Leave a Reply