So far, we have our collections on sewing, different threads & knots. But do you know, you have to deal with a number of symbols to beautifully craft the sewing pattern?
We all know sewing patterns are the blueprint to create beautiful garments and be as creative as you want. However, can’t say the same for beginners!
Often the details of the sewing pattern may seem like a puzzle that’s hard to solve for the beginners. But what are we for? Here’s our sewing pattern symbols guide.
Follow our article and by the end of our guide, you will know better about sewing patterns and the symbols you often face but don’t recognize soon!
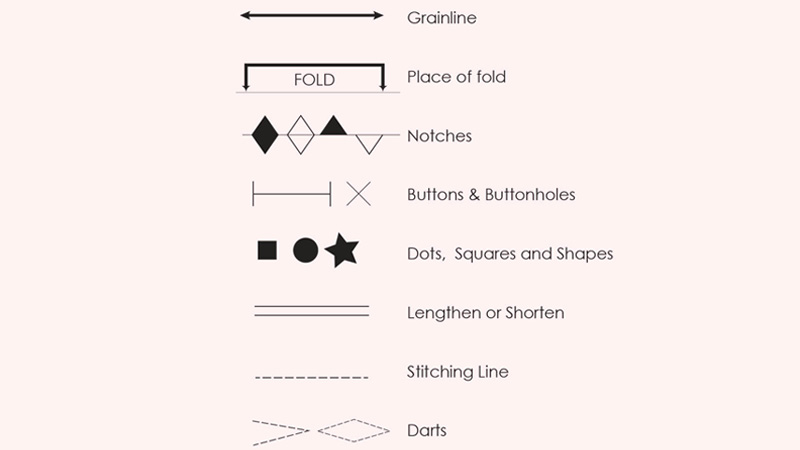
What Are Sewing Pattern Symbols?
To draw the blueprint well, you have the sewing pattern symbols to assist you. The symbols help you match the fabric pieces together, and cut and sew better.
We have had our research and now, came up with the common pattern symbols you may need to use often to draw the patterns.
1) Grainline Symbol (→)
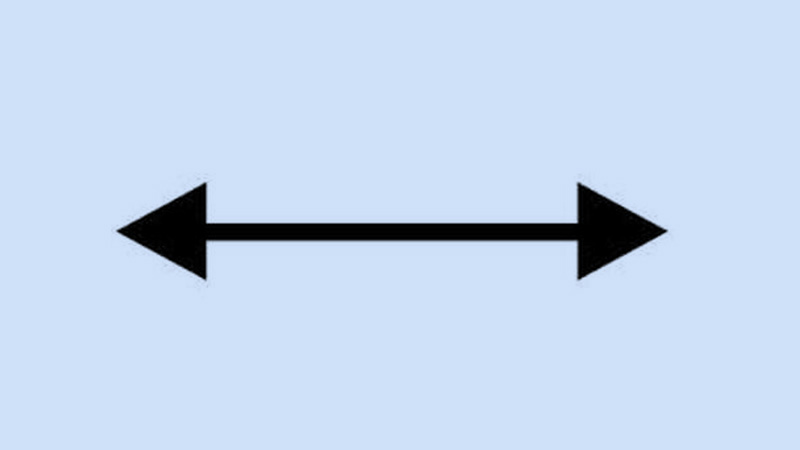
Earlier, we had a pretty long tour of fabric grainlines and why it’s so important. But we also have a symbol for it.
The grainline symbol is a simple arrow (→). It points out the direction in which you should align the pattern piece with the grain of the fabric.
The symbol helps you align the pattern right with the fabric’s grain. And with the perfect alignment, your garment drapes correctly and doesn’t stretch or distort.
2) Cutting Line
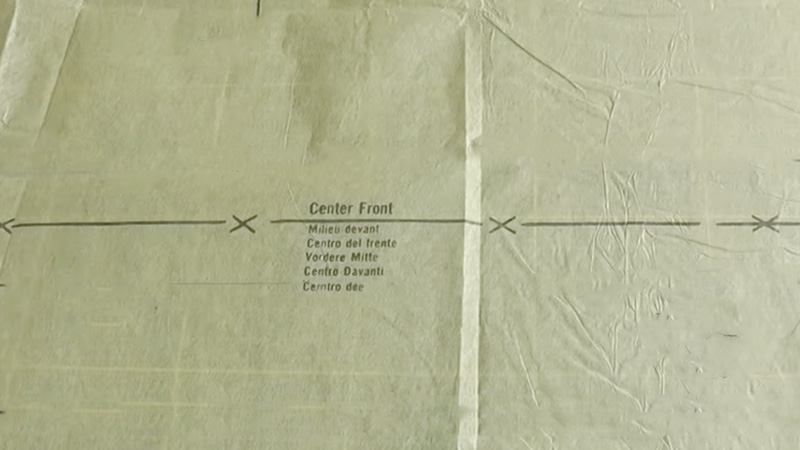
It is a solid line around the pattern piece. It indicates where you should cut the fabric to create the garment piece.
We have a dotted or solid line with a scissors image to represent the cutting line.
3) Seam Allowance
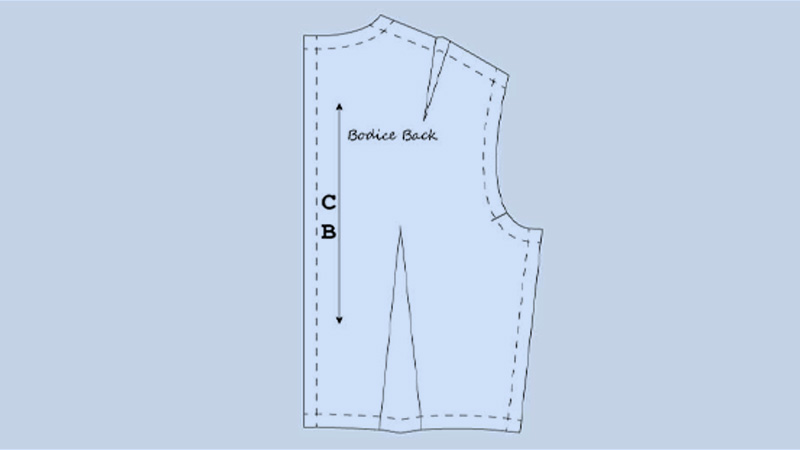
It is the extra fabric area beyond the cut line and makes room for sewing seams. Most sewing patterns typically specify the seam allowance a user might need. Generally, common seam allowances are 1/4 inch, 1/2 inch, or 5/8 inch.
4) Notch
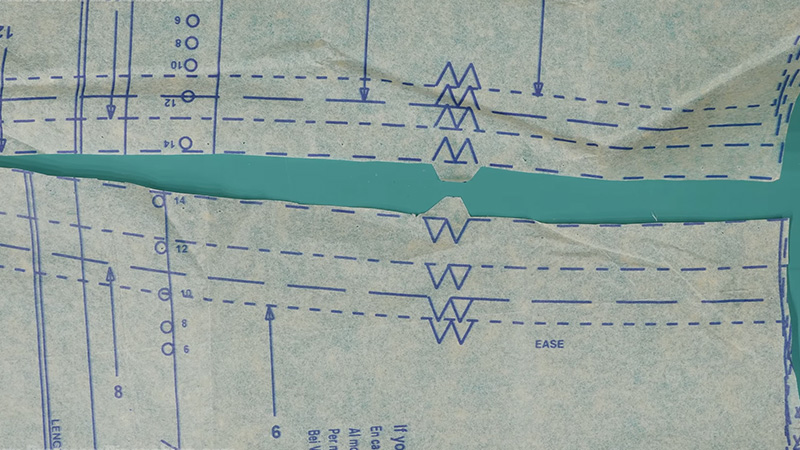
In terms of sewing, notches are the small triangles or diamonds along the edges of pattern pieces. They help align and match respective pieces during assembly.
Often matching notches on your sleeve double sure that you have the threads in the right position. So yes! We represent the notches with small triangle or diamond shapes.
Note that, when you pin the pattern pieces together, notches have to line up against one another. However, if they don’t, it can be any of the four reasons pointed out below,
- You are holding up the wrong pattern pieces.
- You haven’t aligned the pattern pieces properly.
- An issue with the fabric. Perhaps, it’s stretched or distorted.
- You forgot to copy and mark the notches accurately.
Notches match and if they don’t, you have to find the reason underneath and solve it.
5) Dots (.)
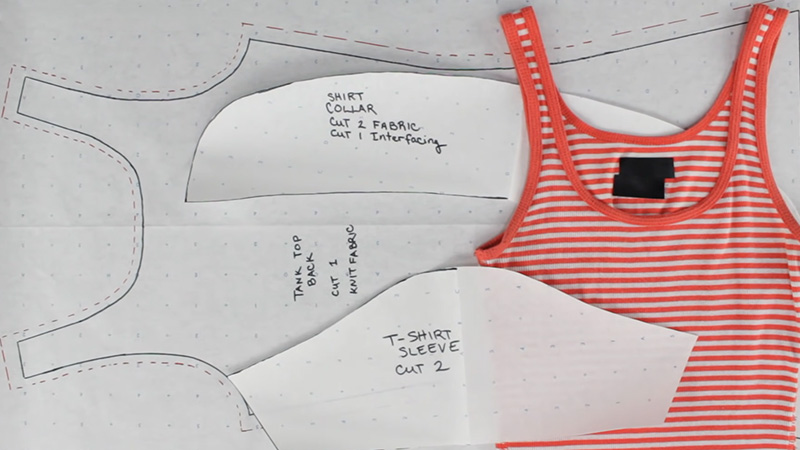
The most commonly used are the dots. Not a single sewing pattern you will come by, that doesn’t use the dots.
Dots indicate specific points where you should take action, such as matching two pieces or creating pleats or darts.
You can draw dots either in solid or hollow. The difference indicates whether you should take action on the right or wrong side of the fabric.
6) Fold Line (—-)
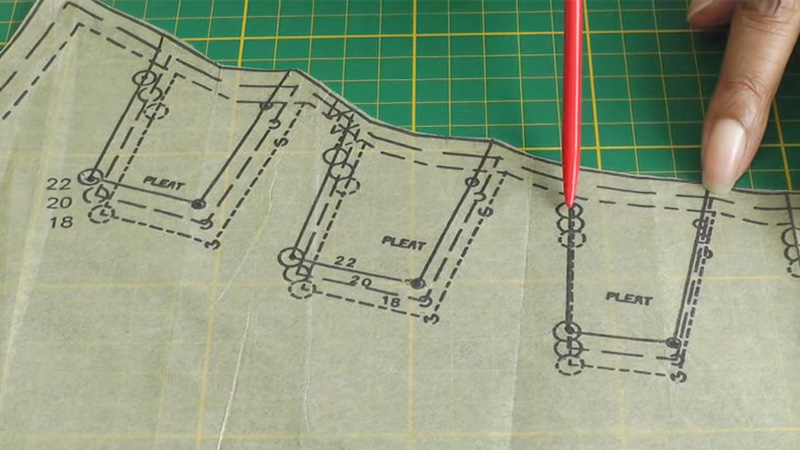
A dashed line with arrows on both ends represents a fold line. This symbol points out that you should fold the fabric along this line when cutting. You can typically create symmetrical pieces or eliminate the need for a seam following the fold line.
7) Placement Lines
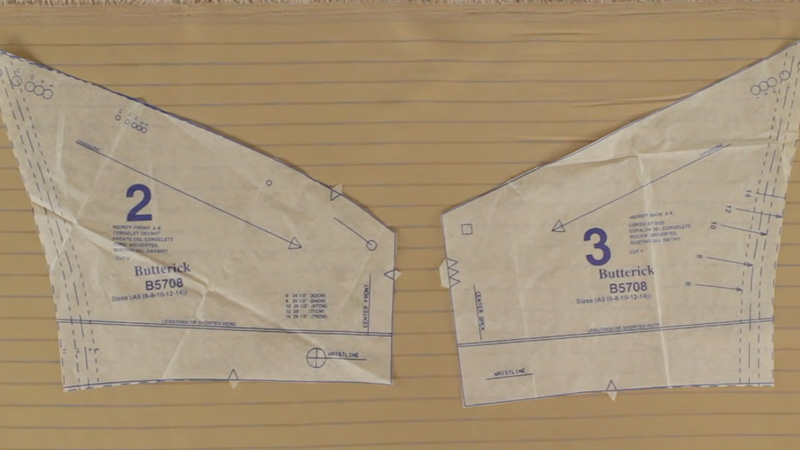
They are simple dashed lines on pattern pieces to help you with the placement of elements like pockets, buttons, or appliques. The placement lines often make it easier for you to fit the elements right on your garment.
8) Hem Line (– – – –)
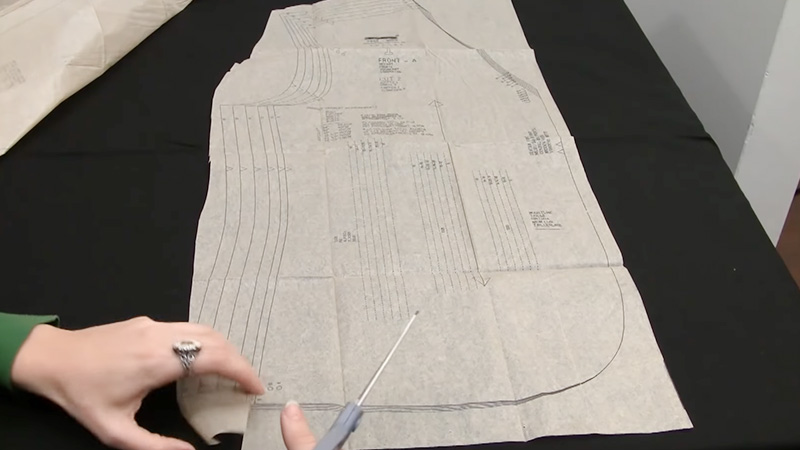
A series of short, evenly spaced dashes, is the Hemline. It is where you fold and sew to finish the raw edge of a garment. Hemlines keep your garment clean and polished while you do the other work.
9) Markings
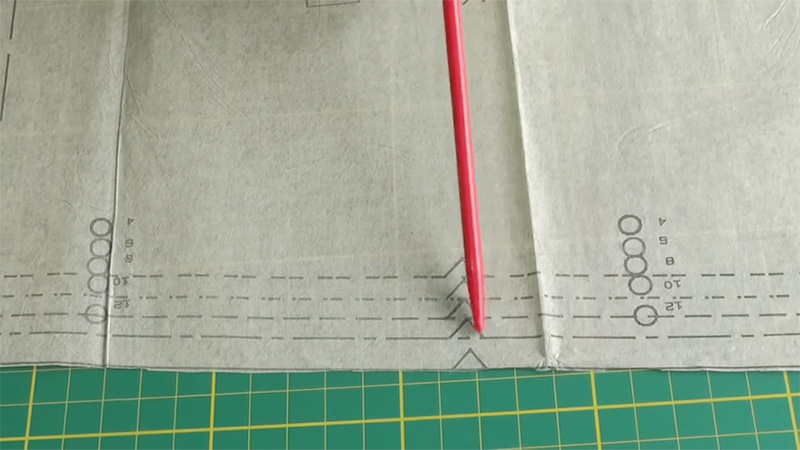
You will have to deal with different markings too along with symbols of the sewing patterns. Some common markings are,
- Size Marking
Sewing patterns usually contain multiple size options. Each size varies by a distinct line style or color. Follow the markings and make sure you are on the right track. - Center Front/ Back Marking
To align pattern pieces correctly along the center of a garment, look for the center front (CF) and center back (CB) markings. The two markings help maintain symmetry in your sewing style.
10) Button Symbols
We use ‘X’ to represent the buttonholes and a circle for the buttons. The symbols indicate where to sew buttonholes and attach buttons for closures.
12) Darts
You may also notice large diamonds or triangles, unlike the smaller ones for notch. The large triangles extend from your bust to hips and we call it the darts.
The dart fits the curve of your body. And when you sew, it adds dimension to your fabric. Many of us place dots at the tip and seam allowances of the fabric. However, some have a narrow, solid line running along the center as well.
Here are a few common symbols you should know to practice the sewing pattern. But there is more to the collection.
As a beginner, you should start with the most common symbols you need to use in your daily life and then, further proceed to the advanced ones.
Last Words
We are almost at the end of our article. Here end our sewing pattern symbols guide with the 12 most common symbols every beginner should know!
Do you think we missed any important pattern symbol that should have been on the list? Feel free to let us know in the comment section. We will be glad to assist!
Also, don’t forget to share our article with your friends who can utilize the pattern symbols in their daily sewing practice! Good luck to the beginners!
Leave a Reply