Punch needle embroidery is a captivating craft that allows artists to create stunning textured designs.
Mastering this technique requires a blend of skill, patience, and attention to detail. To help you embark on your punch needle journey or refine your existing skills, we’ve compiled a set of valuable tips.
These insights cover everything from selecting the right materials and perfecting punching techniques to experimenting with color and texture.
Whether you’re a novice or a seasoned embroiderer, these tips will empower you to create intricate and visually captivating punch needle projects. Embrace this art form and let your creativity flourish with our expert guidance.
What is Punch Needle Embroidery?
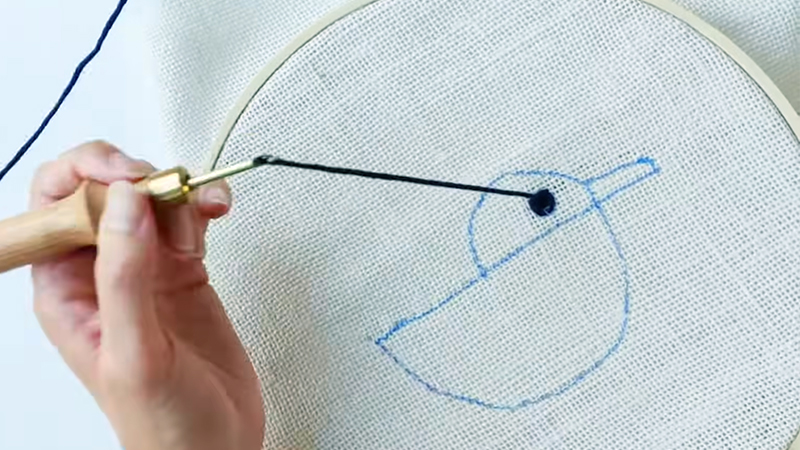
Punch needle embroidery is a textile art form that involves creating intricate, textured designs using a specialized tool called a punch needle. It works by pushing the needle through a tightly woven fabric, creating loops on the opposite side.
These loops form a raised, velvety surface that adds depth and dimension to the design. The punch needle tool can be adjusted to control the length of the loops, allowing for varying textures and patterns.
This craft is known for its versatility, allowing artists to produce a wide range of designs, from geometric patterns to intricate landscapes. Punch needle embroidery has gained popularity for its accessibility and ability to yield stunning, tactile creations.
Tips for Punch Needle Embroidery?
Punch needle embroidery is a versatile and enjoyable craft that allows you to create intricate designs with a textured, raised finish.
Whether you’re a beginner or an experienced embroiderer, these tips can help you achieve beautiful results in your punch needle projects:
1. Select the Right Materials
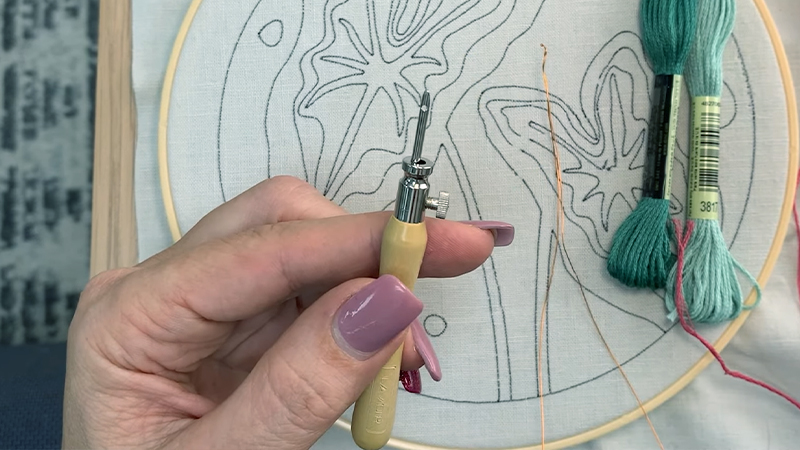
- Needles: Choose a punch needle tool with an adjustable depth setting to control the height of your loops. Different needle sizes are suitable for various yarn weights.
- Fabric: Use a tightly woven fabric like monks cloth or punch needle fabric to prevent the loops from pulling through.
- Yarn: Opt for yarn that is smooth, strong, and doesn’t easily fray. Embroidery floss or specialty punch needle yarns work well.
2. Select the Appropriate Fabric
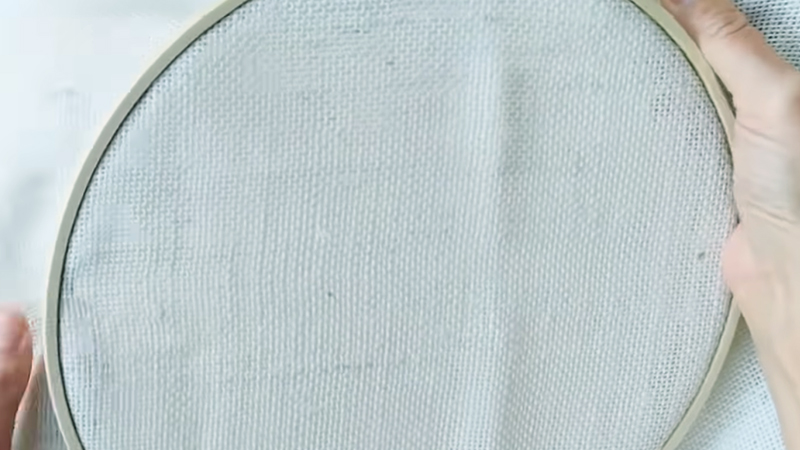
The choice of fabric is pivotal in punch needle embroidery. Opt for tightly woven, natural fabrics like monk’s cloth or weaver’s cloth.
Their tight weave provides a stable foundation for your punching, preventing loops from slipping or becoming uneven.
3. Familiarize Yourself with Punch Needle Types
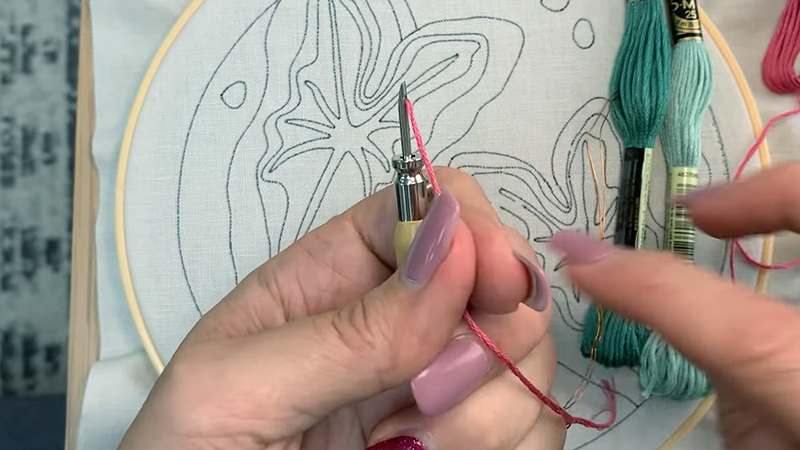
Understanding the different types of punch needles is crucial. There are adjustable and non-adjustable varieties.
Adjustable needles offer versatility in loop height, allowing for a wider range of textures in your designs. Non-adjustable needles have a fixed loop height, making them ideal for specific styles or projects.
4. Pay Attention to Yarn Selection
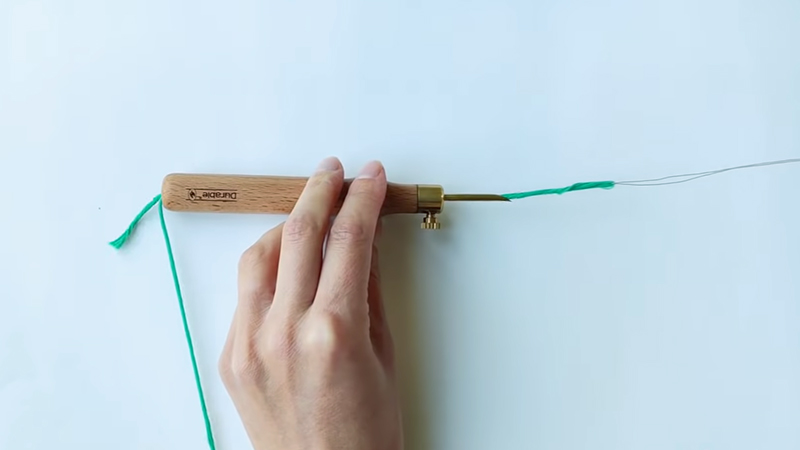
The selection of yarn or thread is a creative decision that can greatly influence the outcome of your project.
Consider the texture, thickness, and color of the yarn. Finer yarns allow for intricate detailing, while bulkier yarns produce more pronounced textures. Ensure that the chosen yarn can easily pass through the eye of your needle.
5. Practice Proper Thread Tension
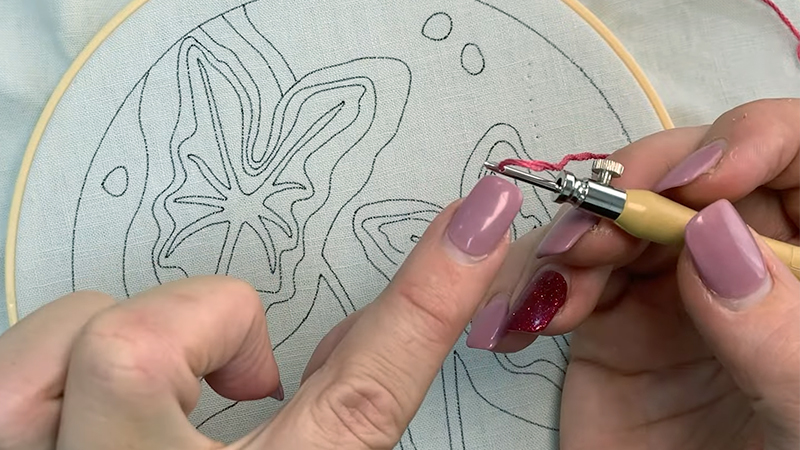
Achieving consistent thread tension is crucial for uniform loops. This may require some experimentation with the tension settings on your punch needle tool.
Avoid overly loose or tight stitches, as they can disrupt the overall look and feel of your embroidery.
6. Begin with Simple Designs
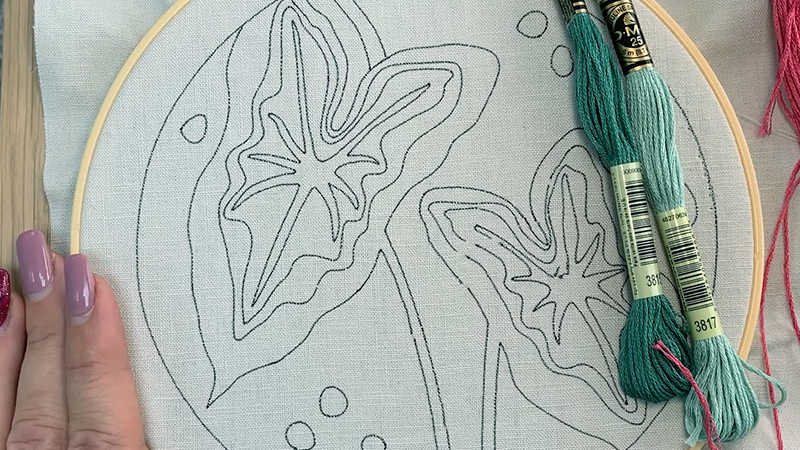
For those new to punch needle embroidery, starting with straightforward patterns or motifs is recommended.
This allows you to focus on mastering the technique before moving on to more intricate designs.
7. Use a Stencil or Transfer Pattern
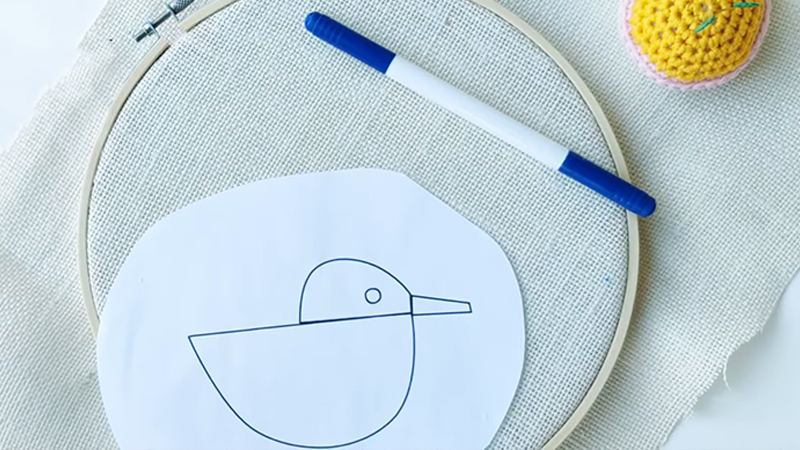
Transferring your chosen design onto the fabric is an important step. It ensures accurate placement and guides your punching.
You can use stencils, transfer paper, or iron-on patterns to make this process easier and more precise.
8. Maintain a Steady Pace
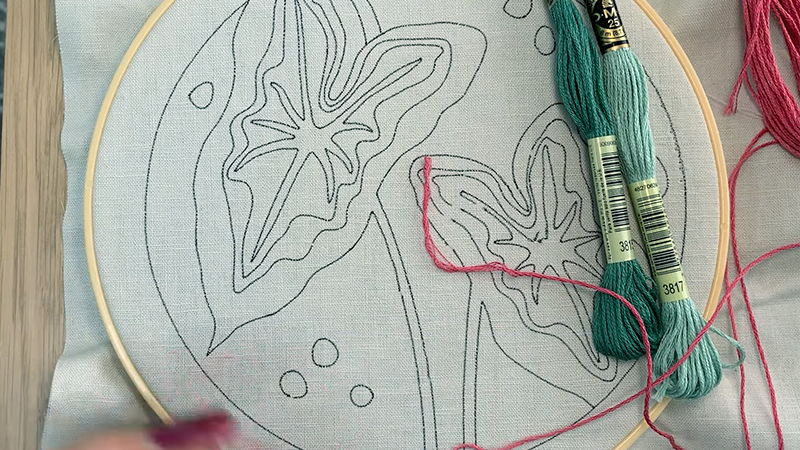
Consistency in punching speed is crucial for achieving even stitches. Avoid rushing through the process, as it can lead to uneven loops and a less polished finish. Take your time, and let the rhythm of your crafting flow naturally.
9. Secure Loose Ends
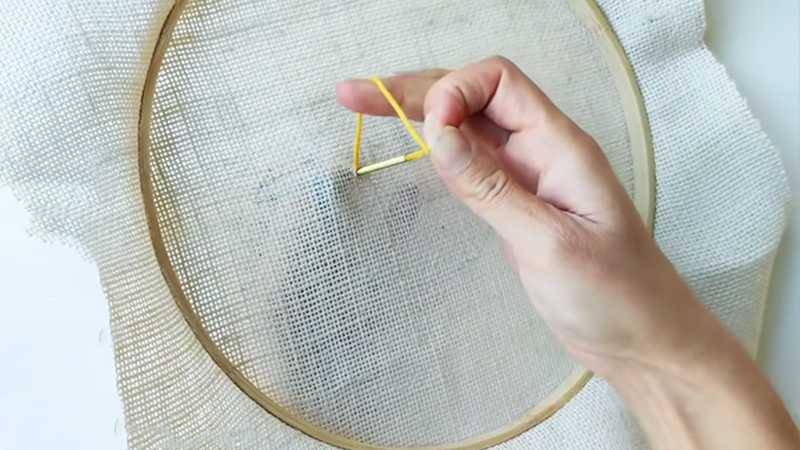
When changing colors or finishing a thread, always secure loose ends at the back of your work. This prevents any unraveling and ensures a neat and finished appearance.
10. Be Mindful of Needle Depth
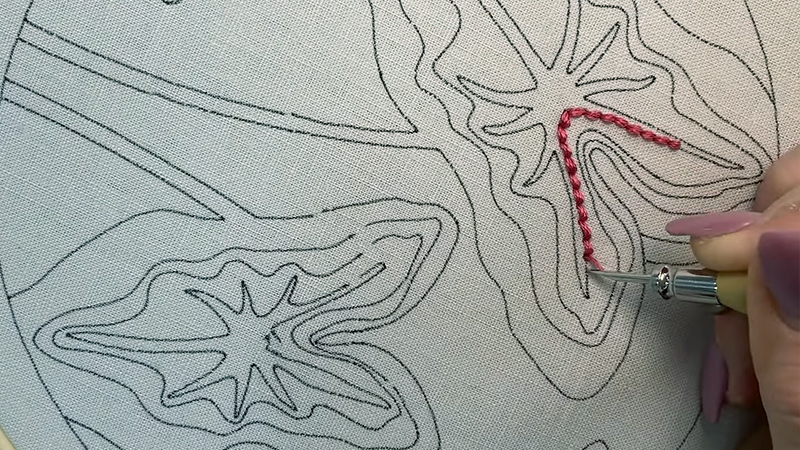
Adjusting the depth of your punch needle is essential. It determines the height of your loops.
Deeper punches create longer loops, while shallower ones produce shorter, more compact loops. This allows you to create various textures and effects within your design.
11. Regularly Check the Back of Your Work
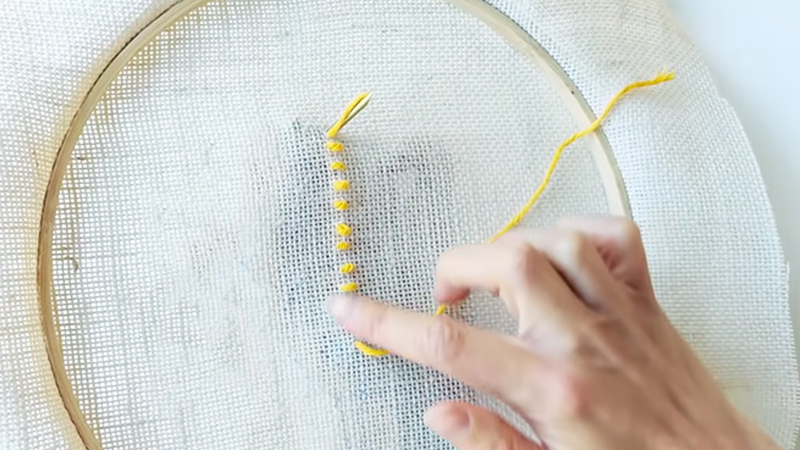
Turning your embroidery over periodically to inspect the backside is a good practice.
Look for any loose threads or tangled yarn that may need to be addressed. This habit helps maintain a clean and professional finish on both sides of your work.
12. Practice Patience
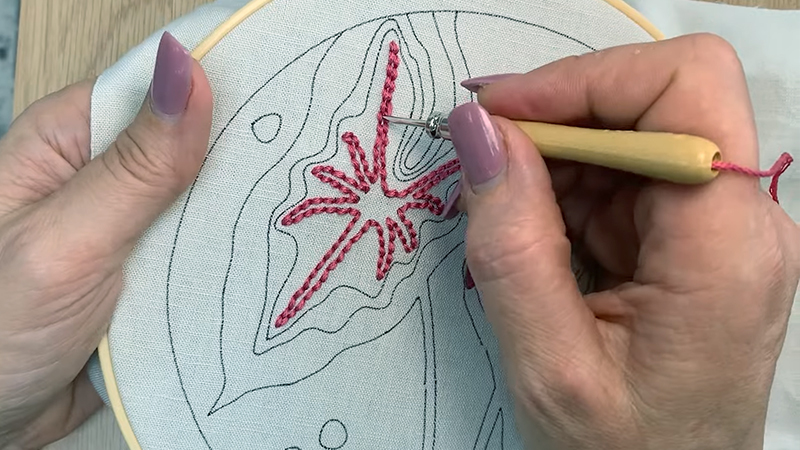
Punch needle embroidery is a craft that rewards patience. Take your time and savor the process.
When you find yourself getting frustrated, consider taking a break and returning to your project with fresh eyes.
13. Finish and Protect Your Work
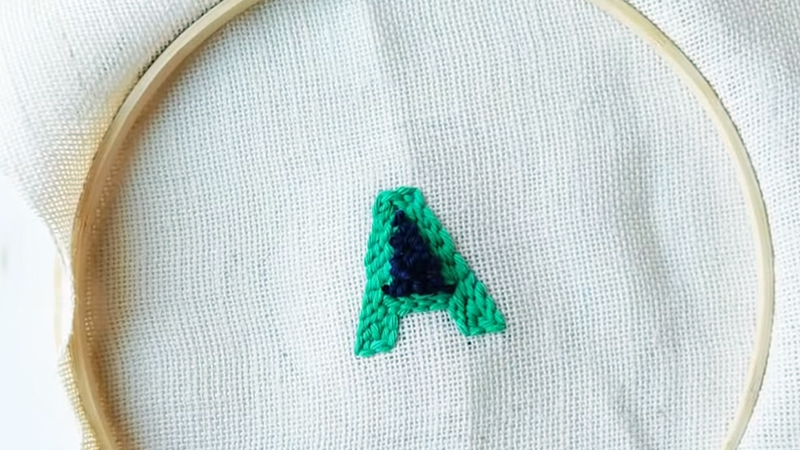
After completing your embroidery, gently stretch and block your fabric to even out the loops. To finish the back, you can use fabric glue or hand-stitch a fabric backing. This secures the loops and gives your piece a polished look.
14. Explore Creative Variations
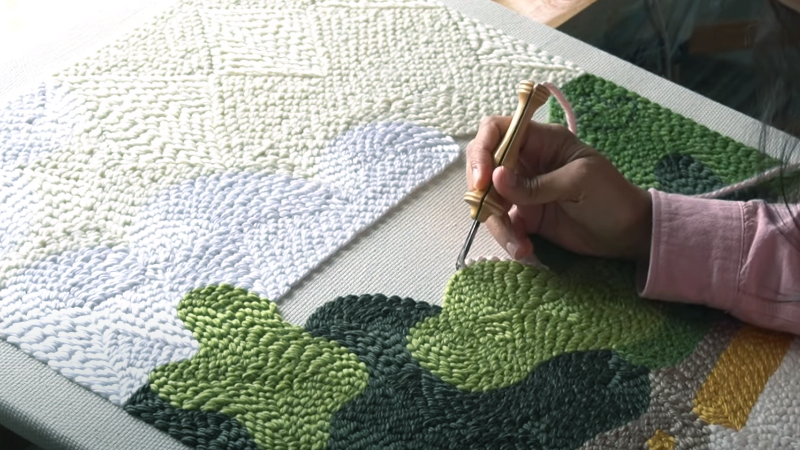
Don’t be confined to conventional techniques. Experiment with combining different textures, creating gradients, or even mixing various types of yarn for unique and eye-catching effects. This is where your creativity can truly shine.
15. Learn from Others
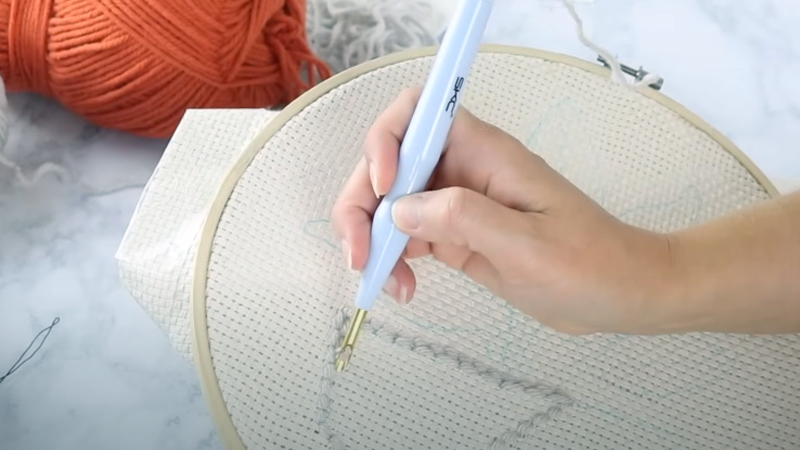
Engaging with the punch needle embroidery community, whether through forums, classes, or workshops, can be incredibly beneficial.
Experienced crafters can offer valuable insights, inspiration, and troubleshooting tips, helping you refine your skills and expand your creativity.
How to Do Punch Needle Embroidery?
Punch needle embroidery is a creative and enjoyable craft that involves creating textured designs using a special needle tool.
Here’s a step-by-step guide on how to do punch needle embroidery:
Materials Needed:
- Punch Needle Tool.
- Fabric.
- Embroidery Hoop or Frame.
- Yarn.
Steps:
Prepare the Fabric
To start, place your chosen fabric in an embroidery hoop or frame. Ensure it is stretched taut, creating a smooth surface for the punching process.
When your design requires it, transfer the pattern onto the fabric using a water-soluble marker or tracing paper. This guide will serve as a reference as you work on your design.
Thread the Punch Needle
Thread your punch needle tool with the chosen yarn. Make sure it is secured properly, not too tight to hinder movement, but not loose enough to fall out. This is crucial for a smooth and uninterrupted punching process.
Begin Punching
Hold the punch needle tool like you would a pen, with a comfortable grip. Start by inserting the needle from the back of the fabric to the front.
Apply even pressure, allowing the needle to create loops on the front side of the fabric. This is the basic punching motion that forms the foundation of your design.
Control Loop Length
Adjust the depth setting of the punch needle to control the length of the loops. Shorter settings result in smaller loops, while longer settings produce taller loops. This allows for different textures and visual effects in your design.
Follow Your Design
Reference your pattern and continue punching according to the marked lines. Move the needle in a continuous motion, avoiding lifting it off the fabric. This ensures a consistent texture throughout the design.
Experiment with Angles
As you progress, experiment with different angles and directions for your stitches. Altering the angle of the punch needle can create unique textures and patterns in your design, adding depth and interest.
Maintain Consistent Tension
Maintain a steady hand and consistent tension throughout the process. This ensures that the loops are even and well-formed, resulting in a polished finish.
Switch Colors
When your design involves multiple colors, simply thread the punch needle with the new color and continue punching. The process remains the same, but now you’re adding a new layer of color and detail to your design.
Secure Loose Ends
Once your design is complete, flip the fabric over and secure any loose yarn ends. You can use fabric glue or tie knots to ensure the loops remain intact.
Finish and Display
Remove the fabric from the hoop or frame, and trim any excess yarn if necessary. Your punch needle embroidery is now ready to be displayed or incorporated into your project!
FAQs
What is the most important tip for punch needle embroidery?
The key tip is to maintain consistent tension. This ensures even loops and a polished finish in your embroidery design.
How do I choose the right fabric for punch needle embroidery?
Opt for tightly woven fabrics like monk cloth or specialized punch needle fabric. This prevents loops from pulling through and ensures a smooth punching surface.
What type of yarn is best suited for punch needle projects?
Select smooth, strong yarn that doesn’t easily fray. Embroidery floss or specialty punch needle yarns work well for this craft.
How can I correct mistakes in punch needle embroidery?
Embrace mistakes as learning opportunities. You can carefully remove stitches or incorporate them creatively into your design.
How can I add depth and interest to my punch needle project?
Experiment with different yarn colors, textures, and thicknesses. Also, vary loop heights to create a textured effect, giving your design a three-dimensional quality.
Wrap Up
Mastering punch needle embroidery is a rewarding journey that opens the door to a world of intricate, textured artistry. With the right materials, a steady hand, and a touch of creativity, you can create stunning designs that delight the senses.
Remember, practice and patience are your allies in this craft. Embrace mistakes as opportunities for growth, and don’t shy away from experimenting with color and texture.
As you progress, you’ll find your own unique style emerging. So, pick up your punch needle, select your favorite colors, and let your imagination soar.
With these tips in hand, your punch needle projects are bound to be a resounding success
Leave a Reply