Embarking on a cross-stitch project is a journey of patience and creativity, resulting in a work of art that deserves to be showcased in the most captivating manner.
The frame is a crucial element that adds the perfect finishing touch to your cross-stitch masterpiece. Choosing the right frame enhances the visual appeal of your handcrafted creation and preserves and protects it for years to come. So, what are the best frames for cross stitch?
This comprehensive guide delves into the world of cross-stitch framing, exploring the options available and helping you make informed decisions.
From classic wooden frames that exude timeless elegance to modern and minimalist choices that complement contemporary aesthetics, we’ll navigate through the features and considerations that make a frame ideal for showcasing your cross-stitch achievements.
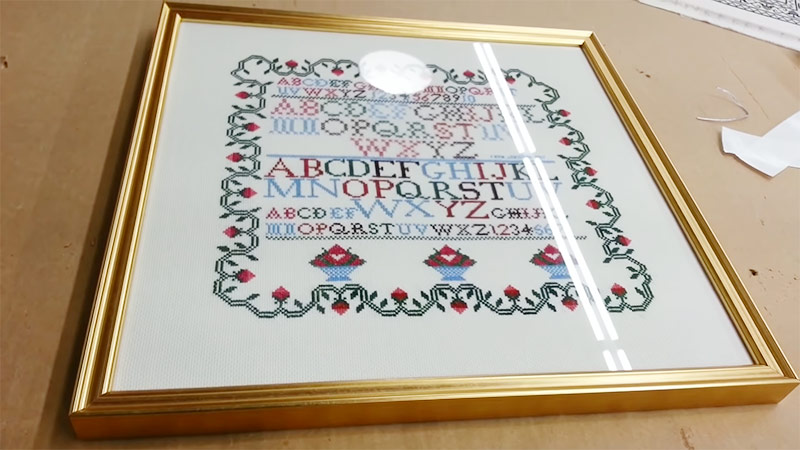
What Are The Best Frames For Cross Stitch?
Here, we will explore the diverse world of frames, providing insights into the best options for displaying your cross-stitch creations.
From traditional wooden frames to sleek and modern choices, we’ll cover the factors to consider and guide you through the process of choosing the ideal frame that best suits your masterpiece.
Wooden Frames
Traditional wooden frames exude timeless charm, adding a touch of classic elegance to your cross-stitch piece. Available in various finishes and styles, wooden frames suit a wide range of cross-stitch designs, from vintage to contemporary.
Metal Frames
Metal frames offer a sleek and modern aesthetic, perfect for showcasing contemporary cross-stitch projects. Sturdy and resilient, metal frames provide long-lasting protection for your artwork.
Plastic Frames
Budget-friendly and lightweight, plastic frames are a practical option for framing cross-stitch pieces. Plastic frames are available in numerous colors and styles and offer versatility to match different design preferences.
Shadow Boxes
Ideal for three-dimensional cross-stitch projects, shadow boxes add depth and visual interest. The enclosed design of shadow boxes protects your cross-stitch from dust and handling.
Factors to Consider to Choose the Best Frame for Cross Stitch
Follow the given factors while choosing the right frames for cross stitch:
Size and Proportion
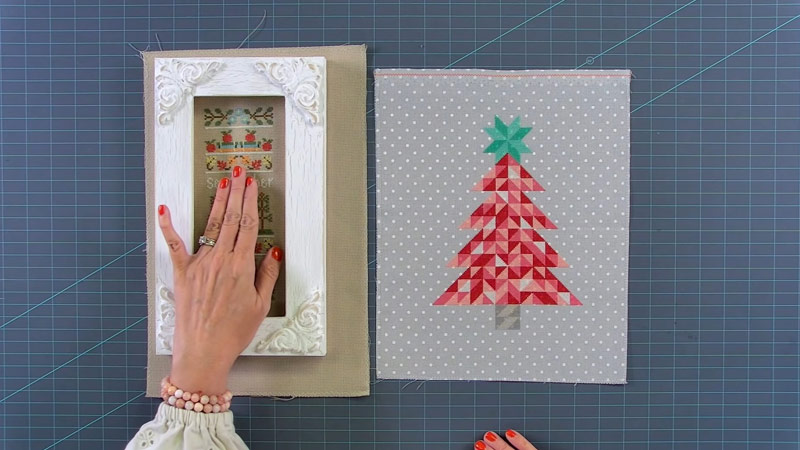
Choose a frame size that complements the dimensions of your cross-stitch, creating a visually balanced presentation. Consider using matting to enhance the overall appearance and draw attention to the intricacies of your stitching.
Style and Aesthetics
Select a frame that harmonizes with the style of your cross-stitch, whether it’s rustic, contemporary, or eclectic. Consider the color palette of both the frame and the cross-stitch to ensure a cohesive and pleasing look.
Material Quality
Opt for frames made from high-quality materials to ensure the longevity and preservation of your cross-stitch artwork. Choose a cross-stitch frame with UV-protective glass to shield your masterpiece from harmful sunlight if possible.
Budget
While there are frames to fit every budget, it’s essential to balance cost with the quality and longevity of the frame. Consider framing as an investment in preserving and showcasing your artistic achievements.
Expert Tips for Frame Selection
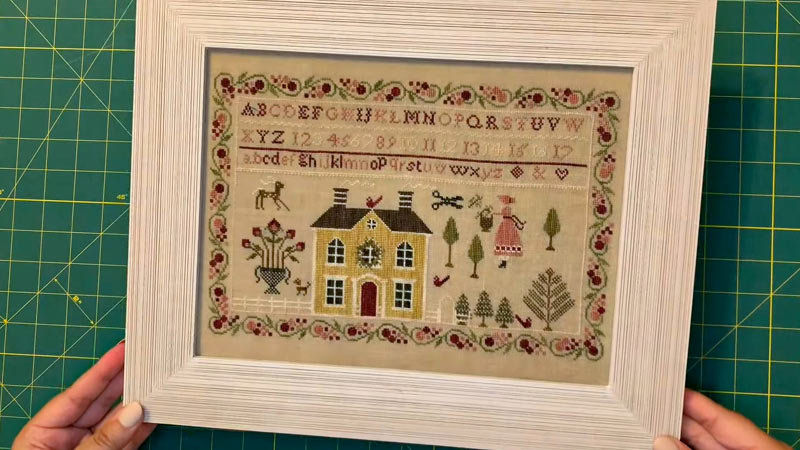
Custom framing ensures a perfect fit and a polished presentation for unique or irregularly shaped cross-stitch pieces. Choose conservation framing techniques and materials to protect your cross-stitch from environmental factors and aging.
Don’t hesitate to mix and match frame styles to create a visually dynamic display, especially when framing a collection of cross-stitch pieces.
Matting can enhance the overall look of your cross-stitch and frame. Experiment with different matting colors and sizes to find the perfect combination in the best cross-stitch frames.
How to Cross Stitch with Frames?
Cross-stitching with frames enhances the overall stitching experience by providing stability and maintaining even tension in the fabric.
Whether you choose a traditional hoop or a scroll frame, here’s a step-by-step guide on how to cross-stitch using frames:
Select Your Frame
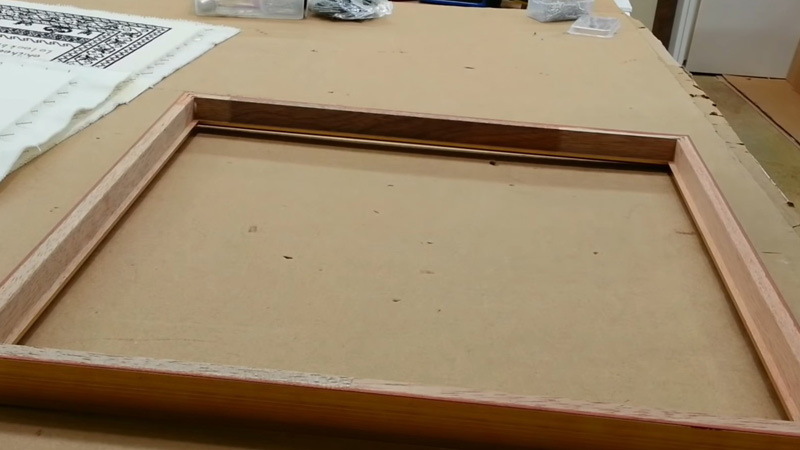
An embroidery Hoop is a circular frame consisting of two parts: an inner hoop and an outer hoop. Loosen the screw on the outer hoop and separate it from the inner hoop.
Place your fabric over the inner hoop, then press the outer hoop over the fabric, securing it in place. Tighten the screw to ensure the fabric is taut.
Scroll frames for cross stitch consist of two rods, a top, and a bottom, with the fabric rolled and attached to the rods.
The tension is adjusted by tightening or loosening the rods. Secure your fabric on the scroll frame using clips, stitching it directly to the rods, or attaching it with hook-and-loop tape.
Prepare Your Fabric
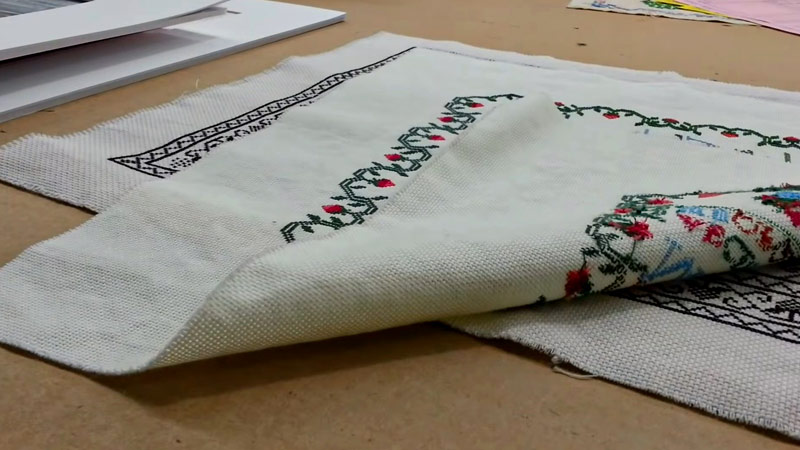
Before securing your fabric to the frame, find the center of your design. Fold the fabric in half vertically and horizontally, creating creases that intersect at the center. This helps you align your pattern with the center of the fabric.
Secure Fabric to the Frame
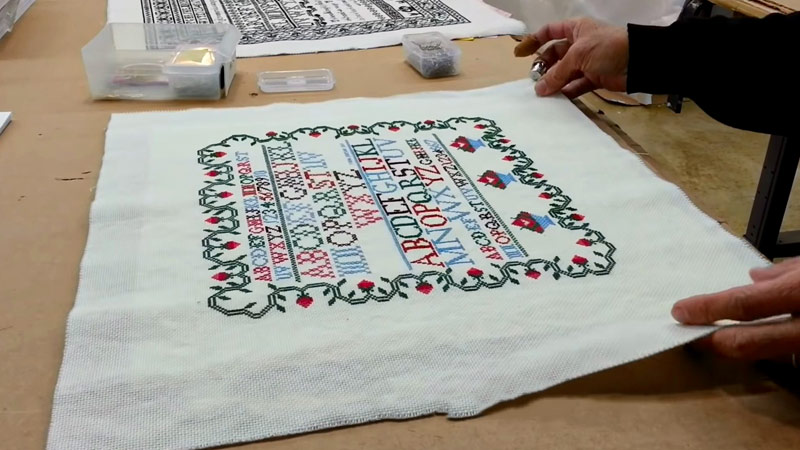
Place the fabric over the inner hoop and press the outer hoop over it. Ensure the fabric is smooth and wrinkle-free. Tighten the screw on the outer hoop to secure the fabric in place. Ensure the fabric is taut, but be cautious not to stretch it excessively.
Attach your fabric to the rods using clips, stitching, or hook-and-loop tape. Adjust the tension by tightening or loosening the rods until the fabric is comfortably taut.
Thread Your Needle
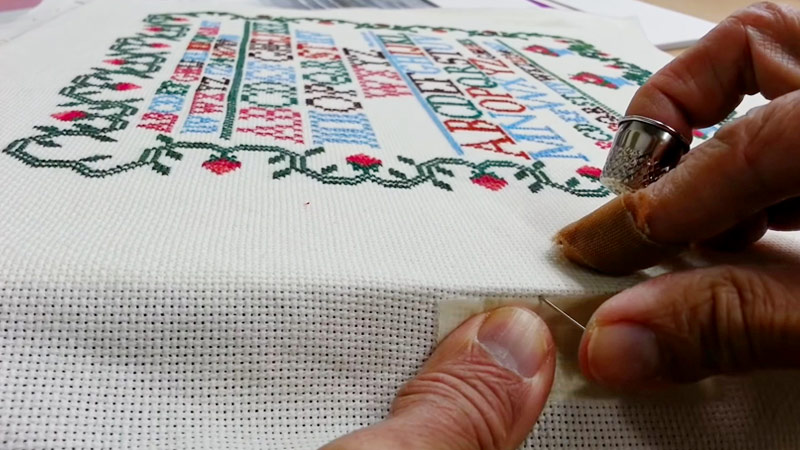
Separate and select the desired number of strands from your embroidery floss. Thread the needle, ensuring that the length is manageable and won’t tangle easily. Knot one end of the floss.
Begin stitching from the center of your design. Refer to your pattern to identify the center point and work outwards. This ensures that your design is evenly centered on the fabric.
Cross-Stitch Basics
Bring the needle up from the back of the fabric at the bottom left corner of a square. Insert the needle at the top right corner, forming a diagonal stitch.
Then, bring the needle up at the bottom right corner and insert it at the top left corner to complete the cross.
Consult your cross-stitch pattern for color placement and any special stitches. Pay attention to symbols and use a highlighter to mark completed stitches on the pattern to avoid confusion.
Managing Threads
Keep thread lengths manageable to prevent tangling and fraying. Generally, an arm’s length of thread is suitable.
When starting a new thread, secure the end by running it under a few stitches on the back. When finishing a thread, weave the end under existing stitches on the back to secure it.
Frame Maintenance
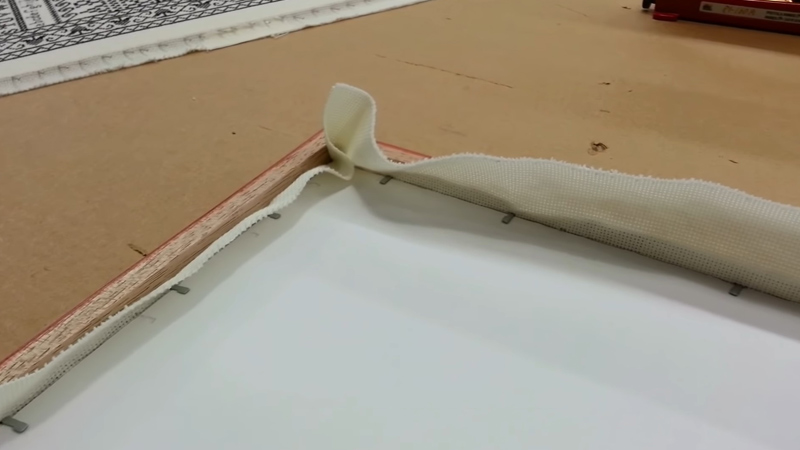
Periodically check the tension on your embroidery hoop. If the fabric becomes loose, loosen the screw, adjust the fabric, and tighten it again.
For scroll frames, check the tension regularly. If the fabric becomes too loose, tighten the rods. If it’s too tight, loosen them slightly.
Taking Breaks
Remove your project from the frame to avoid leaving creases in the fabric when taking breaks. Store your frame and project in a safe, clean place.
When you reach the edge of your design or finish a thread, secure the last stitches carefully on the back. Trim any excess thread with embroidery scissors.
Removing from the Crossstitch Frames
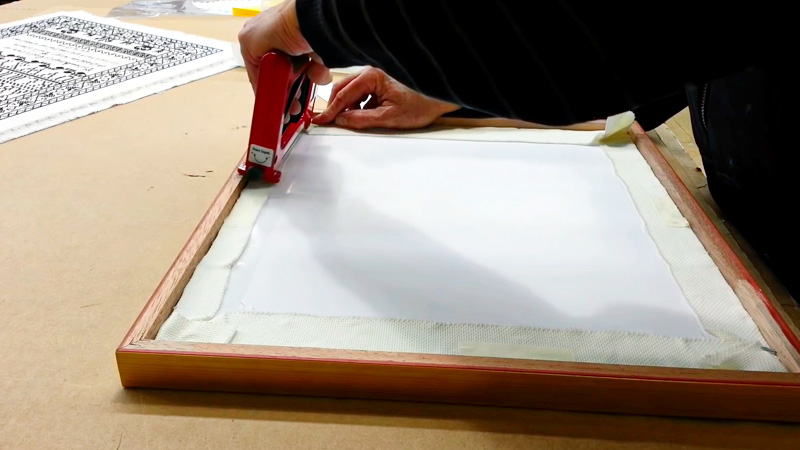
Once your cross-stitch project is complete, carefully remove it from the frame. For hoops, loosen the screw, and for scroll frames, release the tension on the rods. Experiment with different frame types to find the one that suits your preferences and project needs.
What Other Materials Do You Need for Cross Stitching?
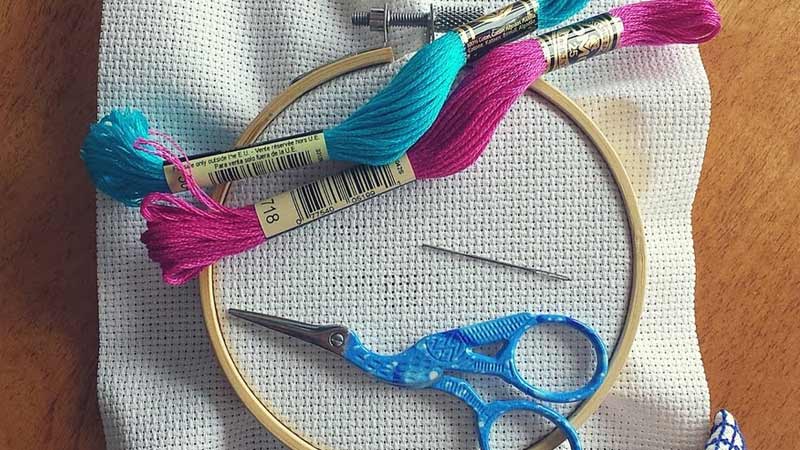
Cross-stitching is a delightful craft that requires a few essential materials beyond the fabric and thread. Whether you’re a beginner or an experienced stitcher, having the right tools can significantly enhance your stitching experience.
Here’s a comprehensive list of materials you’ll need for cross-stitching:
Embroidery Hoops
Embroidery hoops are circular frames used to hold the fabric taut while stitching. They come in various sizes and materials, such as wood or plastic. Hoops are essential for maintaining even tension in your fabric, preventing wrinkles and distortion as you work.
Needles
Selecting the right needles is crucial for a smooth stitching experience. Cross-stitch needles have a blunt tip and a large eye to accommodate embroidery floss easily. Sizes vary, so choose a needle matching your embroidery thread’s fabric count and thickness.
Thread or Floss
Embroidery floss, or thread, is the colorful material used for stitching. It typically consists of six strands, allowing you to customize the thickness of your stitches. High-quality cotton or silk floss is preferred for its durability and vibrant color options.
Fabric
Choosing the right fabric is essential for your cross-stitch project. Aida cloth is a popular choice, known for its grid pattern that makes counting stitches easier.
Other fabric options include linen and even weave, each offering unique textures and characteristics. Ensure the fabric’s count (threads per inch) matches your pattern’s specifications.
Scissors
A pair of sharp embroidery scissors is a must for precise thread cutting. Choose small, pointed scissors to navigate tight spaces and accurately trim excess thread.
Pattern
Whether in print or digital format, a cross-stitch pattern is your guide. It charts the design, colors, and placement of stitches on the fabric. Patterns range from simple motifs to intricate designs, catering to stitchers of all skill levels.
Thimble
Protect your fingers from needle pricks with a thimble. While not everyone uses one, a thimble can be helpful, especially for projects involving repetitive stitching or thicker fabrics.
Needle Threader
A needle threader can be a time-saving tool for threading needles with multiple strands of floss. It consists of a thin wire loop that assists in pulling the thread through the eye of the needle.
Pattern Holder or Organizer
Keep your patterns, threads, and tools organized with a pattern holder or organizer. This could be a simple folder, binder, or specialized stand that holds your pattern at eye level, reducing the need to look down constantly.
Magnifier or Ott-Lite
For intricate designs or for stitchers with visual challenges, a magnifier or Ott-Lite (natural daylight simulation lamp) can be immensely helpful. These tools improve visibility, reducing eye strain during long stitching sessions.
Storage Containers
Keep your threads sorted and tangle-free by using storage containers. Plastic floss bobbins and organizers help maintain order, making it easier to locate the right color when needed.
Felt or Fabric for Backing
When framing or finishing your cross-stitch piece, a soft backing material like felt or fabric can be added to protect the stitches. It also gives a neat finish to the back of the project.
FAQs
What types of frames work best for cross-stitch projects?
The choice of frame largely depends on personal preference and the style of your cross-stitch. Wooden frames offer classic elegance, metal frames provide a modern touch, plastic frames are budget-friendly, and shadow boxes are ideal for three-dimensional projects.
How do I determine the right size of frame for my cross-stitch piece?
Choosing the right frame size is crucial for a visually balanced presentation. Measure the dimensions of your cross-stitch and select a frame that complements its size.
Are there specific considerations for preserving cross-stitch art when selecting a frame?
Preservation is essential when framing cross-stitch art. Opt for high-quality materials, such as acid-free matting and UV-protective glass, to protect your masterpiece from environmental factors and sunlight.
Can I mix and match frame styles for a collection of cross-stitch pieces?
Absolutely! Mixing and matching frame styles can create a visually dynamic display, especially when showcasing a collection of cross-stitch pieces. Consider a cohesive element, such as a consistent matting color or frame finish, to tie the collection together.
Is custom framing necessary for all cross-stitch projects?
While custom framing is not mandatory, it’s highly recommended for unique or irregularly shaped cross-stitch pieces. Custom framing ensures a perfect fit and a polished presentation that enhances the overall impact of your artwork.
Conclusion
The art of cross-stitching extends beyond the meticulous stitching itself, reaching its pinnacle when thoughtfully framed.
The right frame elevates the aesthetic appeal of your handcrafted masterpiece and acts as a guardian, preserving your hard work for generations to appreciate.
Throughout this guide, we’ve unraveled the diverse world of framing options, from traditional choices to contemporary styles, offering insights into what makes each frame unique.
Whether you prefer ornate frames that capture the essence of vintage charm or sleek, modern designs that complement a more contemporary vibe, the key is to find a frame that resonates with the spirit of your creation.
So, as you embark on your next cross-stitch project, remember that the perfect frame is not just a finishing touch but a bridge between your artistry and the world.
Leave a Reply