Embarking on the enchanting realm of Swedish embroidery unveils a captivating fusion of weaving and stitching, creating intricate designs that stand as testaments to both tradition and personal artistry.
This needlework form, also known as Swedish weaving or huck embroidery, requires a thoughtful selection of materials and tools.
From the choice of even-weave fabrics like huck toweling to the selection of vibrant threads, every element contributes to the beauty of the final creation.
This guide delves into the essentials, unraveling the steps needed to initiate Swedish embroidery—a journey marked by precision, creativity, and the timeless charm of crafting visually stunning designs on fabric.

What Is Swedish Embroidery?
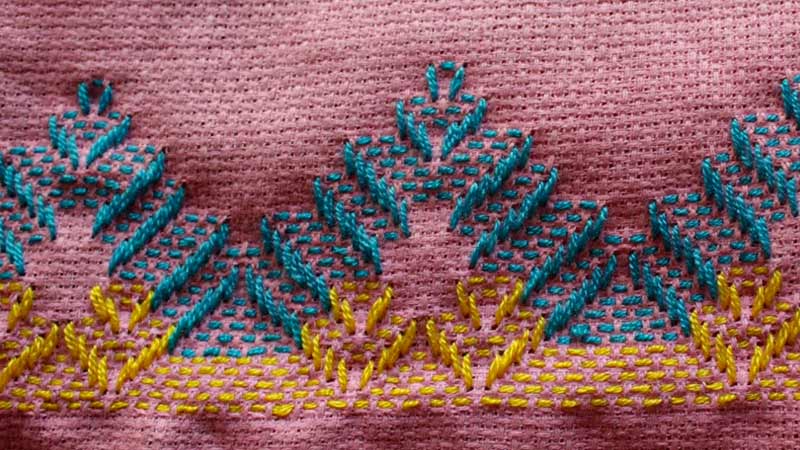
Swedish embroidery, also known as Swedish weaving or huck embroidery, is a needlework technique originating from Sweden. It involves creating intricate designs on fabric using a variety of stitches.
Commonly applied to even-weave fabrics like monks’ cloth or huck toweling, this craft combines elements of embroidery and weaving. Artists use embroidery floss or yarn, typically cotton or wool, to produce delicate patterns.
The unique structure of the weave and the choice of stitches, such as slant stitch and split stitch, distinguish Swedish embroidery. It is often utilized in creating decorative and functional pieces like table linens and towels, showcasing a blend of skill and creativity.
What Do You Need to Do Swedish Embroider?

To embark on Swedish embroidery, commonly known as Swedish weaving or huck embroidery, gather the essential tools and materials for this delicate needlework:
Fabric
Choose a fabric suitable for Swedish embroidery, such as monks’ cloth or huck toweling. Ensure that the fabric has an even weave to facilitate the stitching process.
Embroidery Floss or Yarn
Select embroidery floss or yarn in the colors of your choice. Traditional options include cotton or wool yarn, offering a range of textures and finishes for your designs.
Embroidery Needle
Use a blunt-tipped embroidery needle with a large eye to accommodate the thickness of the chosen yarn or floss. The right needle ensures smooth and controlled stitching.
Embroidery Hoop

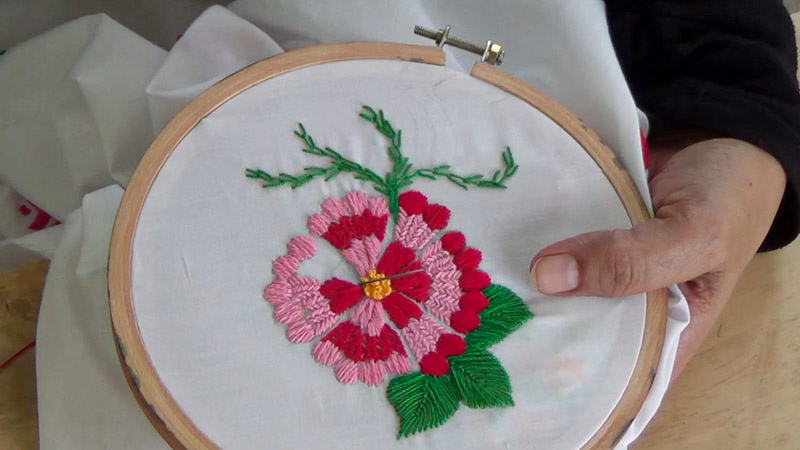
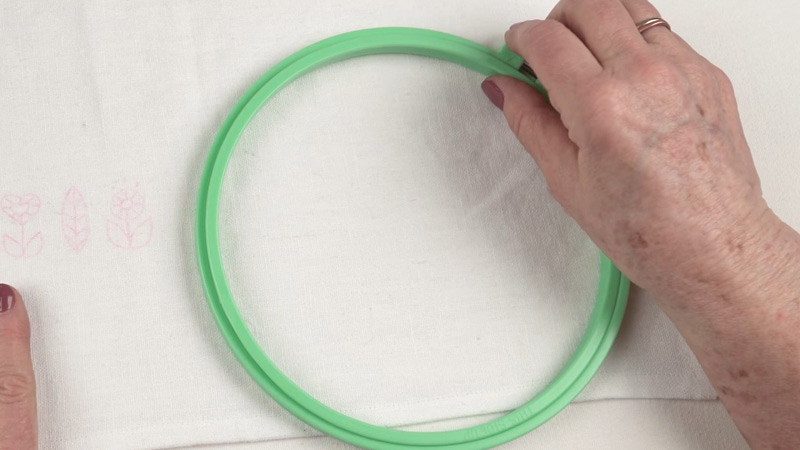
While not mandatory, an embroidery hoop can be beneficial, especially for beginners. It helps maintain the fabric’s tension, making it easier to execute stitches and create neat, consistent patterns.
Scissors
Keep a pair of sharp scissors on hand for cutting the embroidery floss or yarn cleanly.
Pattern or Design
Decide on a Swedish weaving pattern or design. You can choose from traditional patterns or unleash your creativity and design your own. Resources for patterns can be found in books, online tutorials, or embroidery communities.
Graph Paper and Pencil
If creating your design, use graph paper and a pencil to sketch and plan the layout. This step is crucial for precision in your embroidery work.
Instructions or Tutorial
It is beneficial for beginners to acquire instructions or follow a tutorial to understand and master the various stitches integral to Swedish embroidery.
How to Do Swedish Embroidery? A Step-By-Step Guide

Embarking on Swedish embroidery, also known as Swedish weaving or huck embroidery, involves a series of steps to create intricate designs on fabric.
Here’s a concise guide to get you started:
Step 1: Gather Materials and Tools
To begin Swedish embroidery, assemble the necessary materials and tools. Choose a fabric with an even weave, such as huck toweling or monk’s cloth. Select embroidery floss or yarn in various colors, commonly cotton or wool.
Ensure you have a blunt-tipped embroidery needle with a large eye, suitable for your chosen thread. Optionally, consider using an embroidery hoop to maintain fabric tension.
Step 2: Choose a Design
Select a Swedish weaving pattern or design for your embroidery. This can be a traditional motif or a unique creation. Patterns can be found in books, online resources, or from suppliers like Nordic Needle.
Step 3: Prepare the Fabric
Cut the fabric to the desired size for your project. Ensure it is clean and adequately prepared for embroidery, allowing for smooth stitching.
Step 4: Thread the Needle
Thread your needle with the chosen embroidery floss or yarn, considering the thickness of the thread and the fabric. This step prepares your tools for the stitching process.
Step 5: Start Stitching
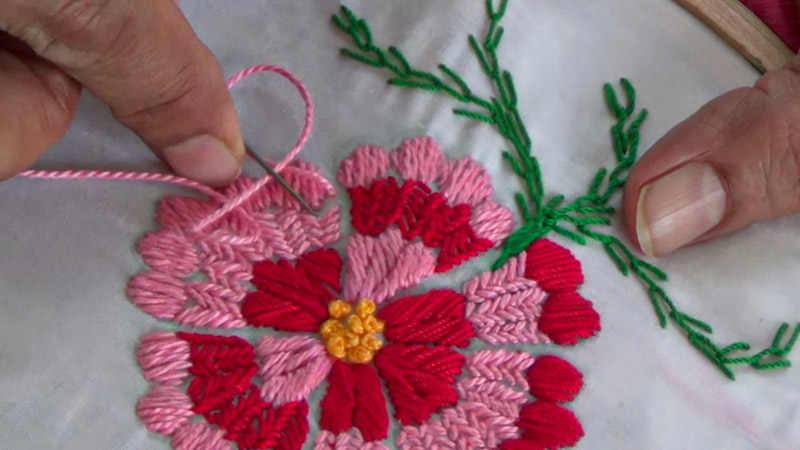
Commence stitching the design on the fabric, following the pattern or design instructions. Utilize stitches like slant stitch or split stitch to bring your design to life.
Step 6: Complete Rows or Sections
Work through the design systematically, completing rows or sections as per the pattern. Maintain even tension in your stitches for a polished finish.
Step 7: Secure Stitches
At the end of each stitched area, secure your work by bringing the needle back through the same floats, skipping the last set just passed through. This ensures the durability of your embroidery.
Step 8: Repeat
Continue the stitching process, repeating steps 4-7 until the entire design is meticulously embroidered on the fabric.
Step 9: Finish and Secure Ends
Once your embroidery is complete, secure the ends of your threads to prevent unraveling. Knot the threads or weave them back through existing stitches for a neat and finished look.
FAQs
Can Swedish embroidery be done by hand or with a machine?
Swedish embroidery is traditionally done by hand, emphasizing intricate hand-stitching techniques. While there are machine embroidery options, the charm of Swedish embroidery often lies in the handmade details.
Can Swedish embroidery be used on different types of fabric?
Yes, while huck toweling and even-weave fabrics like monk’s cloth are popular, Swedish embroidery can be adapted to various fabrics depending on personal preference and project requirements.
How do you care for Swedish embroidered items?
Items can generally be hand-washed or machine-washed on a gentle cycle, but specific care instructions may vary based on the fabric and thread used. Always refer to the recommendations provided with your pattern or design.
Are there advanced stitches in Swedish embroidery?
While basic stitches like slant stitch and split stitch are common, advanced stitches can be explored for more intricate designs. Resources such as advanced embroidery books or online tutorials can guide enthusiasts.
How can beginners prevent common mistakes in Swedish embroidery?
Beginners can prevent mistakes by starting with simpler designs, practicing basic stitches, and carefully following instructions. Additionally, seeking guidance from experienced embroiderers or tutorials can enhance learning.
To Recap
Delving into the world of Swedish embroidery unveils not just a craft but an intricate dance between tradition and personal expression.
As we wrap up our exploration of essential materials and steps, remember that Swedish embroidery is a canvas for both creativity and skill. The chosen fabrics, threads, and designs converge to narrate unique stories through every stitch.
As your needle weaves through the fabric, it stitches together a narrative that transcends time.
Swedish embroidery, with its timeless allure, invites you not just to create but to immerse yourself in a rich tapestry of tradition and individuality. This art form persists in its ability to captivate and inspire. Happy embroidering!
Leave a Reply