DNA origami is a revolutionary nanotechnology that leverages the remarkable properties of DNA, the molecule responsible for storing genetic information, to craft intricate and custom-designed nanoscale structures.
It represents a breakthrough in the realm of nanoscience and molecular engineering, offering unprecedented precision and versatility in constructing objects at the molecular level.
By carefully designing DNA sequences and utilizing the principles of base pairing, researchers can coax DNA molecules to self-assemble into diverse and intricate shapes, akin to the art of origami.
This remarkable technology has far-reaching implications, from advanced drug delivery systems to novel materials and nanoelectronics, promising to reshape industries and transform our understanding of molecular manipulation.
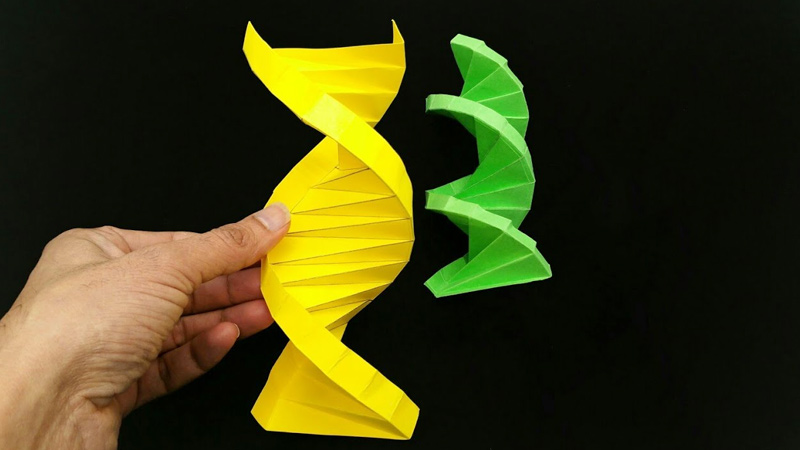
What Is a DNA Origami? -Building Blocks of Life
DNA origami is a groundbreaking nanotechnology that involves the folding of DNA molecules into precise, custom-designed shapes and structures at the nanoscale level.
This innovative technique was first developed by Paul Rothemund in 2006 and has since opened up numerous possibilities in fields such as materials science, nanotechnology, drug delivery, and even computing.
DNA origami takes advantage of the inherent properties of DNA, including its ability to self-assemble and form specific base pair interactions.
Here’s a detailed explanation of DNA origami:
DNA as a Building Material
DNA, or deoxyribonucleic acid, is a molecule that carries genetic information in all living organisms. It is composed of two long chains of nucleotides, which consist of four different bases: adenine (A), cytosine (C), guanine (G), and thymine (T).
The specificity of base pairing (A with T and C with G) allows DNA to form a double helix structure, with complementary strands binding together through hydrogen bonds.
Designing DNA Origami:
DNA origami begins with the design of a desired nanoscale structure. Researchers use specialized software to create a blueprint for the structure, specifying the sequence of DNA bases that will form the scaffold of the desired shape.
To create complex structures, researchers divide the scaffold DNA into segments, each with a unique sequence of bases. These segments will interact with one another to fold the DNA into the desired shape.
Additional short DNA strands, known as staples, are designed to bind with specific regions of the scaffold.
These staples guide the folding of the scaffold into the target structure by forming base pair interactions with complementary sequences.
Self-Assembly Process
Once the scaffold and staple strands are mixed together in a test tube, they undergo a self-assembly process driven by the complementary base pair interactions.
The staples bind to the scaffold at their designated locations, causing the DNA to fold into the desired shape. This process is akin to folding a piece of paper into a specific origami structure.
Applications of DNA Origami
- Nanotechnology: DNA origami has been used to create various nanoscale structures, including boxes, tubes, and more. These structures can serve as templates for building even more complex nanoscale devices and materials.
- Drug Delivery: DNA origami can be functionalized with molecules like drugs or targeting ligands. When these structures are designed to open in response to specific environmental cues, they can deliver payloads to targeted cells or tissues.
- Biological Research: DNA origami can be used as a tool to study biological processes at the nanoscale. It has been employed to understand how biomolecules interact and function within cells.
- Nanoelectronics: Researchers are exploring the use of DNA origami to create nanoscale electronic devices and circuits.
How to Make a DNA Model With Paper?
Creating a DNA model with paper is a fun and educational project that can help you visualize the double helix structure of DNA.
Here’s a step-by-step guide to a DIY DNA model using paper and other common materials:
Materials You’ll Need:
- Colored paper or cardstock
- Scissors
- Tape or glue
- Markers or colored pencils
- Ruler
Instructions to DNA paper model:
Step 1: Prepare Your Materials
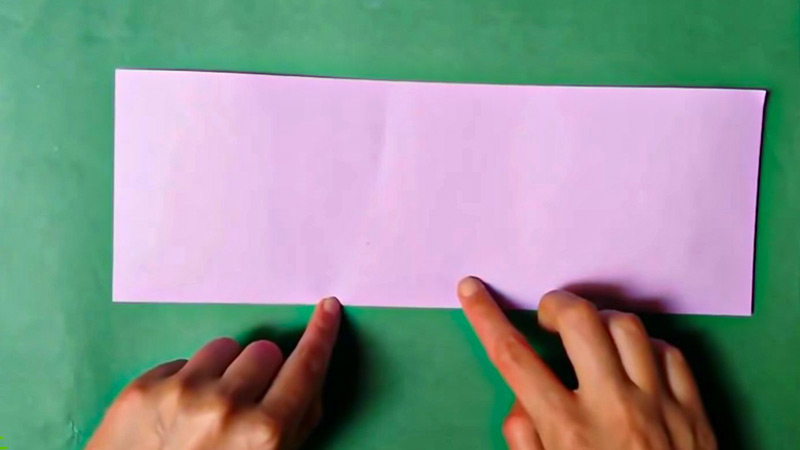
Gather all the materials you need. You’ll need two different colors of paper—one for the phosphate and sugar backbone of DNA and the other for the base pairs (adenine, thymine, cytosine, and guanine).
Step 2: Cut the Paper Strips
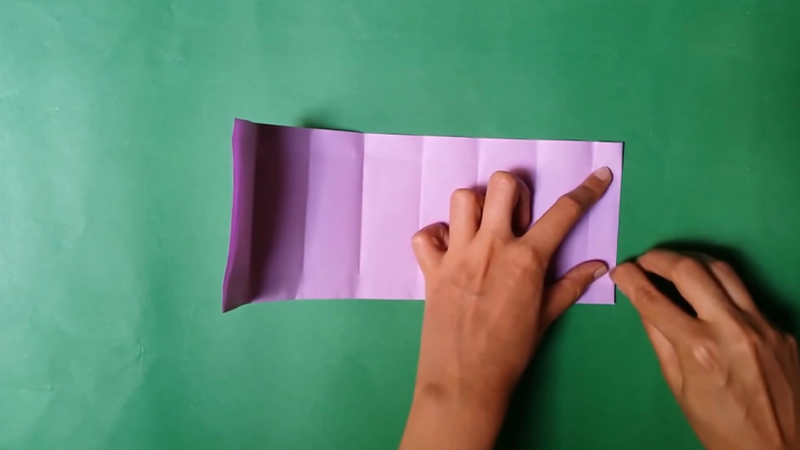
Cut the colored paper into strips of equal width for the phosphate and sugar backbone. These strips will represent the twisted ladder-like structure of DNA.
Cut shorter strips of the second color paper to represent the base pairs. These will be the “rungs” of the DNA ladder.
Step 3: Form the Backbone
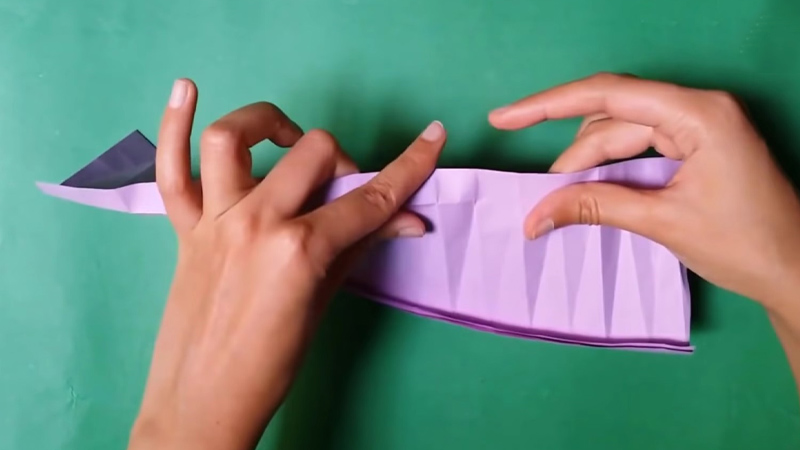
Take one of the colored paper strips (backbone) and twist it gently to create a spiral or helical shape. This represents one side of the DNA double helix. Secure the ends of the twisted strip with tape or glue to maintain its shape.
Step 4: Create Base Pairs
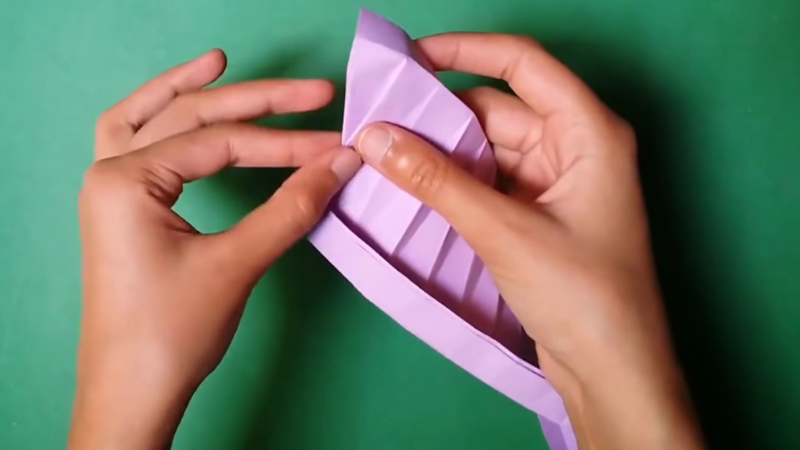
Take the shorter strips of the second color (base pairs) and draw or color the nitrogenous bases on them. Adenine (A) pairs with thymine (T), and cytosine (C) pairs with guanine (G).
Make sure you have pairs of complementary bases. Fold each base pair strip in half so that the colored bases are on the inside.
Step 5: Attach Base Pairs
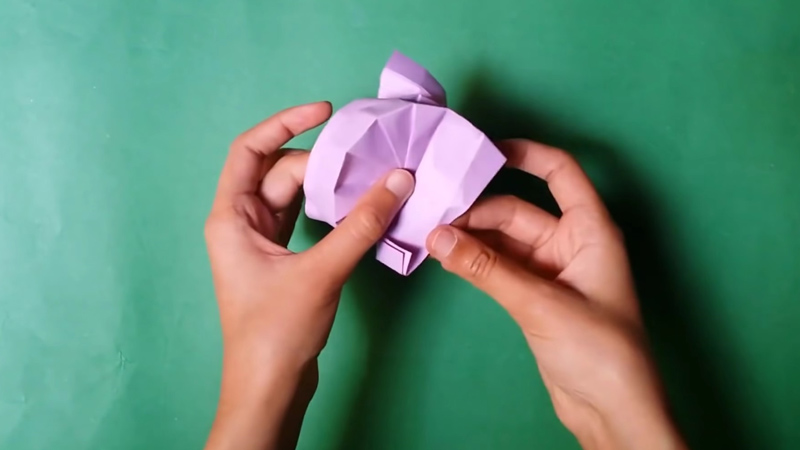
Attach the folded base pair strips perpendicular to the twisted backbone at regular intervals, aligning them correctly according to base-pairing rules (A with T, C with G).
You can use tape or glue to secure the base pairs to the backbone. Repeat this step along the entire length of the backbone.
Step 6: Repeat for the Second Strand
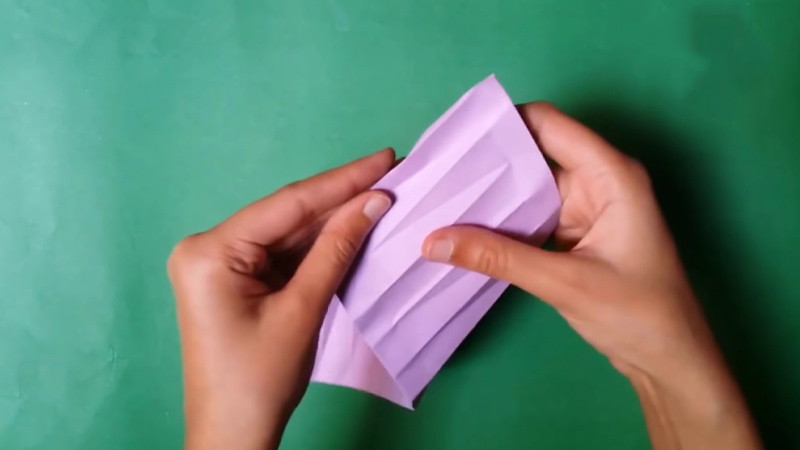
To represent the second strand of DNA, repeat the process by twisting another strip of colored paper to create a helical shape.
Attach the complementary base pairs to the second strand in the same manner as the first strand. Ensure the bases are aligned correctly with those on the first strand.
Step 7: Complete the Model
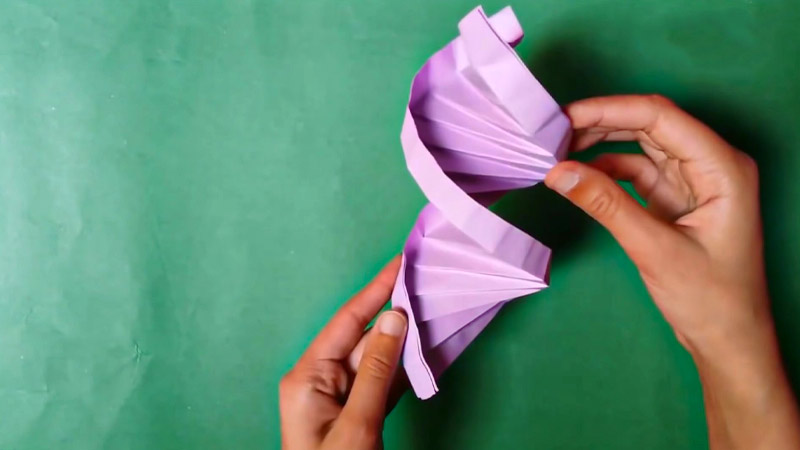
Once both strands are complete, your paper DNA model is ready. You should have a representation of the iconic double helix structure.
Step 8: Label the Parts
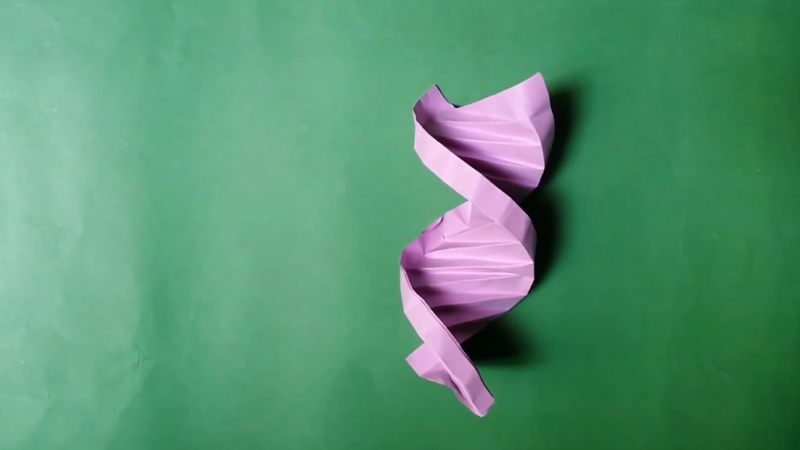
If you’d like to add an educational element to your model, you can label the different parts. Write “phosphate-sugar backbone” on the backbone strips and label the base pairs with their respective letters (A, T, C, G).
Origami Tips
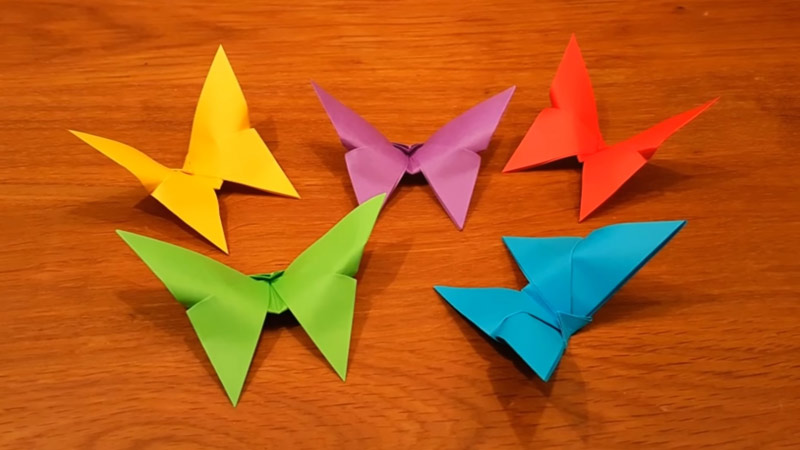
Origami is the Japanese art of paper folding, and it can be a delightful and meditative hobby.
Whether you’re a beginner or an experienced folder, here are some tips to enhance your origami experience:
Start with Simple Designs
Begin your origami journey with straightforward models like animals, basic geometric shapes, or simple flowers. As you gain confidence and experience, you can progress to more intricate creations.
Choose the Right Paper
Origami paper, also known as kami, comes in various sizes and colors. Traditional origami paper is thin and easy to fold, while foil paper can add a shiny finish to your creations. Experiment with different types of paper to see which works best for your project.
Practice Good Creasing
Achieving sharp, precise folds is essential in origami. Use your fingernail or a smooth, flat object like a bone folder to create clean creases. Ensure that all folds are aligned correctly to avoid misshapen models.
Follow Instructions Carefully
When working with origami diagrams or tutorials, pay close attention to each step. Symbols and arrows in the instructions guide you on where and how to fold. Take your time to understand each step before moving on.
Be Patient
Origami is a patient person’s game. Rushing through folds can lead to mistakes and frustration. Slow down, relax, and enjoy the process of folding each crease with care.
Use Tools When Necessary
While traditional origami uses only your hands, using tools like a bone folder or ruler can be particularly helpful for complex models or when working with larger sheets of paper. They assist in achieving precise folds.
Practice Shaping
After you’ve completed the initial folds, shaping often comes into play. Use your fingers to gently adjust and mold the paper to give your model its final desired form.
Learn Origami Symbols
Origami diagrams frequently use universal symbols to represent different folds and actions. Familiarize yourself with these symbols, as they’ll help you follow instructions more effectively.
Experiment with Different Types of Paper
Beyond traditional origami paper, try folding with unconventional materials like tissue paper, vellum, or even recycled newspaper. These can add unique textures and visual effects to your creations.
Join a Community
Consider connecting with other origami enthusiasts through local clubs, online forums, or social media groups.
These communities can provide valuable tips, inspiration, and opportunities to learn from fellow folders.
Practice Regularly
Like any skill, practice is key to improving your origami skills. Challenge yourself with new and progressively more complex models to expand your abilities.
Embrace Mistakes
Mistakes are part of the learning process in origami. Don’t be discouraged by them. Instead, view them as opportunities to learn and grow. Analyze what went wrong and use that knowledge in your next project.
Enjoy the Process
Remember that origami is not just about the end result; it’s about the creative and meditative process of folding paper.
Find joy in the act of creation and appreciate the beauty of each fold, whether your project turns out perfectly or not.
FAQS
Can DNA origami be used in medical applications?
Yes, DNA origami holds potential in medical applications.
What are some potential applications of DNA origami?
DNA origami has a wide range of potential applications, including drug delivery systems, nanoscale machines, and as a platform for studying molecular interactions.
What is the significance of DNA origami in nanotechnology?
DNA origami is significant in nanotechnology because it offers precise control over the assembly of nanostructures, enabling researchers to design and build complex, functional nanoscale devices and materials with unprecedented precision.
Are there any limitations or challenges associated with DNA origami?
One challenge in DNA origami is ensuring the stability of the structures in various environmental conditions.
Is DNA origami related to genetic engineering or gene editing?
DNA origami is a distinct field from genetic engineering or gene editing.
Conclusion
DNA origami represents a fascinating convergence of biology and nanotechnology. This innovative technique harnesses the remarkable self-assembly properties of DNA to construct precise nanostructures with diverse potential applications.
From drug delivery systems to nanoelectronics, DNA origami offers unprecedented control at the molecular level, paving the way for the development of cutting-edge technologies.
As researchers continue to push the boundaries of this field, it holds the promise of revolutionizing various industries and opening doors to novel discoveries.
DNA origami stands as a testament to human ingenuity and our ability to manipulate the building blocks of life to create a new era of nanoscale engineering.
Leave a Reply