A needle stop on a sewing machine is a pivotal feature that plays a crucial role in the world of sewing and stitching.
This mechanism serves as a fundamental point of control, allowing users to halt the up-and-down movement of the sewing machine’s needle at specific moments during the stitching process.
By engaging the needle stop, sewists can achieve precision in their work, facilitating tasks like pivoting, turning corners, or securing stitches at particular points.
This feature not only enhances the accuracy of sewing projects but also simplifies intricate designs and enables efficient stitch manipulation.
Understanding the needle stop’s functionality is essential for anyone seeking to master the art of sewing.
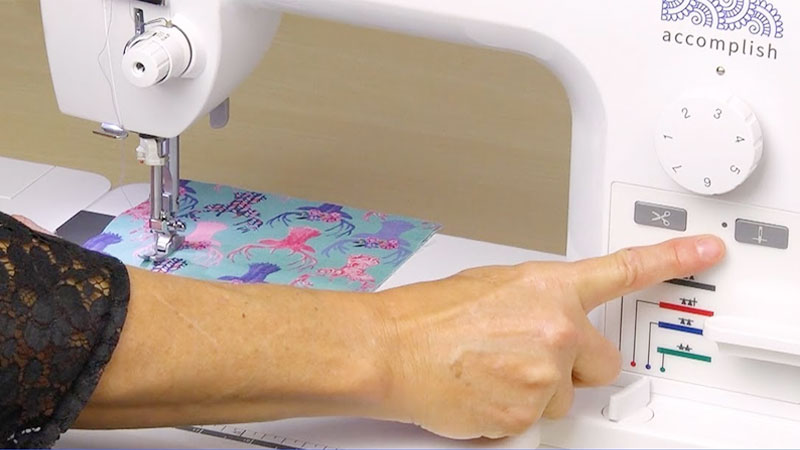
The Definition of Needle Stop on a Sewing Machine
A needle stop on a sewing machine is a mechanism that controls the up-and-down movement of the sewing machine’s needle.
This feature allows the user to determine when the needle should stop in either the up or down position during the sewing process.
There are typically two modes for the needle stop:
- Needle Up: When the needle stop is set to “up,” the needle will stop in the highest position, making it easier to adjust fabric, pivot corners, or remove the material from the machine without compromising the stitch’s placement.
- Needle Down: Setting the needle stop to “down” means the needle will stop in the lowest position. This is useful for securing stitches at specific points or when you want the needle to stay in the fabric while repositioning it.
Why Does the Needle Stop on Sewing Machine?
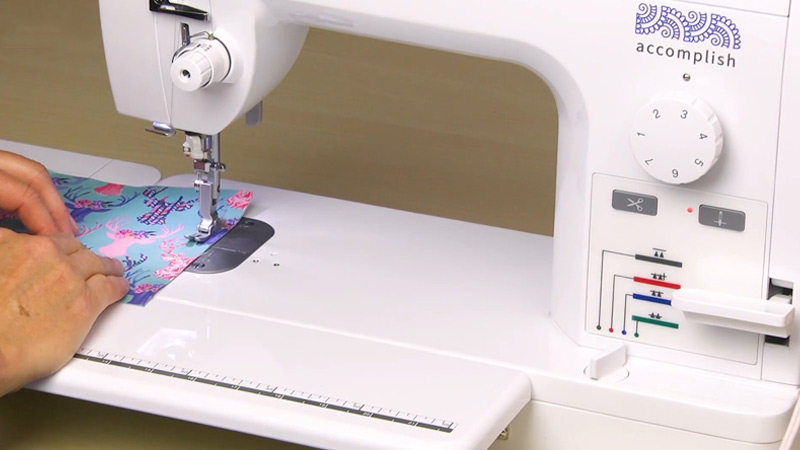
Sewing machines are intricate tools that offer precise control over stitches, making them essential for creating beautifully crafted garments and projects.
One key feature that contributes to this control is the ability of the needle to stop at a specific position during sewing. But why does the needle stop on a sewing machine?
Let’s delve into the main reasons behind this functionality:
Position Control
One of the primary purposes of a needle stop is to control the position of the sewing machine’s needle when sewing stops.
It determines whether the needle remains in the fabric (needle down) or is lifted above it (needle up). This control is crucial for various sewing techniques and tasks.
Accuracy
Needle stops contribute to sewing accuracy by ensuring that the needle stops precisely where you want it to.
This is particularly useful when you need to pivot or make sharp corners while sewing. It eliminates the need for manually adjusting the needle position.
Convenience
Needle stops add convenience to sewing projects. With the needle in the down position, you can easily lift the presser foot, adjust the fabric, and continue sewing without the fabric shifting or bunching up. It simplifies intricate sewing tasks and reduces the chances of making mistakes.
Quilting
In quilting, a needle stop is invaluable. It allows quilters to pivot and turn the fabric at corners or when stippling without having to manually lift the needle each time. This saves time and ensures more consistent results.
Appliqué
When working on appliqué projects, a needle stop helps secure fabric pieces in place accurately. It prevents the fabric from shifting when you stop sewing, allowing for precise placement and stitching.
Pattern Matching
In garment sewing, a needle stop aids in pattern matching and seam alignment. It ensures that seams begin and end at the desired points, contributing to a more professional-looking finished garment.
Embroidery
For sewing machines used for embroidery, a needle stop is crucial for creating intricate designs. It helps maintain stitch alignment and pattern continuity when the machine stops and starts during embroidery work.
Reducing Stress on Fabric
Keeping the needle down while pausing reduces stress on the fabric, especially when dealing with delicate or stretchy materials. This prevents the fabric from being pulled or distorted during sewing breaks.
Sewing Machine Needle Positions
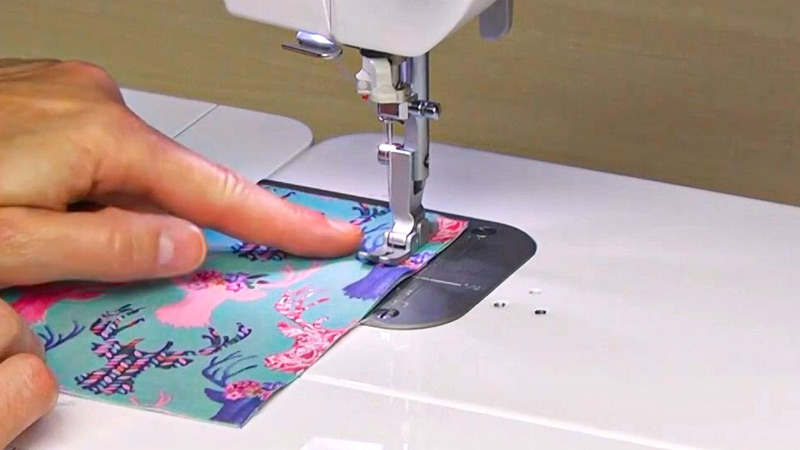
The needle position on a sewing machine refers to the exact location where the sewing machine’s needle enters the fabric as you sew.
Being able to control the needle position is crucial for achieving accurate stitching and seam allowances in various sewing projects.
Here are some key points to understand about sewing machine needle position:
Default Needle Position
When you start sewing with a straight stitch on most sewing machines, the default needle position is typically in the center. This means the needle goes up and down in the middle of the presser foot, creating a straight stitch with an equal amount of fabric on either side.
Adjustable Needle Position
Many sewing machines allow you to adjust the needle position to the left or right to customize your stitches. This is particularly useful for tasks like topstitching, edge stitching and creating specific seam allowances.
Left Needle Position
Moving the needle to the left will position it closer to the left edge of the presser foot. This is useful for tasks like creating a narrow seam allowance or aligning the needle precisely for stitching along a marked line.
Right Needle Position
Conversely, moving the needle to the right will position it closer to the right edge of the presser foot. This can be handy for tasks like attaching zippers, creating decorative stitches, or aligning the needle for unique stitching patterns.
Center Needle Position
You can always return the needle to the center position for standard sewing tasks. This is the default setting for many sewing projects.
Stitch Width and Needle Position
Some sewing machines have a stitch width control that allows you to adjust the width of certain stitches. When you change the stitch width, the needle position may also automatically adjust to maintain the desired stitch pattern.
Locking Needle Position
In some sewing machines, there might be a locking mechanism or button that ensures the needle stays in a specific position, either up or down, as needed for your sewing task. This is useful for pivoting fabric or securing stitches.
How to Adjust Needle Position on Sewing Machine?
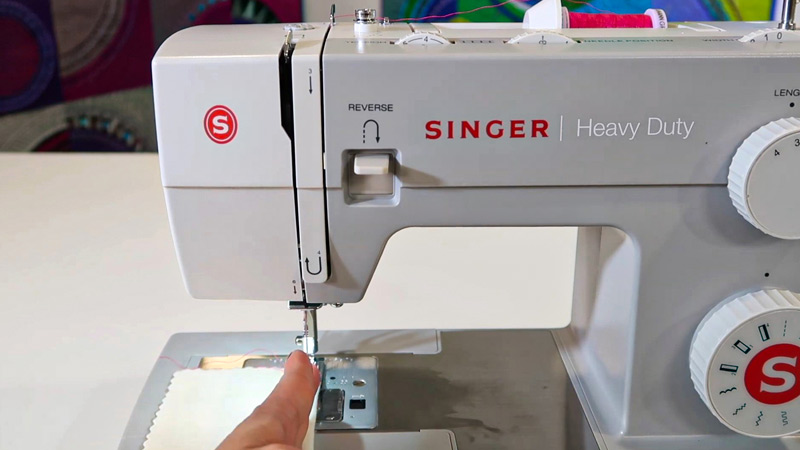
Adjusting the needle position on a sewing machine can be essential for achieving the desired seam allowance or aligning stitches accurately. The process may vary slightly depending on the sewing machine model.
Here are the steps to adjust the inappropriate needle stop position:
Select the Stitch
Begin by selecting the type of stitch you want to use for your sewing project. Different stitches may have default needle positions, so your choice of stitch will affect the initial position of the needle.
Locate the Needle Position Control
Examine your sewing machine to find the needle position control. This control is typically a knob, dial, lever, or button labeled with terms like “Needle Position,” “Needle Left/Right,” or something similar. It may be on the front, side, or top of the machine, depending on the model.
Adjust Left or Right
With the needle position control identified, you can now make adjustments. Depending on your sewing machine, you can usually move the needle to the left or right. To move the needle to the left, turn the control counterclockwise (left).
To move it to the right, turn it clockwise (right). Some sewing machines may also have digital controls for precise adjustments.
Test the Needle Position
After making the adjustment, it’s important to test your sewing machine on a scrap piece of fabric.
This allows you to verify whether the needle is now positioned where you want it for your specific sewing task. Ensure that the adjusted needle position aligns with your project’s requirements.
Fine-Tune if Necessary
If the needle position isn’t quite right, don’t hesitate to make further adjustments. Fine-tune the needle position control until you achieve the exact placement you need for your sewing project. Pay attention to the stitch alignment as you make adjustments.
Secure the Adjustment
Once you are satisfied with the needle position, ensure that the needle position control is locked in place.
This helps prevent the needle from shifting while you’re sewing, which is especially important for maintaining accurate seam allowances and stitch alignment.
Resume Sewing
With the needle position adjusted to your liking and secured in place, you can confidently resume sewing.
Whether you’re working on topstitching, edge stitching, or any other sewing task, you now have precise control over the needle’s placement to achieve professional-looking results.
Why Do You Need to Adjust Needle Position on Sewing Machine?
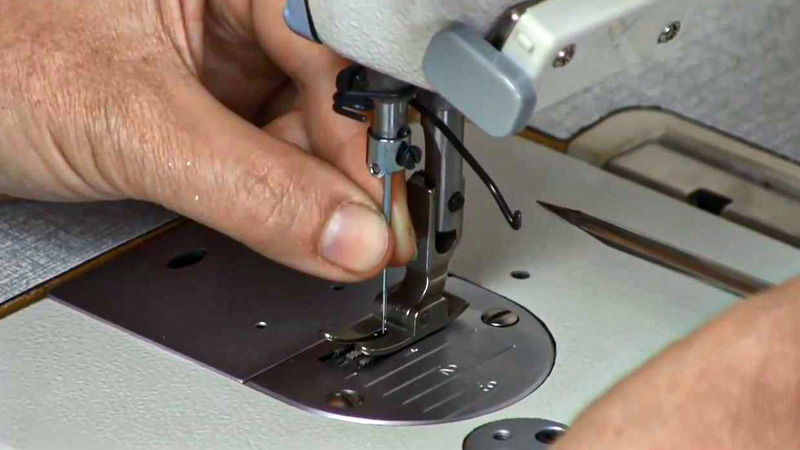
Adjusting the needle position on a sewing machine is essential for several reasons, as it provides flexibility and precision in your sewing projects.
Here are the reasons:
Seam Allowance
Different sewing projects require specific seam allowances. By adjusting the needle position, you can ensure that your stitches are at a precise distance from the fabric edge, helping you achieve the desired seam allowance without the need for measuring or marking.
Topstitching
When you want to create neat and professional-looking topstitching, adjusting the needle position allows you to align the needle precisely with the edge of the fabric or any marked lines. This ensures even and straight topstitching.
Edge Stitching
Edge stitching requires the needle to be close to the fabric edge while maintaining a consistent distance. Adjusting the needle position to the left or right lets you achieve this effectively, enhancing the appearance of finished edges.
Decorative Stitches
Many sewing machines offer decorative stitch options. Adjusting the needle position can help you control the placement of these decorative stitches, allowing you to create unique and intricate designs.
Working with Zippers
When inserting zippers, especially invisible or concealed zippers, you may need to move the needle to the left or right to stitch close to the zipper teeth or zipper tape. This ensures a clean and secure zipper installation.
Pivot and Turn
Adjusting the needle position to stop in the down position is valuable for tasks like pivoting fabric at corners or when sewing curves. It keeps the needle in the fabric, preventing misalignment and ensuring smooth transitions.
Stitch Alignment
Certain sewing projects, such as quilting or piecing, require precise alignment of stitches with existing seams or patterns. Adjusting the needle position helps you maintain this alignment throughout your work.
Special Techniques
Some sewing techniques and patterns may call for non-standard needle positions to achieve specific effects or fabric manipulations. Adjusting the needle position allows you to explore creative sewing techniques.
Fabric Handling
Different fabrics behave differently when sewn. Adjusting the needle position can help you accommodate fabric thickness, seam allowances, and seam finishes, ensuring that your stitches look and function as intended.
Customization
Sewing is a highly customizable craft. The ability to adjust the needle position empowers sewists to tailor their work to their specific preferences and project requirements, leading to more polished and professional results.
FAQS
How does a needle stop function differ from a needle up/down feature?
While both features control the needle’s position, a needle stop typically has two options: “needle up” and “needle down.”
The needle up/down feature allows more flexibility, allowing you to stop with the needle either up or down, and sometimes at any position in between.
Can you manually override a needle stop on a sewing machine?
In many sewing machines, you can manually override a needle stop by turning the handwheel.
Are needle stops essential for all types of sewing projects?
Needle stops are not essential for all sewing projects but can be very helpful, especially for quilting, appliqué, and precise stitching.
Do all sewing machines come with a needle-stop feature?
No, not all sewing machines come with a needle-stop feature. The availability of this feature can vary depending on the make and model of the sewing machine.
To Recap
In sewing, a needle stop on a sewing machine is an unsung hero, quietly revolutionizing the way fabrics are joined and designs are crafted.
Its purpose extends far beyond mere convenience; it’s an instrument of precision and control. This modest feature empowers crafters and artisans to create intricate quilts, flawless appliqués, and perfectly aligned seams.
It eases the burden on delicate fabrics and simplifies the complexities of embroidery. In essence, the needle stop is a vital tool that elevates the quality of sewing projects, ensuring accuracy, reducing frustration, and allowing creativity to flourish.
Its significance lies in its ability to transform a simple machine into a versatile and indispensable partner in the hands of skilled sewists.
Leave a Reply