The origami water bomb, a delightful fusion of artistry and recreation, beckons enthusiasts to embark on a journey of folding mastery.
This intricate yet accessible paper-folding craft transforms a humble square sheet into an enchanting water-holding wonder.
The step-by-step process not only unveils the secrets of geometric precision but also promises exhilarating summertime joy.
In this detailed guide, we’ll unravel the magic, from the initial square sheet to the final, watertight creation.
Each fold, each crease is a stroke of craftsmanship, leading to the moment when the paper balloon comes to life, ready to embrace cool, refreshing splashes.
Join us on this creative adventure as we unveil the art of making an origami water bomb, one step at a time.
What Is Origami Water Bomb?
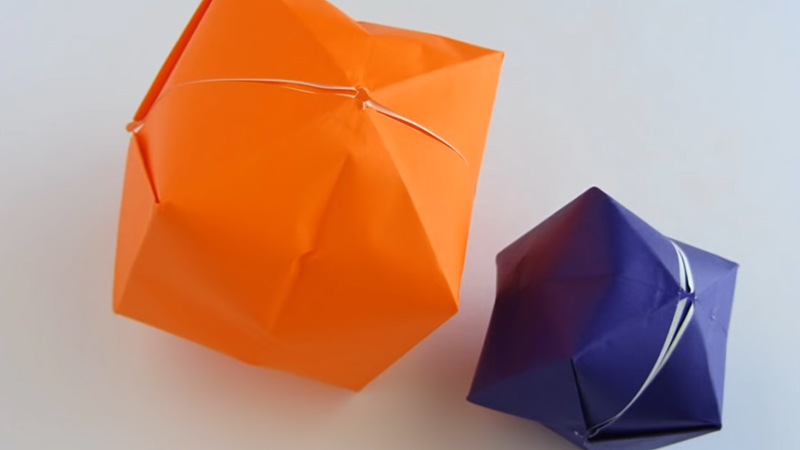
An origami water bomb, also commonly known as an origami water balloon, is a traditional and whimsical paper-folding creation that serves as both an origami art form and a playful summertime activity.
This origami design transforms a square sheet of paper into a three-dimensional, inflatable structure resembling a cube or a tetrahedron.
It gets its name from its primary use: when properly sealed, it can hold water like a balloon and be used for a refreshing outdoor water fight.
Creating an origami water bomb involves a series of precise folds and creases that ultimately result in a compact paper structure with an opening at the top.
Once inflated by blowing air into it, the paper transforms into a watertight vessel, ready to be filled with water and used for friendly splashing fun on hot days.
Origami water bombs are beloved for their simplicity, adaptability to various paper sizes, and their ability to provide both creative satisfaction and summer entertainment.
How to Make an Origami Water Bomb? Step-by-Step
The origami water bomb, also known as the water balloon, is a classic and fun origami design that can be enjoyed by people of all ages.
Not only is it a great origami project, but it can also serve as a fun and refreshing summer activity. Here’s a step-by-step guide on how to make an origami water bomb:
Materials Needed:
- A square sheet of paper
Instructions:
Start with a square piece of paper
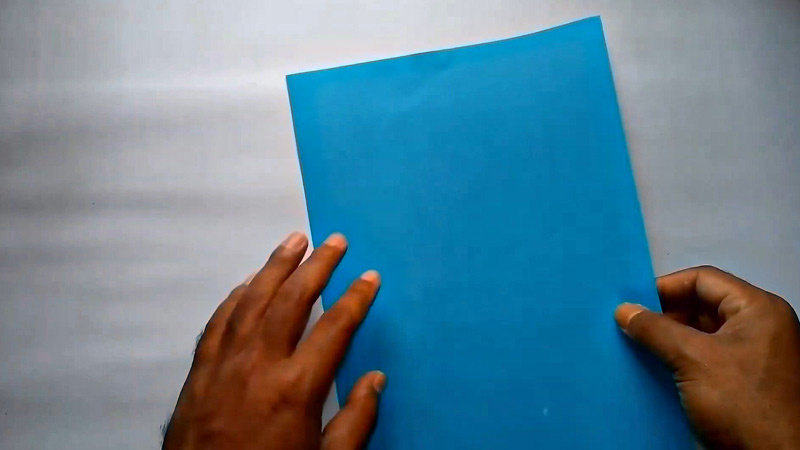
If your paper is not already square, you can easily make it square by folding one corner diagonally across the paper until the edges align.
Then, trim off the excess paper along the bottom to create a square. Ensure that the edges are perfectly aligned before making the final crease.
Fold in half
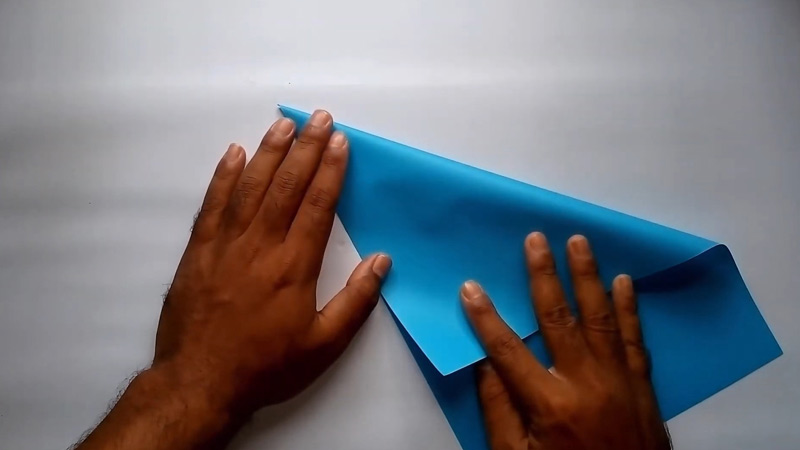
Fold the square in half diagonally to form a triangle. Make sure the two corners meet precisely, and then crease the fold well. Unfold the paper after creasing.
Fold in half again
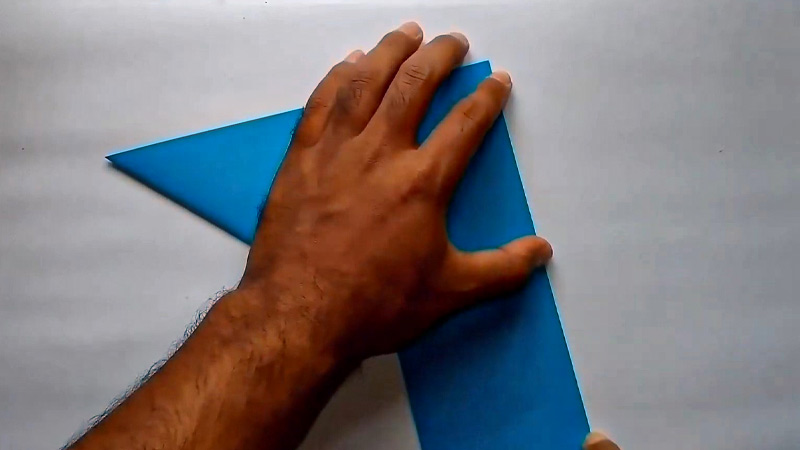
Fold the square in half diagonally in the opposite direction to form another triangle. Align the corners accurately, crease the fold firmly, and unfold it.
Fold in half horizontally
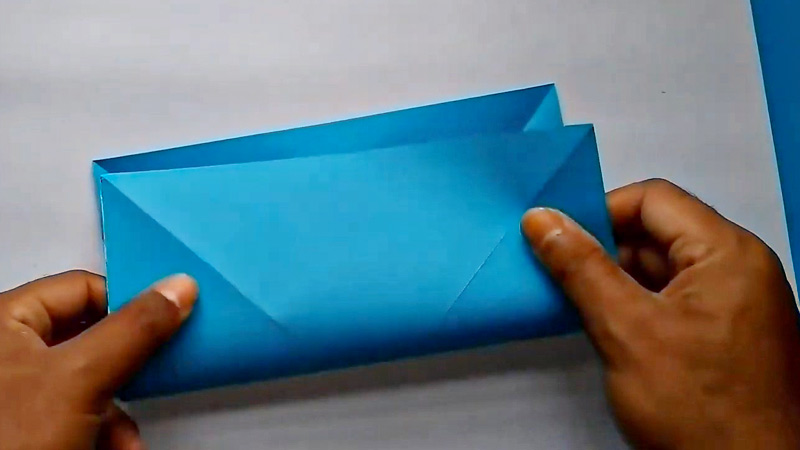
Fold the square in half horizontally, bringing the top point down to the bottom point. Ensure that the edges align perfectly, crease the fold firmly, and then unfold it.
Fold in half vertically
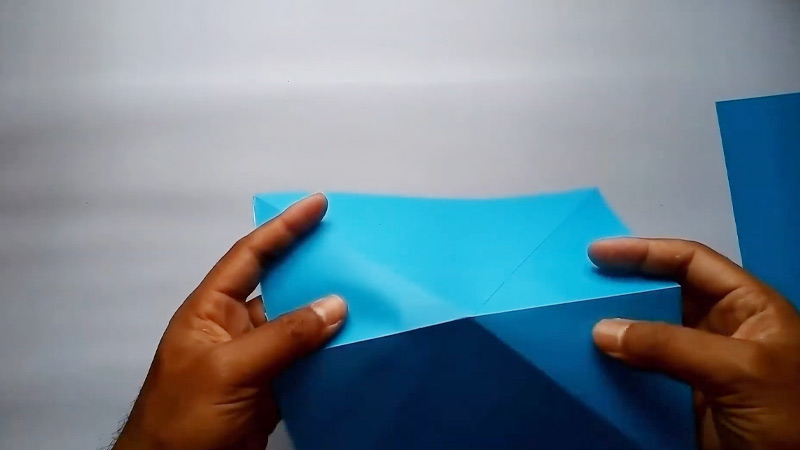
Fold the square in half vertically, bringing the left point over to the right point. Once again, make sure the edges meet precisely, crease the fold well, and then unfold it.
Create a preliminary base
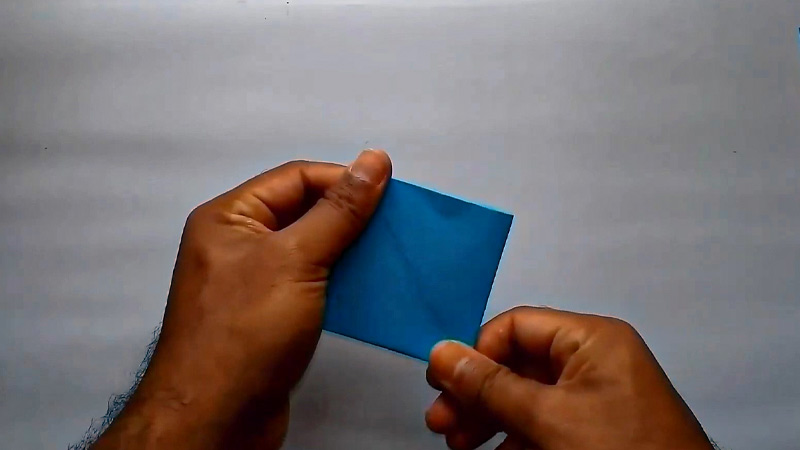
Open up the paper slightly, and gently push the top and bottom points toward each other. As you do this, the paper will naturally collapse into a smaller square shape. This is called a preliminary base. Ensure that the center crease aligns perfectly.
Rotate the base
Rotate the preliminary base so that it looks like a diamond shape, with the open flap at the top. Make sure the center crease is vertical.
Fold the right and left corners
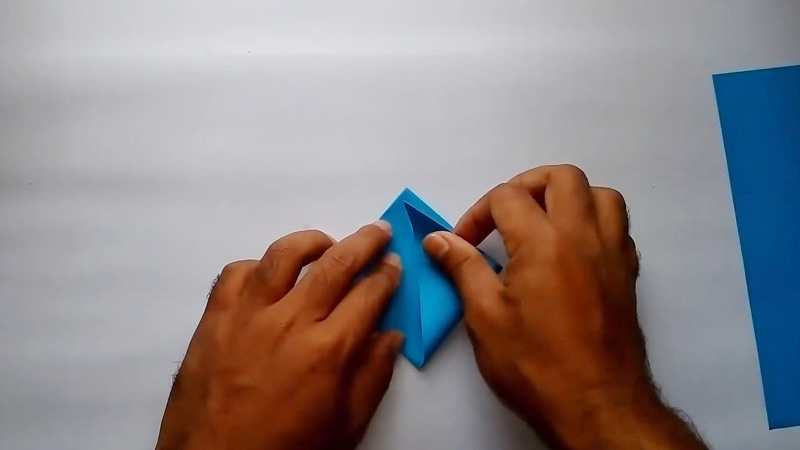
Take the right corner and fold it over to the left corner. Crease the fold well. Repeat this step with the left corner, folding it over to the right. You should now have a smaller diamond shape.
Fold the top flap down
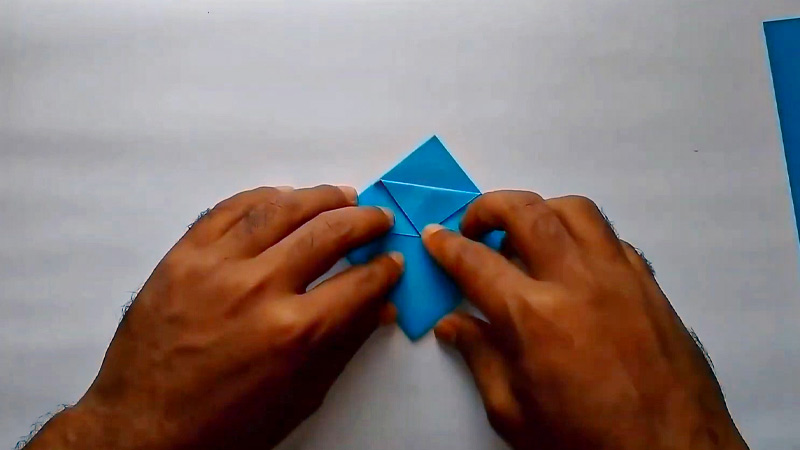
Take the top flap of the diamond shape and fold it down, creasing it well. This flap will become the “cap” of your water bomb.
Turn it over
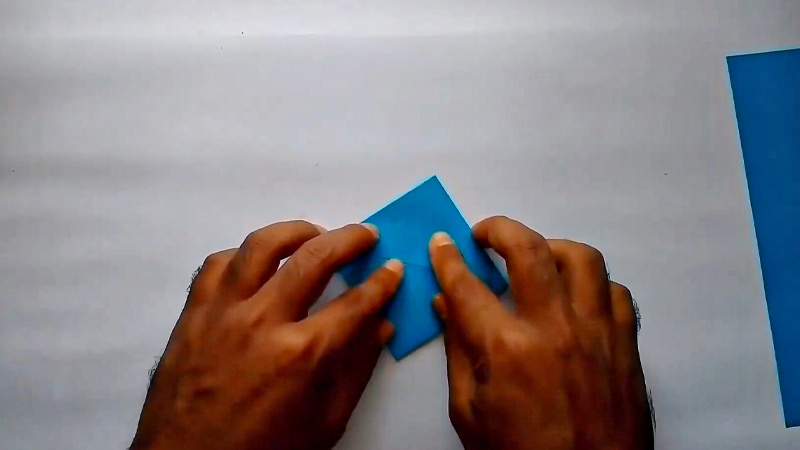
Flip the paper over to the other side. This step is essential to prepare the paper for the subsequent folds. It ensures that the flaps and corners are in the right position for the following steps.
When flipping the paper, be careful to maintain the integrity of the folds you’ve already created, so the water bomb turns out neat and symmetrical.
Fold the top and bottom corners
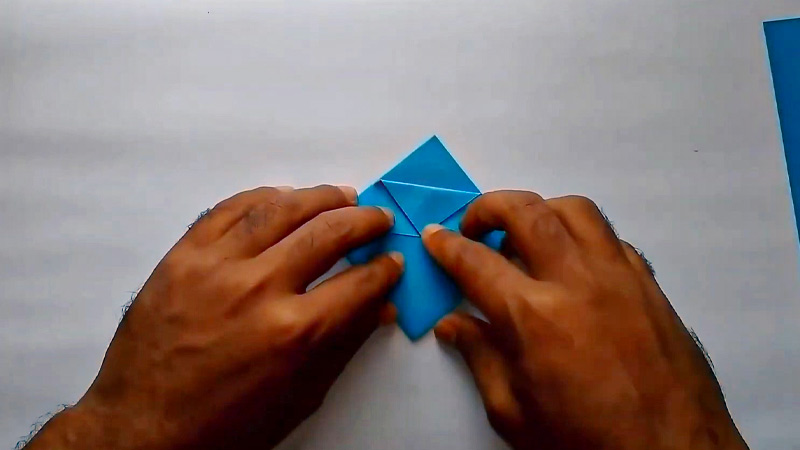
Take the top corner and fold it down to meet the bottom corner, creasing the fold well. Repeat this step with the bottom corner, folding it up to meet the top. You should now have a smaller square shape.
Inflate the water bomb
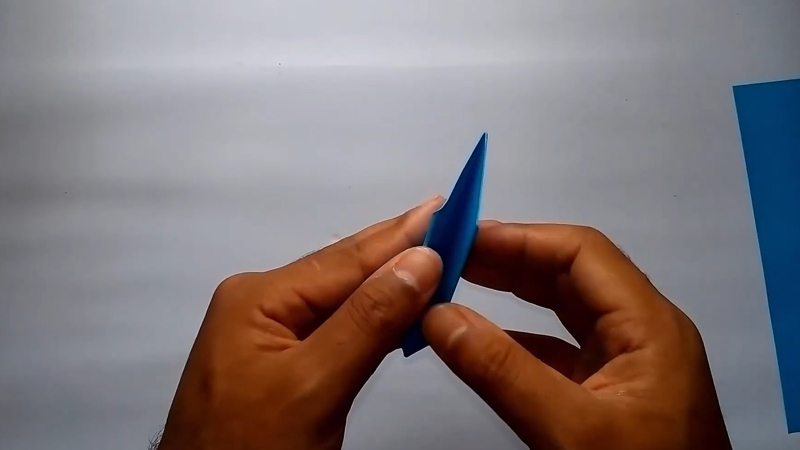
Carefully open up the water bomb by gently pulling apart the layers. You should now have a cube-like shape with an opening at the top.
Blow air into the water bomb
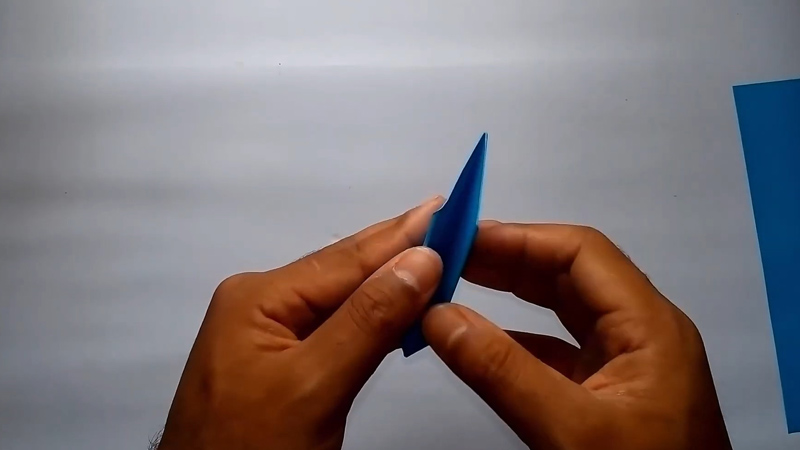
Carefully blow air into the opening at the top until the water bomb is fully inflated. Be sure not to overinflate it, as it may burst. Keep in mind that the more you inflate it, the tighter the final product will be.
Seal the opening
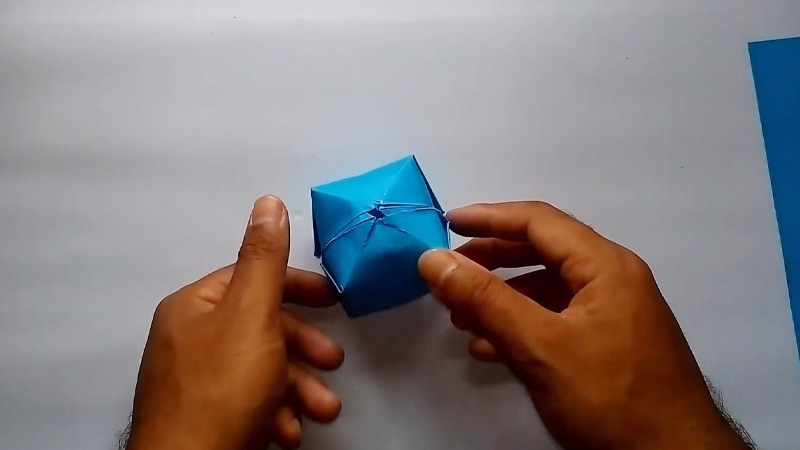
Once the water bomb is inflated to your desired size, fold the top flap down and tuck it into the pocket created by the folded corners to seal the opening securely.
FAQS
What is an Origami Waterbomb Base?
The origami waterbomb base is a fundamental folding technique used to create various origami models, including the paper water bomb or origami water balloon.
What is a Paper Water Bomb?
A paper water bomb is a fun and inflatable origami creation made from the origami waterbomb base.
Are “Origami Water Bomb” and “Origami Water Balloon” the Same Thing?
Yes, “Origami Water Bomb” and “Origami Water Balloon” are often used interchangeably to refer to the same origami creation.
What Types of Paper Can I Use for Origami Water Bombs?
While traditional origami paper works well, you can also use colored or patterned paper for added visual flair.
Can I Decorate My Origami Water Bomb?
Yes, you can personalize your water bomb with drawings, stickers, or markers before folding. Be sure to decorate it before inflating and sealing it.
Are There Different Sizes of Origami Water Bombs?
Yes, you can make water bombs in various sizes by starting with different-sized square sheets of paper.
To Recap
In origami, the journey from a flat square of paper to a whimsical, water-holding creation is a testament to the power of human creativity and precision.
The step-by-step process of crafting an origami water bomb not only acquaints us with the elegance of folding techniques but also transforms the mundane into the extraordinary.
As we conclude this origami adventure, we find ourselves armed not only with a playful paper balloon but with a newfound appreciation for the art of origami.
It’s a reminder that even in simplicity, there exists boundless potential for innovation and joy, where a square of paper can become a source of entertainment and a canvas for expression.
Leave a Reply