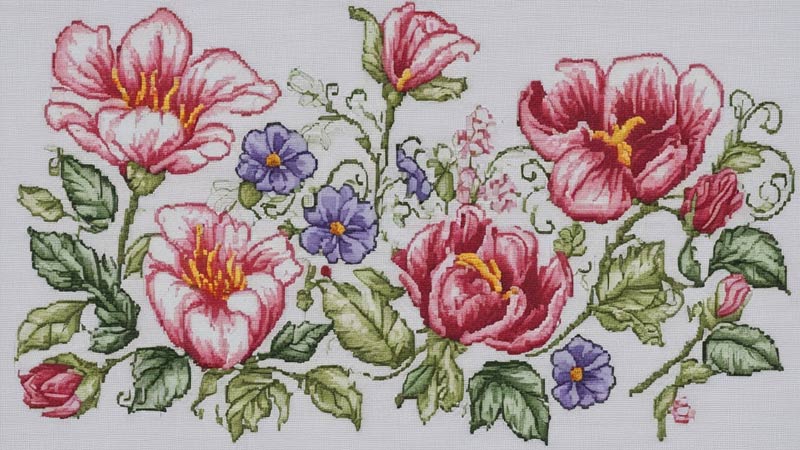
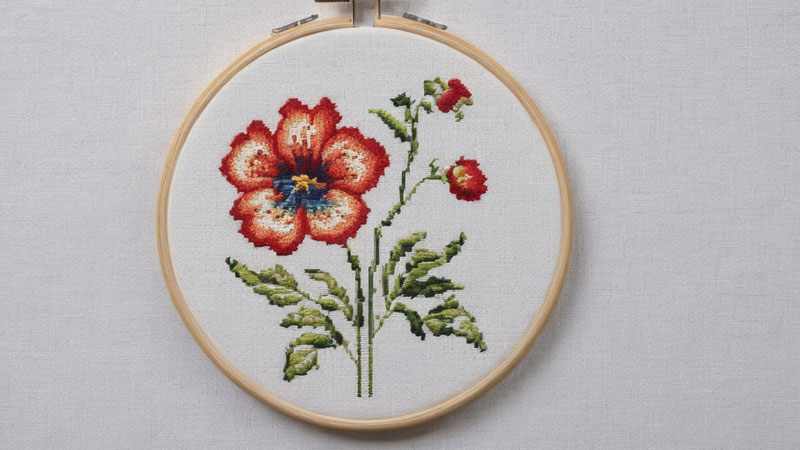
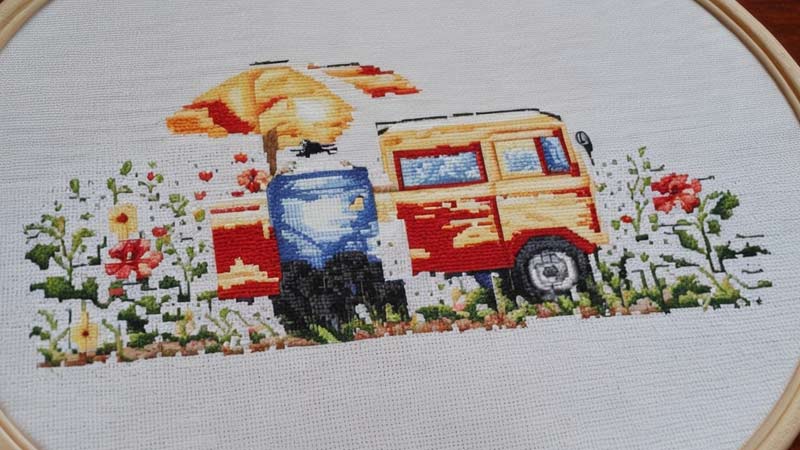
Delve into the world of timeless creativity with our curated Stamped Cross Stitch Pattern collection selection.
Unveiling a tapestry of artistry, our patterns are meticulously designed to transform your stitching endeavors into masterpieces.
Whether you’re a seasoned stitcher or a novice enthusiast, our collection caters to all skill levels, ensuring a gratifying experience for every creator.
Discover the allure of Stamped Cross Stitch, where each pattern tells a unique story through vibrant threads and intricate designs.
From charming floral motifs to enchanting landscapes, our patterns encompass diverse themes, allowing you to embark on a stitching journey that resonates with your style.
Immerse yourself in the joy of creating beautiful cross-stitched pieces effortlessly as our stamped patterns precisely guide your needle.
Elevate your crafting pursuits and bring a touch of handmade elegance to your surroundings with our Stamped Cross Stitch Patterns.

Stamped Cross Stitch Pattern
Stamped Cross Stitch, a timeless and intricate form of needlecraft, has captivated artisans for generations. In this exploration, we delve into the world of Stamped Cross Stitch Patterns – an exquisite realm where creativity meets precision, and every stitch tells a unique story.
Understanding Stamped Cross Stitch Pattern
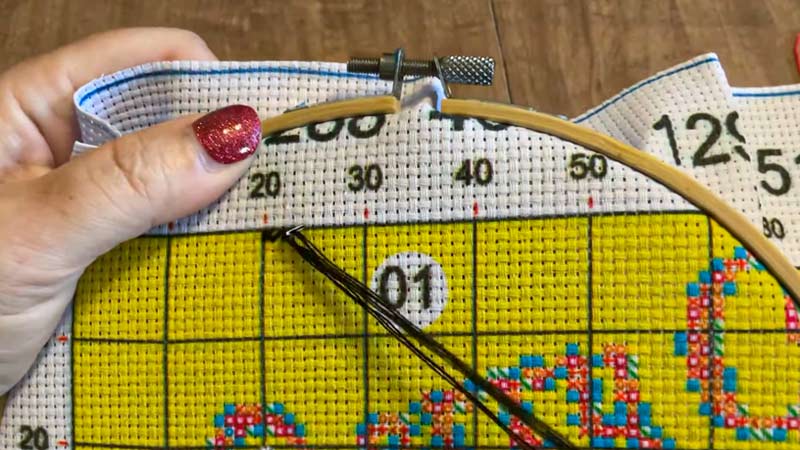
A Stamped Cross Stitch Pattern is a pre-printed design on fabric used as a guide for creating cross-stitch embroidery. The design is imprinted or “stamped” onto the fabric, outlining where each stitch should be placed.
This method simplifies the stitching process, especially for beginners, as it eliminates the need to count individual stitches on a blank canvas.
Stamped Cross Stitch Patterns come in various themes and styles, offering a range of designs from classic to contemporary.
Stamped Cross Stitching Versatility
Stitchers follow the stamped pattern, using embroidery floss to create intricate cross-stitch designs and bring the printed image to life. This approach allows both experienced and novice crafters to enjoy the art of cross-stitching with precision and creativity.
Themes and Styles

The versatility of our Stamped Cross Stitch Patterns extends beyond themes; it encompasses a spectrum of styles.
Whether your aesthetic leans towards traditional elegance, modern simplicity, or eclectic vibrancy, our collection caters to many preferences.
Unleash your creativity as you explore patterns that align with your style, making each stitch reflect your artistic sensibilities.
Navigating Complexity
The collection is designed to cater to stitchers of all proficiency levels. For beginners, patterns with straightforward designs provide a gentle introduction to the world of cross-stitching.
As skills progress, delve into more intricate patterns that offer a delightful challenge. Our goal is to empower every stitcher, ensuring that the joy of creating is accessible to all.
Beyond Thread and Fabric
Within the stitches and the carefully chosen threads lies the opportunity to craft a unique story. Each pattern is more than an arrangement of shapes and colors; it becomes a narrative woven into the fabric.
Whether you’re stitching a memory, conveying an emotion, or simply reveling in the joy of creation, our collection offers the tools to articulate your story through the art of cross-stitch.
Thread Selection
The beauty of cross-stitching lies in the meticulous selection of threads, and our collection provides a kaleidoscope of possibilities.
From traditional cotton floss to specialty threads that add texture and dimension, choose from a palette that enhances the visual impact of your creation. The interplay of threads transforms each pattern into a vibrant tableau, ready to adorn your space with beauty.
Crafting Rituals
Embark on a journey of meditative magic as you immerse yourself in the rhythmic dance of needle and thread. Stitching becomes a creative endeavor and a therapeutic ritual, offering moments of mindfulness and tranquility.
The repetitive motion of each stitch creates a symphony of focus, allowing the outside world to fade away as your creation comes to life, stitch by stitch.
How to Print Cross Stitch Patterns on Fabric?

Printing a cross-stitch pattern on fabric involves transferring a design onto the fabric surface to guide stitching.
While traditional cross-stitch patterns are often pre-printed on fabric, you may want to print your own design or customize an existing pattern.
Here’s a step-by-step guide on how to print a cross-stitch pattern on fabric:
Choose and Prepare Your Pattern
Select or create the cross-stitch pattern you want to print. Ensure the design fits the dimensions of your fabric. Cut your fabric to the desired size, leaving a border around the edges. If you’re using freezer paper, cut it to the same size as your fabric.
Affix Fabric to Freezer Paper
Place the fabric on the ironing board, the wrong side up. Put the shiny side of the freezer paper onto the back of the fabric. Iron the fabric and freezer paper together. The wax on the freezer paper will adhere to the fabric, creating a stable surface for printing.
Load the printer with one fabric sheet at a time (if using fabric sheets) or place the fabric with freezer paper attached in the manual feed section of the printer.
Adjust Printer Settings
Open your cross-stitch pattern on the computer. Set the printer settings to the highest quality for optimal image transfer. Make sure to choose the correct printer and adjust the paper type setting to match the fabric or fabric sheet.
Before printing the entire pattern, do a test print on regular paper to check for any formatting issues or adjustments needed.
Print the Cross-Stitch Pattern
Once satisfied with the test print, load the fabric into the printer. Print the cross-stitch pattern onto the fabric, ensuring that the entire design is transferred accurately. Let the printed fabric sit for a few hours to allow the ink to set fully.
Set the Ink and Stitch
To make the print more permanent, you can heat-set the ink. Cover the printed area with a thin cloth and iron it on the reverse side. This helps to fix the ink in the fabric fibers.
Once the ink is fully set, your printed fabric is ready for cross-stitching. Follow the printed pattern as a guide, stitching over each printed symbol or color.
Tips on Stamped Cross Stitching
Always do a test print on regular paper before printing on fabric to ensure the pattern is the correct size, and the colors are accurate.
Use high-quality printed cross-stitch fabric to ensure a smooth and durable surface. When affixing the fabric to the freezer paper, gently touch the iron to avoid distortion.
How to Cross Stitch with a Printed Pattern?

Cross-stitching with a printed pattern is an enjoyable and creative process that involves following a design printed onto fabric.
Here’s a step-by-step guide to help you navigate through the stitching journey with a printed pattern:
Secure Fabric in an Embroidery Hoop
Choose a well-lit and comfortable workspace. Good lighting is essential for clear and accurate stitching. Place your printed fabric in the embroidery hoop, ensuring the area you want to stitch is centered. Tighten the hoop to keep the fabric taut.
Refer to your printed pattern to determine the colors needed. Separate a strand or two of embroidery floss in the color you’ll be using.
Thread the Needle
Thread the embroidery floss through the eye of the needle and pull it through until you have an even length on both sides. Begin by finding the starting point for your printed pattern. The pattern will typically indicate a central point for starting.
Make the First Stitch – The Cross Stitch
Cross-stitch is comprised of X-shaped stitches. To make a cross stitch, bring the needle up from the back of the fabric at the bottom-left corner of a square.
Insert the needle down into the top-right corner of the same square, forming a diagonal stitch. Bring the needle up from the bottom-right corner and insert it down into the top-left corner, completing the X.
Continue stitching, following the printed pattern. Each symbol or color on the pattern corresponds to a specific type or color of stitch. Repeat the process, creating stitches that align with the symbols on the fabric.
Stitching Techniques
A backstitch is used for outlining or creating fine details. Stitch backward, then bring the needle forward, creating a continuous line. Instead of creating a full X, make a single diagonal stitch for a half stitch.
This is often used for softer details. When your pattern indicates a color change, finish the current section, secure the thread on the back of the fabric, and start with the new color.
Managing Threads
To secure threads on the back of your work, run the needle under a few completed stitches before trimming excess floss. Keep your stitches consistent in tension to maintain an even and polished appearance.
Enjoy the Process and Finish
Cross-stitching is not only about the finished piece but also about the meditative and enjoyable process. Take breaks when needed, and savor the creative journey.
Once your stitching is complete, remove the fabric from the hoop and trim any excess fabric. You can frame your finished piece or turn it into various items like pillows or framed art.
FAQs
How do I choose the right fabric for my stamped cross-stitch pattern?
Consider the fabric’s count (threads per inch), texture, and color. Aida cloth is popular for beginners, while linen or even weaving may suit those seeking a finer finish. Ensure the fabric size matches your pattern dimensions for a proper fit.
Can I use regular printer paper for printing cross-stitch patterns?
It’s not recommended. Printer paper lacks the stability needed for stitching. Opt for fabric sheets or attach your fabric to freezer paper before printing for a more suitable surface.
How do I prevent knots in my embroidery floss while cross-stitching?
To avoid knots, use shorter lengths of thread, around 18-24 inches. Thread your needle carefully, and if you encounter tangles, gently untwist the floss. Additionally, consider using a needle threader for smoother threading.
Can I wash my completed cross-stitch project?
Yes, but with caution. Handwash your finished piece in cold water with mild soap, avoiding excessive rubbing. Rinse thoroughly and blot dry with a clean towel. Never wring or twisting the fabric, and consider using a color catcher sheet to prevent bleeding.
How do I print on Aida cloth?
Printing directly on Aida cloth is not recommended due to its texture. Instead, print your cross-stitch pattern on paper, then transfer the design using a lightbox, water-soluble pen, or by tacking the paper to the fabric and stitching over the design.
Conclusion
Our Stamped Cross Stitch Patterns open the door to a world of artistic expression and therapeutic crafting. Each completed piece is a testament to your skill and a tangible reflection of your passion and dedication.
As you navigate through our collection, remember that every stitch carries the essence of creativity and a sense of accomplishment.
Whether you’re embellishing your living space or gifting a handmade masterpiece, the beauty of Stamped Cross Stitch lies in its ability to transcend mere fabric and thread. It weaves stories, captures moments, and adds a personal touch to your surroundings.
Embark on this stitching adventure confidently, knowing our patterns are crafted to inspire and guide you.
The joy of creating something beautiful with your own hands is unparalleled, and our Stamped Cross Stitch Patterns are here to make that journey both delightful and rewarding.
Leave a Reply