Color-changing embroidery thread introduces an enchanting dimension to the world of needlework, merging creativity with innovation.
This specialized thread undergoes a captivating transformation when exposed to ultraviolet light, unveiling a spectrum of colors and adding a dynamic flair to embroidered creations.
Designed for durability and compatibility with various fabrics, color-changing embroidery thread offers a versatile canvas for crafting unique and eye-catching designs.
An array of recommended needle options and care guidelines opens the door to a realm of possibilities in outdoor clothing, bags, and children’s apparel.
This introduction sets the stage for exploring the fascinating world of embroidery, where color becomes a dynamic and transformative element.
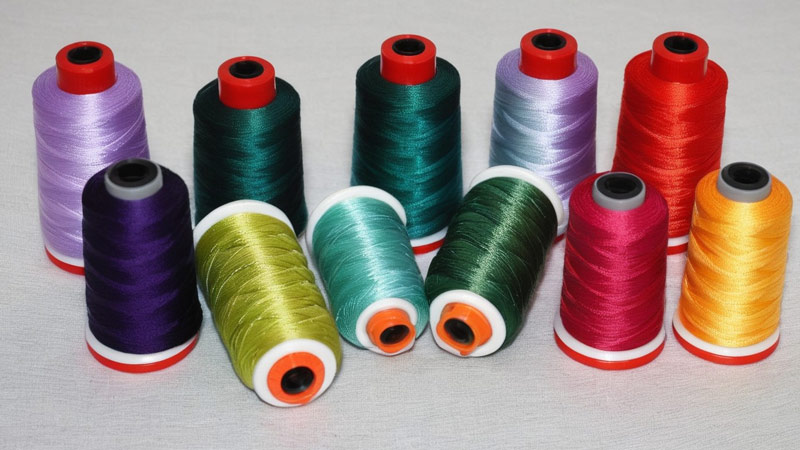
What Is Color Changing Embroidery Thread? Key Features
The color-changing embroidery thread is a unique and innovative thread designed to add an exciting and dynamic element to embroidery projects.
This specialized thread transforms color when exposed to ultraviolet (UV) light or sunlight, creating a captivating visual effect.
The color alteration is contingent upon the intensity of the UV light, with brighter light yielding more pronounced and vibrant color changes.
Key features of color-changing embroidery thread contribute to its popularity in creative projects:
UV Light Sensitivity
Color-changing embroidery thread relies on its sensitivity to ultraviolet (UV) light to exhibit its unique transformation.
When exposed to UV light, such as sunlight, the thread undergoes a mesmerizing color change. The intensity of the UV light directly influences the vibrancy and depth of the colors, offering a customizable aspect to the embroidery process.
This feature makes the thread especially suitable for outdoor applications where natural light enhances the visual impact.
Durability
The durability of color-changing embroidery thread is a crucial factor in its appeal. This thread is designed to withstand the rigors of everyday use and multiple washes; it maintains its color-changing properties over time.
Crafters can confidently incorporate it into various projects, knowing that the captivating color effects will endure, even with regular cleaning. This resilience adds practicality to the thread’s aesthetic appeal.
Variety of Colors
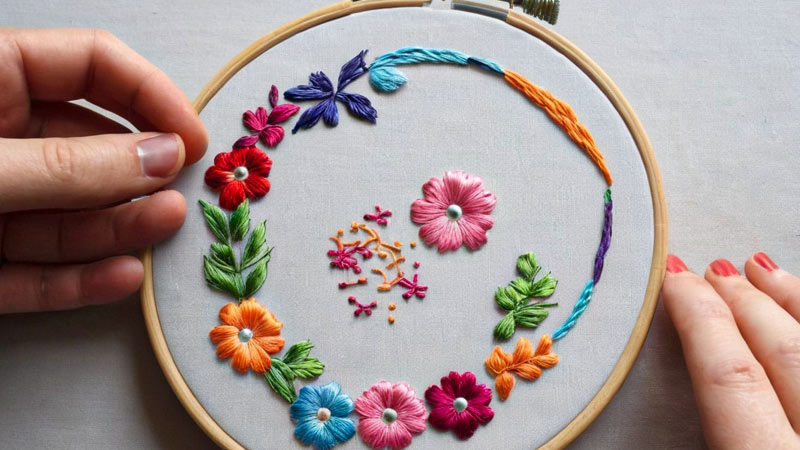
One of the standout features of color-changing embroidery thread is the extensive range of available colors. Crafters and designers can choose from a diverse palette, creating endless creative possibilities.
This variety ensures that the thread seamlessly integrates into various projects, from subtle and sophisticated designs to bold and vibrant creations.
Recommended Needles
To optimize the performance of color-changing embroidery thread, it is recommended to use specific needles with large eye sizes, such as SCHMETZ Topstitch 90/14 and Organ HAX1 SP 90/14.
These needles reduce the likelihood of breakage during embroidery, providing a smoother and more efficient stitching experience. Choosing the suitable needles enhances the overall quality of the finished embroidery.
Care Instructions
While color-changing embroidery thread is robust, proper care is essential for longevity.
Avoiding bleaching and steam ironing is advised to prevent damage to the thread’s color-changing properties. Dry ironing at a maximum temperature of 176°F is permissible if ironing is necessary.
Washing the thread is allowed, but adhering to specific guidelines, such as avoiding water temperatures exceeding 104°F, is crucial. These care instructions contribute to the thread’s long-lasting appeal.
Solar Active Thread
A fascinating subset of color-changing embroidery thread is the solar active variety. This thread undergoes an immediate color change upon exposure to sunlight.
Its ability to transform even on cloudy or rainy days sets it apart, making it an ideal choice for projects intended for outdoor display.
The solar active thread adds an element of unpredictability and adaptability to embroidery projects, ensuring that the color-changing effects are consistently captivating regardless of the weather conditions.
Pros and Cons of Color-Changing Embroidery Thread
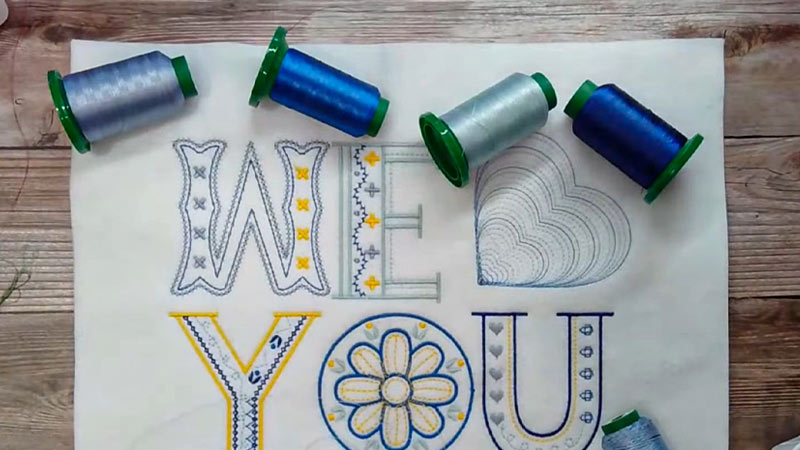
Embroidery enthusiasts are increasingly drawn to the allure of color-changing embroidery thread, a unique innovation that adds a dynamic touch to needlework projects.
Like any crafting material, color-changing embroidery thread has its own advantages and disadvantages.
Let’s explore the pros and cons in the table below:
| Pros | Cons |
| Innovative Visual Appeal: Adds a captivating and dynamic element to embroidery projects, making the final designs stand out and creating a unique visual impact. | Limited Color Control: The color change is influenced by external factors, limiting precise color control. Crafters may need to embrace the unpredictability of the transformation. |
| UV Dependency: Color transformation depends on UV light exposure, restricting its effectiveness indoors or during nighttime. Projects may not exhibit the same vibrancy without adequate sunlight. | Higher Cost: Color-changing threads may be more expensive than traditional embroidery threads, impacting the project’s overall cost. Crafters need to consider budget constraints. |
| Durable: Engineered to withstand multiple washes while retaining color-changing properties, ensuring that the embroidery maintains its visual appeal over time. | Care Requirements: Specific instructions such as avoiding high temperatures may be necessary to maintain color longevity. Crafters need to be mindful of the unique care demands. |
| Creative Expression: Offers a broad spectrum of colors, allowing for diverse creative possibilities and inspiring experimentation in design. | Care Requirements: Specific instructions, such as avoiding high temperatures, may be necessary to maintain color longevity. Crafters need to be mindful of the unique care demands. |
| Solar Active Options: Some threads change color immediately in sunlight, even on cloudy days, providing a dynamic effect regardless of weather conditions. | Learning Curve: Requires experimentation to optimize color transitions and achieve desired effects. Crafters may need to invest time in understanding the nuances of color-changing thread. |
How to Color Embroidery Thread?
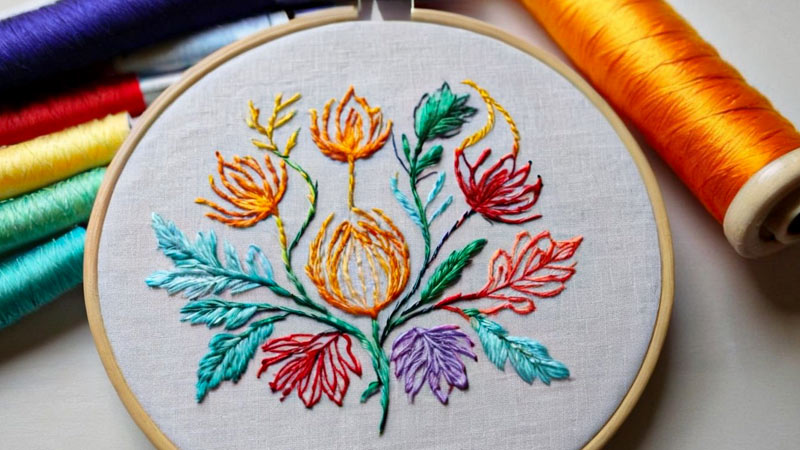
Coloring embroidery thread is a creative process that allows crafters and embroiderers to customize their threads to suit specific projects.
While there are commercially available colored embroidery threads, dyeing your own thread allows you to achieve unique shades and effects.
Here’s a guide on how to color embroidery thread:
Select the Base Thread
Choosing the right base thread is crucial for successful dyeing. Opt for a high-quality, natural fiber embroidery thread as your starting point.
Cotton and silk threads are popular due to their absorbent nature, allowing them to take up the dye readily.
The quality of the base thread impacts the final result, so ensure you select a thread that is well-suited for dye absorption and has the desired texture for your embroidery project.
Prepare the Dye Bath
Preparing the dye bath is crucial in achieving vibrant and lasting colors. If you choose the type of dye, carefully follow the manufacturer’s instructions for preparing the dye bath.
This often involves dissolving the dye in water and adding any fixatives or mordants recommended for the specific dye.
Proper preparation ensures the dye is evenly distributed, enhancing the color adherence to the thread.
Wet the Thread
Before immersing the thread in the dye bath, it’s essential to wet it thoroughly. Dampening the embroidery thread with water enhances its ability to absorb the dye.
Ensure the thread is uniformly wet, as this promotes consistent dye penetration. This step sets the stage for achieving even and well-saturated colors throughout the length of the thread.
Immerse the Thread
Carefully submerge the embroidery thread into the prepared dye bath. Use a stirring stick to agitate the thread, ensuring the dye penetrates evenly and gently.
The agitation helps distribute the color throughout the thread, preventing uneven or patchy results. The duration of immersion will directly impact the intensity of the color, so monitor this carefully based on your desired outcome.
Control Color Intensity
Fine-tune the color intensity by controlling the duration of dye immersion. If aiming for lighter shades, reduce the thread’s time in the dye bath. Conversely, for deeper and more vibrant hues, allow the thread to soak for an extended period.
Conducting small test batches before dyeing larger quantities helps determine the optimal immersion time for achieving your desired color intensity.
Experiment with Small Test Batches
Before committing to dyeing a significant amount of thread, consider conducting experiments with small test batches.
This allows you to refine the dyeing process, test various color concentrations, and observe how the base thread interacts with the dye.
Experimentation is valuable for achieving precise color matching or exploring unique color variations.
Consider Dip-Dyeing Techniques
Explore dip-dyeing techniques to create gradient or ombre effects in your embroidery thread for a more dynamic and visually appealing effect.
Begin by submerging one end of the thread into the dye bath for a shorter duration. Gradually increase the immersed length, moving towards the other end of the thread, to achieve a seamless color transition.
This technique adds a nuanced and artistic dimension to your dyed thread, making it suitable for projects that demand a gradient or flowing color pattern.
Rinse and Set the Color
Once the desired color depth is achieved, carefully remove the thread from the dye bath. Rinse the dyed thread thoroughly under running water to remove any excess dye.
This step is crucial in preventing color bleeding and ensuring the thread maintains vibrancy without residual dye.
Following this, set the color according to the dye manufacturer’s recommendations. This may involve heat-setting or using fixatives to lock in the color and enhance its permanence.
Dry the Thread
After the rinsing and color-setting processes, allow the dyed thread to air-dry completely. Proper drying is essential for achieving consistent color throughout the thread’s length.
To maintain the integrity of the color and prevent any color migration or uneven drying, ensure that the thread is hung or laid flat during the drying process.
Test for Colorfastness
Conduct a colorfastness test before incorporating the dyed thread into your embroidery project to ensure the color remains stable. Wet a small thread section and press it against a white cloth.
If there is any color transfer, it indicates that excess dye remains, and further rinsing is necessary. Repeat the rinsing process until the water runs clear and the thread passes the colorfastness test.
Store Properly
Once the dyed thread is dried and tested, store it properly to maintain its color quality. Store the colored embroidery thread in a cool, dry place away from direct sunlight.
This precaution helps prevent fading and ensures that the dyed colors retain their vibrancy, making the thread ready for use in future embroidery projects.
Proper storage is critical to preserving the beauty and longevity of your custom-colored embroidery thread.
How to Change Embroidery Thread Color? Step-By-Step Guide
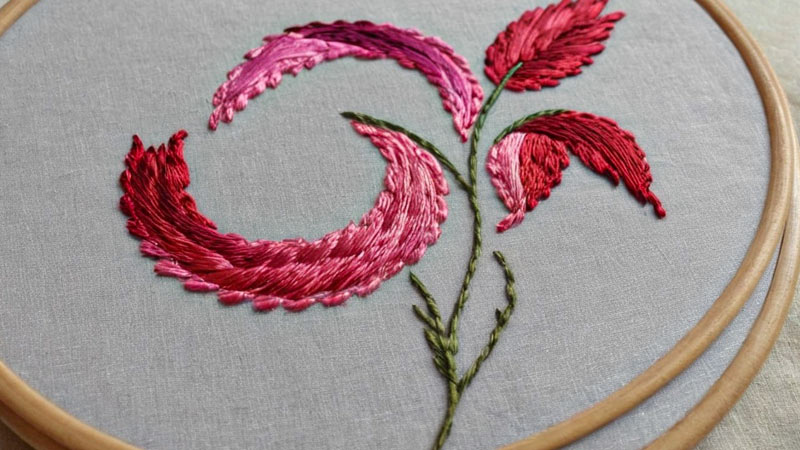
Changing embroidery thread color during a project is common, especially when intricate designs involve multiple colors.
Properly managing the transition between colors ensures a seamless and professional appearance.
Here’s a step-by-step guide on how to change embroidery thread color:
Complete the Stitch or Section
Before transitioning to a new color, it’s essential to thoroughly finish stitching the current color or section. Pay attention to reaching a secure position at the end of a stitch or a natural stopping point within the design.
Ensuring that the last stitch is well-formed contributes to the overall neatness of the embroidery. A secure starting point for the new color will set the foundation for a seamless transition.
Trim the Thread
After completing a section, promptly trim the excess thread to facilitate a smooth transition to the new color. Leave a short tail of about 2-3 inches.
This tail plays a crucial role in the following steps by being secured within the stitches of the new color. Adequate trimming helps prevent thread unraveling and ensures a tidy appearance on both sides of the fabric.
Thread the Needle
Select the new color of embroidery thread and thread the needle carefully. Confirm that the thread is pulled through the needle’s eye, leaving a tail similar to the one left from the previous color.
Taking care during this step avoids difficulties in threading and helps maintain the integrity of the embroidery process.
Secure the New Thread
To anchor the new thread securely, bring the threaded needle up from the back of the fabric to the front. Place this entry point close to where the last stitch of the previous color concluded.
This strategic placement ensures that the transition between colors appears seamless on the front side of the embroidery.
Loop and Stitch
An effective technique to conceal thread tails and prevent them from poking through to the back is to create a loop with the new thread’s tail.
Lay this loop along the fabric’s surface and secure it with the first few stitches of the new color.
This method not only conceals the tails but also adds stability to the color transition, enhancing the overall appearance of the embroidery.
Continue Stitching
Resume the stitching process with the new color, adhering to the designated embroidery pattern.
It’s crucial to strike a balance with each stitch tight enough to cover the thread tails but not so tight that it distorts the fabric. Consistency in stitch tension ensures a uniform and professional finish with the new color.
Secure and Trim Excess
Once a sufficient length has been stitched with the new color, flip the fabric over and secure the thread tails on the backside.
This can be achieved through a knot or by weaving them into the existing stitches. Trim any excess thread close to the fabric surface, maintaining a tidy backside that complements the front of the embroidery.
Repeat as Necessary
The process of transitioning between colors may need to be repeated multiple times, depending on the complexity of the design.
Consistency in securing and trimming thread tails at each transition contributes to an overall clean and polished finish, enhancing the professionalism of the completed embroidery.
Plan Color Changes
For projects with frequent color changes, planning the order of colors is advisable. This pre-planning minimizes interruptions during the embroidery process, making it more efficient.
Consider the overall design and strategically order color changes to optimize the workflow and maintain focus on the creative aspects of the project.
FAQs
What is the color-changing thread?
A color-changing thread is a particular type that changes color when exposed to certain conditions, such as UV light or sunlight.
What is UV color-changing thread?
UV color-changing thread is a type of thread that changes its color specifically under ultraviolet (UV) light exposure.
Does UV color-changing thread work indoors?
UV color-changing thread is most effective outdoors or under direct sunlight, requiring UV light to trigger the color change. However, some may exhibit a subtle effect indoors.
What is UV color-changing yarn?
UV color-changing yarn undergoes a color transformation when exposed to ultraviolet (UV) light or sunlight.
To Recap
Color-changing embroidery thread is a captivating innovation that elevates the art of embroidery. Sensitive to ultraviolet light, this thread transforms its colors, creating dynamic and visually stunning effects.
With durability that withstands multiple washes, various available colors, and recommended needle usage for optimal results, it offers endless creative possibilities.
Whether used for outdoor clothing, bags, or children’s apparel, color-changing embroidery thread adds an element of surprise and vibrancy to projects.
Its unique ability to respond to sunlight, even on cloudy days, makes it a versatile and engaging choice for those seeking to infuse their embroidery with enchantment and creativity.
Leave a Reply