The world of embroidery is filled with countless techniques, each offering a unique way to bring fabric to life. Among these methods, photo stitch embroidery is an innovative approach that seamlessly marries photography and needlework.
It’s a technique I’ve grown to love and appreciate for its ability to capture the intricate details of a photograph in thread form.
If you’re new here, let me explain what photo stitch embroidery entails. Simply put, it involves transforming your favorite photographs into stunning embroidered art pieces.
The process can be pretty complex, but don’t be intimidated – it’s all about breaking down the image into manageable parts and then recreating those details using various stitches.
What makes this particular technique so impressive is its power to evoke depth and realism in a design. By working closely with color contrasts and tonal variations in the original photo, we can replicate the light-dappled effect often seen in photos – right onto our canvas!
In essence, photo stitch embroidery breathes new life into cherished memories by adding texture and dimension beyond what traditional photography can offer.
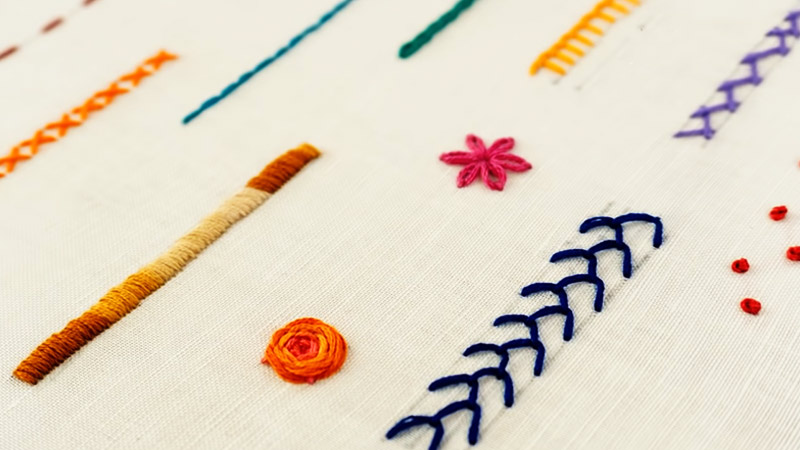
What is Photo Stitch Embroidery?
Step into the world of photo stitch embroidery and find an art form that combines technology with tradition. It’s a unique technique that transforms digital images into intricate, stunning embroidery designs.
Whether it’s a beloved family portrait or an awe-inspiring landscape, photo stitch can turn it into a thread-and-needle masterpiece.
Let me give you a little glimpse into how this magic happens. Initially, I select a high-quality photograph and upload it to specialized software like PE-Design or Digitizer MBX.
This sophisticated tech then analyzes each image pixel and maps where every stitch should be placed for maximum accuracy and detail.
Now, remember when I said it was an intricate process? Here’s why: A single design could require thousands, even tens of thousands of individual stitches! For instance, let’s take an example:
| Type | Stitches |
|---|---|
| Simple Design | 2,000 – 5,000 |
| Complex Design | 10,000 – 30,000 |
That’s not all! The selection of color also plays an essential role in creating realistic effects in photo stitch embroidery. Careful attention is given to matching thread colors to the original image hues as closely as possible.
To add more depth and texture to the final output:
- A mix of different types of stitches can be used
- Creative use of light and shade can bring about fascinating results
Just imagine wearing your favorite picture on your sleeve—quite literally—or decorating your home with embroidered memories that won’t fade with time!
So there you have it – Photo Stitch Embroidery, where creativity meets technology head-on to create extraordinary works of art.
Materials Needed for Photo Stitch Embroidery
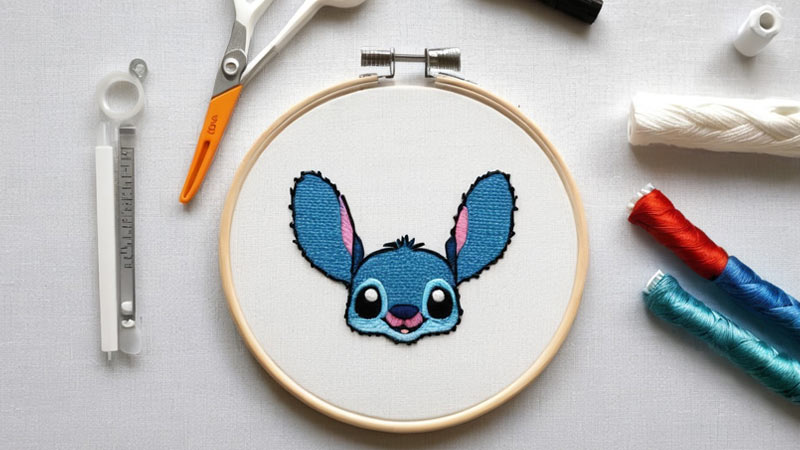
Photo stitch embroidery, or digital embroidery or digitization, is a fascinating craft that combines traditional embroidery supplies and digital tools.
Here’s a comprehensive list of materials you’ll need to get started:
Embroidery Machine
Ensure it has photo stitch capabilities. Look for models with easy-to-navigate interfaces if you’re a beginner.
Embroidery Threads
Gather a wide range of colors to capture the nuances of your image. A diverse palette will enhance the depth and realism of your final piece.
Embroidery Software
This is essential for converting digital images into embroidery designs that your machine can understand. Choose software suitable for your skill level and needs, considering factors like complexity and functionality.
Fabric
Select the appropriate fabric based on your project’s requirements. Starting with sturdy fabrics like cotton or linen is recommended for beginners until you become more familiar with different stitching techniques.
Stabilizers
Often overlooked but crucial for achieving high-quality results in photo stitch embroidery. Stabilizers provide support during the stitching process, preventing fabric distortion and ensuring clean lines in your final piece.
Preparation before starting the Photo Stitch Embroidery
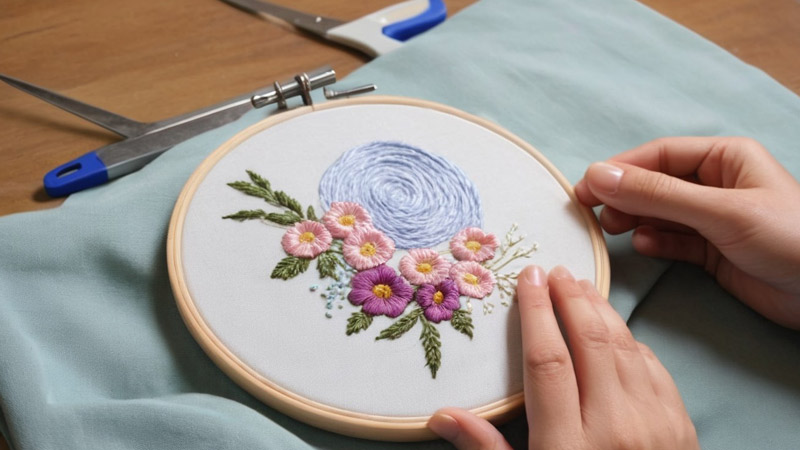
Embarking on a photo stitch embroidery project requires careful preparation to ensure the best results.
Let’s break down the key steps you need to take before diving into the stitching process:
Selecting the Right Picture
Choose a high-resolution image with transparent, distinct features. Whether a professional photograph or a personal snapshot, ensure it has enough detail to be effectively translated into an embroidery pattern.
Choosing Suitable Software
Research and select embroidery software to convert your chosen photo into an embroidery pattern. Popular options include Brother’s PE-Design software and Embrilliance Essentials.
Look for features that allow for detailed analysis of shades and contours in the image.
Selecting Thread Colors
While selecting thread colors may seem daunting, aim for around 10-15 different shades to capture the nuances of the image. Focus on replicating light and shadow effects rather than exact color matches.
Choosing Fabric
Opt for a medium-weight cotton fabric sturdy enough to withstand detailed stitching but not too thick to impede the needlework process. Ensure the fabric provides a stable base for your embroidery project.
Gathering Necessary Tools
Ensure you have all the essential tools, including an embroidery machine, a suitable stabilizer to prevent fabric puckering, sharp scissors for cutting threads neatly, and a lightbox if you manually transfer designs.
Mastering Photo Stitch Embroidery: A Step-By-Step Guide for Beginners
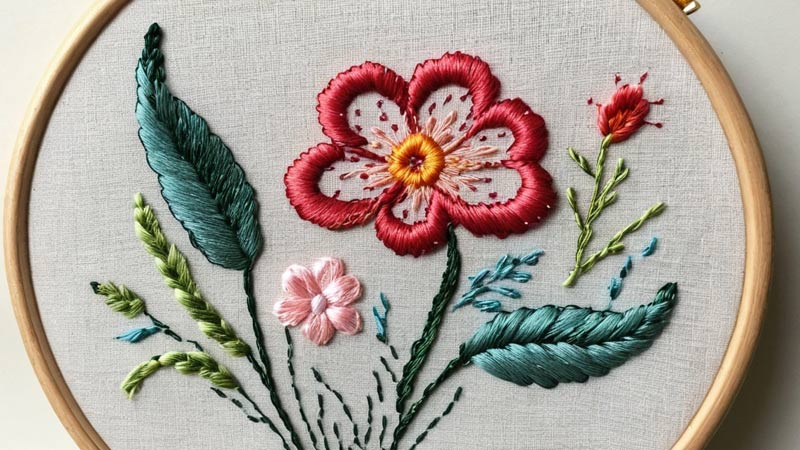
Embarking on a photo stitch embroidery project can be an exciting journey into the world of textile art. Here’s a step-by-step guide to help you get started:
Select Your Image
Choose a clear, high-resolution image for your embroidery project. More straightforward images with defined shapes and fewer details often work best for photo stitch embroidery.
Convert Image to Embroidery Pattern
Use embroidery software like PE-Design or Embrilliance to convert your chosen image into a stitch file format. Adjust thread density and color choices to resemble the original image closely.
Prepare Your Materials
Gather your embroidery materials, including fabric, hoop, embroidery machine, threads, stabilizer, and scissors. Ensure your fabric is hooped tightly to prevent wrinkles or puckering during stitching.
Hoop Your Fabric
Place your fabric in the embroidery hoop, ensuring it’s taut and evenly stretched. Tighten the hoop screw to secure the fabric in place.
Load the Design
Transfer the embroidery design file to your embroidery machine. Use the machine’s interface to select and load the design onto the machine.
Thread Your Machine
Thread your embroidery machine with the appropriate thread colors according to the design. Follow the machine’s threading instructions carefully to avoid any issues during stitching.
Align the Needle
Use the machine’s controls to position the needle at the starting point of the design. Ensure it’s aligned correctly to begin stitching in the right place.
Begin Stitching
Start the embroidery machine and let it begin stitching your design. Monitor the stitching process to ensure the thread tension is correct and adjust if necessary. Be prepared for frequent color changes and thread trimming as the design progresses.
Monitor Progress
Keep an eye on the embroidery machine as it stitches your design. Check for any issues, such as thread breaks or fabric puckering, and adjust as needed.
Finish and Inspect
Once the embroidery is complete, remove the fabric from the hoop and inspect the finished piece. Trim any loose threads and iron the fabric if necessary to smooth out wrinkles.
Enjoy Your Creation
Admire your finished photo stitch embroidery project and proudly display it in your home, or give it a thoughtful handmade gift to someone special.
Tips and Tricks for Successful Photo Stitch Embroidery
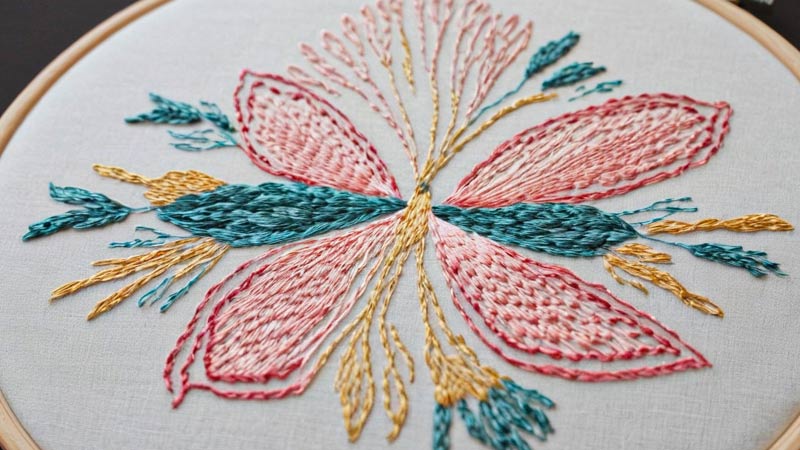
Mastering photo stitch embroidery requires attention to detail, patience, and practice. Here are some valuable tips and tricks to help you achieve success:
Start with the Right Image
Choose a clear, high-resolution image with well-defined shapes and distinct features. High-contrast images with clearly separated colors work best for photo stitch embroidery.
Use Quality Embroidery Software
Invest in good embroidery software that can accurately convert your image into a stitch pattern. Experiment with different settings to achieve the desired detail and color accuracy level.
Select the Right Thread
Choose high-quality embroidery threads that match the colors in your image closely. Consider using thread conversion charts to find the closest match to the colors in your image.
Test Stitching
Before starting your main embroidery project, do a test stitch on a scrap piece of fabric to ensure the colors and stitching density are correct. Make any necessary adjustments before stitching on your final piece.
Stabilize Your Fabric
Use a stabilizer to reinforce your fabric and prevent puckering or distortion during stitching. Choose a stabilizer that matches the weight and stretchiness of your fabric.
Thread Management
Keep your thread organized and tangle-free to avoid interruptions during stitching. Use thread stands or bobbins to manage multiple thread colors efficiently.
Monitor Your Machine
Keep an eye on your embroidery machine while it’s stitching to catch any issues early on, such as thread breaks or missed stitches. Clean and maintain your machine regularly to ensure smooth operation.
Hooping Techniques
Proper hooping is essential for achieving even tension and avoiding fabric distortion. Learn different hooping techniques and practice until you feel comfortable with them.
Experiment with Effects
Get creative with different embroidery effects, such as blending colors or adding texture. Experiment with varying types of stitches and densities to achieve unique effects in your embroidery.
Practice Regularly
Like any skill, photo stitch embroidery improves with practice. Set aside time for regular practice sessions to hone your skills and try new techniques.
Patience and Persistence
Photo stitch embroidery can be time-consuming and challenging, especially for intricate designs. Stay patient and persistent, and don’t get discouraged by setbacks. Each project is an opportunity to learn and improve.
Conclusion
Having delved into the world of photo stitch embroidery, it’s evident that this technique is a game changer for many embroidery enthusiasts.
It allows us to transform our favorite photos into unique textile art pieces. Not only does it add more depth and dimension to our creations, but it also opens up a whole new realm of possibilities for personalization.
The beauty of photo stitch embroidery lies in its versatility. Whether you’re looking to capture a cherished family portrait or immortalize a breathtaking landscape, there’s no limit to what can be achieved with this method.
The options are endless, from simple black-and-white designs to intricate color-filled patterns.
Over time, I’ve found that practice makes perfect for mastering the art of photo stitch embroidery.
Remember:
- Start small and gradually work your way up
- Always use high-quality materials
- Experiment with different colors and textures
And lastly, don’t be afraid to let your creativity run wild! There’s no right or wrong way when it comes down to expressing yourself through art – so let your imagination take flight!
With patience and persistence, you’ll soon find that the complex stitches start falling into place effortlessly under your fingertips. And before long, you’ll have created something extraordinary – a tangible memory captured in threads.
In essence, photo stitch embroidery isn’t just about creating beautiful works of art – it’s also about telling stories in stitches.
By combining technology with traditional craft skills, we can create stunning pieces with deep personal significance.
So why not give photo stitch embroidery a try? You might find it becomes your new favorite hobby!
Leave a Reply