Quilt binding is the essential finishing touch in the world of quilting, bridging the gap between the quilt’s intricate layers and the outside world.
This narrow strip of fabric serves both functional and aesthetic purposes, encasing the raw edges of the quilt top, batting, and backing. Beyond its utilitarian role, binding transforms a quilt into a polished work of art, enhancing its visual appeal and structural integrity.
The choice of binding fabric and technique allows for personalization, from complementary colors to contrasting designs.
Understanding and mastering the art of quilt binding is a fundamental skill for quilters, ensuring that their creations stand the test of time with both beauty and durability.

What Is Quilt Binding?
Quilt binding is a crucial finishing touch in the world of quilting. It serves both functional and aesthetic purposes, providing a neat and durable edge to the quilt while enhancing its overall appearance.
Essentially, quilt binding is a narrow strip of fabric that is sewn around the outer edges of a quilt to encase the raw edges of the quilt top, batting, and backing.
This process not only gives the quilt a polished look but also reinforces its structure, ensuring that it stands up to the test of time.
Here’s a more detailed look at quilt binding:
Material Choices
Quilt binding can be made from a variety of fabrics. Many quilters prefer to use coordinating or contrasting fabric that complements the quilt top.
However, some may choose to use the same fabric as the backing or even a solid color that complements the overall design. The choice of material can significantly impact the quilt’s final appearance.
Width and Style
The width of quilt binding can vary, but it is typically cut between 2 to 2.5 inches wide. This width is then folded in half lengthwise, resulting in a double-fold binding strip that is around 1 inch wide when applied.
Some quilters opt for single-fold binding, which is a single layer of fabric folded over the quilt’s edges.
The choice between double-fold and single-fold binding often depends on personal preference and the intended use of the quilt.
Preparation
Before attaching the binding, it’s essential to prepare the binding strips.
This involves cutting the fabric into the desired width, joining the strips together to create a continuous length (if necessary), and pressing them to ensure they lie flat and are easy to work with.
Attaching the Binding
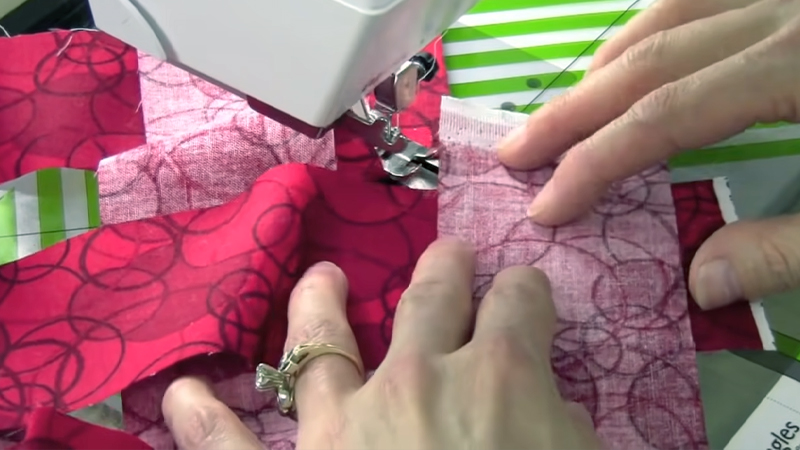
The binding is sewn onto the quilt using a sewing machine. It is typically attached to the front of the quilt first.
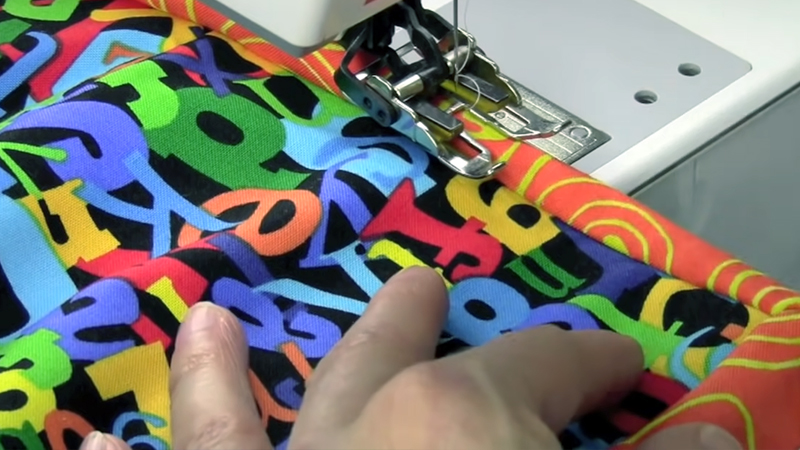
The process involves aligning the raw edges of the binding strip with the raw edges of the quilt and sewing it in place with a quarter-inch seam allowance. Mitered corners are often used to create a clean, professional look.
Turning and Hand Finishing
After attaching the binding to the front, it is folded over to the back of the quilt and hand-stitched in place.
This step is known as “turning the binding” and involves carefully tucking the folded edge of the binding over the quilt’s raw edges and securing it with small, even stitches.
Many quilters enjoy this part of the process, as it allows for intricate handwork and adds a personalized touch to the quilt.
Finishing Touch
Once the binding is securely attached to the back, the quilt is considered finished. Some quilters opt to add labels to their quilts at this stage, providing information about the quilt’s maker, date of creation, and any other relevant details.
Common Methods for Attaching Quilt Binding

Attaching quilt binding is a critical step in the quilting process, as it not only finishes the edges of the quilt but also adds a decorative element.
There are several common methods for attaching quilt binding, each with its own advantages and aesthetic considerations.
Here are the most common methods:
Machine Stitched Binding
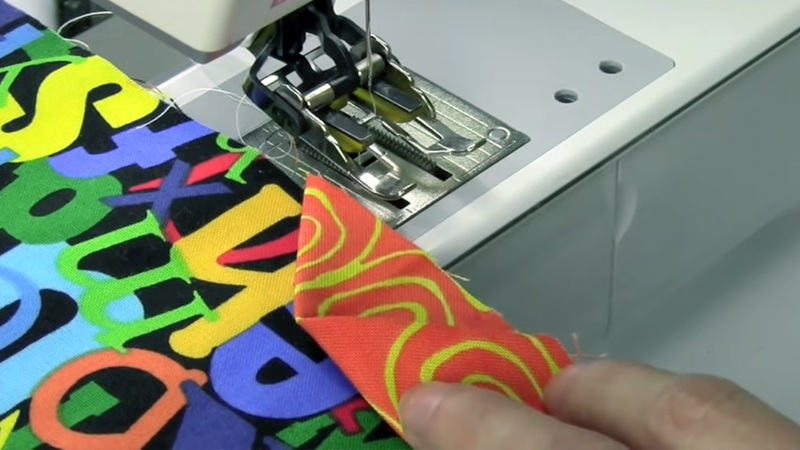
This common method involves sewing binding to the quilt’s front with a 1/4-inch seam allowance. When nearing a corner, pivot at 45 degrees to create mitered corners.
Continue, leaving a gap. Fold the binding to the back, securing it with pins. Stitch in the ditch on the front, securing the binding on the back. Finally, hand stitch the remaining gap closed.
Machine Stitched Binding
In this approach, the binding is first sewn to the back of the quilt with a 1/4-inch seam allowance. At corners, pivot and create mitered corners.
Fold the binding to the front, secure it with pins, and then stitch in the ditch on the back to secure the binding. Hand stitch the remaining gap closed.
Hand Stitched Binding
This traditional method involves sewing the binding to the quilt’s front with a 1/4-inch seam allowance.
Fold it over to the back, secure it with pins, and use a whipstitch or ladder stitch to hand-sew the binding. It provides a clean and elegant finish, though it is time-consuming.
Binding by Machine on Both Sides
In this technique, the binding is initially sewn to the quilt’s front with a 1/4-inch seam allowance.
Fold it to the back and use a decorative machine stitch, like a zigzag, to secure it. This method is faster than hand stitching and results in a secure finish with a decorative edge.
Continuous Bias Binding
Continuous bias binding is made from a single, continuous strip of fabric that’s been cut and sewn together in a special way.
This method minimizes the number of seams, resulting in a smoother, more seamless finish. It’s especially useful for quilts with curved edges or intricate designs.
Flange Binding
Flange binding involves adding a contrasting strip of fabric between the quilt and the binding.
This creates a decorative accent that can complement or highlight certain elements of the quilt’s design. It’s a great way to add a pop of color or create visual interest along the edges.
Scalloped Edge Binding
Scalloped binding is used to create a decorative, wavy edge around the quilt. It’s achieved by cutting the binding strip with a scalloped or wave-shaped template.
While this technique requires careful cutting and stitching, it adds a unique and eye-catching detail to the quilt’s border. It’s particularly popular for quilts with a more traditional or vintage aesthetic.
Why Is Quilt Binding Important?

Quilt binding plays a pivotal role in the overall integrity and aesthetic appeal of a quilt. Its importance cannot be overstated, as it serves both functional and decorative purposes.
Quilt binding is crucial for several reasons:
Finishing Touch
Quilt binding is the final step in the quilting process, providing a clean and tidy edge to the quilt.
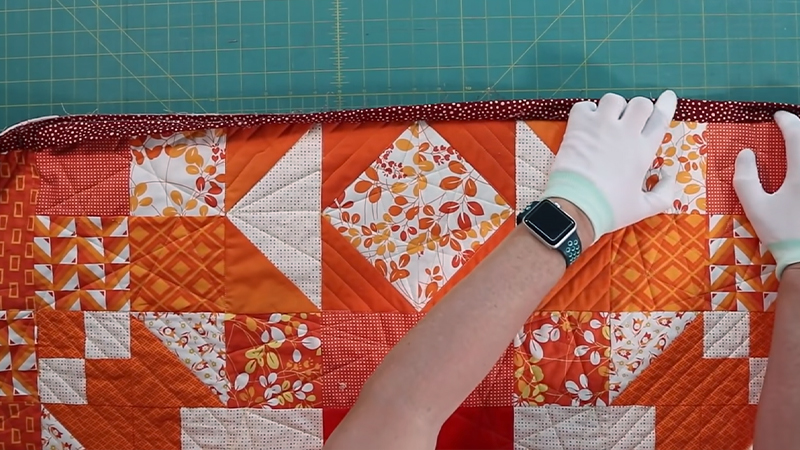
Without binding, the raw edges of the fabric layers would be exposed, giving the quilt an incomplete and unprofessional appearance. The binding acts like a frame, accentuating the design and giving the quilt a polished look.
Durability
By encasing the raw edges of the quilt, binding prevents them from fraying or coming apart. This is particularly important for quilts that will be used and laundered frequently.
It ensures that the quilt remains intact and looks its best for years to come, even with regular wear and tear.
Structural Integrity
Quilt binding plays a crucial role in maintaining the structural integrity of the quilt. It helps hold the layers (the quilt top, batting, and backing) together securely.
Without binding, these layers could separate over time, leading to potential damage and compromising the overall quality of the quilt.
Aesthetic Choice
The choice of binding fabric and technique allows quilters to exercise their creativity and enhance the visual impact of the quilt.
Whether using a complementary color to unify the design or a contrasting fabric to make a statement, the binding can significantly influence the overall aesthetic appeal of the quilt.
Personalization
Quilt binding offers an opportunity for quilters to add a personal touch to their creations. They can choose from various binding styles, such as straight, bias, or flange, to achieve the desired effect.
Additionally, the hand-stitching of binding allows for intricate detailing and customization, making each quilt a unique work of art.
Functional Use
Beyond its decorative role, quilt binding serves a practical purpose. It defines the outer edge of the quilt, making it easy to handle, fold, hang, or display.
This is especially important for quilts that are intended for use in the home or as gifts.
How Do You Make Quilt Binding?

To create quilt binding, you’ll need fabric strips, typically 2 to 2.5 inches wide, cut along the straight grain.
Follow these steps to make quilt binding:
Fabric Selection and Preparation
Begin by choosing a fabric that complements your quilt’s design. Ensure it’s free from wrinkles or folds. Using a rotary cutter, ruler, and cutting mat, cut the fabric into strips.
Join shorter strips together at a 45-degree angle to create a continuous length. This method minimizes seams for a smoother finish.
Pressing for Precision
After cutting, it’s essential to iron the strips flat. This ensures they’re smooth, even, and ready for the next steps.
Folding the strips in half lengthwise with the wrong sides together creates the classic double-fold binding.
Attaching to the Quilt
Starting at the middle of one side, use a 1/4-inch seam allowance to sew the binding to the quilt.
Leave a tail at the beginning to allow for a clean finish when joining the ends later. Continue stitching, keeping the binding aligned with the quilt’s edge.
Mitering Corners for Neatness
When approaching a corner, stop sewing 1/4 inch from the edge. Pivot the quilt at a 45-degree angle, then resume stitching along the next edge. This technique creates mitered corners, which lay flat and give a polished look.
Joining Ends Seamlessly
Once you’ve gone all the way around the quilt and are nearing the starting point, you’ll need to join the binding ends.
Overlap them and trim any excess fabric. Open the folds of the binding and sew across the diagonal, creating a neat, flat join.
Finishing with Care
Fold the binding over the quilt’s edge to the back. Secure it in place using pins or clips. This step is crucial for achieving a clean and professional finish.
Hand or Machine Stitching for Personalization
You have the option to either hand-stitch the binding for a traditional finish, which allows for intricate detailing and a personalized touch or use a machine for a quicker, more durable result.
Choosing between the two methods depends on your preference and the intended use of the quilt.
FAQs
What is quilt binding?
Quilt binding is a narrow strip of fabric used to encase the raw edges of a quilt, providing a neat and durable finish.
How is quilt binding attached?
Quilt binding can be attached using various methods. It can be machine-stitched from the front to the back, machine-stitched from the back to the front, hand-stitched, or even applied by machine on both sides for a decorative finish.
Can I use different fabrics for quilt binding?
Yes, quilters often use different fabrics for binding, choosing materials that complement or contrast with the quilt’s design.
What is bias binding in quilting?
Bias binding is made by cutting fabric at a 45-degree angle to the selvage, allowing it to stretch and curve around the quilt’s edges more smoothly.
Do I have to hand-stitch quilt binding?
While hand-stitching is a traditional and decorative method, it’s not the only option.
To Recap
In the intricate world of quilting, the significance of quilt binding cannot be overstated.
It serves as the final stroke of artistry, framing the quilt’s intricate design and safeguarding its structural integrity. Binding not only bestows a professional finish but also fortifies the quilt against wear and tear.
Through careful choice of fabric and technique, quilters infuse their unique style into every piece. From the functional to the aesthetic, binding transforms a quilt from a textile assembly into a cherished heirloom.
Mastery of this skill is a hallmark of a seasoned quilter, ensuring that their creations endure, cherished for both their beauty and enduring craftsmanship.
Leave a Reply