Embroidering letters is a timeless and artistic craft that adds a personal touch to fabrics, garments, and decor. Choosing the right embroidery stitch is essential to transform ordinary letters into elegant, legible, and visually appealing works of art.
Each stitch has unique characteristics, and selecting the appropriate one can make all the difference in the outcome.
From classic back stitches to intricate chain stitches, the world of embroidery offers a variety of options for lettering.
In this guide, we’ll explore the art of selecting the perfect embroidery stitch for your lettering projects, helping you unlock the creative potential of this age-old craft and turn your words into beautifully embroidered masterpieces.
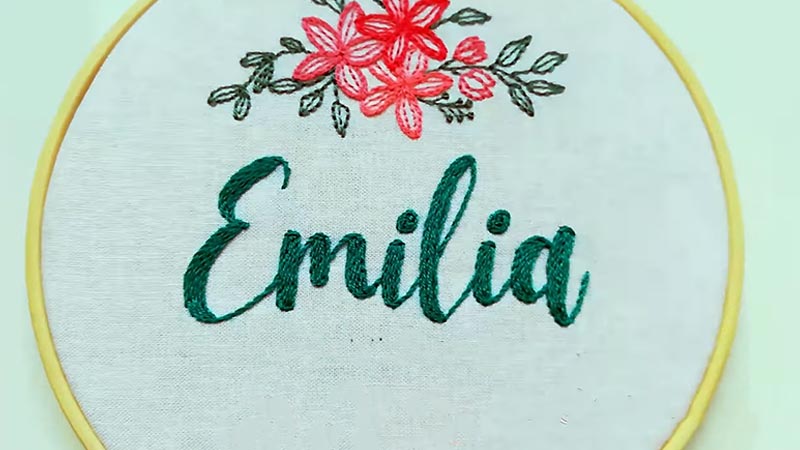
What Stitch Should I Use to Embroider Letters?
Choosing the right stitch is a crucial decision when it comes to embroidering letters. The stitch you select will impact the overall appearance of your embroidered letters and determine the level of detail, texture, and style you want to achieve.
Here’s a guide to help you choose the appropriate stitch for your lettering project:
Back Stitch
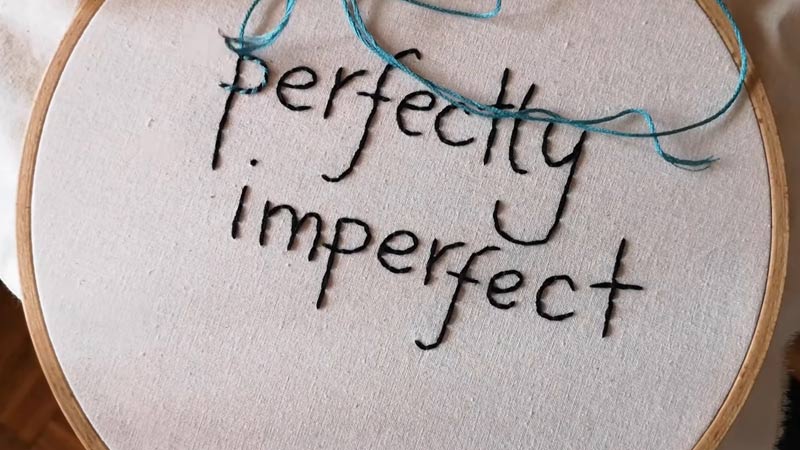
The back stitch is often considered the go-to stitch for embroidering letters. It is versatile and reliable because it creates a clean, continuous line. Back stitches are great for most font styles and sizes, making them suitable for thick and thin letters.
To create a back stitch, start with a single stitch, then come up one stitch length away and return to the same place where the previous stitch ended. Repeat this process until the letter is complete.
Split Stitch
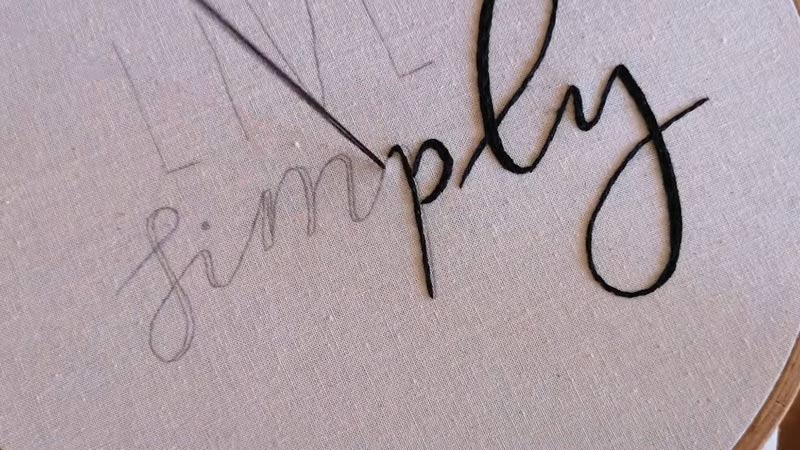
The split stitch is an excellent option if you want to add texture and dimension to your lettering. It resembles a mini-chain stitch but is more straightforward to execute. Split stitches are ideal for cursive or script fonts.
To make a split stitch, begin with a single stitch, then come up through the middle of that stitch, splitting the thread in half. Continue making stitches, breaking the previous ones until the letter is complete.
Chain Stitch
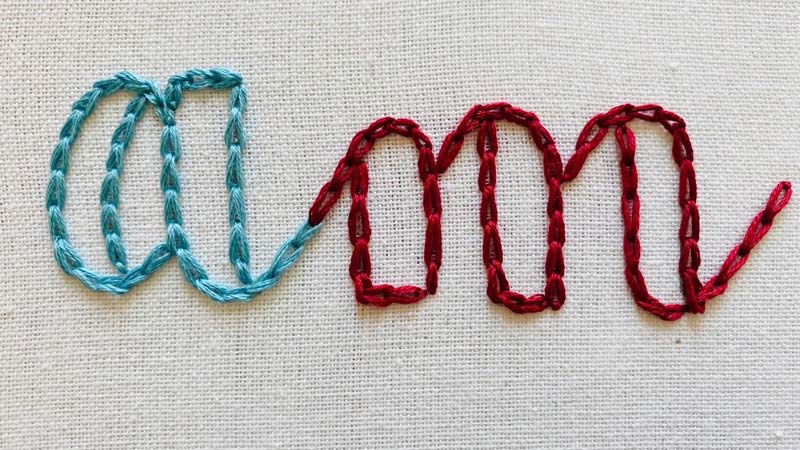
For bold and decorative lettering, the chain stitch is a great choice. It forms a series of linked loops that create a chain-like effect. Chain stitches work well for more extensive, eye-catching letters.
To make a chain stitch, start by creating a loop with your thread on the fabric’s surface, then come up through the fabric inside the loop and pull the thread tight. Repeat this process to fill in the letter.
Satin Stitch
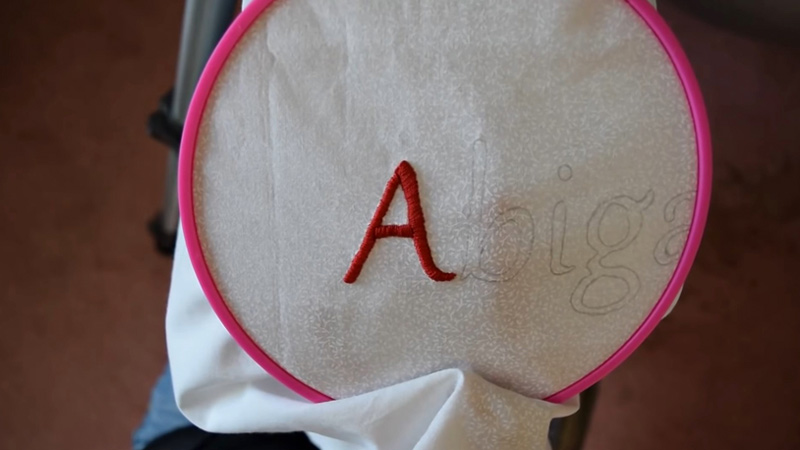
Consider using the satin stitch if you want your letters to have a smooth, solid, and filled appearance. This is perfect for block letters or bold fonts. Fill in the letter’s shape with parallel stitches that lie close to each other, covering the area thoroughly.
Whipped Backstitch
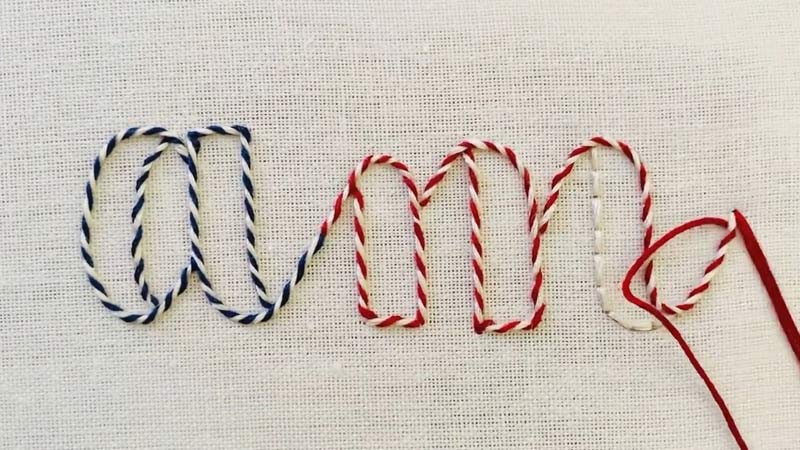
This stitch adds a decorative touch to your backstitch. After creating a backstitch, you can whip it by wrapping a contrasting color thread around the backstitch. This versatile method can be used for both thick and thin lettering styles.
Running Stitch
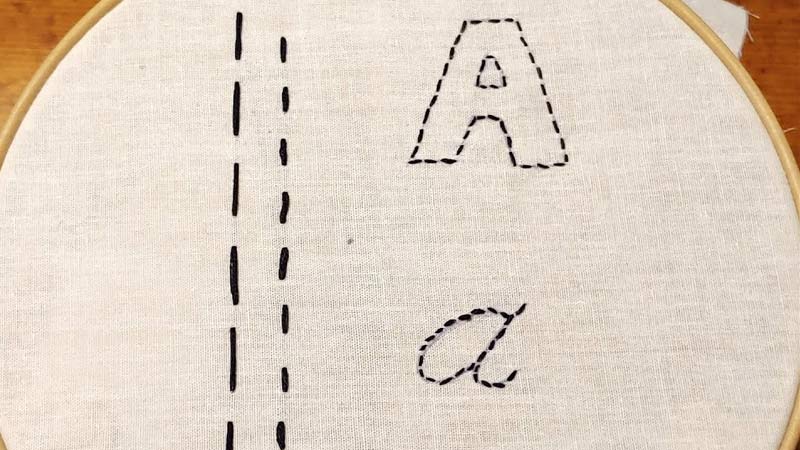
The running stitch is perfect for a simple, airy, and delicate look. It works well for thin or casual lettering styles. Create straight stitches along the outline of the letters to give them a more subtle appearance.
Why Is Choosing the Right Embroidery Stitch Important for Lettering?
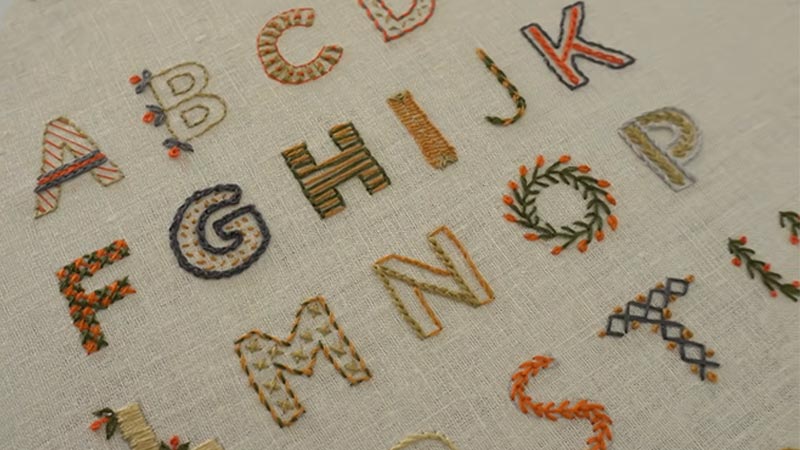
Choosing the right embroidery stitch is paramount for lettering in embroidery.
Here are several key reasons why the choice of stitch is crucial for the success of your lettering projects:
Aesthetics
Different embroidery stitches create varying visual effects. The choice of stitch significantly impacts the appearance of your lettering. The correct stitch ensures your letters look clean, legible, and visually pleasing.
Legibility
The primary goal of lettering is to convey a message or identify something. Using the right stitch helps maintain the legibility of your text, making it easy for others to read and understand.
Style
The stitch you choose can reflect the style you want to achieve. Whether you’re aiming for a classic, elegant, or whimsical look, the stitch contributes to the overall aesthetic of your embroidery.
Texture and Dimension
Some stitches, like the split stitch or chain stitch, add texture and dimension to your lettering, giving it a tactile quality that can make it more exciting and visually appealing.
Size and Scale
Different stitches work better for varying letter sizes. You might use a satin stitch for large, bold letters, while smaller letters benefit from finer stitches like the back stitch or stem stitch.
Durability
The correct stitch can enhance the durability of your embroidery. Using a strong and secure stitch is essential for projects that will experience wear and tear, such as on clothing or accessories.
Project Type
The purpose of your project matters. Whether it’s a decorative piece, a logo, a label, or a personalized gift, the right stitch helps you achieve your project’s objectives effectively.
Personalization
Your choice of stitch allows for personalization. It enables you to tailor your lettering to your unique style and preferences, making your work stand out.
Artistic Expression
An embroidery is a form of art, and your choice of stitch is a form of artistic expression. It lets you add your creative touch and personality to your lettering projects.
Historical and Cultural Significance
Certain stitches have historical or cultural significance. Using them in your lettering can add depth and meaning to your work, making it more meaningful and unique.
How Do I Choose the Right Embroidery Stitch for Lettering?
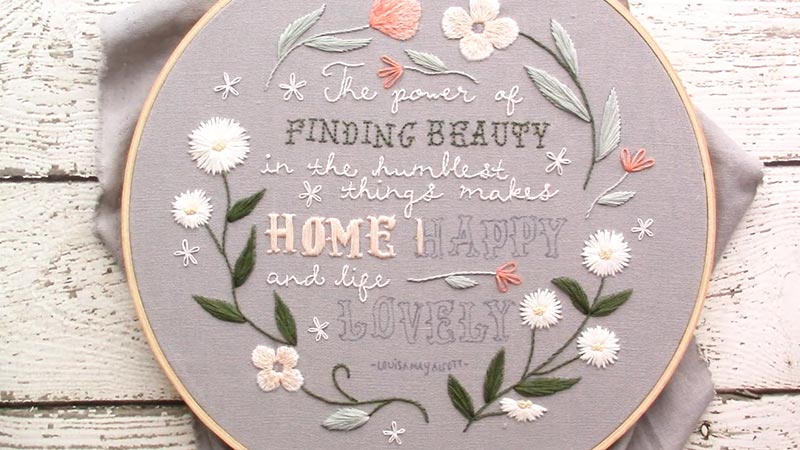
Choosing the right embroidery stitch for lettering is a critical decision that can significantly impact the aesthetics and legibility of your project.
To ensure you make the best choice, consider the following steps:
Understand Your Project
Begin by understanding the nature of your project. Is it a decorative piece, a corporate logo, a label, or a personalized gift? The type of project and its intended use will influence your choice of stitch.
Select Your Lettering Style
Choose the font or lettering style you want to embroider. The font’s characteristics, such as size, style (script, block, serif, sans-serif), and spacing, will help determine the most appropriate stitch.
Consider the Size of Your Letters
Evaluate the size of the letters you intend to embroider. Large, bold letters may require different stitches than smaller, delicate ones. Certain stitches work better for specific letter sizes.
Think About Aesthetics and Style
Consider the overall style and aesthetics you want to achieve in your lettering. Do you desire a classic, elegant look, or are you aiming for something more whimsical and decorative? Different stitches contribute to other styles and visual effects.
Texture and Dimension
Determine whether you want your lettering to have texture and dimension. Some stitches, like the split or chain stitch, add depth and tactile qualities, while the satin stitch creates a smooth, flat surface.
Durability
Consider the level of wear and tear your embroidery will endure. If the embroidery is likely to experience frequent use or washing, choose a stitch that offers durability and can withstand such conditions. Stitches like the backstitch or satin stitch work well in this regard.
Practice Your Chosen Stitch
If you’re new to embroidery or unfamiliar with a particular stitch, practicing it on a scrap piece of fabric is a good idea. This practice allows you to become proficient and confident in your chosen stitch before starting your main project.
Don’t hesitate to Experiment
Don’t be afraid to experiment with different stitches. Mixing stitches can create unique effects and add character to your lettering. Feel free to unleash your creativity and find the perfect combination.
Consider Thread Color
Think about the color of the embroidery thread you plan to use. The choice of thread color can significantly affect your chosen stitch’s appearance and overall impact. Ensure that the thread color complements both the fabric and the stitch.
Reference Resources
Consult embroidery guides, books, or online resources for which stitches work best for specific lettering styles, sizes, and intended effects. Experienced embroiderers and embroidery communities can also be valuable sources of information and inspiration.
Test Your Stitch
Before committing to your main project, it’s a good practice to test the chosen stitch on a piece of the same fabric you’ll be working with. This test ensures that the stitch meets your expectations and that you’re comfortable using it.
Be Flexible
Remember to be flexible in your choice. Sometimes, you may need to modify the stitch or even combine multiple stitches to achieve the desired effect. Be open to adjustments and refinements as you work on your lettering project.
FAQs
Which is the best stitch for beginners when embroidering letters?
Beginners often find the back stitch the most accessible and user-friendly option for embroidering letters. It provides clear and clean lines, making it a great starting point.
Can I use different stitches within the same lettering project?
Absolutely! Mixing stitches can create unique visual effects and add depth to your lettering. Experimenting with a combination of stitches can make your project more interesting.
How do I prevent fabric puckering while embroidering letters?
To avoid fabric puckering, use an embroidery hoop to keep the fabric taut and work with a stable, tight-weave fabric to provide a smooth surface.
Are there any specialty stitches for unique lettering effects?
Yes, some specialty stitches, like the whipped backstitch, can add decorative flair and texture to your lettering. These stitches can be creatively applied for unique effects.
How can I correct mistakes in my lettering embroidery?
Carefully remove the problem stitches with a seam ripper or scissors to fix mistakes. Then, re-stitch the section as needed. Practice and patience are crucial to making corrections.
To Recap
In embroidery, the choice of stitch for lettering is where creativity and precision intertwine. We’ve embarked on a journey to unravel the secrets of selecting the right stitch that aligns with your project’s purpose and style.
Whether it’s the timeless back stitch, the textured split stitch, the bold chain stitch, or the smooth satin stitch, each stitch carries its charm.
You’ve discovered that the right choice can enhance legibility, aesthetics, and durability. With these insights, you can confidently embark on your embroidery endeavors, transforming letters into intricate, expressive works of art.
The world of lettering embroidery is a canvas of endless possibilities, waiting for your unique and creative touch. Happy stitching!
Leave a Reply